RHINO KUBOTA GRAND-L30 Series User manual

F-3827 1 of 4 12-9-2004
ASSEMBLY MANUAL 2-7282
TRACTOR & BACKHOE GENERAL INFORMATION
Tractor must be equipped with sufficient counterweight
at front of tractor, such as a front end loader, for backhoe
installation.
Complete backhoe installation requires hose kit or
pump kit. Install backhoe hydraulic kit before mounting
backhoe.
IMPORTANT: Remove linch pins and disconnect
supports to disable 3-point hitch arms before installing
backhoe subframe.
Reference to left and right as used in these instructions
refer to direction when seated in operating position on
backhoe. Backhoe subframe can be installed on tractor
and backhoe using tools ordinarily available.
INSTALLING SUBFRAME TO BACKHOE (Figure 2)
Install subframe (1) to backhoe using 3/4 x 2" cap
screws (7) and 3/4" lock nuts (11)(Torque to 350 ft.·lbs.).
NOTE: If installing pump kit and subframe; spacers (13)
are required between subframe and backhoe.
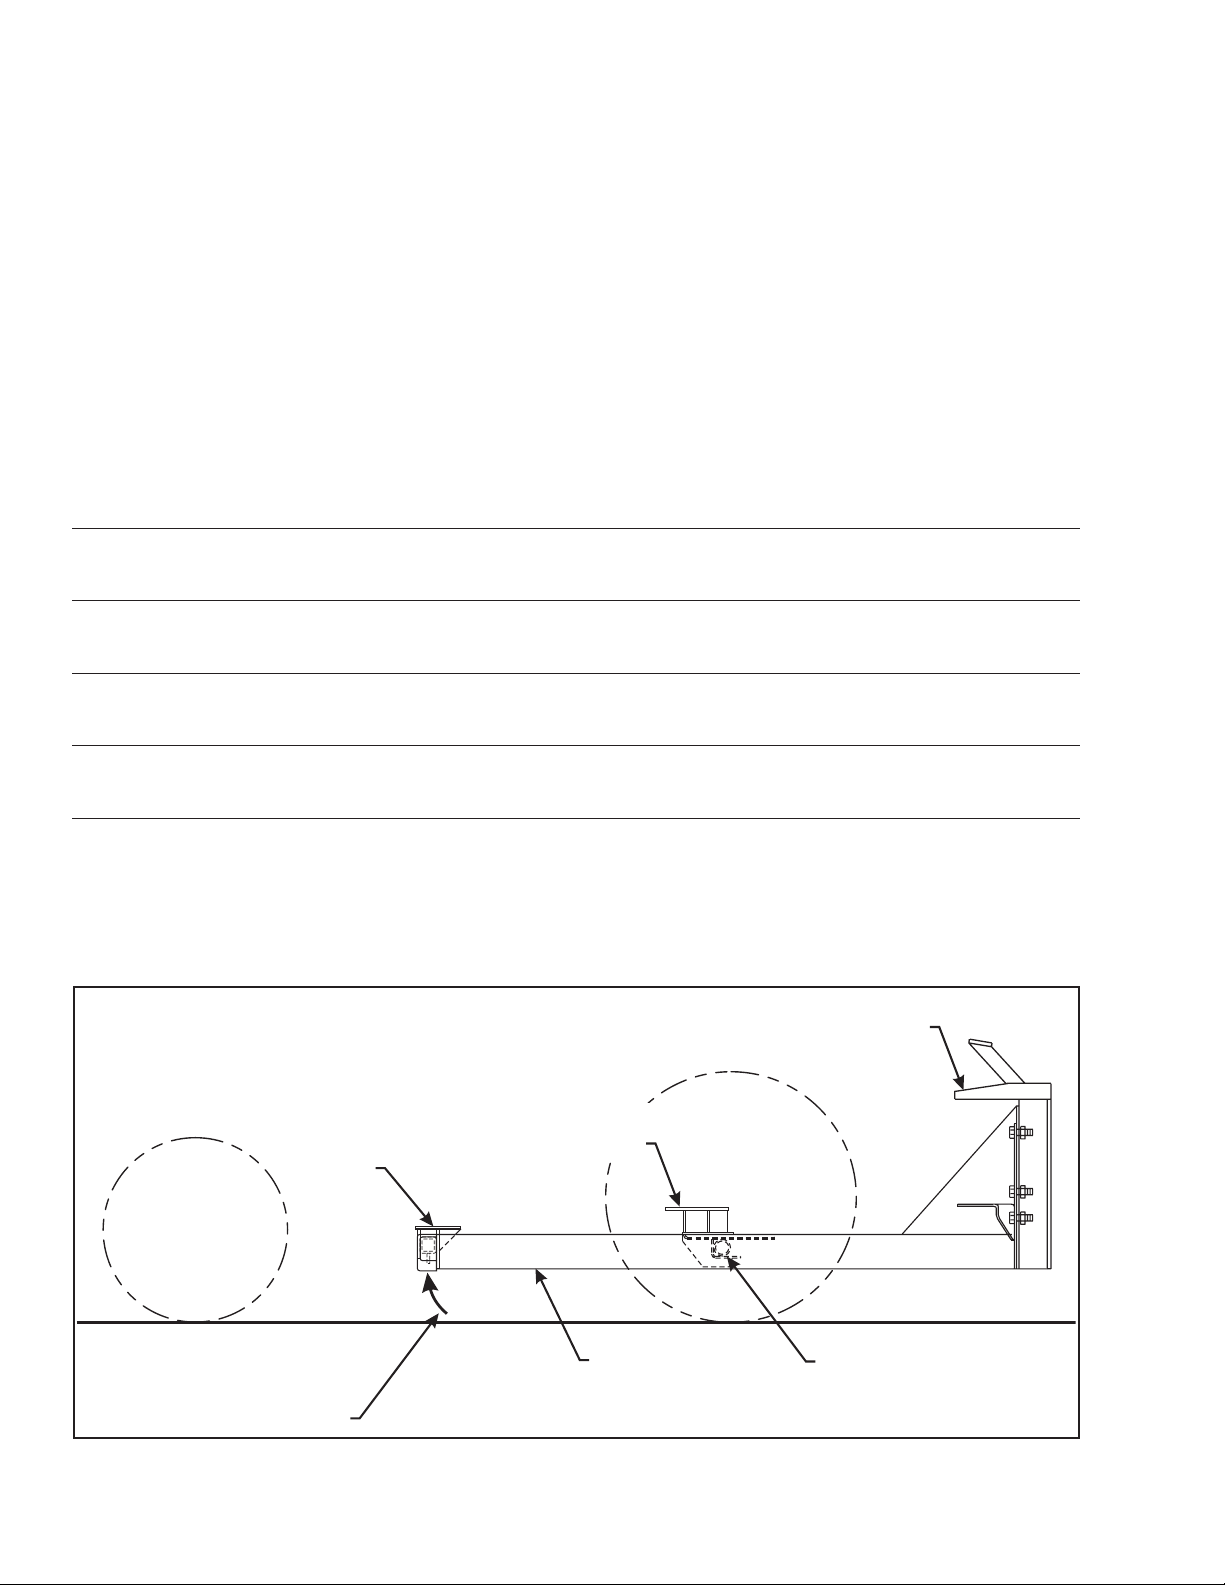
INSTALLING MOUNTING BRACKETS
1. Temporarily remove drawbar from tractor hitch.
2. Remove six bolts which secure bottom of tractor
hitch to rear of tractor.
NOTE: Hitch will be held in place by two bolts at rear
of tractor.
3. Install rear mounting bracket (2) to rear of tractor
using 14mm x 45mm cap screws (6) and 9/16" lock
washers (10). Reattach draw bar and finish securing
rear bracket (2) to tractor hitch using 3/4 x 4" cap
screw (12) and lock nut (11).
4. Install front mounting bracket (8) to underside of
transmission casting using 12mm x 35mm cap
screws (5) and 1/2" lock washers.
5. Tighten all hardware to torques specified in General
Torque Specifications table.
REMOVING BACKHOE FROM PALLET
1. Install pump kit or hose kit. Refer to instructions
provided with kit for proper installation procedure.
Back tractor, parallel to subframe assembly, close to
backhoe.
CAUTION: Do not remove hardware
which secures backhoe to pallet until
bucket is installed. Backhoe may tip over
causing damage or serious personal
injury.
2. Remove stabilizers from shipping position. Install
stabilizers to backhoe using pins provided. Connect
stabilizer cylinders to stabilizers using pins provided.
3. Connect pump or hoses to tractor. Set bucket in
place below dipperstick. Remove boom lock pin and
carefully extend boom cylinder (lower boom) until
bucket can be connected to dipperstick.
4. Install bucket to dipperstick using pins, 3/8 x 2-1/2"
cap screws and 3/8" lock nuts provided. Carefully
extend bucket cylinder and connect bucket to four
bar link.
5. Install seat assembly to platform using 3/8" x 1-1/4"
cap screws and 3/8" lock nuts provided.
CAUTION: Do not fully extend boom or
dipperstick until backhoe is mounted to
tractor. Extending boom or dipperstick
may cause backhoe to tip over resulting in
damage to backhoe or serious personal
injury.
NOTE: Remove protective coating from cylinder
rods before operating backhoe controls.
6. Using backhoe hydraulics carefully lower stabilizers
and bucket to lift pallet off ground. Remove hardware
and slide pallet out of the way. Lower backhoe to
ground.
95 BACKHOE SUBFRAME
KUBOTA GRAND-L30 SERIES TRACTORS
MODEL ROPS CAB
L4630 X X
L5030 X X
Keep With Operator's Manual

12-9-2004 2 of 4 F-3827
2-7282
PARTS LIST - BACKHOE SUBFRAME
Item Part No. Description Qty.
1 51308 SUBFRAME 1
2 51312 BRACKET, Mounting, Rear 1
3 44892 PIN, Hitch 2
4 44756-1 PIN, Linch 2
5 42672-24 SCREW, Cap, 12mm-1.25mm x 35mm 6
6 42672-60 SCREW, Cap, 14mm-1.50mm x 45mm 6
7 41838-8 SCREW, Cap, 3/4-10 x 2 6
8 51318 BRACKET, Mounting, Front 1
9 41837-5 WASHER, Lock, 1/2 6
10 41837-6 WASHER, Lock, 9/16 6
11 41840-8 NUT, Lock, 3/4-10 7
12 41838-71 SCREW, Cap, 3/4-10 x 4", Grade 5 1
13 31897 SPACER, (Used when mounting tank.) 2
Backhoe
Mainframe
Backhoe
Subframe
Subframe
Crosstube
Rotate subframe up
until engaged with
front mounting bracket.
Front
Mounting
Bracket
Rear Mounting
Bracket
MOUNTING BACKHOE TO TRACTOR
(Figures 1 & 2)
1. Start engine and run at slow idle speed. Using
backhoe controls, lower bucket and stabilizers to
provide a base for raising subframe. Using backhoe
controls, raise subframe to proper height to connect
to tractor.
2. Position 3-point hitch arms inside subframe.
3. Slowly back tractor so cross tube engages pocket in
rear mounting bracket (2).
4. Retract boom cylinder and stabilizer cylinder so front
of subframe (1) rotates up until front mounting tube is
seated in front mounting bracket (8).
5. Secure front mounting tube in place using clevis pins
(3) and linch pins (4).
NOTE: After backhoe is mounted, swing backhoe
full right and full left to be sure there is not
interference between swing cylinders and 3-point
hitch arms.
Figure 1
Mounting Subframe
to Tractor

F-3827 3 of 4 12-9-2004
2-7282
1
9
5
2
4812
11
6
10
7
13
11
3
3
4
Temporarily remove drawbar
while installing rear mounting
bracket (2).
Figure 2
Subframe Assembly

12-9-2004 4 of 4 F-3827
2-7282
INSTALLATION
INSTRUCTIONS
AMERICAN STANDARD CAP SCREWS METRIC CAP SCREWS
GENERAL TORQUE SPECIFICATIONS
USE THE FOLLOWING TORQUES WHEN SPECIAL TORQUES ARE NOT GIVEN
SAE Grade
Typ. Head
Markings
Metric Class
Typ. Head
Markings
5 8 8.8 10.9
Cap Screw TORQUE TORQUE TORQUE TORQUE
Size FT·LBS N·m FT·LBS N·m FT·LBS N·m FT·LBS N·m
Inches MIN MAX MIN MAX MIN MAX MIN MAX
6.25 7.25 8.5 10 8.25 9.5 11 13
8 9 11 12 10.5 12 14 16
14 15 19 20 18.5 20 25 27
17.5 19 23 26 23 25 31 34
26 28 35 38 35 37 47.5 50
31 34 42 46 41 45 55.5 61
41 45 55.5 61 55 60 74.5 81
51 55 69 74.5 68 75 92 102
65 72 88 97.5 86 96 116 130
76 84 103 114 102 112 138 152
95 105 129 142 127 140 172 190
111 123 150 167 148 164 200 222
126 139 171 188 168 185 228 251
152 168 206 228 203 224 275 304
238 262 322 355 318 350 431 474
274 305 371 409 365 402 495 544
350 386 474 523 466 515 631 698
407 448 551 607 543 597 736 809
537 592 728 802 716 790 970 1070
670 740 908 1003 894 987 1211 1337
MIN MAX MIN MAX MIN MAX MIN MAX
688119111215
16 20 21.5 27 23 27 31 36.5
29 35 39 47 42 52 57 70
52 62 70 84 75 91 102 123
85 103 115 139 120 146 163 198
130 158 176 214 176 216 238 293
172 210 233 284 240 294 325 398
247 301 335 408 343 426 465 577
332 404 450 547 472 576 639 780
423 517 573 700 599 732 812 992
637 779 863 1055 898 1098 1217 1488
872 1066 1181 1444 1224 1496 1658 2027
1/4 - 20
1/4 - 28
5/16 - 18
5/16 - 24
3/8 - 16
3/8 - 24
7/16 - 14
7/16 - 20
1/2 - 13
1/2 - 20
9/16 - 12
9/16 - 18
Cap Screw
Size
Millimeters
M6 x 1.00
M8 x 1.25
M10 x 1.50
M12 x 1.75
M14 x 2.00
M16 x 2.50
M18 x 2.50
M20 x 2.50
M22 x 2.50
M24 x 3.00
M27 x 3.00
M30 x 3.00
5/8 - 11
5/8 - 18
3/4 - 10
3/4 - 16
7/8 - 9
7/8 - 14
1 - 8
1 - 14
Standard American and Metric Cap Screws
NOTE: These values apply to fasteners as received
from supplier, dry or when lubricated with normal
engine oil. They do not apply if special graphite or
molysulphide greases or other extreme lubricants are
used.
This manual suits for next models
2
Table of contents
Other RHINO Tractor manuals
Popular Tractor manuals by other brands

Kubota
Kubota WSM B1710 Workshop manual

Case IH
Case IH Luxxum Quick Instruction

Taylor-Dunn
Taylor-Dunn Tiger TC-030-60 Operation, Maintenance, and Replacement Parts Manual

Tektite
Tektite Massey Ferguson GC2600 Cab Operator's manual

New Holland
New Holland Boomer 24 Operator's manual

AGCO
AGCO FENDT 938 Vario MT Operator's manual