Rhopoint Instruments Novo-Gloss Trio User manual

Novo-Gloss Trio Manual
- 1 -
Rhopoint Instruments Ltd.
Novo-Gloss Trio Operation Manual
Information in this document is subject to change without notice.
© 2006 Rhopoint Instrumentation Ltd. All Rights Reserved.
Novo-Gloss Trio, Novo-Shade DuoTM, Novo-SoftTM, Novo-GlossTM,
Novo-Gloss LiteTM, Novo-CurveTM and RhopointTM are either registered
trademarks or trademarks of Rhopoint Instrumentation Ltd. in the UK
and other countries.
Other product and company names mentioned herein may be
trademarks of their respective owner
Rhopoint Instruments Ltd.
12 Beeching Road,
Bexhill-on-Sea,
TN39 3LG
United Kingdom
Tel: +44 (0)1424 214291
Fax: +44 (0)1424 730600
Email: sales@rhopointinstruments.com
Web Site: www.rhopointinstruments.com
Revision C
March 2010
DRD5100-001

Novo-Gloss Trio Manual
- 2 -
Index
Accessories
Options
Power
The Control Panel
Read/select key
Scroll up/down
Angle change/calibrate/cancel
Measuring Gloss
Check the calibration
Positioning the Novo-Gloss Trio
Take a single reading
Using the move and read feature
Calibration Inspection and Tile Care
Inspecting and cleaning the optics
Inspecting and cleaning the calibration tile
Scratched or damaged tiles
Calibration
Calibrate a single angle
Calibrate all angles
Automatic calibration check
Statistics
Definition of terms used in statistics mode
Preferences
Changing the calibration value
Calibrate at low, medium or high gloss
Change calibration value in the setup menu
Change calibration value via Novo-Soft
Customising the Trio using the hidden menu
True zero calibration
Language
Statistical/non statistical mode
Connecting to a PC
Installing the software
Installing the drivers
Connecting the Instrument
Downloading results
Saving and manipulating data
Preferences
Connecting Advice
Declaration of Conformity
3
3
3
3
4
4
4
4
5
5
5
5
5
6
6
6
7
7
7
7
8
8
8
8
8
9
9
11
11
11
11
11
12

Novo-Gloss Trio Manual
- 3 -
Accessories
Novo-Gloss Trio gloss meter
Traceable calibration tile in protective case
Traceability certificate for calibration tile
Quick start guide
Mini-CD containing Novo-Soft, instrument manuals
and registration form
Registration card
USB data cable
Cleaning cloth
Instrument carry case
Options
Replacement BAM Traceable calibration tile and integrated
holder
Supplementary calibration/checking tiles in integrated holder
UKAS (ISO17025) BAM traceable calibration/checking tiles
Zero calibration foam in integrated holder
Quick start guide
On-line measurement data-cable
Power
The Novo-Gloss Trio is powered with 4 x AA dry cell batteries.
To install or replace the batteries remove the battery panel by
unscrewing the two screws. Insert the new cells in the battery
cartridge and place in the battery compartment, replace the lid
and replace the screws.
The Control Panel
Read/Select Key
The “READ” key has four functions;
Power- Press this key to turn the instrument on.
Read- In measurement mode press this key to initiate a
measurement.
Continuous Read- In measurement mode press and hold
this key to take a continuous measurement.
Select- When navigating through the setup menu use this
key to select an item or confirms a previous selection.
To access the battery
compartment remove the
screws with the provided
screwdriver
The “READ” key

Novo-Gloss Trio Manual
- 4 -
Scroll Up/Scroll Down
The “UP/DOWN” key has four functions;
View Statistics- In single angle measurement mode
press the UP key to view the statistics for the selected
angle.
Delete- In single angle measurement mode press the
DOWN key to enter the delete mode.
Scroll Up/Down- In the hidden set up menu use the
UP/DOWN keys to scroll through the available options.
Set Calibration value- In Set Calibration Mode press
the UP/DOWN keys to adjust the calibration value.
Angle Change/Calibrate/Cancel
The “C” key has three functions;
Change Angle- In measurement mode press the “C”
key to cycle through the single angle modes 20>60>85
followed by the 20/60/85 three angle simultaneous
read mode.
Calibrate- In measurement mode press the “C” key for
2 seconds to initiate the calibration process.
Cancel- During calibration use this key to cancel the
process and revert to previously stored calibration
constants.
Measuring Gloss
Check the Calibration
If the instrument has not been used for some time it is
advisable to check the calibration.
Place the instrument on the high gloss calibration tile. Take
a reading by pressing the READ/SELECT key. Compare the
measuredvalue with the assignedvalue for the tile.
If it matches the value on the tile holder, the instrument is
within calibration and ready for use.
If the measured value does not match the assigned value,
follow the calibration procedure (see page 6).
Positioning the Novo-Gloss Trio
When the instrument is placed on a sample the aperture is
hidden, the centre of the measurement area can be
pinpointed by the intersection of the arrows marked on the
front of the instrument case with those on the side.
The “UP/DOWN” key
The “C” key
Place the instrument in the
calibration holder.
The measurement position is
indicated by the arrows.

Novo-Gloss Trio Manual
- 5 -
Take a single reading
Press and release the READ/SELECT key in measurement
mode to take a single reading.
The value shown in the display is the gloss value for the section
of the sample covered by the aperture. This value has been
stored in the memory and the number of stored readings
increased by one.
Using the move and read feature
The Novo-Gloss TrioTM has a unique feature to quickly assess
large surfaces for gloss variation.
To use this feature PRESS and HOLD the READ/SELECT key
whilst in read mode. The unit will take a reading.
A value will be shown in the display; this is the gloss value for
the part of the sample currently covered by the measurement
aperture.
To assess the rest of the sample continue to HOLD the
READ/SELECT key and carefully slide the Novo-Gloss Trio to
the area to be inspected.
The value in the display will update IN REAL TIME to reflect the
gloss value of the surface under the aperture at that time.
As soon as the READ/SELECT button is released the last value
measured will be displayed. This is also the value stored in
the memory.
Calibration inspection and tile care
It is necessary to inspect the condition of the calibration tile and
instrument optics before each calibration.
Inspecting and cleaning the instrument optics
Any dust or debris on the optic should be blown from the lenses
using dry clean air- the optics must not be touched without
wearing suitable cotton gloves.
If there are any permanent marks or scratches on the lenses,
the instrument is no longer suitable for measuring gloss and
should be returned to an authorised Rhopoint service center.
Inspecting and cleaning the calibration tile
The calibration tile must be perfectly clean from smears and
scratches before attempting calibration. Fingerprints and dust
can be removed with the supplied optic cleaning cloth.
Scratched or damaged tiles
Scratched or damaged tiles are not suitable for gloss
calibration. The instrument and tile must be returned to an
approved Rhopoint service center for tile replacement and re-
calibration.
Press the “READ” key to
take a gloss measurement.
Press and HOLD the “READ”
key to take a continuous
gloss measurement.
Inspect the tile and
instrument optics before
calibration.

Novo-Gloss Trio Manual
- 6 -
Calibration
Zero Gloss Calibration
For improved stability and accuracy the Novo-Gloss Trio is supplied
with the Zero calibration feature switched on. During calibration the
instrument will prompt “Sample Zero Ref”, at this point the
instrument should be placed on the enclosed zero reference foam
and the “Read” key pressed to take a reading.
See page 8 for instructions how to switch on/off the Zero calibration
feature
Calibrate a single angle
Place the instrument in the calibration holder. In measurement
mode, select the required angle, pressing the “C” button to cycles
through the angles 20 > 60 > 85.
Once the required angle is displayed, press and hold the “C” key to
begin the calibration procedure. Follow the on screen instructions to
complete this process.
Calibrate all angles
To simultaneously calibrate all three angles, use the “C” key to
cycle through the read modes until the three angle 20 60 85 degree
read mode is displayed.
The “C” key should then be pressed and held until the calibration
procedure starts. The on-screen instructions should be followed to
complete the calibration process
Automatic calibration check
During calibration the instrument automatically checks for changes
in the condition of the calibration tile.
If changes to the expected value are detected the instrument will
prompt
“Possible Calibration Error- Check Calibration Tile”
The calibration tile and instrument optics should then be carefully
checked for marks or scratches.
If there are smears mark or dust on the optics, press the “C” key to
abort the calibration, and clean tiles and optics using the above
procedure and repeat the calibration process
If the calibration tile is seen to be completely clean, press the read
key to store the calibration data.
The “C” key can be pressed at any time to abort the calibration
process.
Place the instrument in the
calibration holder.
Press and HOLD the “C”
key to start calibration.

Novo-Gloss Trio Manual
- 7 -
Analysing Statistics
To examine the statistics for the stored values, whilst in
Read mode -press the up arrow.
Definitions of terms used in statistical mode
For this purpose the individual readings are defined as
values x1, x2, xn, and xi is any data point:
-Statistical sample population, n- the current number of
stored readings on whichthe statistical analysis is based.
-Maximum (MAX) - the highest reading.
-Minimum (MIN) - the lowest reading.
-Mean (MEAN), - The sum of all readings divided by the
total number.
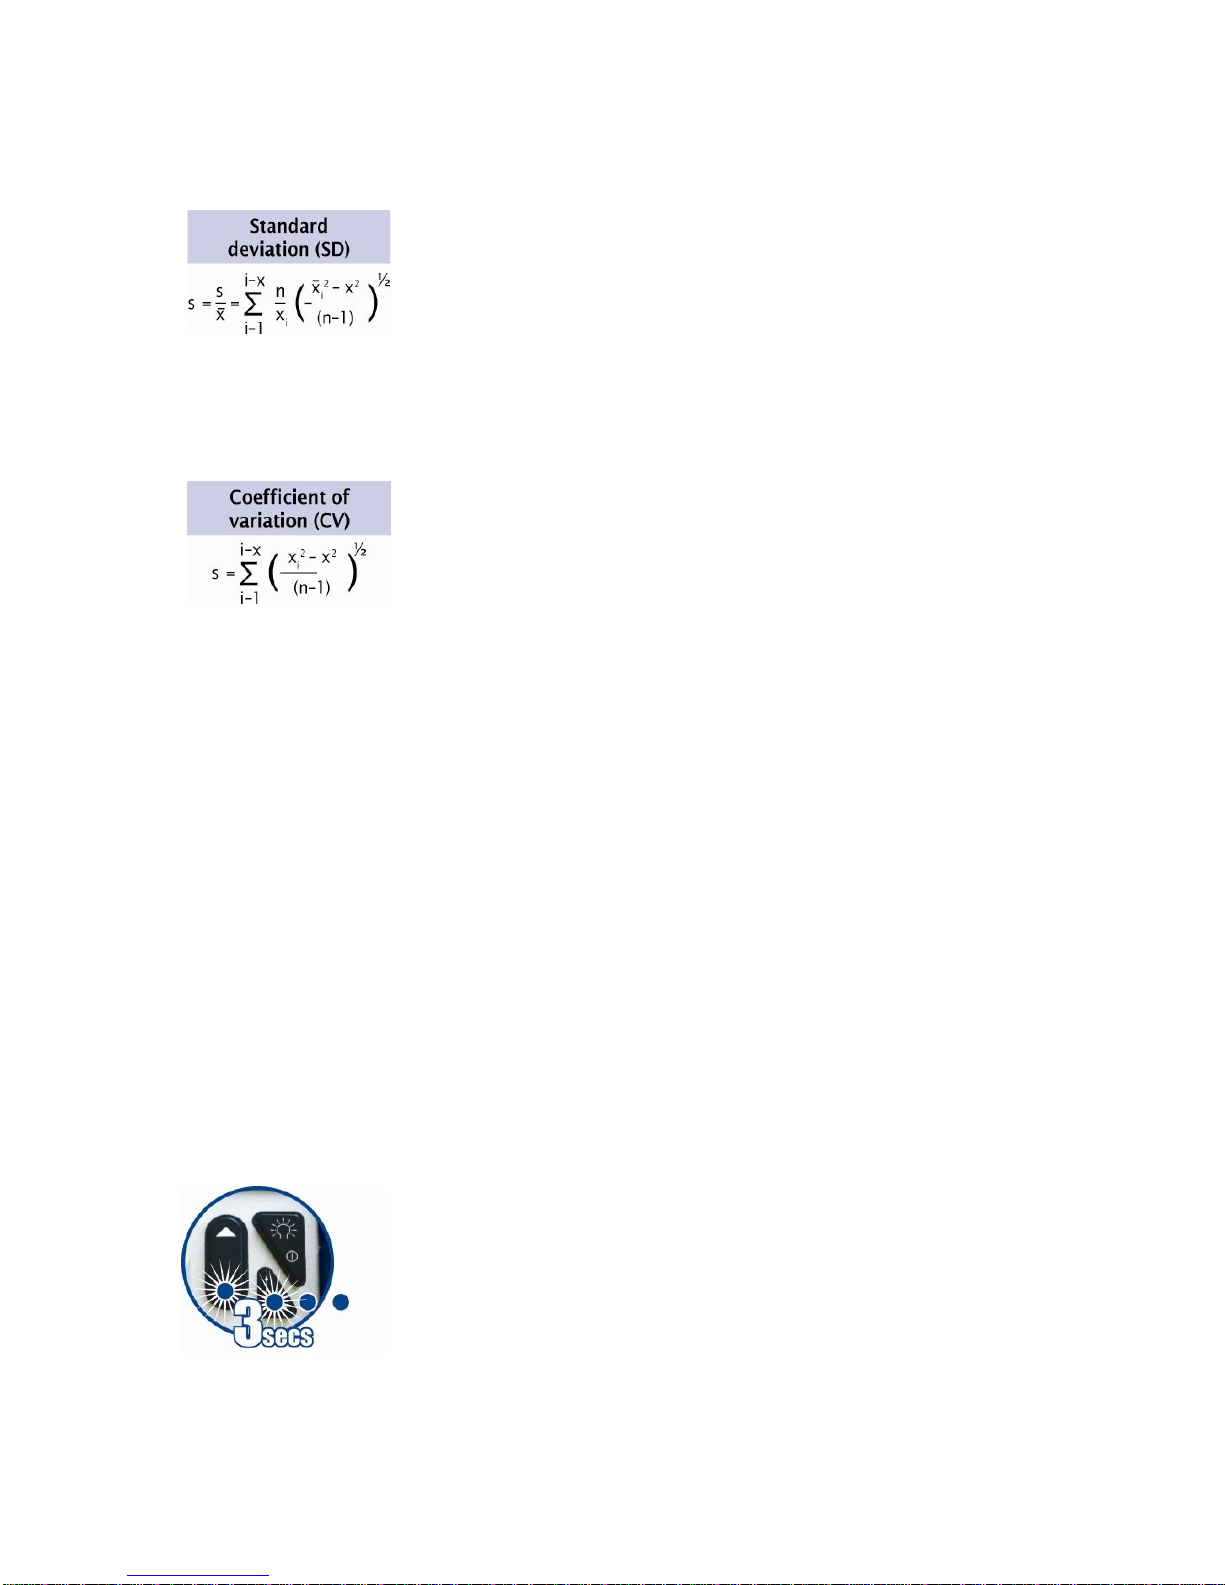
-Standard deviation (SD), s- Square root of the sum of
squared --deviations from the mean.
-Coefficient of variation (CV), c- Standard deviation
divided by the mean, a measure of data scatter.
Preferences
Changing the calibration value
The instrument is supplied with the assigned values of the
standard tile stored in the instrument memory.
These values are updated when the instrument is
recalibrated by an authorised service center.
The stored values can also be changed by the end user if an
alternative tile is to be used for calibration
Calibrate at low, medium or high gloss value
It is often desirable to calibrate using a standard that closely
matches the gloss of the samples to be tested.
Rhopoint supply a range of gloss, semi-gloss and matt tiles
to suit all applications. To calibrate the Novo-Gloss Trio using
a purchased tile, the calibration value in the instrument
memory must be adjusted to match the assigned value of the
new tile.
Rhopoint also supply mirror tiles for verification of measured
values at very high gloss levels. The instrument should not
be calibrated on a mirror tile.
Change calibration values in the set up menu
In read mode, press the C key to cycle through 20/60 or 85º
angles until the required angle is displayed.
Access the hidden set up menu using the following key press
combination;
-First press and hold the DOWN button.
-Press and hold the C button whilst continuing to press the
DOWN button.
-Wait until “SYSTEM SET UP” appears in the display.
-Scroll up/down until “SET STD CAL VAL.” is shown on the
display.
-Press the read key to change this value.
-Use the UP/DOWN arrow to adjust to the assigned value of
the calibration tile.
To access hidden menu-
Press and HOLD the “C”
and “DOWN” keys.

Novo-Gloss Trio Manual
- 8 -
-Press the READ KEY when the value is correct, if required
repeat the process for the remaining angles.
Change calibration values via Novo-Soft
It is possible to change the stored values when the
instrument is connected to a PC running Novo-Soft. For more
details follow the connection instructions on page 7 of this
manual. Full instructions are contained in the software help
files.
Customising the Novo-Gloss Trio via the hidden set up
menu
Use the following key combination to access the Novo-Gloss
Trio set up menu;
Press the DOWN KEY whilst simultaneously pressing the C
button.
SYSTEM SET UP will be shown in the instrument display.
Use the UP/DOWN buttons to cycle through the available
options.
True zero Calculation
It is possible to perform a two point gloss calibration using
both a high gloss tile and a zero gloss standard. Press the
read key toggle between “Zero Calibration off” and “Zero
Calibration on”. Zero gloss foam is included with the Novo-
Gloss Trio Instrument
Language
English, French, German, Spanish, Dutch, Italian, Czech and
Turkish are the standard languages available in the Novo-
Gloss Trio; more languages will be added as they become
available, visit www.rhopointinstruments.com for a full list or
to request additional language support.
Press read key to enter this menu, use the up/down arrows
to locate the required language. Press the read key to select.
Statistical/Non-statistical mode
The instrument can be used with or without statistical
analysis. In non-stat mode all functions except read and
calibrate are disabled. Press the read key toggle between
STATS ON/STATS OFF modes.

Novo-Gloss Trio Manual
- 9 -
CONNECTING TO A PC
Install the software
Place the Novo-Soft mini-cd in the drive of a compatible PC.
Depending on the settings of your PC the Novo-Soft
Installation program should automatically start, alternatively
double click on the Novo-Softinstall.exe icon in the relevant
CD drive.
Follow the on screen instructions in the install wizard window
to install Novo-Soft.
Once installed, double click on the Novo-Soft icon on the
desktop to run the software.
Installing the drivers
With the mini-cd in the drive connect the USB cable to a free
port on your PC.
Connect the other end of the cable to the instrument.
Turn on the instrument.
The following will be shown:
Click ‘no, not this time’ and then click ‘next’.
Click ‘Install from a list or specific location’ then click ‘next’.

Novo-Gloss Trio Manual
- 10 -
Click ‘search removable media’ then click ‘next’.
The PC should find the driver and install it from the disc.
Click ‘finish’.
The PC will detect another new hardware component, follow
the above steps again.

Novo-Gloss Trio Manual
- 11 -
Your Novo-Gloss Trio is now installed and ready to use.
Connect the instrument
Connect the instrument to a USB port on your PC with the
supplied data cable.
In the ‘Set-Up’ menu ensure that the ‘high speed coms’ box
is ticked.
Click the “CONNECT” icon in the Novo-Soft main menu to
open the connection window.
Ensure the instrument is switched on (press the read key).
Press the “CONNECT” button in the connection window to
initiate communication.
Downloading results
Use the download buttons to retrieve stored readings from
the instrument memory, once downloaded the data can be
deleted from the instrument memory using the relevant
delete button. Saving and manipulating data
For help using Novo-Soft, click “HELP” in the menu.
Preferences
Automatic power-down time, language, calibration values
and automatic/manual calibration can all be adjusted in the
Novo-Soft set up menu, click on help the menu for more
details.
CONNECTING
ADVICE
When the instrument has been successfully connected to the
PC the auto-power off function is disabled.
Measurements should not be made with the data cable
plugged into the instrument as R.F. interference may cause
inaccurate readings.

Novo-Gloss Trio Manual
- 12 -
EC Declaration of Conformity
We Rhopoint Instruments Ltd, Beeching Road,
Bexhill on Sea, East Sussex, TN39 3LG
Declare under our sole responsibility that the product
Novo-Gloss Trio
To which this declaration relates is in conformity with the
following standards
EN6100-6-1:2001
EN6100-6-3:2001, A1
Following the provisions of directives
2004/108/EC
Rhopoint Instruments Ltd
22 March 2007
…………………………………………
D Smith Research & Development Technician
Further information available on request.
Table of contents