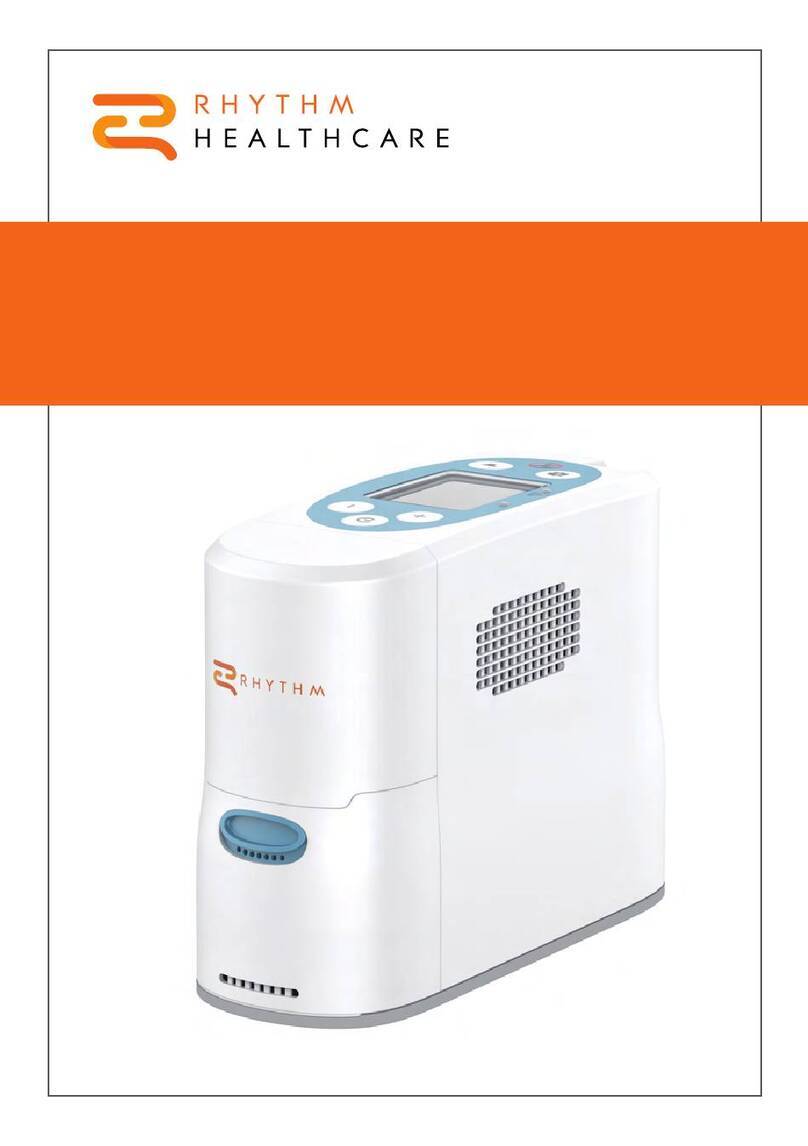
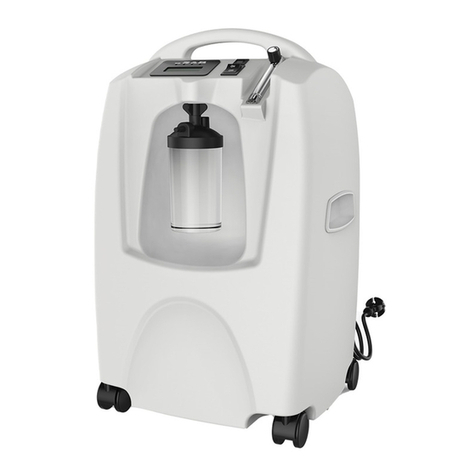
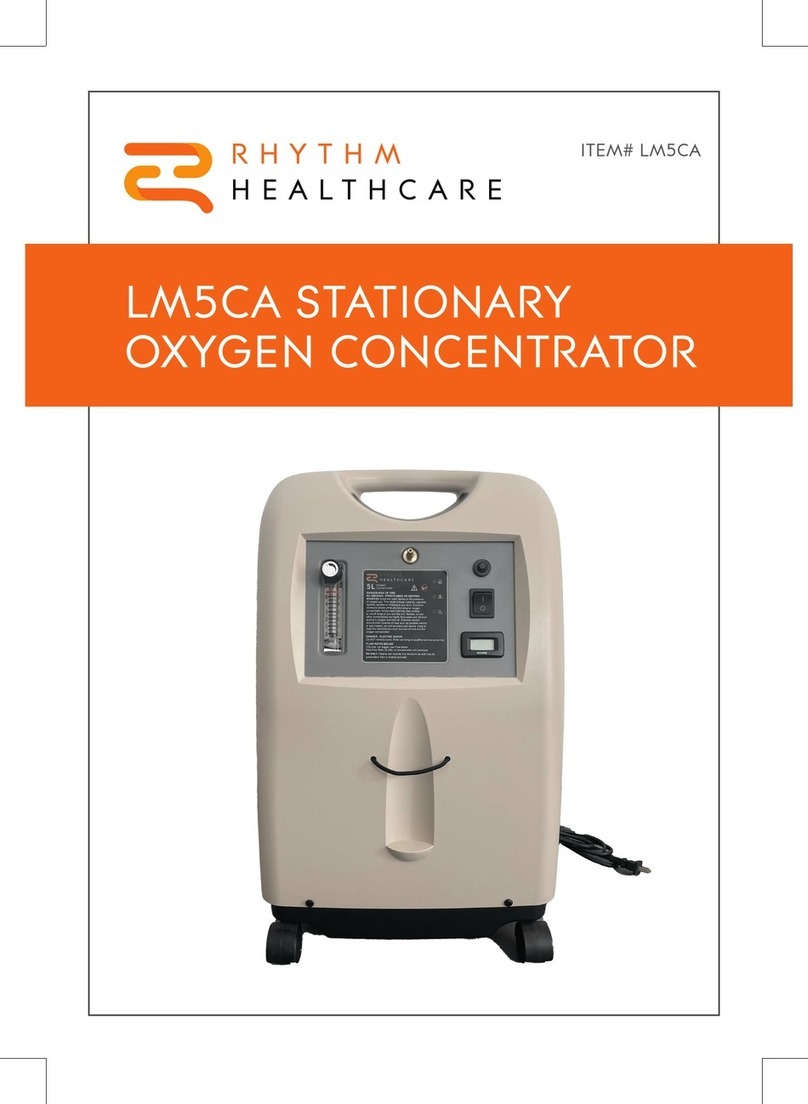
Rhythm Healthcare LM5BA User manual

ITEM# LM5BA
STATIONARY OXYGEN
CONCENTRATOR

2
Smoking while using oxygen is the number one cause of fire injuries and related deaths.
You must follow these safety warnings:
Do not allow smoking, candles, or open flames in the same room with the device or within five feet of the
oxygen-carrying accessories.
Smoking while wearing an oxygen cannula may cause facial burns and possibly death.
Removing the cannula and putting it on bedding, sofas, or other cushion material will cause a fire when
exposed to a cigarette, heat source, or flame.
If you intend to smoke, you must always turn the oxygen concentrator off, remove the cannula and leave
the room where either the cannula or mask or the oxygen concentrator is located. If unable to leave the
room, you must wait 10 minutes after you have turned the oxygen concentrator off before smoking.

3
TABLE OF CONTENTS
IMPORTANT SAFEGUARDS 5, 6
CONTRAINDICATIONS FOR USE 7
IMPORTANT PARTS OF YOUR CONCENTRATOR 7-9
SETTING UP YOUR OXYGEN CONCENTRATOR 10
BEFORE OPERATING YOUR OXYGEN CONCENTRATOR 11
OPERATING YOUR CONCENTRATOR 12
CARING AND PERIODIC MAINTENANCE FOR YOUR UNIT 13
ALERT INDICATION SYSTEM 15
MINOR TROUBLESHOOTING 17
SPECIFICATIONS 18
SYMBOLS 19,20
ELECTROMAGNETIC INFORMATION 20,21
LIMITED WARRANTY 22

4
INTRODUCTION
INDICATIONS FOR USE: The Oxygen Concentrator is intended for use as an oxygen concentrator to provide
supplemental low flow oxygen therapy for adult, geriatric and pediatric in the home, nursing homes, patient care facilities,
etc. The pediatric must be treated under adult supervision. It is not intended to sustain or support life.
Patient group: Adult, geriatric and pediatric.
WARNING: Under certain circumstances, oxygen therapy can be hazardous.
Seeking medical advice before using an oxygen concentrator is advisable.

5
IMPORTANT SAFEGUARDS
Please read and understand this manual before operating your unit. Important
safeguards are indicated throughout this guide.
Pay special attention to all safety information. If you have any questions, contact
your provider.
WARNING: No modification of this equipment is permitted.
WARNING: For your safety, the oxygen concentrator must be used according to the prescription
determined by your provider. If you feel any discomfort or are experiencing a medical emergency while
undergoing oxygen therapy, seek medical assistance immediately to avoid harm.
WARNING: The device is not intended for life support. If the provider has determined that an interruption in the
supply of oxygen, for any reason, may have serious consequences to the user, an alternate source of oxygen
should be available for immediate use.
WARNING: It is the responsibility of the provider supplying the LM5BA to the patient to ensure that the device
is used in a safe and effective manner in keeping with the provider’s prescription for supplemental oxygen
use. While this manual is intended to support this goal, ultimate determination of the
patient’s safety resides with the patient’s provider.
WARNING: Availability of an alternate source of oxygen is required in case of power outage or mechanical
failure. Back-up oxygen should be available (oxygen cylinders, etc.).
WARNING: Do not use your oxygen concentrator in the presence of flammable gases. This can result in rapid
burning causing property damage, bodily injuries, or death. Do not use oil, grease, petroleum-based products
or other flammable products with the oxygen-carrying accessories or the Oxygen Concentrator. Only water
based, oxygen compatible lotions or salves should be used. Oxygen accelerates the combustion of
flammable substances.
WARNING: Only use a mild detergent applied with a damp (not wet) cloth or sponge to clean the cabinet,
control panel, and power cord and then wipe all surfaces dry. Do not allow any liquid to get inside the device.
Pay special attention to the oxygen outlet for the cannula connection to make sure it remains free of dust,
dirt, and particles.
WARNING: Do not operate unit in a restricted or confined space ( i.e., a small case or handbag) where
ventilation can be limited. This can cause the oxygen concentrator to overheat and impair performance.
WARNING: The oxygen concentrator should be located in an area away from smoke, pollutants or fumes
6
WARNING: The use of some oxygen administrating accessories is not specified for this oxygen concentrator
and may impair its performance. Recommended accessories are referenced in this manual.
WARNING: If the oxygen concentrator has been dropped, damaged, or exposed to water, please contact your
provider for inspection or possible repair of the device. Do not use the oxygen concentrator if it has a damaged
power cord or plug.
WARNING: Do not allow the air intake or air outlet vents to become blocked. Do not drop or insert any objects
into any openings on the device. This can cause the oxygen concentrator to overheat and impair performance.
WARNING: Do not overfill the optional humidifier. Fill the optional humidifier with water only to the level shown
by the manufacturer of the humidifier.
WARNING: If you feel any discomfort or are experiencing a medical emergency, seek medical assistance
immediately.
WARNING: Operating the unit outside of the operational temperature specifications can limit the
concentrator’s ability to meet oxygen concentration specification. Refer to the specification section of this
manual for temperature limits.
WARNING: The oxygen concentrator should not be used adjacent to or stacked with other equipment. If
adjacent or stacked use is unavoidable, the device should be observed to verify normal operation.
In the event of an alarm or you observe the oxygen concentrator is not working properly; consult the
troubleshooting section in this manual. If you cannot resolve the problem, consult your provider. To prevent
voiding the warranty, follow the manufacturer’s instructions.
WARNING: Do not attempt any maintenance other than the possible solutions listed within this manual. Do not
remove covers. Only your equipment provider or a qualified service technician should remove the covers or
service this device.
WARNING: Do not leave a nasal cannula on or under clothing, bed coverings or chair cushions. If the unit is
turned on but not in use, the oxygen will make the material flammable. Turn the oxygen concentrator off when
not in use.
Always disconnect AC power supply from the wall before disconnecting the AC power supply from the
oxygen concentrator. Always place oxygen supply tubing and power cords in a manner that prevents a trip
hazard.

7
CONTRAINDICATIONS FOR USE
WARNING: This device is not intended to be life-sustaining or life-supporting. This device is not
intended for newborn or infant use.
Not for use in the presence of flammable anesthetics.
WARNING: The unit is not appropriate for any patient who would experience adverse healthcare consequences
as the result of such temporary interruption.
IMPORTANT PARTS OF YOUR CONCENTRATOR
Please take time to familiarize yourself with your oxygen concentrator before operating.
Packing list. Ensure you have the following items:
1 x User manual
1 x Oxygen concentrator set
1 x Oxygen Outlet Connector
1 x Humidifier (Optional)
1 x Adapter for humidifier (Optional)
If used, clean your humidifier daily to reduce the possibility of contamination. Follow the cleaning
recommendations from your provider, or the manufacturer of the humidifier. Replace the humidifier every
2-6 months, or as recommended by the manufacturer, or your home care provider. Do not overfill the
humidifier.
WARNING: Accessories designed by other manufacturers have not been tested by Rhythm Healthcare and are
not recommended for use with Rhythm Healthcare products.

8
Figure 1
1. Power Switch
Push to switch on, then the unit turns on. Push switches it off, the unit stops.
I = ON O = OFF
2. Monitor - Indicates system pressure status.
Figure 2
Displays when the device runs. There are four indication lights on the panel.
• Green indicator light = Power on
• Green indicator light = Normal oxygen, O2 over 82%
• Yellow indicator light = Low Oxygen, O2 less than 82%
• Red indicator light = Service required. Please turn of the unit and contact the provider.
2
3
4
5
6
7
8
1

9
3. Operating instructions
Operating warnings label:
4. Circuit breaker – (selected units) resets the unit after electrical power outage or overload.
5. Flow meter knob
6. Flow meter
Figure 3
SELECTING FLOW RATE: Turn the flow rate knob to the setting prescribed by your provider.
We recommend the flowrate between 1.5L/min - 5L/min.
TO PROPERLY READ THE FLOW METER: Locate the prescribed flowrate line on the flowmeter. Next, turn
the flow knob until the ball rises to the line. Now, center the ball on the L/min. line prescribed.
CAUTION:
Never set the flow greater than 5L/min.
7. Humidifier (optional)
8. Power cord
Back View
9. Cover
10. Air filter prevents dirt, dust, and lint from entering
11. Specification Label
12. Exhaust vent
1, DO NOT OPERATE THIS EQUIPMENT WITHOUT FIRST READING AND UNDERSTANDING THIS MANUAL, IF YOU ARE UNABLE TO
UNDERSTAND THE WARNINGS AND INSTRUCTIONS, CONTACT YOUR EQUIPMENT PROVIDER BEFORE ATTEMPTING TO USE THIS
EQUIPMENT; TOHERWISE, INJURY OR DAMAGE MAY RESULT.
2, Under certain circumstances, oxygen therapy can be hazardous. Seeking medical advice before using an oxygen concentrator is
advisable.
3, NO SMOKING - Keep ALL sources of ignition out of the room in which this product is located and away from areas where oxygen is being
delivered. Textiles, oils, and other combustibles are easily ignited and burn with great intensity in oxygen enriched air.
4, RISK OF ELECTRIC SHOCK Do not remove cover. Refer servicing to qualified service personnel.

10
SETTING UP YOUR OXYGEN CONCENTRATOR
Position your unit near an electrical outlet convenient for the user.
WARNING:
Keep the oxygen concentrator at least 5 feet away from heat source, sparks or any sources
of flame.
NOTE:
Do not connect to an electrical outlet controlled by a wall switch.
NO other appliances should be
plugged into the same wall outlet.
1. Position your unit at least 6 inches away from walls, draperies, or any other objects that might prevent
the proper flow of air in and out of your oxygen concentrator. The oxygen concentrator should be located
in an area away from pollutants or fumes.
Device operation above or outside of the voltage, temperature, humidity and/or altitude values
specified may decrease oxygen concentration levels.

11
BEFORE OPERATING YOUR OXYGEN CONCENTRATOR
1. Before operating your unit always check to be sure the air filter (located on the back of your unit) is
clean. Proper cleaning of this filter is discussed on page 14.
2. Attach the appropriate oxygen accessories to the oxygen outlet.
Oxygen Tubing Connection:
a. Connect the oxygen outlet connector onto the oxygen outlet.
b. Attach the oxygen tubing directly to the connector. (Figure 5)
Figure 5
Oxygen Tubing Connection with Humidifier. NOTE: Only connect the humidifier if prescribed.
1. Fill the humidifier bottle with distilled water. Do not overfill.
2. Thread the wing nut located on the top of the humidifier bottle to the oxygen outlet so that it is
suspended (Figure 6). Make sure it is securely tightened.
3. Attach the oxygen tubing directly to the humidifier bottle outlet fitting. (Figure 7)
Your provider has prescribed either a nasal cannula, catheter, or face mask, in most cases, they are
already attached to the oxygen tubing. If not, follow the manufacturer’s instructions for attachment.
Figure 6
Figure 7
4. Remove the power cord completely from the line cord strap, make sure the power switch is in Off
position, and insert the plug into the wall outlet. The unit is double insulated to guard against electric
shock.
NOTE: If the humidifier and tubing are assembled correctly, and the flow setting is more than 1L/min,
you will feel the oxygen flow through the cannula and bubbles will rise to the water surface.

12
OPERATING YOUR CONCENTRATOR
Special precautions need to be taken with Oxygen Concentrators and should be used according to
the EMC information provided in this manual.
Oxygen can cause rapid burning when exposed to flames. Do not smoke while your oxygen
concentrator is running, or when you are near a person utilizing oxygen therapy. Keep the
oxygen concentrator at least 5 feet away from hot objects, sparks, or any sources of fire.
Improper use of the power cord and plugs can cause burns, fire, or other electric shock hazards, do
not use the unit if the power cord is damaged.
1. Press the power switch to “On” position. When unit is on, the Green Power light will illuminate, and the
patient alert system –service Required light and audible signal —will briefly beep.
NOTE:
If the Service Required light illuminates and the unit beeps but the unit is not operating, there is
no power to the unit. Refer to the Minor Troubleshooting chart on page 17 and contact your provider if
necessary.
If an audible low-frequency vibration sound is detected, the unit is not operating properly. Refer to
the Minor Troubleshooting chart on page 17 and contact your provider if necessary.
2. Check the flow meter to make sure that the ball is centered on the line next to the prescribed number of
your flow rate.
CAUTION:
It is very important to follow your oxygen prescription. Do not increase or decrease the flow of
oxygen without consulting your provider.
NOTE:
If the flow meter knob is turned clockwise, the flow decreases (and eventually will shut off the
oxygen flow). If the knob is turned counterclockwise, the flow increases.

13
CARING AND PERIODIC MAINTENANCE FOR YOUR UNIT
Before attempting any cleaning procedures, turn the unit Off.
Oxygen Humidifier (reusable bottles)
If your provider has prescribed humidification, clean your humidifier bottle daily. Follow the instructions
supplied by the manufacturer.
If no cleaning instructions were supplied, follow these steps:
1. Wash the humidifier in a solution of hot water and mild dishwashing detergent.
2. Soak the humidifier in a solution of one-part white vinegar to three parts hot water for 30 minutes.
This solution acts as a germicidal agent.
3. Rinse thoroughly with warm tap water and refill with distilled water for use. Do not overfill.
Cannula
Connect the cannula to the humidifier or oxygen outlet and position the nasal cannula on your face, as
shown below, and breathe normally through your nose.
Figure 8
Replace the cannula and oxygen supply tubing regularly, as recommended by your provider. Clean and
replace the cannula as instructed by your provider.
NOTE: Ensure the cannula is fully inserted and secure. This ensures that the Oxygen Concentrator
can properly detect inspiration for oxygen delivery. During inhalation, you should hear or feel oxygen
flow to the prongs of the nasal cannula.
Air Filter and Oxygen Outlet Connector
The air filter and connector should be cleaned at least once a week. To clean, follow these steps:
1. Remove the air filter (located on the back of the unit). Remove the oxygen outlet connector
(if used).
2. Wash in a solution of warm water and mild dishwashing detergent.
3. Rinse thoroughly with warm tap water and towel dry. The filter should be completely dry before
reinstalling.

14
WARNING: Do not lubricate fittings, connections, tubing, or other accessories of the oxygen
concentrator to avoid the risk of fire and burns.
WARNING: Use only spare parts recommended by the
manufacturer to ensure proper function and to
avoid the risk of fire and burns.
WARNING:
To prevent product damage, do not attempt to operate the unit without the air
filter or while the filter is still damp.
WARNING:
To avoid electric shock, do not remove the concentrator cabinet. The cabinet should only
be removed by a qualified medical technician. Do not apply liquid directly to the cabinet or utilize any
petroleum-based solvents or cleaning agents.
Clean the concentrator exterior cabinet by using a damp cloth or sponge with a mild household cleaner
and wipe it dry. No need to sterilize.
Periodic Maintenance for your unit
1. Clean the gross particle filter/foam (LM5BA-ITF) once a week
or as needed. Replace if damaged or torn. Listed below are
the steps of cleaning the air filter.
a) Pull out the air filter (LM5BA-ITF) and clean the cabinet
filter (LM5BA-VD) with a vacuum or cleaner or wash in a
warm soapy water and rinse thoroughly.
b) Dry the filter thoroughly before reinstallation.
WARNING: Do not operate the Oxygen Concentrator without the air intake filter in place. If a second
filter is available, insert the replacement filter before you clean the dirty filter. Clean the dirty filter in a
warm soap and water solution then dry completely prior to use.
2. Change the air inlet filter/HEPA (LM5BA-ILF) if torn, damaged, as needed, or every three years.
Follow these steps:
a) Open the safeguard/door (LM5BA-VD).
b) Pull out the old filter from the Inlet Pre-Filter.
c) Then insert the new filter to the Inlet Pre-Filter.
d) Insert the Inlet Pre-Filter and close the safeguard.
3. Change the bacteria filter (LM5BA-BF) at the time of servicing
the compressor. You cannot change this by yourself.
WARNING:
You must contact your provider to change this for you.
Do not operate the Oxygen Concentrator without the air intake filter in place. If a second filter
is provided, insert the replacement filter before you clean the dirty filter. Clean the dirty filter in
a warm soap and water solution then dry thoroughly prior to use.

15
ACCESSORIES
The accessories below are tested by Rhythm Healthcare with Oxygen Concentrators:
Accessory
Item #
Cannula
LM5BA-CAN
Humidifier
LM5BA-HUMI
Humidifier Adapter
LM5BA-HUMIADP
There are many different types of humidifiers, oxygen tubing, cannulas and masks that can be used with
this device. Please contact your provider for recommendations on which of these devices will be best for
you. They can also guide you on proper usage, maintenance, and cleaning.
NOTE: The use of certain humidifiers and accessories (not specified above) may impair the oxygen
concentrator’s performance.
NOTE: If the unit is not operating and the Service required light is on and the alarm beeps there is no
power to the unit. Refer to the Minor Troubleshooting chart on page 17 and contact your provider.
NOTE: All waste from Rhythm LM5BA Oxygen Concentrator must be disposed of using the appropriate
methods specified by local authorities.
NOTE: To preserve the environment, the concentrator must be disposed of using the appropriate
methods specified by local authorities.
ALERT INDICATION SYSTEM
1 The alerts of this machine include visual indication signal (yellow, red) and auditory alert. There are
three alert conditions by priority: high priority, medium priority, and low priority.
2 Visual alerts. If there is an audible alert, the indication light will be illuminated.
Alert Priority
Indication Light Color
Twinkle Frequency
Duty Cycle
High priority
Red
1.4Hz-2.8Hz
20%-60%
Medium priority
Yellow
0.4Hz-0.8Hz
20%-60%
Low priority
Yellow
Stays solid
100% on

16
3 Auditory Alerts
If there are any alerts, the device will alert at a sound level between 40dBA - 85dBA.
Alerts Priority
:
1. High Priority - 5 beeps, pause for five seconds, then alarm beeps again.
2. Medium Priority - 3 beeps, pause for ten seconds, then alarm beeps again.
3. Low Priority - 1 beep, then pause for 20 seconds, then alarm beeps again.
If there are more than two beep conditions at the same time, the visual and auditory alert will display the most
urgent alert.
ALERTS
Alert priority
Light
color
Auditory signal
Alert meanings
High priority
Red
5 Beeps
5 second interval
After running three
minutes, the oxygen
concentration is less
than 70%
High priority
Red
3 Beeps
5 second interval
Machines shuts down
Medium priority
Yellow
3 Beeps
10 second interval
After running three
minutes the oxygen
concentration is
between 70% and
82%
Low priority
Yellow
1 Beep
20 second interval
The pressure is more
than 20 psi or less
than 3 psi
4
Actions after alert
If the oxygen purity falls below the acceptable level, the green Normal Oxygen light will shut off and the
yellow Low Oxygen light will illuminate. Switch to your reserve oxygen system. Refer to the
Troubleshooting section in this guide on page 17 and contact your provider.
As an added safety feature should the oxygen purity continue to drop, an intermittent audible alert will
sound, and the power will be cut off. Contact your provider immediately. Do not attempt any other
maintenance.
- Power-off alarm will reset automatically in less than 30 seconds.

17
WARNING: Do not change the alert indication preset and do not change the memory of
the MCU preset.
Geriatric, pediatric or any other patient unable to communicate discomfort can require additional
monitoring and/or a distributed alarm system to convey the information about the discomfort and or
the medical urgency to the responsible care giver to avoid harm.
MINOR TROUBLESHOOTING
Symptom
Possible Cause
Remedy
A. Unit does not operate.
Power light is off when the
power switch is “On .”
Audible alert is pulsing and
Service Required light is
flashing.
1. Power cord not properly inserted into
wall outlet.
Check power connection at the wall outlet. On
115 volt/220volt units, check the back of the unit.
2. No power at wall outlet.
Check your home circuit breaker and reset if
necessary. Use a different wall outlet if the
situation occurs again.
3.Oxygen concentrator circuit breaker
activated (selected units).
Press the concentrator circuit breaker button (if
equipped) located below the power switch. Use a
different wall outlet if the situation occurs again.
B. Unit operates; the Power
light is on when the Power
switch is “On”. Red Service
Required light is illuminated.
Audible beep may be
sounding.
1. Air filter is blocked.
Check the air filter. If the filter is dirty, wash it
following the cleaning instructions on page 14.
2. Exhaust is blocked.
Check the exhaust area; make sure there is
nothing restricting the unit exhaust.
3. Blocked or defective cannula,
catheter, face mask or oxygen tubing.
Detach cannula, catheter, or face mask. If proper
flow is restored, clean or replace if necessary.
Disconnect the oxygen tubing at the oxygen
outlet. If proper flow is restored, check oxygen
tubing for obstructions or kinks. Replace if
necessary.
4. Blocked or defective humidifier bottle.
Detach the humidifier from the oxygen outlet. If
proper flow is obtained, clean or replace
humidifier.
5. Flow meter set too low.
Set flow meter to prescribed flow rate. If the
above remedies do not work, contact your
provider
C. Unit operates the power
light is on when power
switch is “On “, audible low-
frequency vibration sound is
detected.
Turn unit “off”, Switch to your reserve oxygen
system, and contact your provider immediately.
D. If any other problems
occur with your oxygen
concentrator.
Turn unit Off. Switch to your reserve oxygen
system and contact your provider immediately.
F. Red Service Required
light is on and an intermittent
audible signal is sounding.
1. Flow meter is not properly set yet.
Ensure the flow meter is properly set to the
prescribed.
2. Air filter is blocked.
Check the air filter. If the filter is dirty, wash it
following the cleaning instructions on page 14.
3. Exhaust is blocked.
Check the exhaust area: make sure there is
nothing restricting the unit exhaust. If the above
remedies do not work, contact your provider.

18
SPECIFICATIONS:
No.
Item
Rating
1.
Delivery Rate
1 - 5 L/min
2.
Outlet Pressure
8.5 PSI(58.6KPa)
3.
Electrical Rating
115VAC, 60Hz<365VA
230VAC,50Hz<365VA
4.
Oxygen Percentage
1~5 L/min 93%±2%
5.
Sound level
47~49dB
6.
Operating Environment Range
Tem perature 50°F - 104°F
Humidity: 30% to 70%
Atmospheric pressure 50-106 kpa (7.3-15.4 psi)
7.
Operating Altitude
(Tes t ed at 69.8°F only)
0-2000 M (0-6561 ft)
2000-4000 M (6561-13123 ft)
Across the voltage range:
No degradation of performance
Not recommended/efficiency less than 85%
8.
The visible” low oxygen “indicator will
activate at the following level
Less than 82% will activate at the following level
(the red “service required” light will activate)
9.
Pressure Relief Valve
40 psig ± 5psig (276 kPa±34.5 kPa)
10.
Product Weight
35.25 lbs
11.
Dimensions
23” H x 14.2” W x 11.4” D
12.
Operating System
Time Cycle / Pressure Swing
13.
Storage Conditions
Tem pe r at u r e -40°F - 158°F
Humidity 10% - 100%
Atmospheric pressure 50~106 kpa (7.3~15.4 psi)
14.
Equipment Class and Type
The type of protect against electric shock: Class II
The degree of protect against electric shock:
TYPE B Applied part

19
SYMBOLS
Warning - Describes a hazard or unsafe practice that can result in severe bodily injury,
death, or property damage
Caution – Describes a hazard or unsafe practice that can result in minor bodily injury
or property damage
Note – Provides information important enough to emphasize or repeat
Consult the accompanying documents
Type BF Equipment
Class II Equipment, double insulated
Do not use oil or grease
Do not expose to open flames, sparks or heat sources
Do not smoke near unit
Do not disassemble
Consult instructions
See manual
Manufacturer’s serial number
Date of manufacture
Manufacturer
Proper disposal of waste of electrical and electronic equipment required
FRAGILE
Contents of the transport package are fragile therefore it shall be handled with care.

20
THIS WAY UP
Indicates correct upright position of the transport package.
Drip proof equipment
Keep away from rain and water.
Transport package shall be kept away from rain.
Non-ionizing electromagnetic radiation
ELECTROMAGNETIC INFORMATION
Guidance and manufacturer’s declaration – electromagnetic emissions
The LM5BA is intended for use in the electromagnetic environment specified below. The customer or the
user of the LM5BA should assure that it is used in such an environment.
Emissions test
Compliance
Electromagnetic environment-guidance
RF Emissions
CISPR 11
Group 1
The device uses RF energy only for its internal
function. Therefore, its RF emissions are very
low and are not likely to cause any interference
in nearby electronic equipment.
RF Emissions
CISPR 11
Class B
The device is suitable for use in all
establishments, including domestic
establishments and those directly connected to
the public low-voltage power supply network
that supplies buildings used for domestic
purposes.
Harmonic Emissions
IEC 61000-3-2
Class A
Voltage Fluctuations/Flicker Emissions
IEC 61000-3-3
Complies
Other manuals for LM5BA
1
Table of contents
Other Rhythm Healthcare Medical Equipment manuals

Rhythm Healthcare
Rhythm Healthcare P2-E6 User manual

Rhythm Healthcare
Rhythm Healthcare P2 User manual

Rhythm Healthcare
Rhythm Healthcare LM5CA User manual

Rhythm Healthcare
Rhythm Healthcare SM100 User manual

Rhythm Healthcare
Rhythm Healthcare P2-E6 User manual

Rhythm Healthcare
Rhythm Healthcare LM5BA User manual
Popular Medical Equipment manuals by other brands

TENA
TENA SmartCare Change Indicator Instructions for use

RMS
RMS FREEDOM60 Instructions for use

3A HEALTH CARE
3A HEALTH CARE MAXIASPEED instruction manual

Thuasne
Thuasne AeroSling Towsend Instructions for use

Addoz
Addoz Med-O-Wheel Smart instructions

Customatic
Customatic Rize ELEVATION RI-ABE-A25-WH owner's manual