manuals.online logo
Brands
  1. Home
  2. •
  3. Brands
  4. •
  5. Rinnai
  6. •
  7. Cooktop
  8. •
  9. Rinnai RJ-9600S-MC User manual

Rinnai RJ-9600S-MC User manual

RJ-9600S-MC / RJ-9600E-MC
AUTOMATIC IGNITION WITH SAFETY VALVE
Thank you for purchasing Rinnai gas hotplate. Please read this
operating instruction manual carefully before using your gas
hotplate properly. We hope you are satised with our product.
GAS HOTPLATE
✻ This gas hotplate is to be used for cooking only. Do not dry towels, clothes, etc. over it.
✻ Install the gas hotplate in a well ventilated room and keep it away from any combustible or inammable objects
such as paper or oil.
✻ Place the gas hotplate on a stable and level surface.
✻ Gas hose can be placed under gas hotplate, however it must be placed horizontally
and close to cooking bench in order to avoid touching burner base part.
✻ The gas hotplate should be installed with a distance of more than 15 cm away
from surrounding combustible materials.
✻ Make sure that the following parts are tted properly before use.
1. Pan Support
Fit pan support bottom guide pins into top plate holes. (Fig. 1)
2. Burner Head
Fit burner head extrusions into burner holes. (Fig. 2)
COMPONENTS AND PARTS NAME
Guid Pin (2)
Fit the guide pins
into the holes to
fix top plate
Pan Support H
Pan Support H
Top Plate
Burner Head H
Burner Head H
ON/OFF Button
Child Proof Lock
Flame Controller
C size Battery (1 pc)
Battery Case Cover
SPECIFICATIONS
INSTALLATION
Model Dimensions Net
Weight Gas Heat Input Gas Inlet
Connection
Height Width Depth Left Burner Right Burner Total
RJ-9600S-MC
RJ-9600E-MC 208.5 mm 597 mm 471 mm 6.5 kg
LPG 4.0 kW
3,440 kcal/h
4.0 kW
3,440 kcal/h
8.0 kW
6,880 kcal/h Rubber hose
f9.5 mm
NG 4.8 kW
4,130 kcal/h
4.8 kW
4,130 kcal/h
9.3 kW
8,000 kcal/h
Fig. 1
Gap
Burner HeadExtrusion
Dent Burner Body
Back
Burner Head Front
Fig. 2
Correct Position Wrong Position
No Lift Prohibition
1. Ignition
1) Push ON/OFF button fully. (Fig. 3)
2) Electronic spark will ignite burner.
3) Keep pushing the button for a few seconds, safety
device will then operate.
4) Release the button and ensure that burner is alight.
5) Repeat the same procedures if burner fails to be
ignited.
2. Flame Control (Fig. 4)
You can adjust the ame by shifting the Flame Con-
troller toward left and right slowly.
If you want to change ame from “High” to “Low”,
slide and lift the lug toward right.
3. To turn off (Fig. 5)
Push ON/OFF button to extinguish the ame.
Button returns to OFF position.
Note:
✻ The Safety Sensor is delicate, please do not use stiff
brushes or rough cleaning pads when cleaning.
✻ Aeration is preset at manufacturing, please do not at-
tempt to adjust it.
✻ Please do not use Aluminum mat. Use of aluminum
mat may cause combustion problem.
HANDLING CONDITIONS WHEN SAFETY DEVICE OPERATES
If the ame is extinguished during operation, the automatic Flame Failure Safety Device will shut the gas off after
a short delay.
If you notice that the ame has been extinguished, please push the ON/OFF button to the OFF position.
CHANGE BATTERY
✻ Change battery when sparking becomes slow (2–3 sparks per second).
✻ Battery Case is located at left hand side of the front control panel. (Fig. 6)
1. Open battery case cover.
2. Replace battery with correct polarity.
3. Close battery case cover.
DIRECTIONS FOR USE
Display Window (Red)
Fig. 3
High flame
Low flame
Display Window
(Red disappear)
Fig. 4
Fig. 5
Fig. 6
➀
➁
Handle
Battery
MAINTENANCE
✻ Wipe the stainless steel components with a soft, damp cloth and mild detergent.
✻ Wash the pan supports and drip pans in warm water and detergent.
TROUBLESHOOTING MANUAL FOR
RJ-9600S-MC, RJ-9600E-MC GAS HOTPLATE
Fault Cause Remedy
1. No ignition 1.1 Spark electrode is wet especially
in seasons of high humidity.
Dry the electrode with tissue or dry cloth.
1.2 Sparking becomes slow when
battery runs down.
Change battery and place it into battery
box correctly.
2. Flame cannot be held Ignition button has not been fully
pressed.
Push button fully. Hold for a few seconds
until ame is ignited.
3. No main ame Gas meter cock and/or appliance
isolating cock have been turned off.
Open gas meter cock and/or appliance
isolating cock completely.
4. Yellow ame Accumulated grease and dirt on
burner head.
Wash burner head in warm water with
detergent. Dry it and then place it back at
correct position.
5. Unstable ame Incorrect location of burner head. Ret burner head into burner body.
JK0031-015×01 (00)
  
06000005111090
Printed in Japan
2013.10

This manual suits for next models

1

Other Rinnai Cooktop manuals

Rinnai RB-2CG User manual

Rinnai

Rinnai RB-2CG User manual

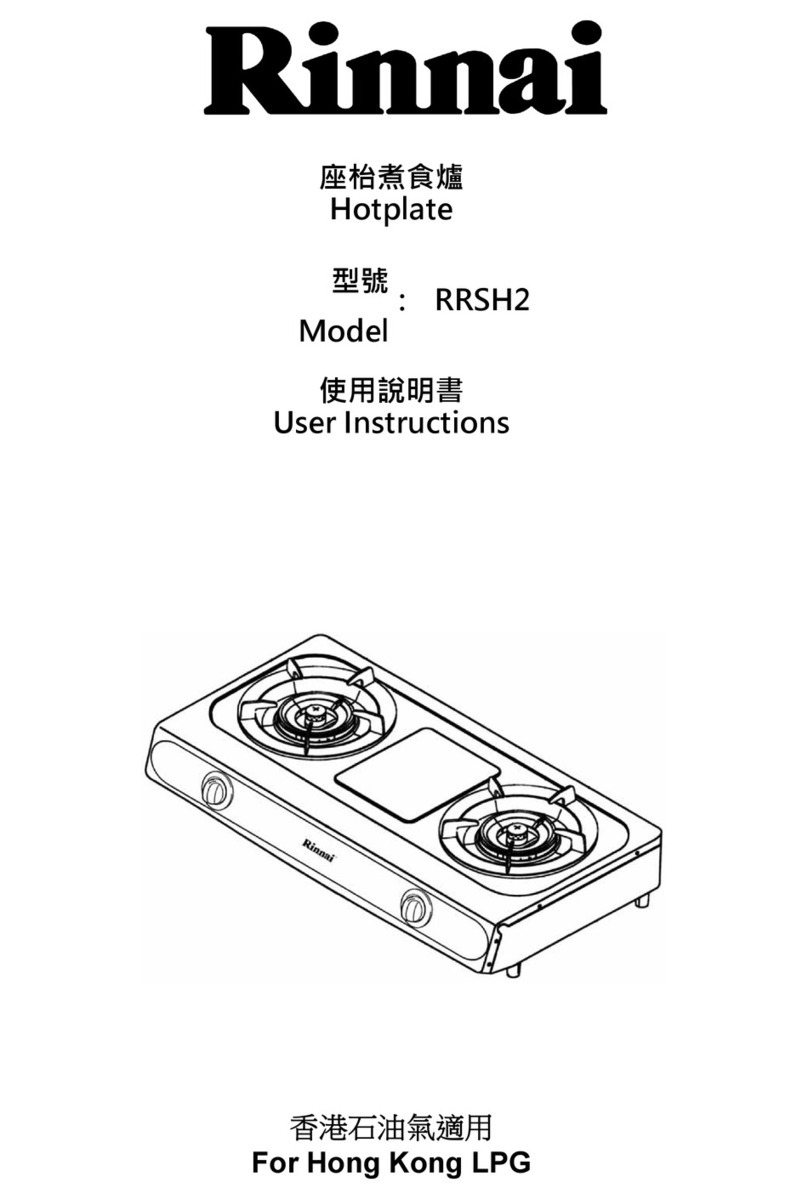
Rinnai RRSH2 User manual

Rinnai

Rinnai RRSH2 User manual

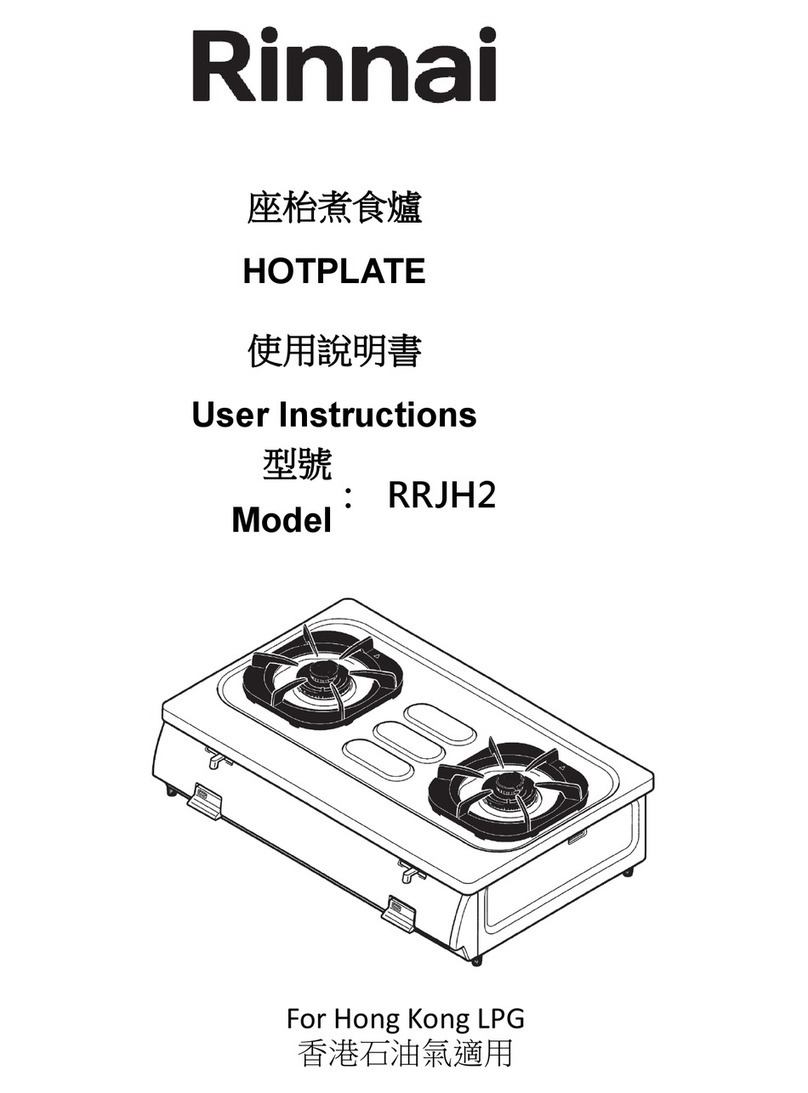
Rinnai RRJH2 User manual

Rinnai

Rinnai RRJH2 User manual

Popular Cooktop manuals by other brands

GASLAND chef Pro CH77BS installation instructions

GASLAND chef

GASLAND chef Pro CH77BS installation instructions

Victor DED10100 operating instructions

Victor

Victor DED10100 operating instructions

Maytag MGC5430BD series installation manual

Maytag

Maytag MGC5430BD series installation manual

Glen GL 1016 SS user guide

Glen

Glen GL 1016 SS user guide

Zline RCIND-24 installation manual

Zline

Zline RCIND-24 installation manual

Electrolux ETGC24R0MKS instruction manual

Electrolux

Electrolux ETGC24R0MKS instruction manual

GE ZGU660 Use and care & installation guide

GE

GE ZGU660 Use and care & installation guide

Thermador CEM456 Care and use Care and use manual

Thermador

Thermador CEM456 Care and use Care and use manual

Stalgast 745120 instruction manual

Stalgast

Stalgast 745120 instruction manual

KitchenAid KGCU407 installation instructions

KitchenAid

KitchenAid KGCU407 installation instructions

Bibby Sterilin Stuart SB300 Instructions for use

Bibby Sterilin

Bibby Sterilin Stuart SB300 Instructions for use

GE JGP628 installation instructions

GE

GE JGP628 installation instructions

Thermador STEEL GAS STAR SGSX304 Installation instructions manual

Thermador

Thermador STEEL GAS STAR SGSX304 Installation instructions manual

Maytag MEC7430BB Use and care guide

Maytag

Maytag MEC7430BB Use and care guide

Frigidaire GLCS378DSA Wiring diagram

Frigidaire

Frigidaire GLCS378DSA Wiring diagram

AEG 61100MF-an Operating and installation instructions

AEG

AEG 61100MF-an Operating and installation instructions

Frigidaire FGC30C3HW Specifications

Frigidaire

Frigidaire FGC30C3HW Specifications

Bosch PCK755UC - 4 Burner 30" Gas Cooktop operating instructions

Bosch

Bosch PCK755UC - 4 Burner 30" Gas Cooktop operating instructions

manuals.online logo
manuals.online logoBrands
  • About & Mission
  • Contact us
  • Privacy Policy
  • Terms and Conditions

Copyright 2025 Manuals.Online. All Rights Reserved.