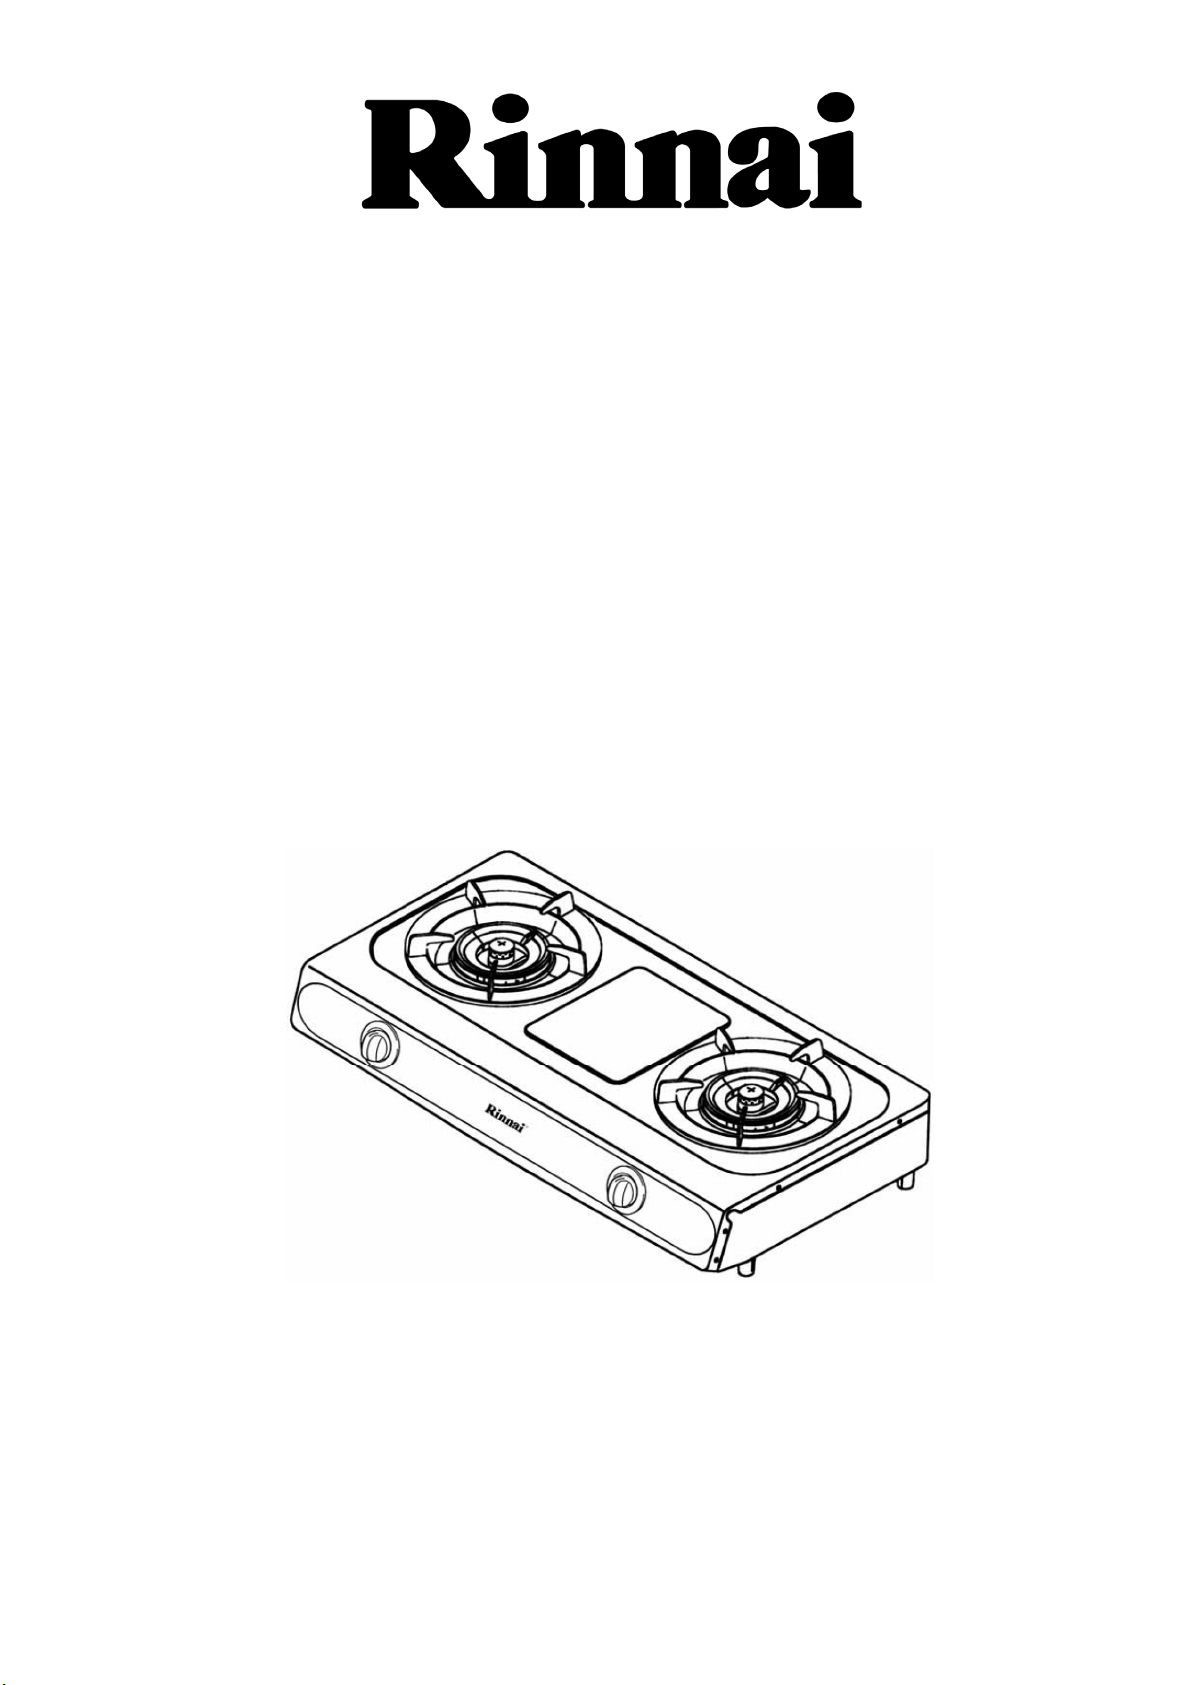
Rinnai RRSH2 User manual

座枱煮食爐
Hotplate
型號
Model : RRSH2
使用說明書
User Instructions
香港石油氣適用
For Hong Kong LPG


重要安全指示 ………………………………………………………………… 第 頁
安裝指示 ……………………………………………………………………….. 第 頁
操作指示 ……………………………………………………………………….. 第 頁
保養 ………………………………………………………………………………. 第 頁
故障處理 ……………………………………………………………………….. 第 頁
技術規格 ……………………………………………………………………….. 第 頁
目錄
根據香港氣體安全條例,任何氣體裝置工程,包括爐具和接駁喉管的
安裝,必須由註冊氣體裝置技工執行,而該技工已於相關的氣體工程
類別註冊及受聘於註冊氣體工程承辦商。
注意!
1
3
5
5
6
7

1
安裝
1. 使用認可印有機電工程署批准標記(例如:機電工程署批准 EMSD APPROVAL GTXXXX)的氣體接駁
喉管連接爐具,或使用機電工程署接納的其他恰當方法。
2. 爐具周圍和下方不可放置可燃物品,如紙張及塑膠等。與可燃物料距離須保留 150 毫米以上。
3. 爐具須安裝在空氣流通之房間內。
使用
1. 當懷疑洩漏氣體時,將窗戶打開,以及關閉總氣閥。切勿操作任何電器或電掣開關。切勿在現場使用任何
電話。在現場以外的地方,致電氣體供應公司或煤氣公司24小時緊急事故熱線 2880 6999。
2. 請參照說明書內指引正確使用爐具。
3. 爐具只供家用,切勿用於商業用途。
4. 除煮食外,切勿使用爐具作其他用途,例如烘乾衣物。
5. 使用爐具前,請開啟窗戶及排氣系統。
6. 不可讓兒童使用爐具。
7. 切勿讓爐具在無人看管下運作。
8. 切勿在爐頭加上錫紙碟,這會引致燃燒問題。
9. 請確保爐頭蓋沒有變形,如有異常,請聯絡爐具經銷商或煤氣公司安排更換。
10. 使用前,確保爐頭蓋和爐架擺放正確,沒有傾斜。
11. 請確保爐頭火孔沒有被水或污垢堵塞。
12. 切勿放置超過 10 公斤的重量在爐架上。
13. 爐架很重,切勿掉下。
14. 請確保使用時火焰平均。
15. 注意爐面、爐頭及爐架的高溫。
16. 切勿使用直徑超過 300 毫米的平底煮食器皿,避免溫度過高而造成燙傷及影響爐具的使用壽命。
17. 使用細小器皿時,請將火力調低,避免火焰超出煮食器皿底部。
18. 確保器皿穩定地放在爐架上,如器皿容易滑動,必須緊握它。
19. 燒開水或煮湯時,注入的水量連湯料不可超過器皿容量 3 分之 2,溢出液體會影響燃燒和損壞爐具。
20. 烹調時,請盡量蓋上器皿。而器皿的手柄亦應轉向適當位置,避免受熱或碰撞。
21. 請勿在爐具附近使用噴霧產品。
22. 使用後,應將火力控制旋鈕設於關閉位置「」。
23. 經常清潔爐頭蓋以保持爐頭火孔暢通,如滾瀉食物及汁液,應在爐具冷卻後儘快作出妥善清潔。
24. 如爐具出現異常聲響,應先關火。在爐具完全冷卻後,檢查爐頭蓋及放好爐頭蓋,並重新點火。若問題
持續,聯絡爐具經銷商或煤氣公司進行檢查。
重要安全指示

2
保養
1. 定期檢查氣體喉管狀況,確保沒有紐結或裂縫,若發現損壞,請聯絡爐具經銷商或煤氣公司更換喉
管。
2. 讓爐具完全冷卻後,才可進行清潔。
3. 進行清潔時,應穿上保護手套避免割傷。
4. 清洗爐頭蓋後,用乾布將爐頭蓋完全抹乾,爐頭火孔不可留有水份,以免影響燃燒。
5. 使用前和使用後,注意爐頭的狀況和清潔。以下不正常狀況會產生燃燒不良,進而引致爐具損壞。請
確保採取相應措施,糾正有關問題。
不正常情況 處理措施
爐頭蓋變形 聯絡爐具經銷商或煤氣公司更換零件。
爐頭蓋傾斜 將爐頭蓋重新放好,不可傾斜。
爐頭火孔被水堵塞 用布將爐頭蓋抹乾後,重新放好。
爐頭火孔被污積堵塞 用溫和清潔劑和刷子清潔爐頭蓋。用布將爐頭蓋抹乾後,重新放好。
重要安全指示

3
安裝位置
爐具須安裝在空氣流通之房間內,但切勿置於強風直接吹入的位置。附近不可放置易燃物料 ( 如紙張、油
類)、噴霧及壓縮容器。爐具與周圍可燃物料應保持 150 毫米以上的距離。爐具上方須保留最少 650 毫米
空間 。若爐具上方裝有抽油煙機,而要求不同安裝距離,應採用較大間距。
安裝爐具
放置爐具於工作平面,確保所放之處穩固平坦。
氣體接駁
根據現行指定的標準,將氣體爐具連接供氣設施上,接駁前確保爐具符合所供應之氣體類型,並檢查供氣
壓力為 2.9千帕。
注意:
氣體接頭為 ⅜”( 8.8毫米)喉咀。
使用已批准的氣體喉管接駁爐具,氣體軟喉長度不可超過2000毫米。確保喉管沒有接觸任何活動部件、被
扭曲或被擠壓。接駁完成後,檢查喉管的氣密性。切勿使用明火作檢查。
完成安裝
使用前,確定所有部件正確放置。
安裝指示
熄火安全裝置
爐架
外環爐頭蓋
芯火爐頭蓋
爐腳
火力控制旋鈕
爐面

4
安裝指示
爐頭放置
爐頭由外環爐頭蓋、芯火爐頭蓋及爐頭座組成。
將外環爐頭蓋和芯火爐頭蓋放置在爐頭座上,放置時請勿
傾斜。
不要在爐頭蓋錯誤放置的情況下使用爐具。
若爐頭蓋未放置正確,會導致無法點火。
火焰不均和回火會導致不完全燃燒、一氧化碳中
毒或爐頭變形。
火焰進入爐具內,會導致損毀。
爐架放置
將爐架正確放置於爐具上。
不要在爐架錯誤放置的情況下使用爐具。錯誤放置爐
架有機會導致鍋子不穩,並引致危險。
爐架放置錯誤
芯火爐頭蓋斜
外環爐頭蓋
芯火爐頭蓋
爐頭座
外環爐頭蓋傾斜
爐架

5
操作指示
點燃爐頭
確認火力控制旋鈕已於關閉位置「」。按下旋鈕同時以逆時針方向轉動旋鈕至點火位置,維持按下旋鈕
5 秒。(當旋鈕到達點火位置時會發出咔噠聲)。放開旋鈕後,確定火焰維持。
注意:如爐具長時間未有使用,於首次點燃時有機會因喉管內含有空氣而未能令爐頭點燃成功。將火力控
制旋鈕轉至關閉位置「」,並重複上述點火步驟至成功點火。
火力調節
爐頭點燃後,可按烹調所需轉動旋鈕調節火力 。請緩慢調節火力。
在調較最大火力至接近中火時,若發現外環火焰不穩定(微弱或熄滅),請立即調大火力,直至外環火焰穩
定,才繼續使用;或調小火力,使用芯火。
熄火
將火力控制旋鈕轉動至關閉位置「」。
注意:熄火時有機會因殘留在爐頭內的氣體瞬間燃燒而出現響聲,此屬正常現象。
保養
注意:待爐具完全冷卻後,才可進行任何保養及清潔。清潔時,亦應穿上手套保護雙手。
為妥善保養爐具,遵照以下指示定期清潔爐具:
請勿使用蒸氣清潔爐具;
請使用適當清潔用品清潔金屬及搪瓷部份。使用非研磨及非腐蝕性的清潔劑,避免使用含氯清潔劑
(如漂白劑);
避免酸性或鹼性物質(如醋、鹽水、檸檬汁等)殘留在爐具;
煮食時如有液體溢出,應待爐頭冷卻後盡快清理;
定期使用暖水及清潔劑清洗爐頭蓋,將污垢去除,並保持爐頭火孔暢通;
清潔後須完全抹乾爐頭蓋,並檢查爐頭火孔未被堵塞;
將爐頭蓋正確放回爐頭座,確保沒有傾斜或反轉;
定期檢查熄火安全裝置,如有污物黏附,可使用軟刷將污物去除。
控制旋鈕
位置
中火 點火/最大 中火 最小 關閉位置

6
故障處理
注意:於重新點火前,請將火力控制旋鈕轉回關閉位置「」。
確保爐具完全冷卻後,才進行任何故障處理。如採取以下補救措施後仍然無效,請聯絡
故障 原因 處理方法
1. 沒有點火或爐火
壓電式點火器壞了。 聯絡爐具經銷商或煤氣公司更換零
件。
仍未開啟總氣閥及/或爐具供氣
閥。
完全開啟總氣閥及/或爐具供氣
閥。
喉管內含有空氣。 重複點火至喉管內空氣完全排出。
錫紙碟阻塞爐頭。 除去錫紙碟。
2. 不能保持爐火
熄火安全裝置上有污垢。 清理熄火安全裝置。
未按盡控制旋鈕或控制旋鈕沒有轉
至點火位置。 按下控制旋鈕及轉至點火位置。
按下火力控制旋鈕的時間過短。 維持按下火力控制旋鈕5秒。
3. 使用中熄火
熄火安全裝置上有污垢。 清理熄火安全裝置。
小火被風吹熄。 等待1分鐘,重新點火。
4. 黃火 爐頭蓋有污垢。 以暖水和清潔劑清洗爐頭蓋,抹乾
及放好後,重新點火。
5. 火焰不穩定
爐頭蓋變形。 聯絡具經銷商或煤氣公司更換零
件。
爐頭蓋擺放不正確。 待爐具冷卻後,重新放好爐頭蓋。
重新點火。
6. 使用中出現異常聲 爐頭蓋擺放不正確。 待爐具冷卻後,重新放好爐頭蓋。
重新點火。
7. 關火時出現響聲 殘留在爐頭內的氣體瞬間燃燒。 正常現象。

7
技術規格
型號 RRSH2
氣體種類 香港石油氣
額定熱負荷 (千瓦)
總 9.6
左爐頭 5.0
右爐頭 5.0
供氣壓力 (千帕) 2.9
氣體接頭 ⅜”( 8.8 毫米)喉咀
機身尺寸 (毫米)
高
至爐面 128.5
至爐架 162
寬 717
深 387
重量 (千克) 7
熄火安全裝置 熱電偶式
點火裝置 壓電式點火器

According to the Gas Safety Ordinance of Hong Kong, any gas
installation works including the installation of appliances and
connection tubing, must be undertaken by registered gas installers
who are registered for that appropriate classes and be employed by
registered gas contractors.
Attention!
Contents
Important Safety Instructions ….………………………………………… P.
Installation Instructions ….…………………………………………………. P.
Operation Instructions ….…………………………………………………... P.
Maintenance ….…………………………………….………………………….… P.
Troubleshooting ….…………………………………….…………………….... P.
P. Specifications ….…………………………………….……………………...……
1
3
5
5
6
7

1
The following instructions are very important to safe operation of gas appliance. Please read through them
carefully. Please contact Towngas LPG Appliances Sales Enquiry and Service Hotline on 2232 1111 for
enquiry. Please contact appliance vendor or Towngas Company for service.
Installation
1. Use approved gas tubing bearing EMSD approval marking (such as: 機電工程署批准 EMSD
APPROVAL GTXXXX) or other appropriate methods accepted by EMSD.
2. Do not store any combustible materials, e.g. paper and plastic, under or near the appliance. The
appliance should be installed with a distance of more than 150mm away from surrounding combustible
materials.
3. Install the appliance in a well-ventilated room.
Operation
1. In case of suspected gas leak, open windows and shut off main gas valve. Do not operate any electric
appliances or switches. Do not use any phones on site. Contact gas supply company or Towngas 24-
hour Emergency Hotline on 2880 6911 with a phone outside the premises.
2. Please use the appliance properly according to the operation instructions.
3. This appliance is designed for domestic use only. Do not use it for commercial purposes.
4. Do not use the appliance for any purposes other than cooking, e.g. drying clothes.
5. Open windows and turn on ventilation system before operating the appliance.
6. Do not allow kids to use appliance.
7. Do not leave operating appliance unattended.
8. Do not add aluminum discs to burner. This will incur combustion problem.
9. Ensure that burner caps are not deformed. Contact appliance vendor or Towngas Company to
replace the parts if abnormality is found.
10. Before use, ensure the burner caps and pan supports are in correct position and not tilted.
11. Ensure that flame holes of burner are free from water and dirt.
12. Do not put weight exceeding 10kg on pan support.
13. Pan support is heavy. Do not drop it.
14. Make sure that flame condition is uniform during operation.
15. Heed high temperature of top plate, burner and pan support.
16. Do not use flat bottom pot of diameter larger than 300mm to avoid the risk of scald by high
temperature and reduce the service life of the appliance.
17. When using small utensil, reduce flame power that flame does not escape from utensil bottom.
18. Ensure stability of utensil resting on pan support. Hold utensil firmly if it slips easily.
19. Do not fill water including soup ingredients over two-thirds of utensil volume when boiling water or
soup. Spilled liquid of boiling will affect combustion and damage the appliance.
20. Always use pots with a cover and make sure that the handles of the pots are correctly positioned to
avoid heating and collision of handles.
21. Do not use sprays near the appliance.
22. Flame control knob should be turned to off position "" after use.
23. Clean burner caps regularly to ensure smooth passage of burner flame holes. In case of cooking
spillage, clean appliance properly once it cools down.
24. If abnormal noise is observed, turn off flame. Check placement of burner caps and place them
correctly after appliance cools down. Contact appliance vendor or Towngas Company for inspection if
problem persists.
Important Safety Instructions

2
Maintenance
1. Check condition of gas hose regularly. Ensure that it is free from kink or crack. Contact appliance
vendor or Towngas Company to replace it if damage is found.
2. Allow the appliance to cool down completely before cleaning.
3. Wear gloves to protect the hands from cutting by sharp edges when cleaning the appliance.
4. Dry burner caps completely with dry cloth after washing. Flame holes of burner must be free from
water lest combustion is affected.
5. Before and after use, notice the condition and cleanliness of burners. The following abnormal
conditions will incur abnormal combustion and thus damage of the appliance. Ensure undertaking
measures to rectify the problem accordingly.
Abnormal Condition Handling Measure
Burner caps are deformed Contact appliance vendor or Towngas Company to
replace the parts.
Burner caps are tilted Replace burner caps properly. Burner caps must not be
tilted.
Burner flame holes are blocked by water Dry burner caps with cloth and replace them properly.
Burner flame holes are blocked by dirt Clean burner caps with mild detergent and brush. Dry
burner caps with cloth and replace them properly.
Important Safety Instructions

3
Installation Position
Install the appliance in a well-ventilated room but not at the passage of strong wind. Keep it away from
any flammable objects (such as paper, oil), sprays or pressurized containers. The appliance should be
installed with a distance of more than 150mm away from surrounding combustible materials. Allow
650mm or more clearance above appliance. If range hood is installed above the appliance and it has
different installation requirement of separation, adopt the larger value.
Appliance Installation
Position the appliance onto the bench-top. Ensure the bench-top is stable and flat.
Gas Connection
Connect the gas appliance to the gas supply according to the prescribed standards in force, and ensure
that the appliance matches with the type of gas supply. Furthermore, check that the supply pressure is
2.9 kPa.
Attention:
The gas connection is ⅜” ( 8.8mm) hose end for RRSH2.
Use approved gas tubing for connecting to appliance. Flexible tubing must not be longer than
2000 mm. Tubing shall not touch any moving parts, be kinked or compressed. After connection ,
check gas soundness of piping. Never use naked flame for checking.
Completing Installation
Make sure that all the parts are fitted
Installation Instructions
Flame failure device
Simmer burner cap
Flame control knob
Appliance leg
Outer ring burner cap
Pan support
Top plate

4
Placement of Burner
Burner is composed of outer ring burner cap, simmer burner
cap and burner base.
Place the outer ring burner cap and simmer burner cap onto
the burner base without tilting.
Do not use appliance with burner caps positioned
improperly.
It may not be ignited if burner caps are not
placed properly.
It may cause incomplete combustion, risk of
carbon monoxide poisoning and burner
deformation, due to uneven flame shape and
lighting back.
It may cause flame getting into the appliance and
damage it.
Placement of Pan Support
Place the pan support to the appliance properly.
Do not use appliance with pan support positioned
improperly. Due to improper placement of pan
support, cooking utensil may become unstable and
cause hazard.
Installation Instructions
Tilted outer ring burner cap Tilted simmer burner cap
Improper placement of pan support
Pan support
Outer ring burner cap
Simmer burner cap
Burner base

5
Ignition of Burner
Ensure the flame control knob is at the off position “”. Press and turn the knob in anti-clockwise
direction to ignition position. Keep pressing the knob for 5 seconds. (A clack sound is emitted when
the knob reaches the ignition position). After releasing the knob, make sure the flame persists.
Attention: If the appliance has not been used for a long time, the first ignition may not succeed
due to trapped air in gas pipe. Turn the flame control knob to the off position “”. Repeat the
above ignition procedures until success of ignition.
Flame Control
After ignition, turn the rotary knob to adjust flame power according to cooking needs. Please adjust
slowly.
When adjust flame power from maximum close to medium, if flame of outer ring burner is found
unstable (weak or extinguished), please adjust the flame power to maximum until flame of outer ring
burner is stable, or reduce flame power and use flame of simmer burner.
Flame Extinguishing
Turn the flame control knob to the off position “”.
Attention: Pop sound may be generated during the flame extinguishing due to instant
combustion of gas remained in burner. This is a normal phenomenon.
Operating Instructions
Maintenance
Attention: Allow the appliance to cool down completely before performing any maintenance and
cleaning. Wear gloves to protect the hands while cleaning.
To maintain the appliance properly, follow the following instructions to clean it regularly:
Do not use steam cleaners for cleaning;
The metal and enameled parts must be cleaned with suitable non-abrasive and non-corrosive
detergents. Avoid using chlorine-based detergents (e.g. bleach) for cleaning;
Avoid leaving acidic or alkaline substances on the appliance (e.g. vinegar, brine, lemon juice, etc.);
Clean and tidy up the burners after spillage of liquid once it cools down;
The burner caps must be washed regularly with warm water and detergent. Remove any grime and
keep the flame holes of burner away from blockage;
Dry the burner caps completely after washing and check all flame holes of burner are not clogged;
Replace burner caps onto burner base. Ensure that they are not tilted or reversed;
Regularly check the flame failure device . In case of sticking with stains, clean it with soft brush.
Rotary knob
position
Medium
Ignition /
Maximum Medium Minimum Off position

6
Attention: Before restarting ignition, return the flame control knob to off position “”.
Ensure that the appliance cools down completely before undertaking remedial measures. If not effective
after undertaking the following remedial actions, please appliance vendor or Towngas LPG Appliances
Sales Enquiry and Service Hotline on 2232 1111.
Fault Cause Remedy
1. No ignition or
flame
Piezoelectric ignitor fails. Contact appliance vendor or Towngas
Company to replace the part.
Main gas valve and / or appliance
gas supply valve is turned off.
Open main gas valve and/or appliance
gas supply valve completely.
Air is trapped inside gas pipe. Repeat ignition until trapped air is
removed.
Burner is blocked by aluminum
disc. Remove aluminum disc.
2. Flame does not
persist
Flame failure device is dirty. Clean flame failure device.
Flame control knob is not fully
pressed or not turned to the ignition
position.
Fully press and turn the flame control
knob to the ignition position.
Holding time of flame control knob
is too short.
Keep pressing flame control knob for 5
seconds.
3. Flame off when
using
Flame failure device is dirty. Clean flame failure device.
Small flame is blown off by wind. Wait for 1 minute and restart ignition.
4. Yellow flame Burner caps have dirt.
Wash burner caps in warm water with
detergent. Dry and replace them at
correct position. Restart ignition .
5. Unstable flame
Deformation of burner caps. Contact appliance vendor or Towngas
Company to replace the parts.
Incorrect placement of burner caps.
Replace burner caps correctly after
appliance cools down and restart
ignition.
6. Abnormal noise
when using Incorrect placement of burner caps.
Replace burner caps correctly after
appliance cools down and restart
ignition.
7. Pop sound
when flame
extinguishing
Instant combustion of gas remained
in burner. Normal phenomenon.
Troubleshooting

7
Specifications
Model RRSH2
Gas Type Hong Kong LPG
Rated Heat Input (kW)
Total 9.6
Left Burner 5.0
Right Burner 5.0
Gas Pressure (kPa) 2.9
Gas Inlet Connection ⅜”( 8.8mm)Hose End
Overall Dimensions
(mm)
Height
To top plate 128.5
To pan support 162
Width 717
387
Weight (kg) 7
Flame Failure Safety Device Thermoelectric Type
Depth
Ignition Device Piezoelectric Ignitor

202208
Table of contents
Other Rinnai Cooktop manuals
Popular Cooktop manuals by other brands

Bosch
Bosch NGMP058UC installation instructions

LG
LG LCE3010SB owner's manual

CASO DESIGN
CASO DESIGN Pro S-Line 1800 instruction manual

GE
GE JGP328SEKSS - 30" B/I Gas CKTP Dimensions and installation information

Frigidaire
Frigidaire FED367DSB Wiring diagram

Whirlpool
Whirlpool WCC31430AB00 Use & care guide