RITEWAY HH-8200NT User manual
Operation & Maintenance
Manual

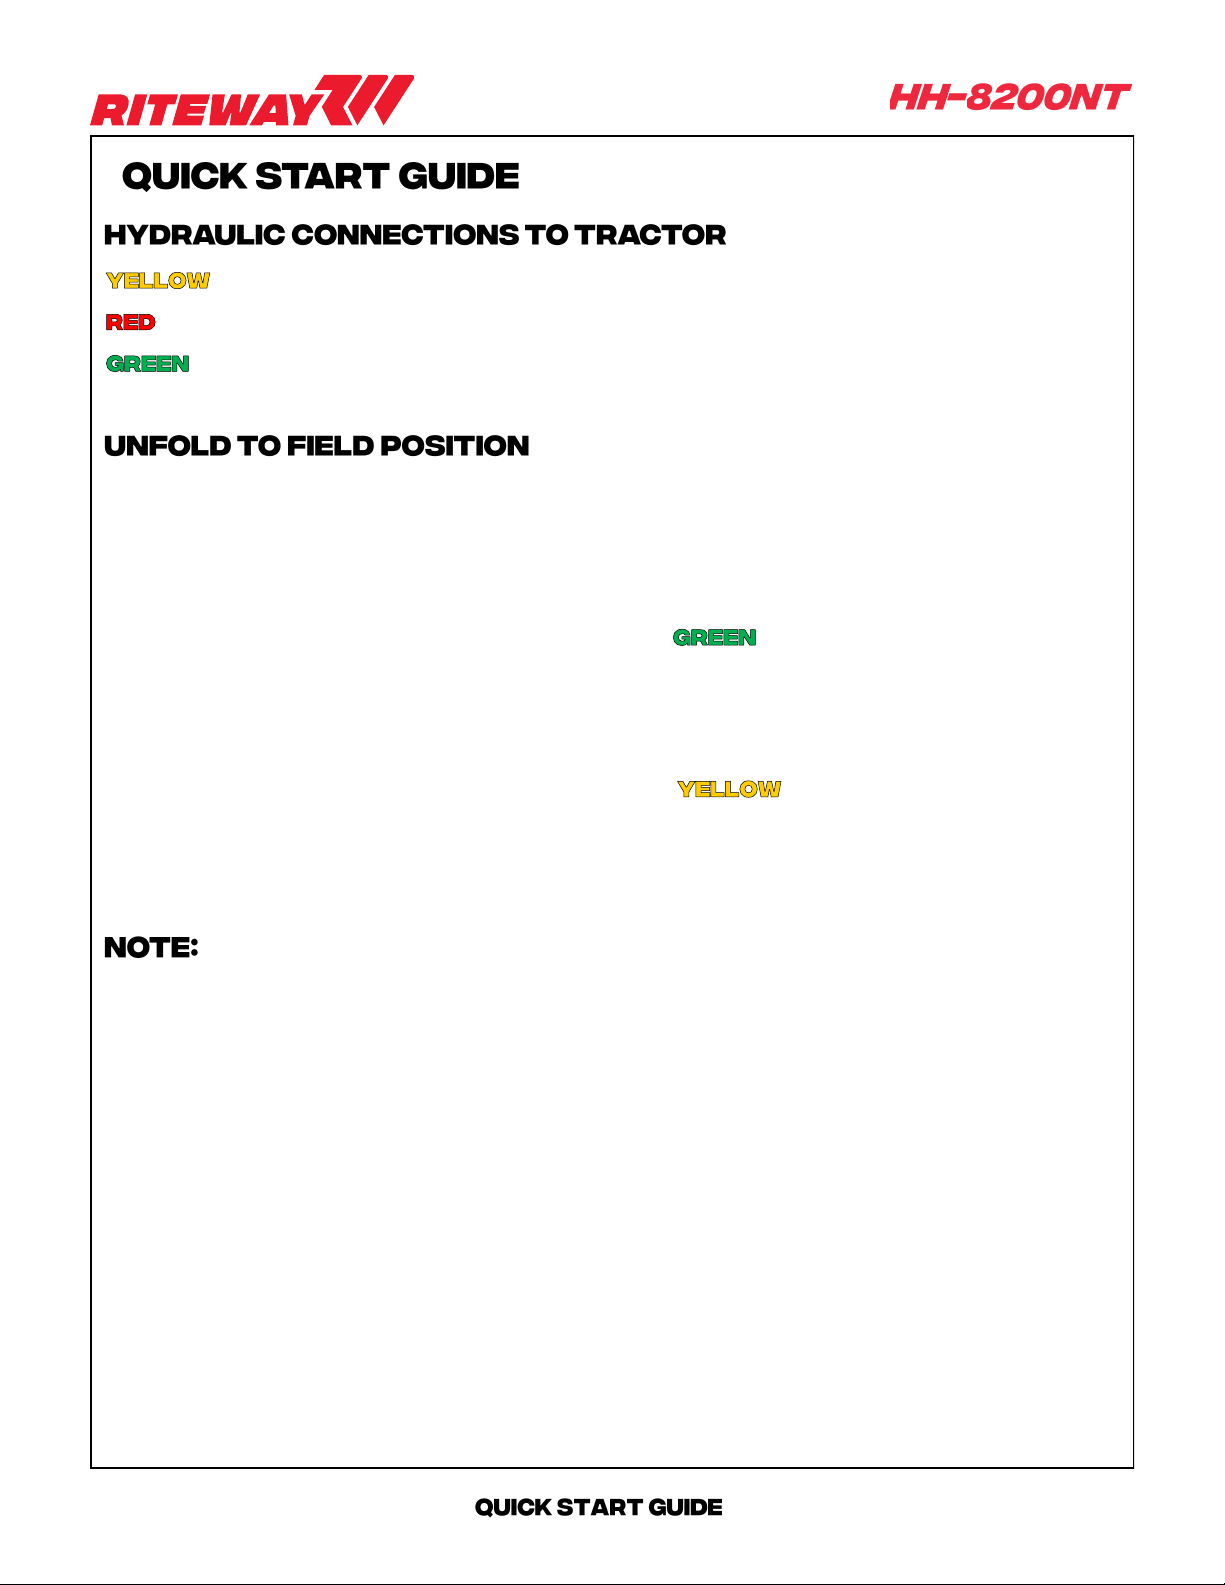
– Wing lift/lower
– Tine angle adjust
– Wing wheel pivot
• IMPORTANT: Ensure the center harrow section has been rotated forward after shipping and bolted
in place or damage to the unit may result.
• Find a location that is as level as possible. Position harrow in line with tractor.
• Remove lock pins from wing lift and wing pivot wheels.
• From the cab of the tractor, rotate pivot wheels to 45° ( hydraulic remote).
• Slowly back up the tractor to unfold.
• Once wings are nearly fully unfolded, rotate pivot wheels to 90°.
• Ensure that the draft arms have pushed the swing arms into the lock mechanism.
• Carefully lower the harrow wing halfway to the ground ( hydraulic remote). Ensure that
the swing arms are both still locked in place.
• Slowly drive the tractor ahead, while lowering the harrow wing the rest of the way down.
• IMPORTANT: Do not lower the harrow wings fully down to the ground without driving ahead simul-
taneously. Damage to your rotary harrow sections could result.
• Check the level of A-frame hitch relative to the tractor. Adjust using hitch tongue to level
• Ensure all harrow chains are tight. Tighten chains using the tools provided on the left-most rotary
harrow section if necessary.

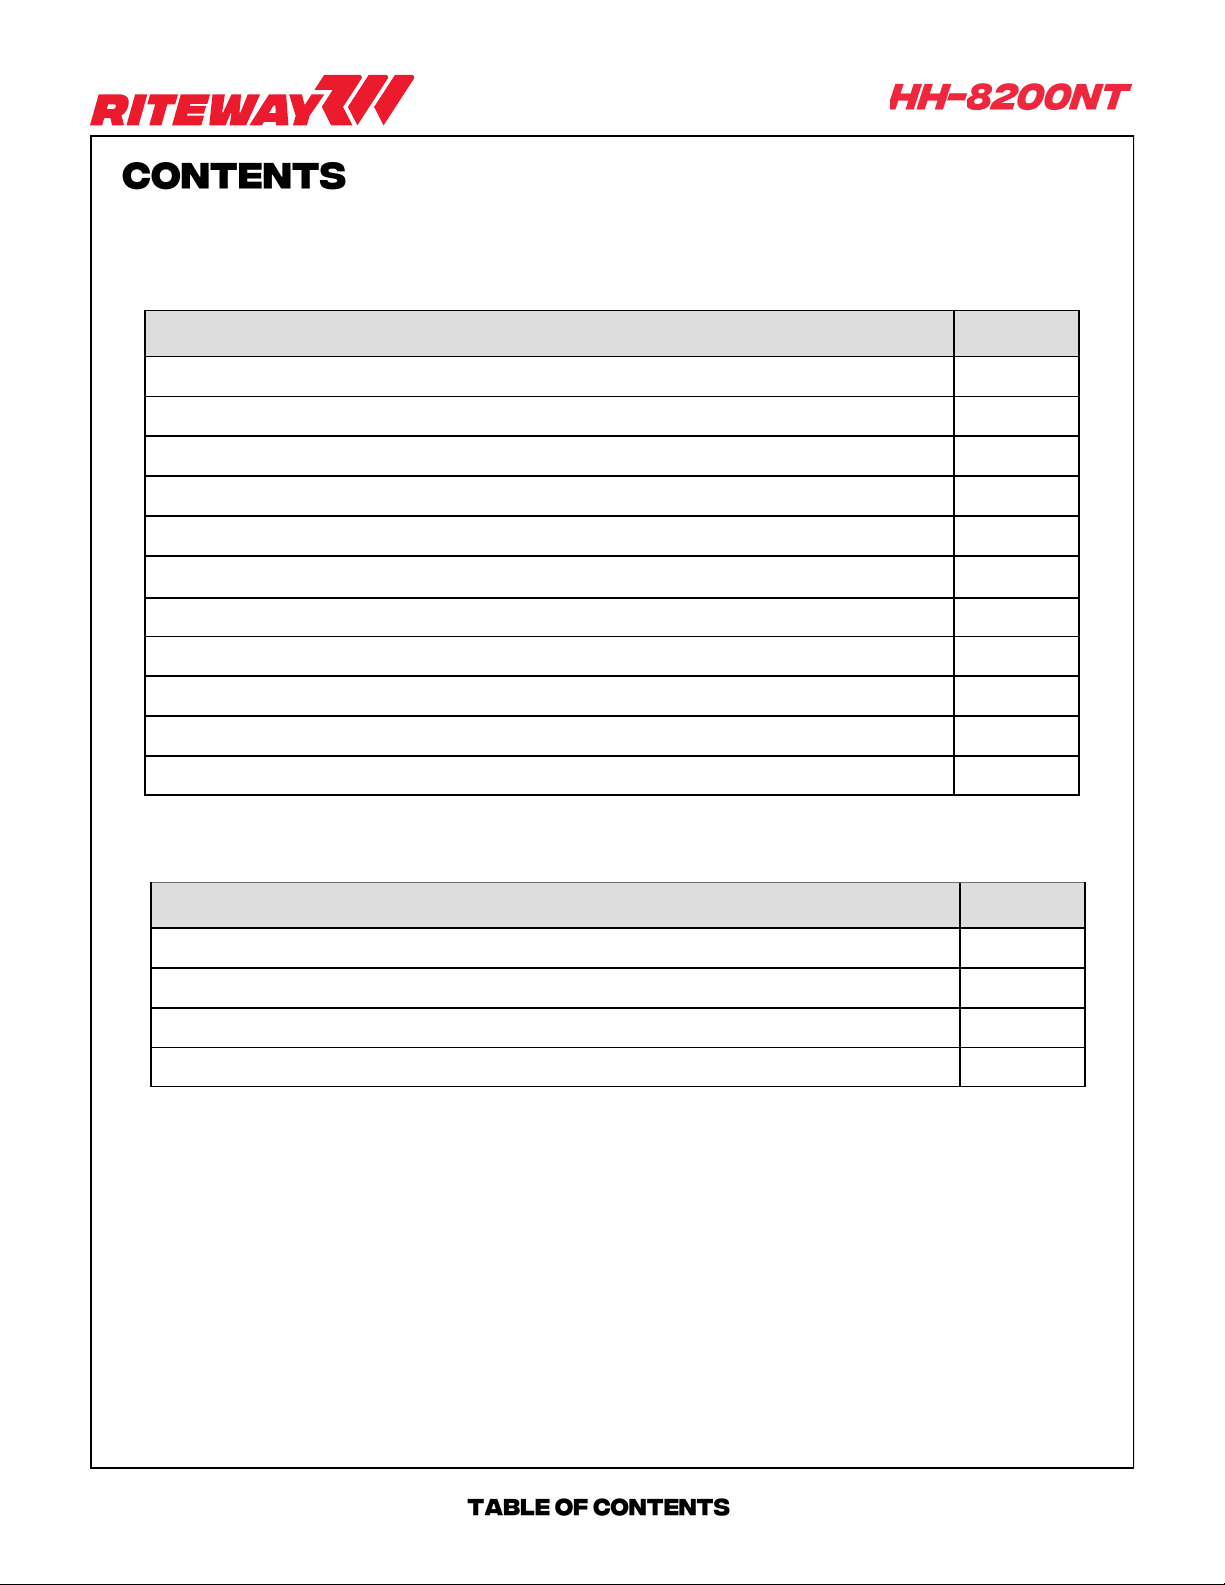
SECTION 1 PAGE
INTRODUCTION 1
MANUAL & EQUIPMENT DETAILS 2
PRE-DELIVERY INSPECTION 3
SPECIFICATIONS 4
SERVICE & WARRANTY POLICY 5, 6
SAFETY RECOMMENDATIONS 7
DECAL LOCATIONS 9, 10
MAINTENANCE 11-13
OPERATING INSTRUCTIONS 14-21
GRADE CHART 22
TORQUE CHART 23
SECTION 2 PAGE
PARTS 2-33
WHEEL HUBS 34-35
HYDRAULICS 36-41
CYLINDERS 42-51


1
We are pleased to welcome you as an owner of a product from RITE WAY
MFG. This machinery is the culmination of years of agricultural and engineering
experience and has been designed to deliver you with many years of successful
operation service.
For the most efficient operation of your HH-8200NT we have provided this
owner’s manual. In this manual we have included proper maintenance and func-
tional procedures to offer maximum longevity for your new equipment. Before op-
erating we urge a careful study of this manual to provide a thorough understanding
of your new HH-8200NT. We also recommend that you take care of this manual so
it will be available for future reference. Should your manual become lost or de-
stroyed a new copy can be obtained from your Rite Way Manufacturing dealer.
We will also be happy to answer any questions you might have concerning the use
or care of this product.
Rite Way Manufacturing Co. Ltd.
P.O. Box 328
Imperial, Saskatchewan, Canada
S0G 2J0
PH: 306-963-2180
Fax: 306-963-2660
Web Site: www.ritewaymfg.com
Email: [email protected]
Thank you for making the decision to purchase a RITE WAY product!
2
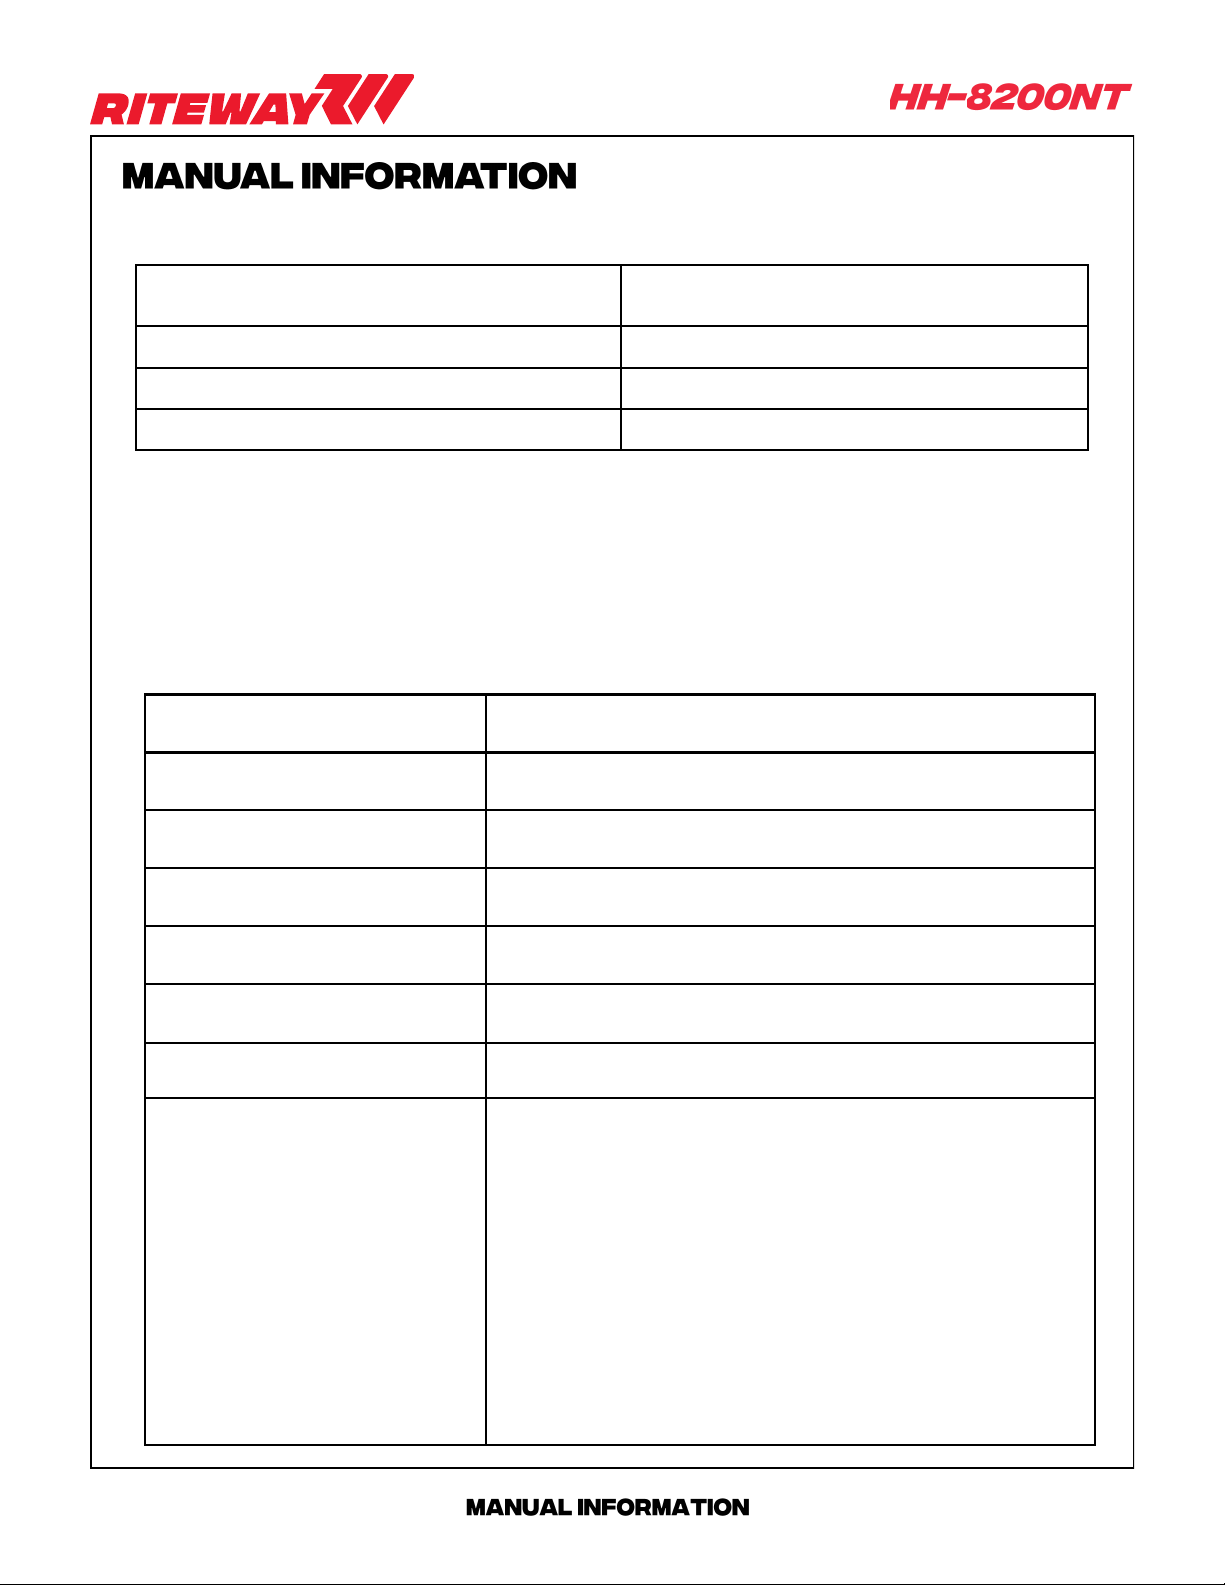
Unit Model Number HH-8200NT
Manual Revision Number 4.2
Manual Revision Date March 9, 2021
Manual Serial Number Range 21-0079 and up
Serial Number of Unit
Date of Purchase
Dealer Name
Dealer Address
Dealer Phone Number
Salesman Name
Salesman Phone Number
Notes
The area below is provided for the owner / end-user to make notes regarding the equipment.

3
Remove wrapping and wash unit, removing all road debris. (Road salt, mud, snow, etc.)
Inspect paint, decals and general appearance of unit.
Verify that the owners manual is in the manual storage tube.
Verify ‘SLOW MOVING VEHICLE’ sign (SMV) is on unit
Verify that jacks are with the unit and function properly.
Check wheel bolts for proper torque.
Check for proper tire pressure (PSI).
Verify that the wheel hubs are lubricated.
Verify that locking pins and / or ram locks are in place.
Lubricate all components as per operators manual recommendation.
Check that all bolts and fasteners are at the proper torque specifications.
(NOTE: All cap screws that have lock nuts joining moving pieces should not be tightened completely,
they must allow movement. i.e. Spring pressure kits, rock shaft connector, draft arm, etc.
Check sprocket alignment and chain tension. (If applicable)
Check locking collars and set screws for proper tension. (If applicable)
Verify operation of lights. (If applicable)
Verify the unit moves ‘IN’ and ‘OUT’ of transport without any binding.
Verify that tires are tracking properly when in transport mode.
Insure that all hydraulic hoses and lines are routed properly and secured.
Verify that all hydraulic fittings / hoses are secure and there are no oil leaks.
Inspect all cylinders for leakage and the cylinder shaft for rust, pits, or scratches.
Verify operation of all hydraulic functions - Cycle hydraulic cylinders to remove air from the system.
Verify that ‘The customer is aware of warning decals and proper jack placement for transport.’.
Verify that ‘The customer is aware of proper operation and transportation of the unit’.
Verify that ‘The customer has received an operators manual’.
Explain all maintenance and service intervals to the customer (From operators manual).
Advise the customer of grease zerk locations and maintenance schedules.
Level the unit per operators manual and instruct the customer on the proper procedures.
Verify that the center harrow section has been rotated to working position.
Pre-delivery Inspection Completed By (Sign Below)
Pre-delivery Inspection Confirmed By (Sign Below)
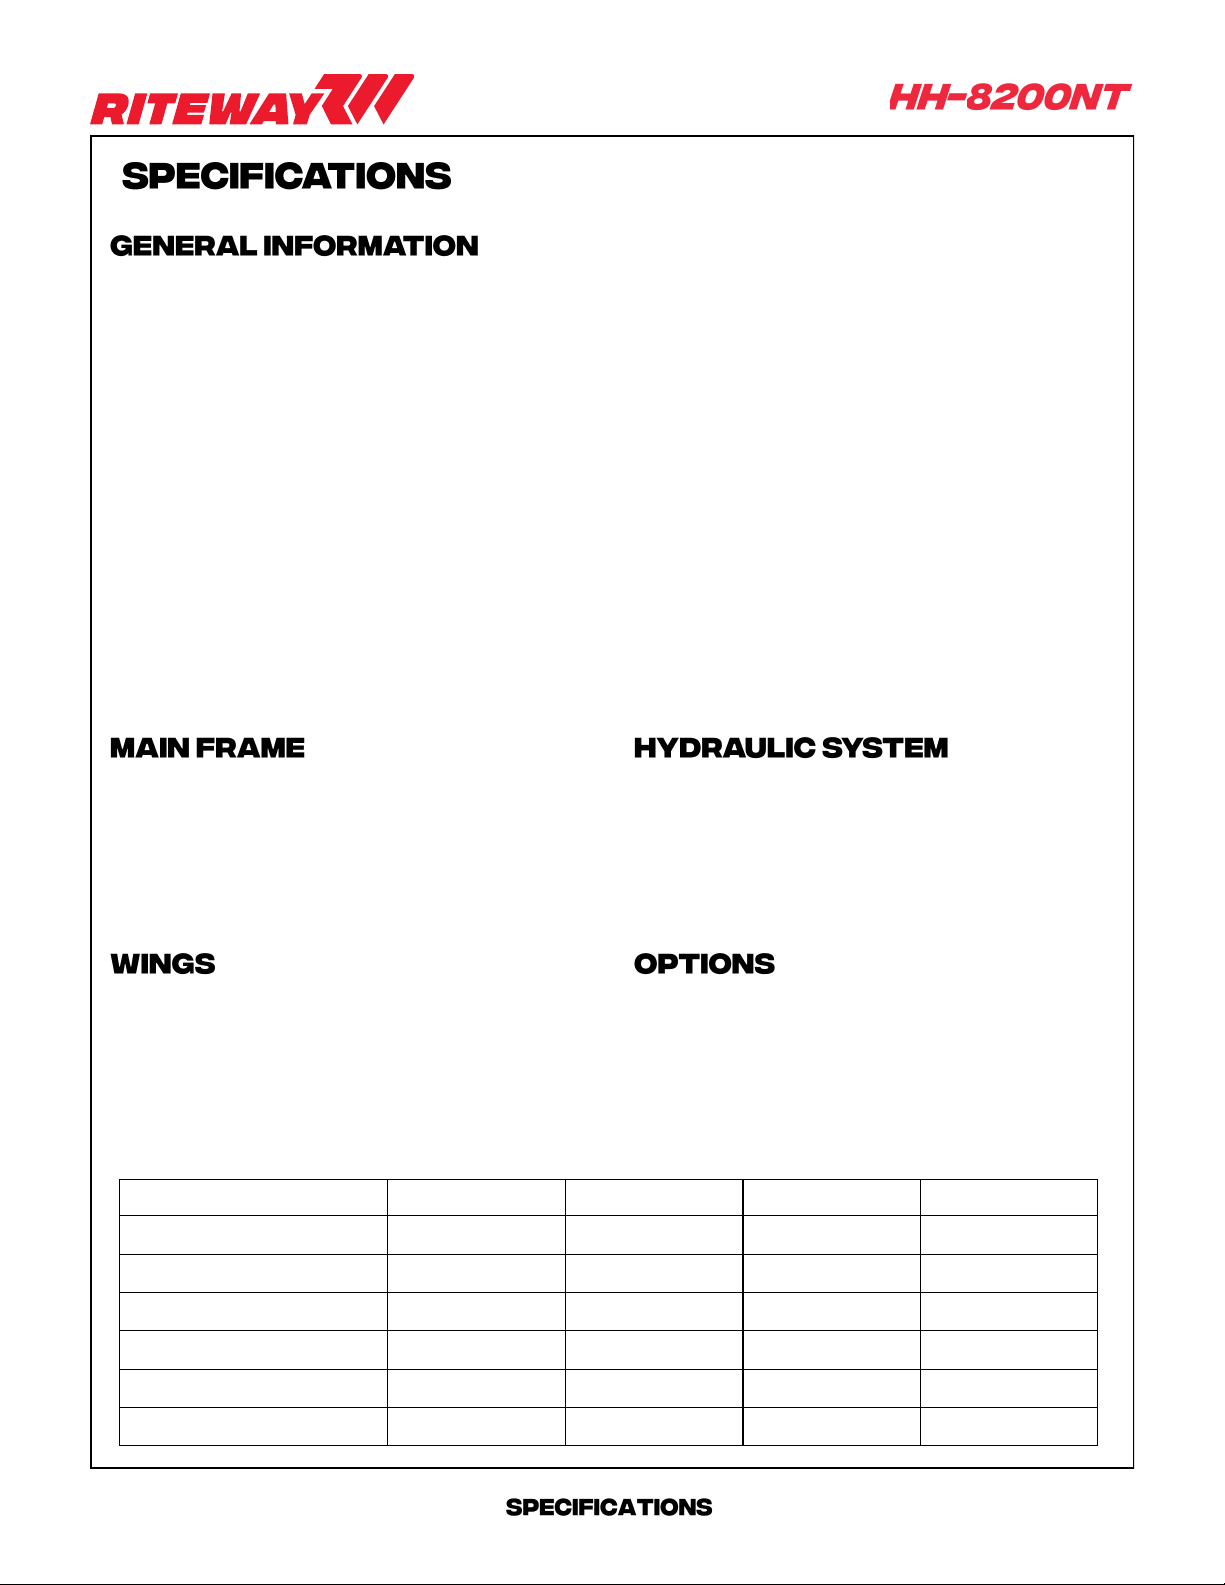
4
• 8" x 8" x 3/8" Wall Wing Tube (62’ and up),
and Centre Bar
• Tires - 12.5L x 15 - 8PLY (62’ and up)
• 40° to 85° Hydraulic Tine Angling From Tractor Cab
• 9/16" x 28" Harrow Tines
• Auto Fold With Rite Way Hydraulic Pivot Wheel System
• 5 Bars - 18" (460mm) Spacing Between Rows- 2-3/8" Diameter Pipe
• 15 Double Tines; APPROX. 2.75" Tine Spaces (6-1/2' Harrow)
• 25 Double Tines; APPROX. 2.75" Tine Spaces (11' Harrow)
• Self-Levelling Parallel Linkage
• Two Stage Adjustable Harrow
• Spring Adjustable Harrow Down Pressure
• Adjustable Hitch Height c/w Perfect Hitch Clevis
• Light Kit
• ULTRA NARROW TRANSPORT WIDTH
• Heavy duty universal joint pivots
• 8" x 4" x 1/4" Wall A-Frame Tube
• Tires - 16.5L x 16.1 - 10PLY
• Valmar granular applicator mounting kit
• Acremeter kit
• 5/8” x 28 Harrow Tine
• 9/16” x 28 Carbide Tip Harrow Tine
• 5/8” x 28 Carbide Tip Harrow Tine
• Standard unit requires - 6 Hydraulic Banks.
• Heavy duty hydraulic cylinders.
• Zinc plated steel hydraulic lines
Technical Information 8240NT 8250NT 8262NT 8273NT
Working Width 40’ (12.2m) 50’ (15.2m) 62’ (18.9m) 73’(22.3m)
No. of Harrow Sections 5577
Transp. Width 9’ 10” (3m) 9’ 2”(2.8m) 9’ 2” (2.8m) 9’ 2” (2.8m)
Transp. Height 11’-4” (3.5m) 11’-4” (3.5m) 11’-4” (3.5m) 11’-4” (3.5m)
Transp. Length 36’ 9” (11.2m) 41’ 2” (12.5m) 48’ 2” (14.7m) 52’ 2” (15.9m)
Approx. Weight (lbs/kg) 9,250 / 4,205 10,245 / 4,657 12,225 / 5,557 13,900 / 6,318
5
Rite Way Manufacturing Co. Ltd. (hereafter referred to as Rite Way) warrants each new machine to be
free from defects in materials and workmanship for a period of one (1) year from date of purchase under normal
agricultural use and service. In addition, Rite Way will supply at no charge, (F.O.B Rite Way Factory) any part
that has failed within the 2nd year. Rite Way’s obligation under this warranty is limited to the repair or replace-
ment of any defective parts of the equipment at its own discretion.
Any alterations, modifications or additions done to a finished product will void this warranty unless prior
written permission from Rite Way is obtained.
Items that are not manufactured by Rite Way are covered by the warranty of the supplier of these items.
We will therefore extend, without assuming any responsibility, any warranty given to us by our suppliers.
This warranty shall-not apply to any machine, that in the company’s judgment has be subjected to mis-
use, negligence or accident. In no event shall the owner be entitled to recover costs for incidental, special or con-
sequential damages such as, but not limited to; Loss of crop, loss of profit or revenue, other commercial losses,
inconvenience or rental costs.
This warranty shall not apply unless Rite Way or its designated dealer is promptly notified of claimed de-
fects and the allegedly defective part is held for inspection.
Repair parts purchased for machines ‘Out of Warranty’, are warranted to be free from defects in material
and workmanship under normal use and service for a period of ninety (90) days from the date of delivery to the
customer.
The warranty shall only become valid when delivery notification for warranty is received by Rite Way with-
in 20 days of the completion of sale.
OWNER’S / USERS OBLIGATION: It is the responsibility of the user to read the Operators Manual and under-
stand the safe and correct operating procedures as it pertains to the operation of the product, and to lubricate
and maintain the product according to the maintenance schedule in the Manual.
The user is responsible for inspecting the machine, and for having parts repaired or replaced when con-
tinued use of the product could cause damage or excessive wear to any other parts. It is the user’s responsibility
to deliver their machine to a Rite Way dealer for service or replacement of defective parts which are covered by
the standard warranty.
Rite Way will not by held responsible for charges such as transportation, fuel, lodging when a dealer /
dealer representative travels to a customer location for warranty or inspection.
6
1. All claims must be handled through a dealer / distributor. All claims must be submitted on a proper-
ly completed claim form within 30 days of the date of repair.
2. A warranty registration claim form must be on file at Rite Way Mfg. to validate a warranty claim.
3. Defective parts are to be held at the dealer / distributor’s place of business until the warranty claim
form has been processed. Rite Way will advise when parts can be released.
4. Parts that require inspection by Rite Way personnel must be accompanied by a Return Goods
Form number, and must be sent by pre-paid freight. Rite Way will refund pre-paid freight charges
on any items determined to be defective.
5. Rite Way will not assume responsibility for repairs or expenses incurred without authorization. War-
ranty labour in excess of $150.00 must be authorized before such work is performed and photo-
graphs before and after repairs are required.
6. Warranty labour is to be claimed on the warranty claim form, only if the warranty labour was per-
formed by the dealer. Travel time is not covered by warranty and should not be included. Rite Way
reserves the right to adjust or allocate labour times and values based on its experience.
7. It is the responsibility of the dealer to ensure that the warranty registration forms are properly com-
pleted and returned to Rite Way Mfg., Imperial, SK.

7
1. Read manual thoroughly before operating machine.
2. Study all warning decals on implement.
3. Most accidents occur because of neglect or carelessness.
4. Do not allow riders on the tractor or implement during operation.
5. Do not allow children on or near the machine.
6. Connect the implement hitch to the tractor before operating the hydraulic system.
NOTE: Be aware of any hydraulic leaks.
7. Always throttle the tractor down and use caution when connecting the implement to the tractor
hitch.
NOTE: Never stand between the tractor and implement.
8. Lower the hitch jack onto firm ground and chock the tires when un-hooking implement from tractor.
NOTE: Ensure the unit is on level ground prior to un-hooking tractor.
9. Exercise extra caution when working on hillsides or near ditches.
10. Ensure that the tractor draw-bar is pinned during transport.
11. Maximum speed while transporting the HH-8200NT is 25 mph (40 km/h).
12. Ensure that the HH-8200NT frame is lowered to the ground before doing any work on machine.
NOTE: If it is necessary to work on machine with the drawbar raised, ensure that cylinders
are locked in position using the lock pin.
13. Do not work on this machine when hydraulic system is under pressure.
14. Observe all laws and regulations when transporting unit on public roads.
15. Do not transport this machine on public roads unless all safety & maintenance checks have been
completed.
16. Ensure the tires are inflated to the correct pressure:
11L-15 (Wings): 90 psi
12.5L-15 (Wings): 90 psi
16.5 x 16.1 (Center Frame): 35 psi
This machine will provide years of trouble-free & safe operation IF
all maintenance and safety instructions are followed.

8
9

10
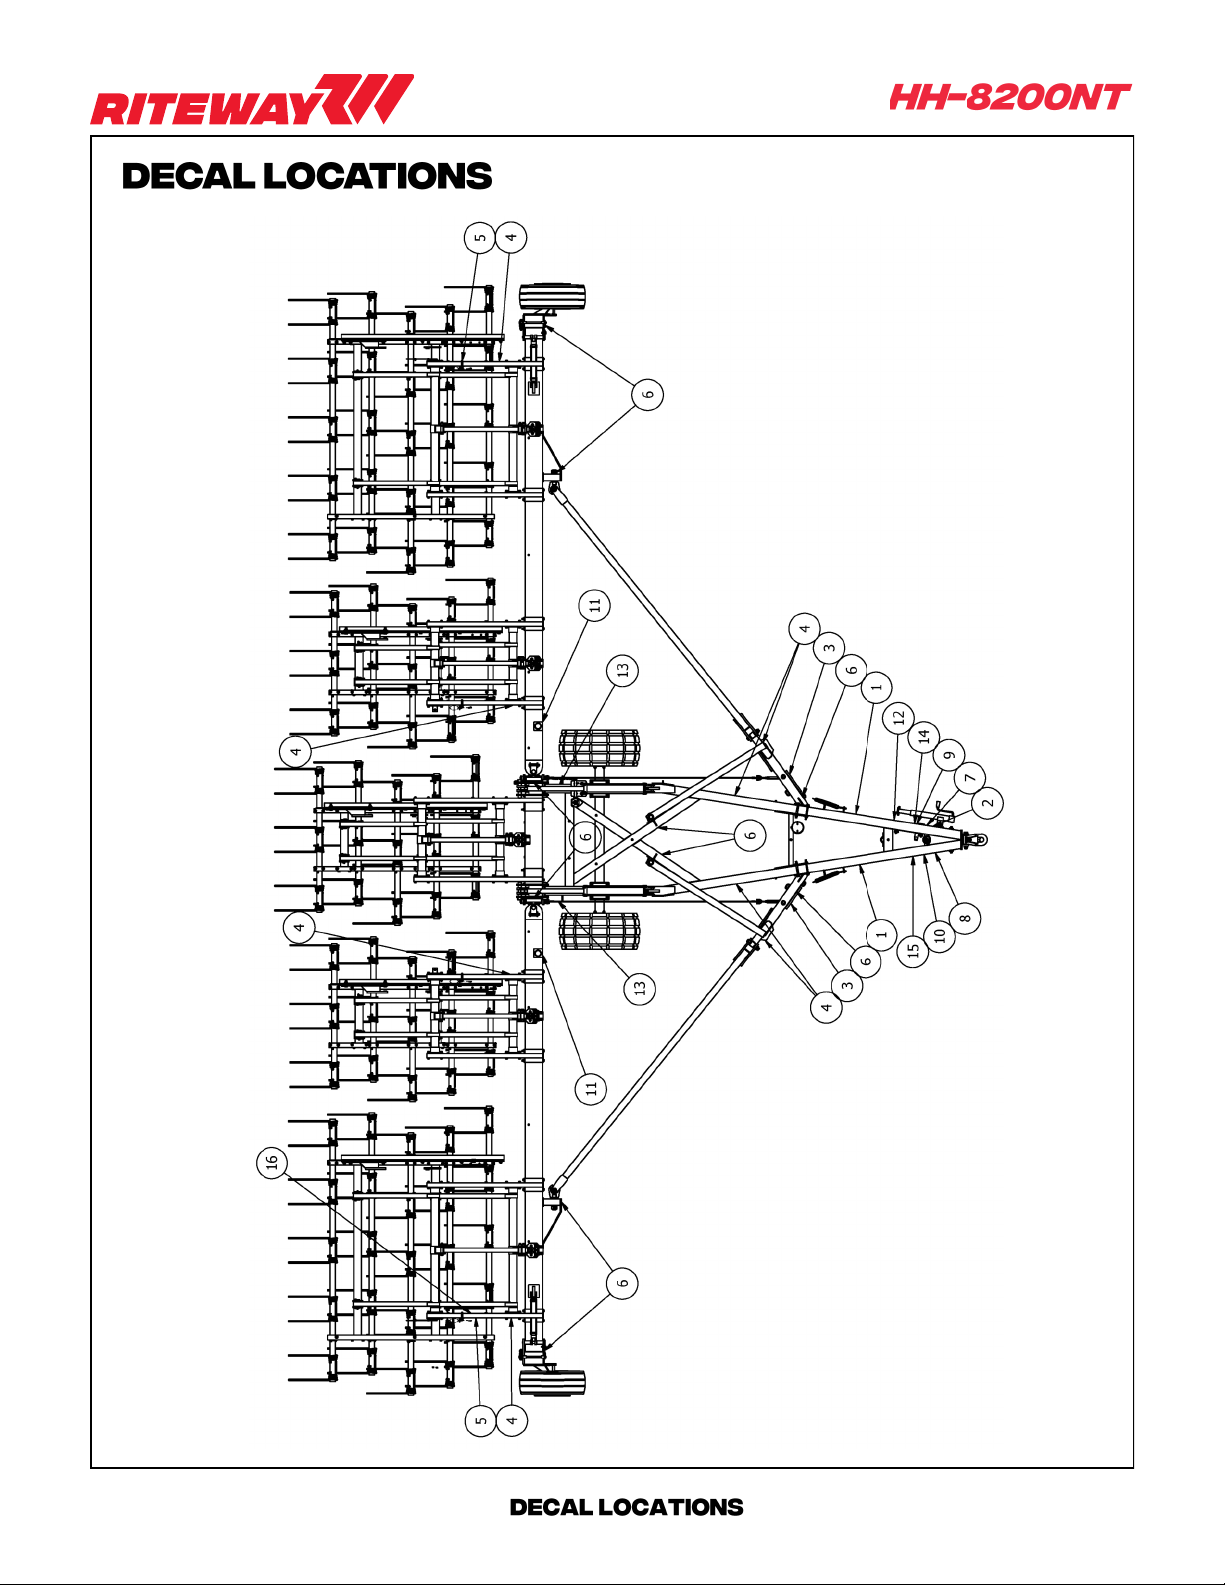
21-0001
1060-0121 Rite Way Mfg. (Large Decal) 2
2060-0038 Attention - Ensure That All Cylinders Are Retracted... 1
3060-0125
060-0126 HH-8200NT - (3” x 11”) 2
4060-0009 Amber Reflector (3 x 2) 14
5060-0022 Red Reflector (3 x 2) 2
6060-0046 Grease Every 8 Hours 10
7060-0015 Important - Block Wheels... 1
8060-0028 Warning - Lower or Block Elevated Components 1
9060-0011 Caution - Escaping Fluid Hazard... 1
10 060-0029 Warning - Stand Clear of Hitch Tongue…1
11 060-0036 Place Jack in Small Mount for Transport…2
12 060-0034 Rite Way Serial Number Plate 1
13 060-0050 Warning - Tine Angling Cylinders... 2
14 060-0061 Hydraulic - Hose Application 1
15 060-0067 Warning - Check and tighten hub and wheel bolts.. 1
16 060-0091 Tine Angle Indicator - (1234) 11 x 2-3/4” 1
17 060-0108 www.ritewaymfg.com - (1” x 20”) 2
HH-8200NT
11
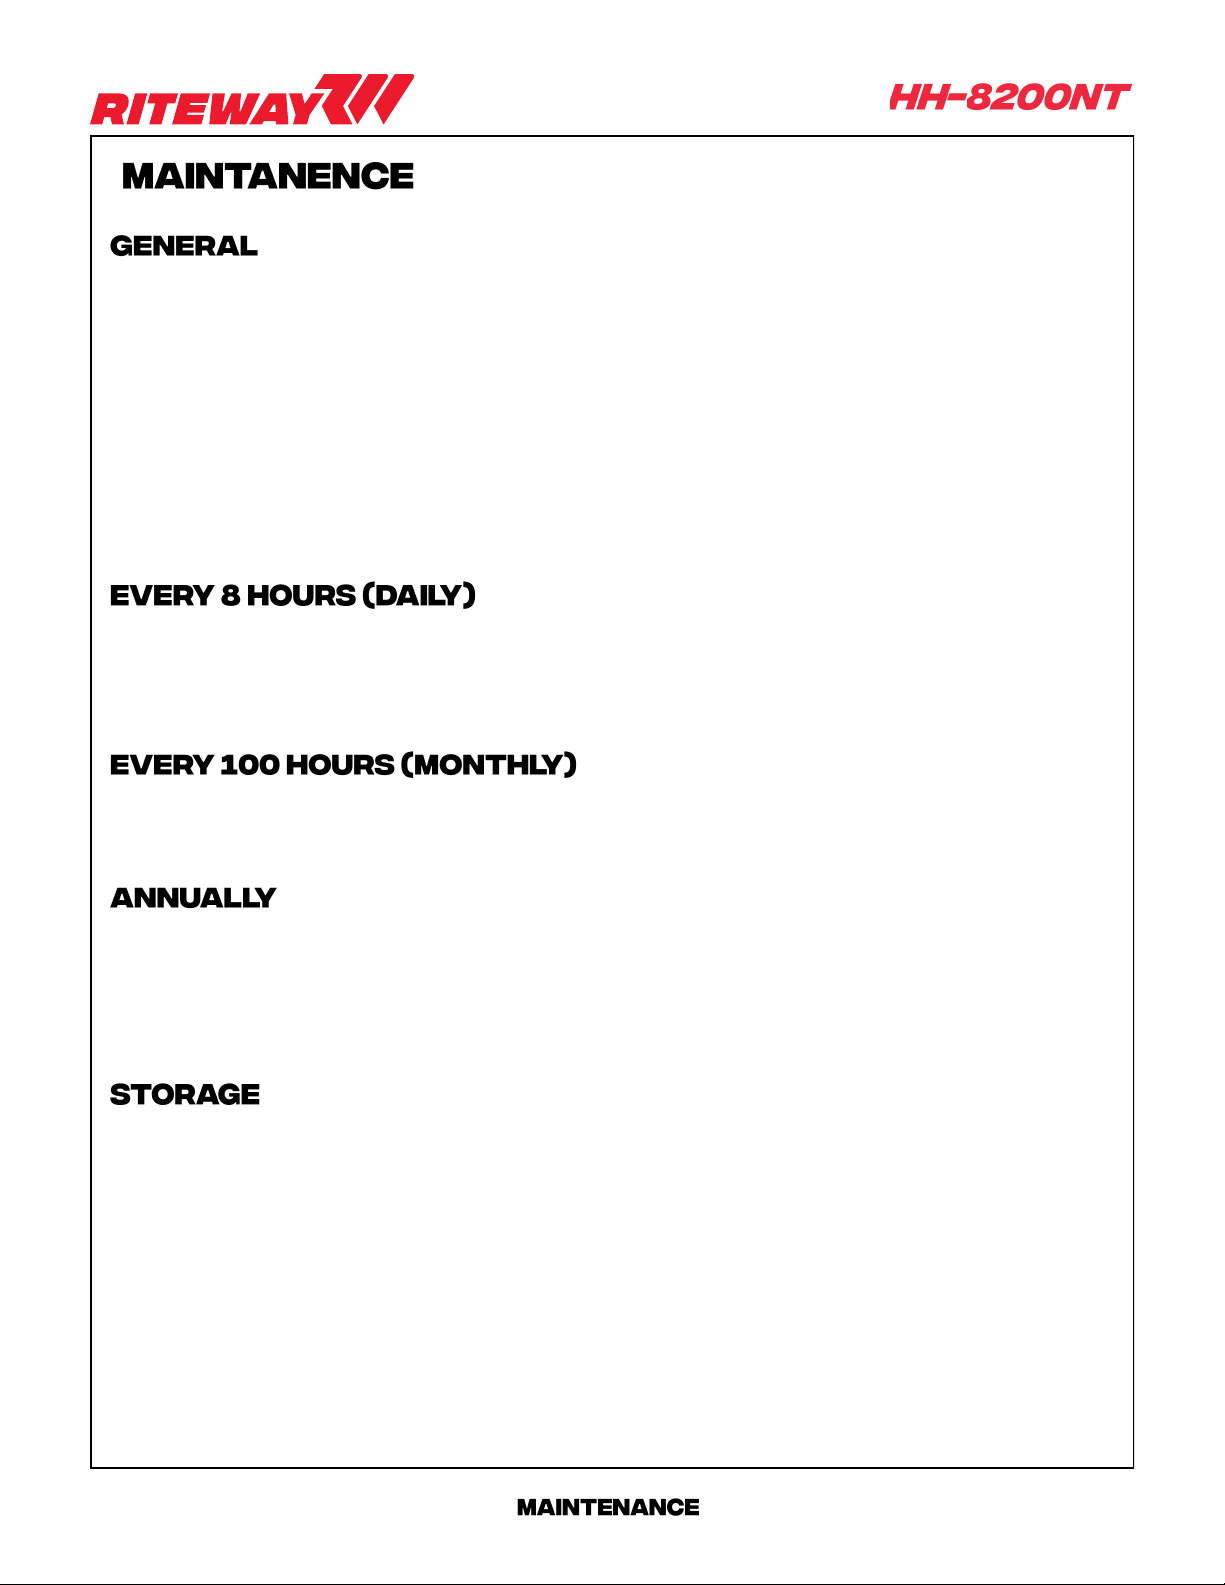
• Repack the wheel hubs after the first 500 kilometres of travel ; then yearly thereafter.
• Visually inspect the wheel bolts for tightness each day. Torque to 110 ft lbs. (149 Nm) after the first
few hours of operation and frequently thereafter.
• Ensure the tires are inflated to the correct pressure:
11L-15 (Wings): 90 psi
12.5L-15 (Wings): 90 psi
16.5 x 16.1 (Center Frame): 35 psi
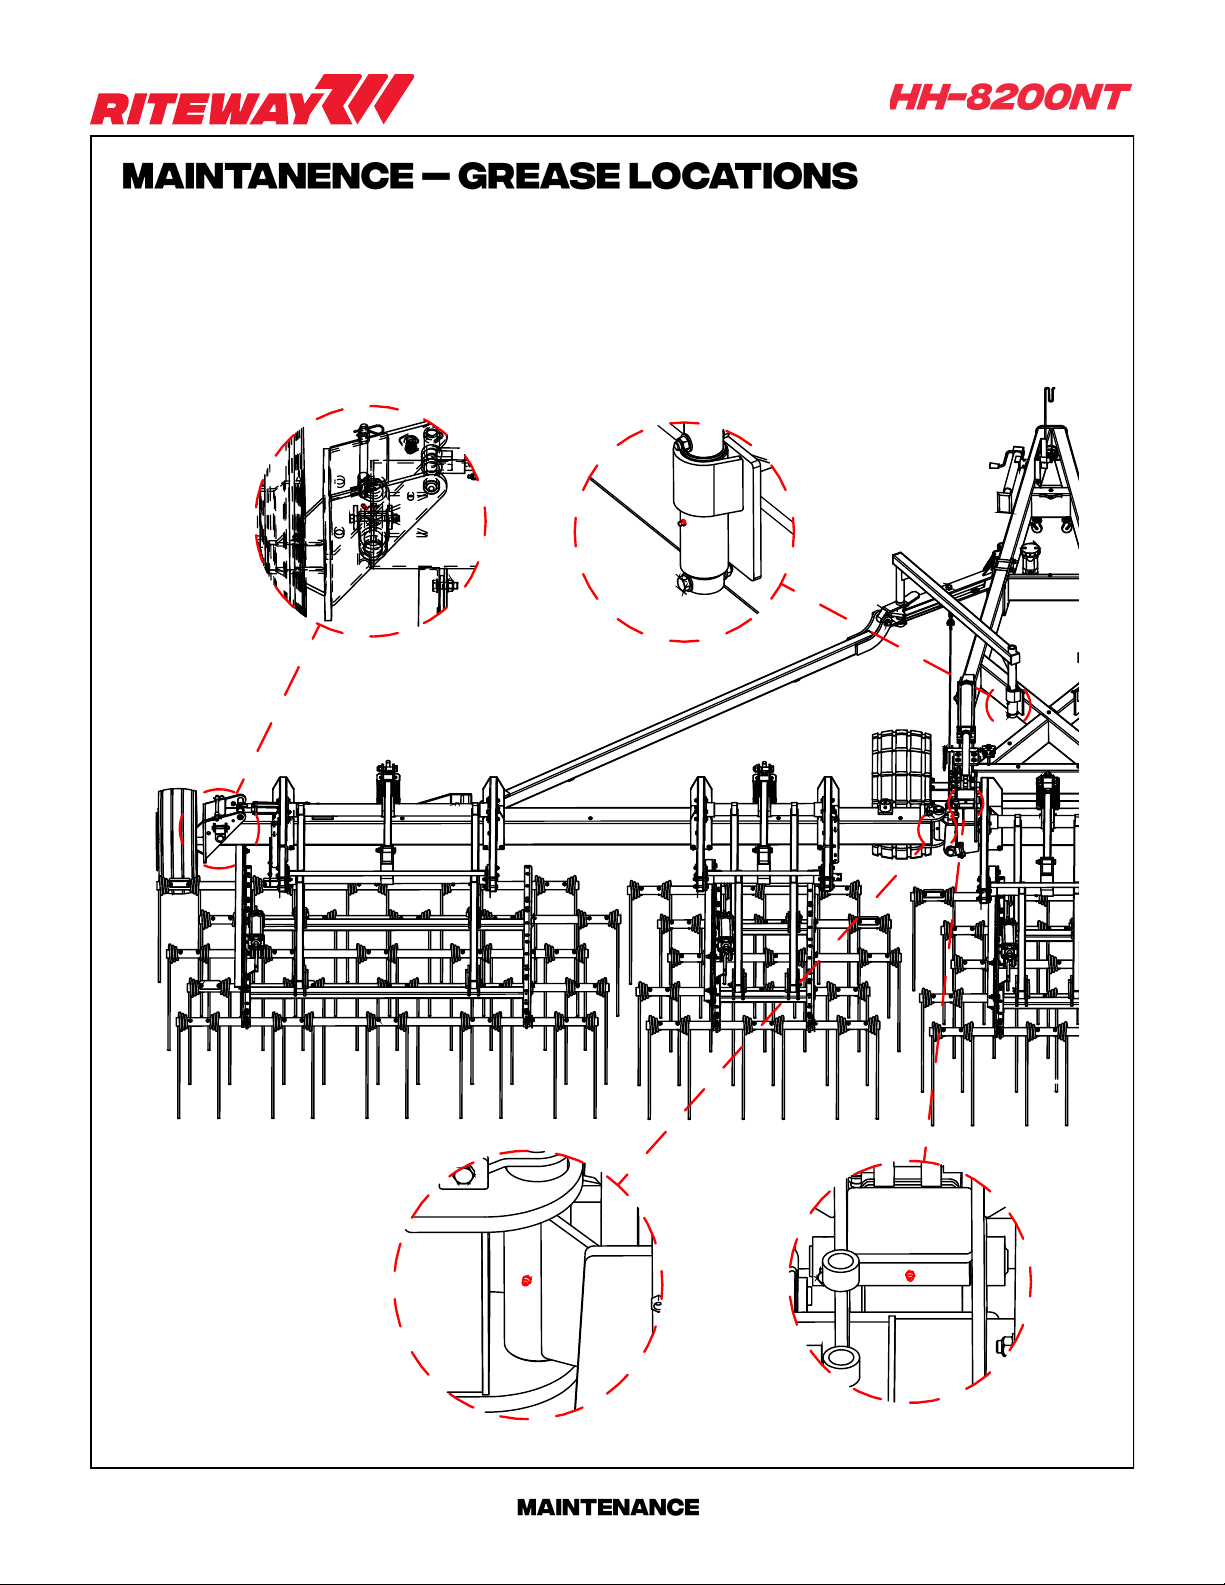
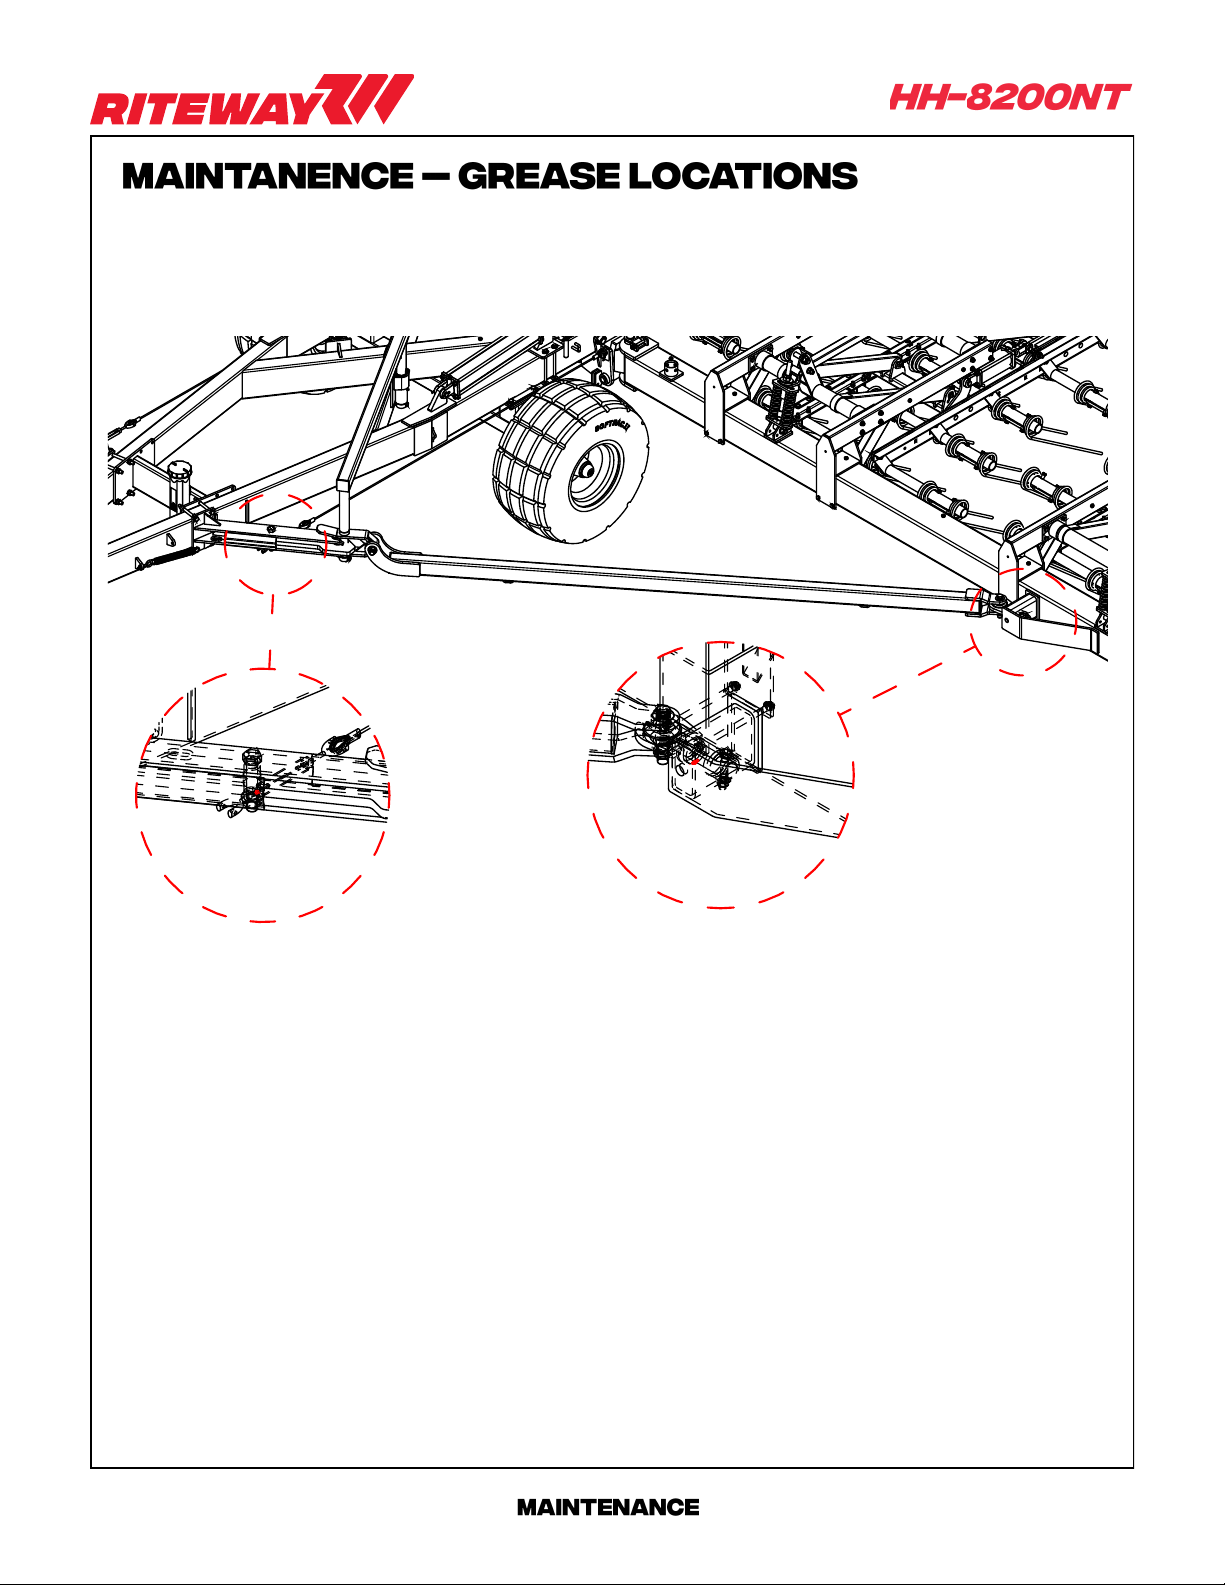
• Grease all pins and knuckles. (See decals locations)
• Grease harrow chain bearings.
• Visually inspect hydraulic hoses & fittings for leaks or damage.
• Inspect wheel bearings / hubs for tightness and grease.
• Check wheel bolts for tightness and re-torque.
• Visually inspect unit for loose, worn or damaged components.
• Coat any exposed cylinder shafts with thick oil or grease.
• Ensure that parking jacks are situated on firm ground. Failure to do so may cause the hitch to rise
sharply as the jack pads sink into the ground.
• Lock all applicable safety pins into place.
NOTE: All fasteners with locknuts that are used to join moving pieces should not be
tightened completely to allow for movement.
12
4x
2x
2x
2x
Grease should be applied to both sides of the machine.
13
2x 2x
Grease should be applied to both sides of the machine.
Other RITEWAY Farm Equipment manuals

RITEWAY
RITEWAY SHR-4100 Installation and operation manual

RITEWAY
RITEWAY ROCK PICKER 250 User manual

RITEWAY
RITEWAY ROCK PICKER 900 User manual

RITEWAY
RITEWAY ROCK WINDROWER 1200 Installation and operation manual

RITEWAY
RITEWAY F Series Installation and operation manual

RITEWAY
RITEWAY HH-8290 User manual

RITEWAY
RITEWAY RH-9222 User manual
Popular Farm Equipment manuals by other brands


AGCO
AGCO HayBoss G2 445, HayBoss G2 450 installation manual

Remlinger
Remlinger 400 Series Operator and parts manual

Amazone
Amazone TSE 3000 operating manual

Jay-Lor
Jay-Lor Because Nutrition Matters 4000 Series Operator's manual

Checchi & Magli
Checchi & Magli BABY COMPACT Use and maintenance manual

KUHN
KUHN GF 5001 MHA Operator's manual