RMG Street Light User manual

Street Light Timer
1
Version 1.0 –07/19
Street Light Timer
It is real time based timer which is used to control the street lights. It automatically
switch on/off the street lights at the preset time. By using this timer, we can switch off the lights
during the day time preventing power wastage unnecessarily. These street light timers has a
wide range of application where it can be used with floodlights in railway yards, gardens or for
straircase or parking lights, security lights, banking glow sign board, compound lights, outdoor
lights. These timers are ideal for saving the electricity in day time. It has an inbuilt battery
backup for 1000 hrs. It always shows real time on display. It has an having heavy duty relay
output (30 AMPS) can connect 3000 W load directly.
Product Description:
Power ON/OFF switch: This switch is provided at the bottom of the device to switch ON or switch OFF
the con troller unit.There is a power ON delay of 6 seconds.
Fuse: Auto cut off in event of any excessive current.
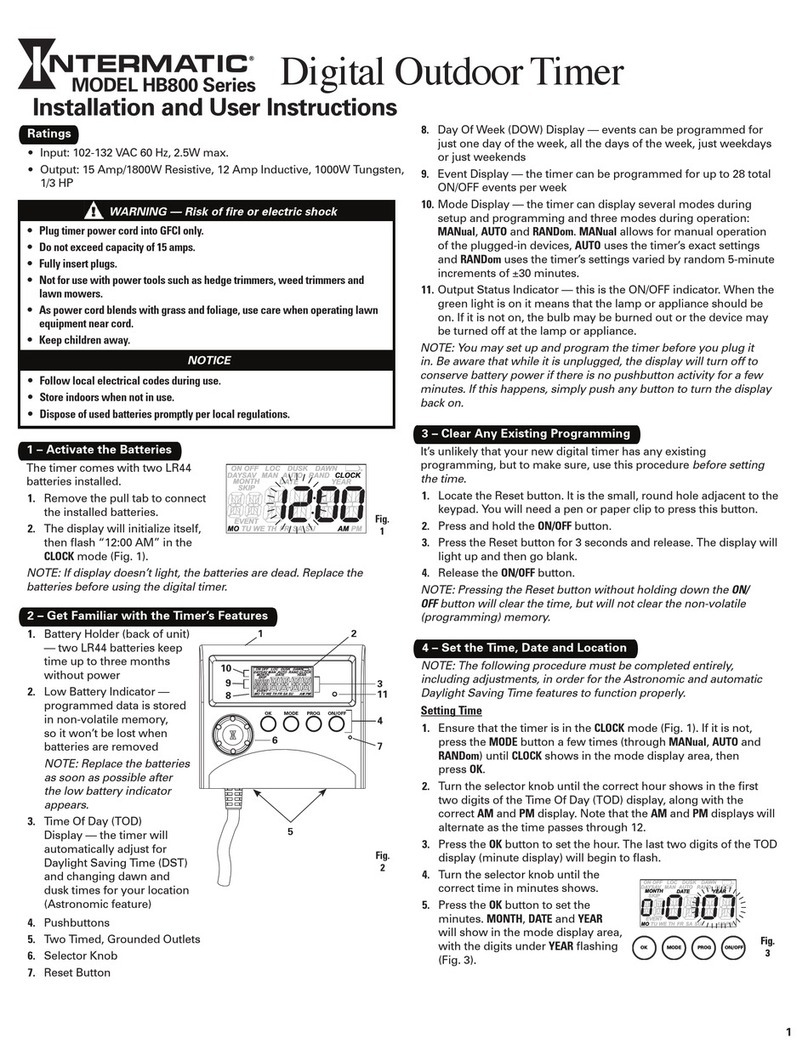
Alpha numerical 2x16 LCD display:
1. Home Screen: It will display the current date and day on the first line. It shows the current time
and status on the second line.
2. Status in the LCD: It includes Auto / Manual, Relay ON / OFF.
Menus:
1. Set Date / Time: It helps to set the current date, month, year, hours, minutes and day.
2. Set ON & OFF time: It helps to set the ON & OFF time slots.
3. Mode: It helps to select the AUTO / MANUAL operation. In AUTO mode, the timer works based on
the set time. In MANUAL mode, NEXT and UP keys are used for switching ON /OFF operation.
4. Change Password: It helps to change / update the current password.
INPUT keys:
1. SET key: It is used for entering the menu and to save the settings.
2. NEXT key: It is used for moving to the NEXT options like Menu, Successive Locations.
3. UP key: Used to set the values in date, time, password.
Installation steps
Power Connection:
Caution: Switch off the main power while doing the Power Connection steps.
Step 1: Connect Phase and neutral (AC 230V) to red and black (paired) wire of the timer respectively as
shown in the Picture1.
Step 2: Connect Blue pair cable to the switch or MCB of the Street Light in parallel as shown in the
Picture1.

Street Light Timer
2
Version 1.0 –07/19
Connection diagram:
Methods of programming the device:
Step 1: Switch on the device using power ON/OFF switch. There will be a power ON delay of 6 second
and the LCD display segments shows the company name RMG AUTOMATION on the first line and the
model number in the second line.
Step 2: So the above display changes to the below Home Screen with Date and Day on the First Line;
Time and Status on the Second line as below.
Step 3: The Status Bar displays the Motor ON/OFF status; AUTO/MANUAL mode status and TANK
FULL/EMPTY status.
Phase
Neutral
AC 230V
INPUT
Blue Pair
INPUT
Power Connection
Connection
SWITCH/MCB OF THE
STREET LIGHT
DON’T REMOVE THE EXISTING
CONNECTIONS FROM THE
SWITCH OF THE STREET LIGHT

Street Light Timer
3
Version 1.0 –07/19
Step 4: Press SET Key. It displays as asking for the password. But by default the
password set would be 0000. Hence you can press the SET key once again to enter into the settings.
There are totally four settings.
Use NEXT key to select the preferred settings.
Setting 1. Date and Time.
Step 1: Press SET key. It enters into the below screen.
Step 2: Use NEXT key to move from D (Date Location), M (Month Location), Y (Year Location), H (Hour Location),
M (Minute Location) and W (Week day Location). By using the UP key, you can select the values.
Step 3: Press SET key to save the set date and time.
Step 4: Home screen displays the set date and time.
Setting 2. ON and OFF.
Step 1: Press SET key. It asks for password. As said earlier, the password is default 0000. Press SET key once
again. Setting 1 appears. Then Press NEXT key. It enters into the below screen.
Step 2: Press SET key to enter into the setting 2. It appears as below.
Use NEXT key to select the programmable time slot. There are 25 ON/OFF programs for you to set the motor ON
and motor OFF time.
Step 3: Select 1st Programmable time slot. Press SET key. It moves to the motor ON time. Using NEXT and UP key,
set the motor ON time. Press NEXT and UP key again to set the motor OFF time.
Step 4: Press SET key to save the set date and time.
Setting 3. MODE.
Step 1: Press SET key. It asks for password. As said earlier, the password is default 0000. Press SET key once
again. Press NEXT key twice. It enters into the below screen.
Step 2: Press SET key to enter into the setting 3. Use NEXT key to select the mode. Press SET key again once the
mode is selected.

Street Light Timer
4
Version 1.0 –07/19
Step 3: The home screen displays the status bar as below if it is in AUTO mode.
Step 4: The home screen displays the status bar as below if it is in MANUAL mode.
NEXT key is used for Motor ON and UP key for Motor OFF in manual mode option.
Setting 4. CHANGE PASSWORD.
Step 1: Press SET key. It asks for password. As said earlier, the password is default 0000. Press SET key once
again. Press NEXT key thrice. It enters into the below screen.
Step 2: Use NEXT key to move from one number to another number.
Step 3: Use UP key to change the values.
Step 4: Set the desired password. Press SET key to save the password.
Step 5: From now on, you must enter the SET password to enter into the settings menus by entering the
password. Use NEXT and UP key to enter the password.
In case of doubts please call 044 - 43180017 and for What’s App 9940594413 from
Monday to Saturday 10 am to 6 pm. You may also watch the below youtube link.
Youtube link:
https://www.youtube.com/watch?v=W9fech5q4i8
Table of contents
Other RMG Timer manuals
