RND power RND 320-00134 User manual

2 3
EN EN
ENEN
1000W/1500W, DC 12V/24V, AC
220~240V/110~127V INSTRUCTION MANUAL
1. INTRODUCTION
RND 320-00134- Pure Sine Wave Power Inverter is advanced in design and equipped with a Smart Display
and QC3.0 USB. This product has a high-eciency output ranging from 1000W~3000W and minimalisc
aesthec design.
2. PRODUCT DIAGRAM
3. PRODUCT FEATURES
PLEASE READ THE INSTRUCTION MANUAL BEFORE USE
• Smart Display
• USB Quick Charge 3.0
• Adjustable Seings by Display
Buon
• Energy Saving Mode
• Intelligent Fan Control
• Multi Pre-Alarm & Shutdown
Alarm Protections: Baery
Type / Low Voltage / Short
Circuit / Overheat / Overload
INPUT VOLTAGE
OUTPUT HZ
OUTPUT WATTS*
OUTPUT VOLT TYPE
* THE OUTPUT WATTAGE PRECISION IS ABOUT ± 5% AND FOR REFERENCE ONLY. PLEASE
USE A DEDICATED AC POWER METER IF A PRECISE VALUE IS NEEDED.
TEMPERATURE
E) ENERGY SAVING / (S)TANDARD MODE
COUNTDOWN TIMER
(T) TIMER-OFF ENABLE
1500W}: output wa {12}: input volt {2}: out-
put volt type
{V1.0.001}: rmware version
DEVICE NAME

4 5
EN EN
EN EN
Pre-Alarm <!> : Low Voltage, Overload, Overtemp
Shutdown (X) : Low Voltage, Overload, Overtemp, Short Circuit, High Voltage
Press and hold the display buon for 5 seconds to switch to the sengs menu. Here, click the display but-
ton to select seng. Once the seng is picked, press and hold the display buon to conrm change.
SETTINGS
Example:
Eco Mode: ON/OFF Hz: 50/60Hz Timer OFF: 1hr/2hr/3hr/6hr/12hr/24hr
Fan: AUTO/ON Buzzer: ON/OFF V out: 220/230/240V (110/120/127V)
Use the RED baery cord to connect from the posive terminal to (+) the DC baery. Use the
baery cord to connect from the negave terminal to the DC baery.
The chassis earth lug should be connected to an earth point, which will vary depending on where the power
inverter is installed. In a vehicle, connect the chassis ground lug to the chassis of the vehicle. In a boat,
connect to the boat’s ground system. In a xed locaon, connect to earth.
Connect the remote plug to the remote port on the front panel. Turn the inverter power switch from O (
○ ) to the Remote Mode . When in remote mode, the inverter’s main power will be controlled by the
remote switch.
6. OPERATION
When connected to any appliance, be sure to turn on the inverter rst. Then, turn on the power switch of
the appliance.
Under energy-saving mode, the inverter will detect AC output every 4~6 seconds thus causing a 4~6 seconds
delay to start up. When using power tools such as drill, electric saw, mower, …etc., we suggest switching to
normal mode for a beer response me.
When the inverter operates in full output capacity for a long period, the temperature of the inverter will
increase and potenally shutdown by the over-temperature protecon mode. Therefore, it is recommended
to reduce the AC output capacity if a long connuous operang me is required.
*Applicaons are for reference only. To avoid any potenal damage to the inverter, please
carefully read the manual and specicaon of the appliances before connecng to the inverter.
Mobile phone, tablet, computer, camera. Travel: Drone, coee machine, microwave oven,
refrigerator. Industrial: Electric drill, vacuum cleaner, electric chainsaw, pump.

6 7
EN EN
EN EN
7. SPECIFICATION
System Model: SN-1000LCD Model: SN-1500LCD
Continuous Power 1000W 1500W
Surge Power 2000W 3000W
Output Voltage 110/120/127 VAC; 220/230/240 VAC BTN
Output Waveform Pure Sine Wave
Total Harmonic Distortion < 3%
Output USB Port QC3.0 x 2 Ports
Standby Current (Normal
Mode)
DC 12V: < 1.0A; DC 24V: <
0.8A
DC 12V: < 1.2A; DC 24V: <
0.9A
Standby Current (Saving
Mode) DC 12V: < 0.15A; DC 24V: < 0.15A
Output Regulation < ±5% Intelligent PWM
Output Frequency 50/60 Hz BTN
Input Voltage DC 12V: 10~15V; DC 24V: 20~30V
Eciency > 85%
Protection
Input Type Auto-Detection YES
Input Polarity Reverse
Protection Fuse
Input Low Voltage Pre-Alarm DC 12V: < 10.5V; DC 24V: < 21.0V
Input Low Voltage Shutdown DC 12V: < 10.0V; DC 24V: < 20.0V
Output Short Circuit
Protection YES
Output Overheat Protection > 80°C Pre-Alarm, > 90°C Shutdown & Alarm
Output Overload Protection > 110% Pre-Alarm, > 120% Shutdown & Alarm
Cooling Intelligent Fan BTN
Mechanical
Fuse DC 12V: 25A x 6PCS;
DC 24V: 20A x 6PCS
DC 12V: 25A x 8PCS;
DC 24V: 20A x 8PCS
AC Outlets EU: 2; USA: 3 (GFCI optional)
Dimension (L x W x H) 360 x 227 x 88 mm 430 x 227 x 88 mm
Net Weight 3.6 kg 5.5 kg
Note: BTN Adjustable by Display Buon
DO NOT place the inverter near any water, moisture, oil or grease
DO NOT expose the inverter to direct sunlight or heat source
Make sure to provide adequate venlaon to the inverter
Make sure to keep the inverter out of reach from children
DO NOT use the inverter near any ammable substance
•
Check if all the contact parts are connected thoroughly
Check if the fuse has been damaged/burned. The fuse is located on the PCB board.
Check the receptacle wiring. Repair if necessary.
•
Reduce the waage of your load to lower than maximum connuous output power
•
Turn o the inverter. Then, reduce the load or wait unl the inverter as cooled. Lastly, turn the inverter
back on.
• Recharge your baery and resume operaon.
• Turn o the inverter. Press and hold the display buon. Turn on the inverter while
keep holding the display buon. Aer 5 seconds, the display will show “SETTINGS RESET”. Release the
display buon and the sengs reset is completed. Result: This operaon will reset all the conguraons
on the inverter including but not limited to: energy-saving mode, output frequency, buzzer, output
voltage type, mer sengs.
• Turn o the inverter. Press and hold the display buon. Turn on the inverter while
keep holding the display buon. Aer 5 seconds, the display will show “SETTINGS RESET”. Connue to
hold the display buon. Aer 10 seconds, the display will show “FACTORY RESET”. Release the display
buon and the factory reset is completed. This operaon will reset the rmware on the inverter
back to original factory rmware.
Table of contents
Other RND power Inverter manuals
Popular Inverter manuals by other brands
m-Dimension
m-Dimension 12/300 owner's manual
WindTronics
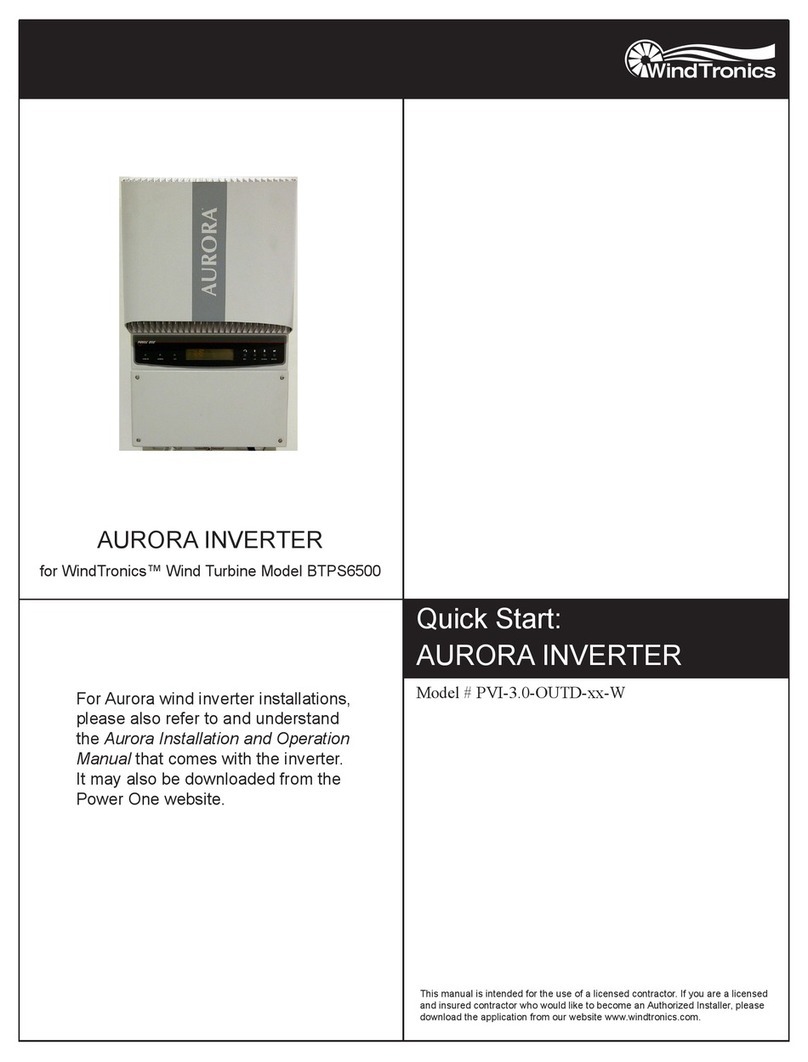
WindTronics AURORA PVI-3.0-OUTD-W quick start guide
Link electronics
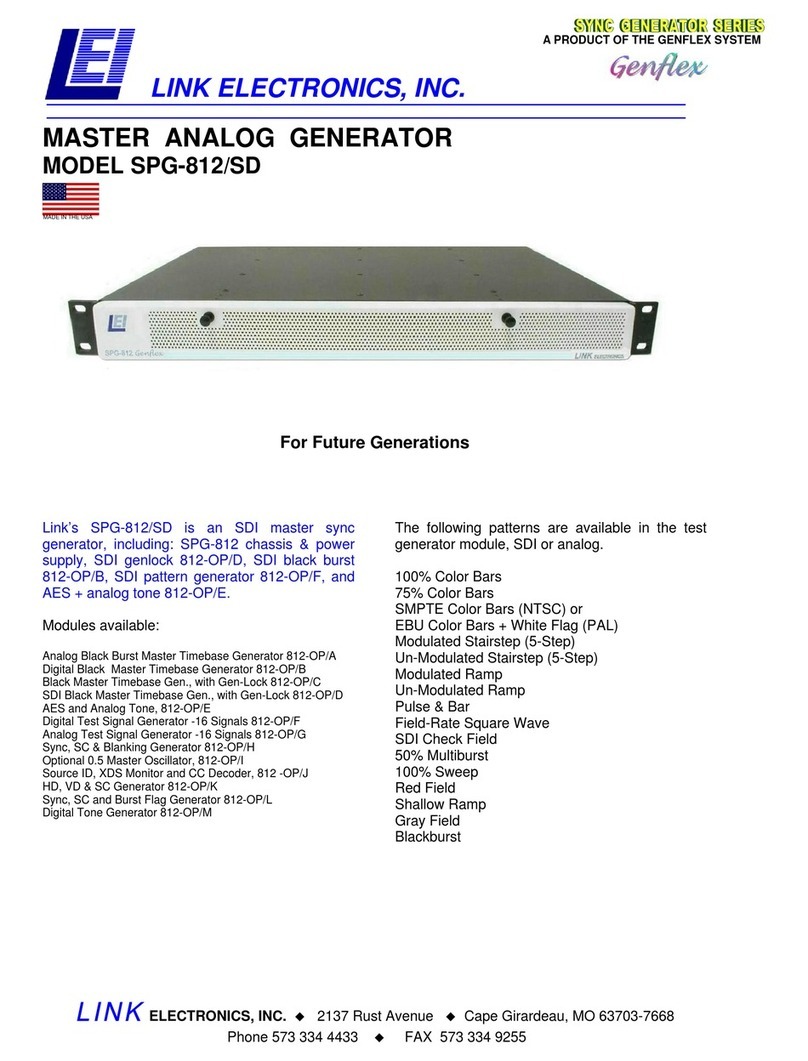
Link electronics Master Analog Generator SPG-812/SD Specification sheet

Chicago Electric
Chicago Electric 66967 Set up and operating instructions
SMA
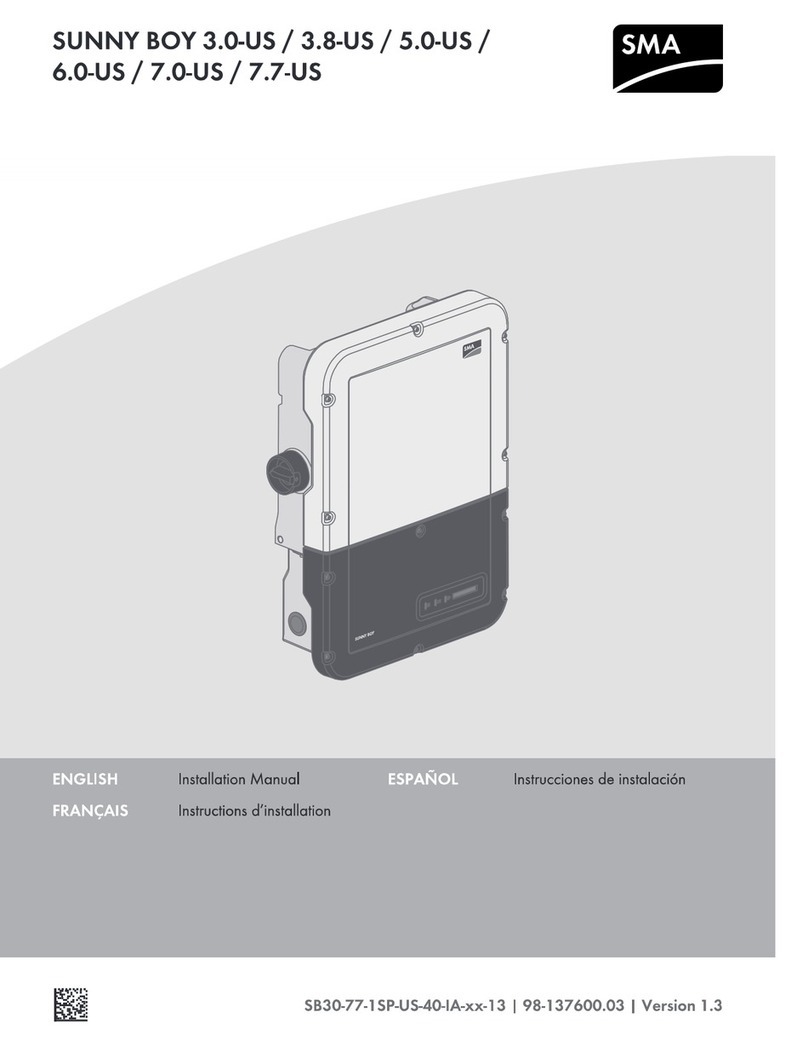
SMA SUNNY BOY 3.0-US installation manual
Generac Power Systems
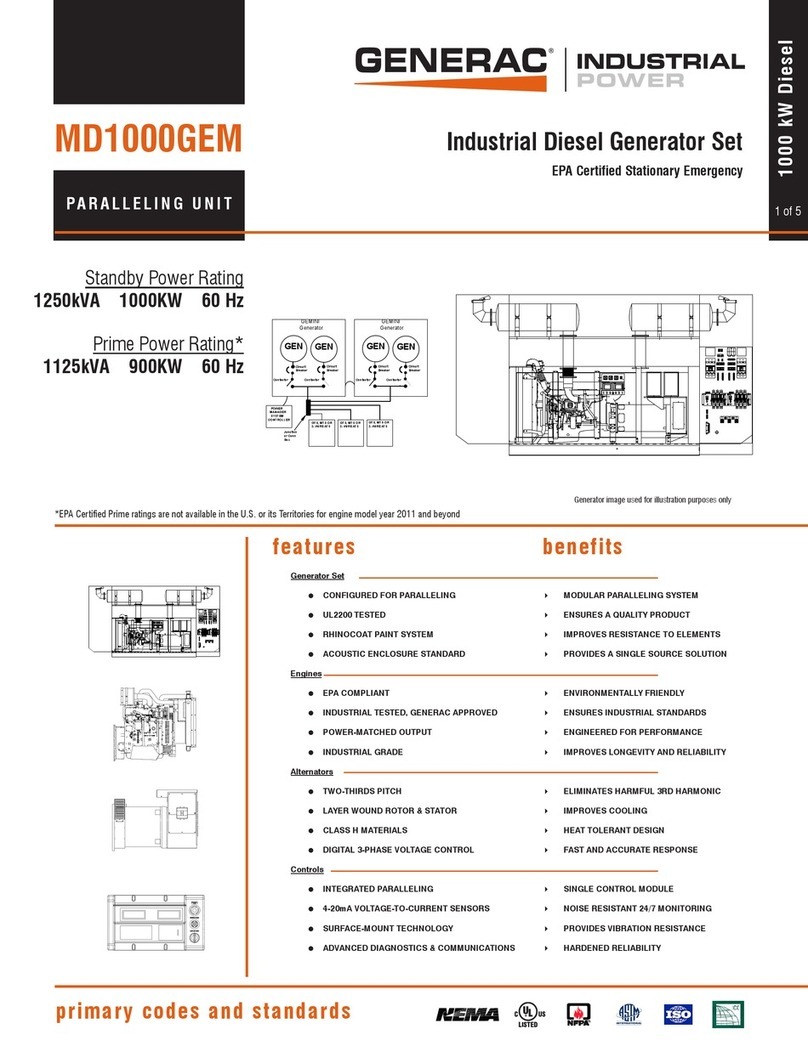
Generac Power Systems MD1000GEM overview


