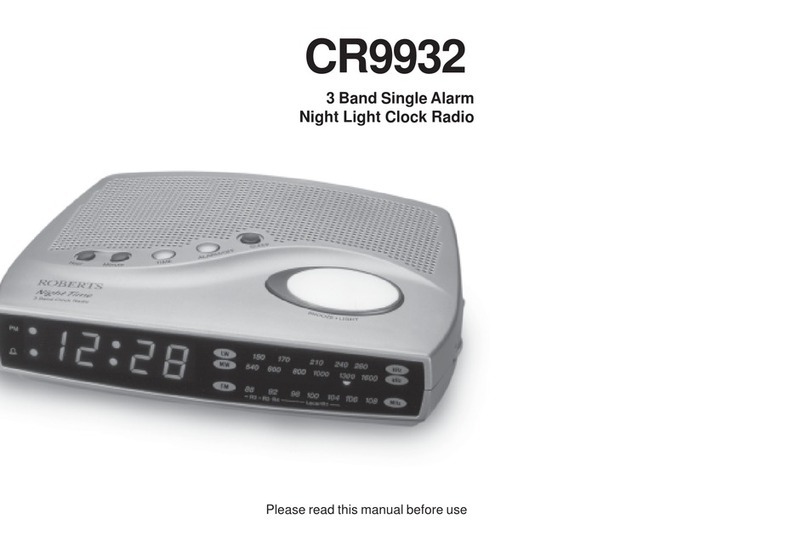
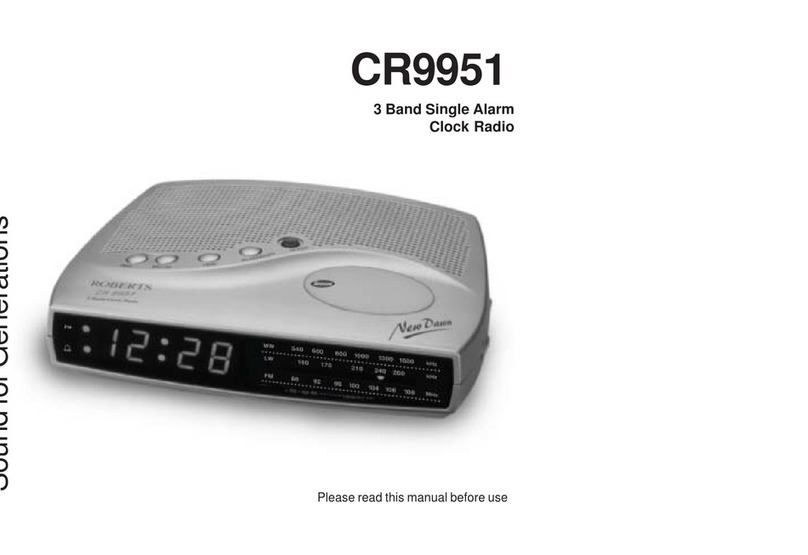
Roberts CR9920 User manual

CR9920
3 Band Single Alarm
Clock Radio with Pillow TalkTM REMOTE
Please read this manual before use
ROBERTS
Sound for Generations
3 Band Clock Radio
Time
Hour
Minute
Alarm/Off
Sleep
PillowTalk
TM

Controls
(Left side)
1
2
1. Dimmer switch
2. Function switch
3. Headphone/PillowTalk
Remote socket
4. Volumecontrol
9. Alarm/Offbutton
10. Minutebutton
11. Hourbutton
12. Timebutton
(Right side)
(Top)
1
4
5
6
1112
5. Wavebandselector
6. Tuningcontrol
7. Sleepbutton
8. Snoozebutton
3
10 9 8 7
Time
Hour
Minute
Alarm/Off
Sleep

If you need any further advice, please call our Technical Helpline on :-
02087580338(Mon-Fri)
Controls
(Front)
13 14
16
13. PMindicator
14. LED dial pointer
15. Battery compartment (underside)
16. Alarm indicator
2
PM
88
540
92
600
96
800
10 0
10 0 0
10 4 10 6
13 00
10 8
16 00
150 170 210 240 260
15
TM
17
18
19
17. PillowTalk Remoteplug
18. Remote Snooze/Sleep button
19. Pillow Talk Remote loudspeaker

Switching on and setting the time
Before usingyourclock radioyou must firstset thecorrecttime.
1. Placetheunitonaflatsurface.Plugthepowercordintothewallsocket
andswitchon.
2. The clock display will flash 12:00.
3. Pressand holddown theTime Set button.
4. WhilstholdingdowntheTimeSet buttonpressthe Hour,or Minute
buttons toset thetime.Release thebuttonswhenthecorrect timeis
reached.Theclockusesa12hourdisplaywithaPMindicator.Ensure
that the correct 12 hour cycle is selected.
PM
88
540
92
600
96
800
10 0
10 0 0
10 4 10 6
130 0
10 8
160 0
150 170 210 240 260
3
PM
Time
Hour
Minute
Time
Hour
Minute

If you need any further advice, please call our Technical Helpline on :-
02087580338(Mon-Fri)
Listening to the Radio
1. Turnon theradio byslidingtheFunction switch tothe 'On'position.
The LED dial pointer will light up indicating that the radio is
switched on.
2. Select therequiredwavebandusingtheWavebandselectorswitch.
3. Tune in to the desired station by rotating the Tuning control. The
station frequency is indicated by the LED dial pointer.
The Wire aerial located on the rear of your clock radio is for FM
reception. The wire should be fully extended and positioned for
optimumreception.
For MW and LW reception there is a built in ferrite aerial. Rotate the
your clock radio to the position giving best reception.
4. Adjust the volume by rotating the Volume control.
5. The radio can be switched off by sliding the Function switch to the
'Off' position.
4
Off Buzz Auto On
88
540
92
600
96
800
10 0
10 0 0
10 4 10 6
1300
10 8
160 0
150 170 210 240 260
FM LWMW
Tunin
g
88
540
92
600
96
800
10 0
10 0 0
10 4 10 6
1300
10 8
160 0
150 170 210 240 260
Volume
Off Buzz Auto On

Alarm
The alarm can be set to wake you by either the buzzer or the radio.
Settingalarmtime
1. Press and hold down the Alarm/Off button.
2. WhilstholdingdowntheAlarm/Offbuttonpressthe Hour,orMinute
buttons to set the time. Release the buttons when the correct alarm
time isreached.Theclockusesa12hourdisplaywithaPMindicator.
Ensure that the correct 12 hour cycle is selected.
Checking the alarm time
1. Tocheck alarmtime, pressandhold downthe Alarm/Off buttonthe
display will show the alarm time.
5
Alarm/Off
Alarm/Off
PM
PM
Time
Hour
Minute

If you need any further advice, please call our Technical Helpline on :-
02087580338(Mon-Fri)
Setting the alarm to wake to buzzer
1. Setthealarmtimeaspreviouslydescribed. SettheFunctionswitch
to the 'Buzz' position. The Alarm indicator will light.
The alarmwillsoundeverydayatthepresettimefor1hour 59minutes.
ToturnoffthealarmuntilthenextdaypresstheAlarm/Offbutton.To
turn off the alarm permanently set the Function switch to the 'Off'
position.
Setting the alarm to wake to radio
1. Setthealarmtimeaspreviouslydescribed. SettheFunctionswitch
to the 'Auto' position. The Alarm indicator will light.
Ensurethatthevolumeissettothecorrectlevelandthedesiredstation
is tuned in.
The alarmwillsoundeverydayatthepresettimefor1hour 59minutes.
ToturnoffthealarmuntilthenextdaypresstheAlarm/Offbutton.To
turn off the alarm permanently set the Function switch to the 'Off'
position.
6
Off Buzz Auto On
Off Buzz Auto On
PM
PM

Snooze control
The radio or buzzer alarm can be silenced for 9 minutes by pressing the
Snoozebutton.Thissequencecanberepeatedduringthealarmcycle(1
hour59min). TheSnoozecontrolcanalsobeoperatedviathePillowTalk
Remote- seefollowingpage.
Sleep timer
The radio can be set to turn off after a preset time has elapsed.
Press and hold down the Sleep button until the desired time is reached
(maximum 59 minutes in 1 minute steps). The radio will switch off after
the sleep time has elapsed. To increase the sleep time by one hour,
depress the hour button once whilst holding down the Sleep button. The
clock will display the sleep time 1:59.
To cancel the sleep function before the preset time has expired, press
the Snooze button. The sleep function can also be cancelled via the
Pillow Talk Remote - see following page.
PM
7
DimmerSwitch
The Dimmer switch located on the left side of your clock radio will allow
you to adjust the intensity of the clock display to suit room brightness.
High Low
Dimmer
Headphones (on rear)
AHeadphoneSocket (3.5mm)isprovidedforusewitheitherheadphones
or an earpiece. Inserting a plug automatically mutes the internal loud-
speaker.
Alarm/Off
Alarm/Off

If you need any further advice, please call our Technical Helpline on :-
02087580338(Mon-Fri) 8
TM
Pillow Talk Remote
YourPillow TalkRemote containsremotecontrols forSnooze andSleep
cancelfunctions.Thebuiltinloudspeakerallowsyoutolistentoyourclock
radio or wake up to the radio or buzzer alarms without disturbing your
partner. Ideal for listening to the late night Football or Cricket match.
1. InserttheplugfromthePillowTalkRemoteintotheHeadphonesocket
on the rear of your clock radio, the internal loudspeaker will be
automaticallymuted.
2. Place the Pillow Talk Remote under your Pillow with the slots in the
loudspeakergrilleuppermost.
3. SwitchontheradiobyslidingtheFunctionswitchtothe'On'position.
4. Adjust the Volume control to a comfortable level.
5. The radio or buzzer alarms can be set and operated as previously
described,theonlydifferencebeingthatsoundswillbeviayourPillow
TalkRemote.
Remote snooze control
1. The radio or buzzer alarm can be silenced for 9 minutes by pressing
theSnooze button onthePillowTalk Remote.Thissequencecan be
repeated during the alarm cycle (1 hour 59 min).
Remotesleep timer cancel
1. Tocancelthesleepfunctionbeforethepresettimehasexpired,press
the Snooze button on the Pillow Talk Remote.
Z
PillowTalk
TM

9
Fuse
This apparatus must be protected by a 3A fuse (BS1362) in a 13A plug
(BS1363). If another type of plug is used a 5A fuse should be fitted in the
plug,adaptorordistributionboard.
IF IN DOUBT - CONSULT A QUALIFIED ELECTRICIAN.
Back-upBattery(notnecessaryfortheunittofunction)
Slidethebatterycovercatchinthedirectionofthearrow.Removethebattery
cover.Fita9voltIECsize6LR61(6F22,PP3)orequivalent batteryintothe
compartment.Replacethebatterycover.
Thetimeandalarmsettingswillberetainedduringatemporaryfailureofthe
ACmainssupply.TheLEDdisplaywillnotbeoperational.Thedisplaywill
beextinguished toconservebattery life.
The wire coloured BLUE must be
connectedtothe terminalmarked N
orcolouredBLACK.
Thewire colouredBROWN mustbe
connectedtotheterminalmarkedLor
colouredRED.
E
L
N
3 amp
Brown
Blue
(Live)
(Neutral)
(Earth)
Cord
(Underside)
General
Donotallowthisunittobeexposedtowaterorsteam. Itisrecommended
that the FM band be used wherever possible as better results in terms
of quality and freedom from interference will usually be obtained than
on the MW or LW bands.
Mainssupply
The CR9920 will operate from a supply of AC 230volts, 50Hz only.
For your convenience this product is supplied with a plug which is fitted
with a fuse of the appropriate rating. If the plug supplied is not suitable
for your socket outlet, it should be removed by unscrewing the plug top,
the terminal screws, and removing the cable.
The correct style of plug to suit your household together with a correctly
rated fuse should be fitted.
IFINDOUBT-CONSULTAQUALIFIEDELECTRICIAN
IMPORTANT.DONOT makeanyconnectiontothelargerterminalwhich
is marked with the letter E or by the safety earth symbol or coloured
Green or Green-and-yellow.
The wires in the mains lead are coloured in accordance with the
following codes :-
BLUE - NEUTRAL BROWN - LIVE
As these colours may not correspond with the coloured markings
identifying the terminals in your plug, proceed as follows:-
If you need any further advice, please call our Technical Helpline on :-
02087580338(Mon-Fri)
The Company reserves the right to amend the specification without notice.
Specifications
Power Requirements
Mains AC 230 volts, 50Hz only
Back-up Battery IECsize 6LR61(6F22, PP3)
Frequency Coverage
FM 87.5 - 108MHz
MW 525 -1610kHz
LW 147-284kHz
Circuit Features
Loudspeaker 75mmdiameter 8ohms
OutputPower 0.3W RMS
Aerial System FM WireAerial
MW Built-inFerriteaerial
LW Built-inFerriteaerial
ROBERTSRADIOLIMITED
PO BOX 130
MEXBOROUGH
SOUTH YORKSHIRE
S64 8YT

ROBERTS RADIO TECHNICAL SERVICES DEPARTMENT
97-99 Worton Road
IsleworthMiddlesex
TW7 6EG
TechnicalHelpline:-02087580338(Mon-Fri)
Issue 1
Guarantee
Thisinstrumentisguaranteed fortwelvemonthsfromthedate ofdeliverytotheoriginalowner againstfailureduetofaultyworkmanshiporcomponent
breakdown,subjecttotheprocedurestated below.Shouldanycomponentorpartfailduring thisguaranteeperioditwillberepairedor replacedfreeof
charge.
Theguaranteedoesnotcover: 1.Damageresulting fromincorrect use.
2.Consequentialdamage.
3.Receiverswithremovedordefacedserialnumbers.
Procedure:
Any claim under thisguarantee should be made throughthe dealer from whom the instrumentwas purchased. It is likelythat your Roberts' dealer will
beabletoattendtoanydefectquicklyandefficiently,butshoulditbenecessarythedealerwillreturntheinstrumenttothecompany’sservicedepartment
forattention.IntheeventthatitisnotpossibletoreturntheinstrumenttotheRoberts'dealerfromwhomitwaspurchased,pleasecontactRobertsRadio
TechnicalServicesDepartmentattheaddressshownbelowbeforetakingfurtheraction.
These statements do not affect the statutory rights of a consumer.
Table of contents
Other Roberts Clock Radio manuals

Roberts
Roberts ChronoDAB User manual

Roberts
Roberts DreamDock User manual

Roberts
Roberts CR960 User manual

Roberts
Roberts CR9922 User manual

Roberts
Roberts CR9900 User manual

Roberts
Roberts ecologic 6 User manual

Roberts
Roberts CRD-36 User manual

Roberts
Roberts CRD40 User manual

Roberts
Roberts CRD-9 User manual

Roberts
Roberts CR9933 User manual

Roberts
Roberts Milano 3 User manual

Roberts
Roberts ecologic 5 User manual

Roberts
Roberts DreamTime 2 User manual

Roberts
Roberts CR9931 User manual

Roberts
Roberts Ortus DAB Charge User manual

Roberts
Roberts CRD-51 User manual

Roberts
Roberts CR980 User manual

Roberts
Roberts MessageR User manual

Roberts
Roberts CR9987 User manual

Roberts
Roberts Ortus Time User manual