ROCKSLIDEENGINEERING.COM - NEED ASSISTANCE? 435.752.4580 - PAGE 8 REVISED 4/7/2021
Step 11
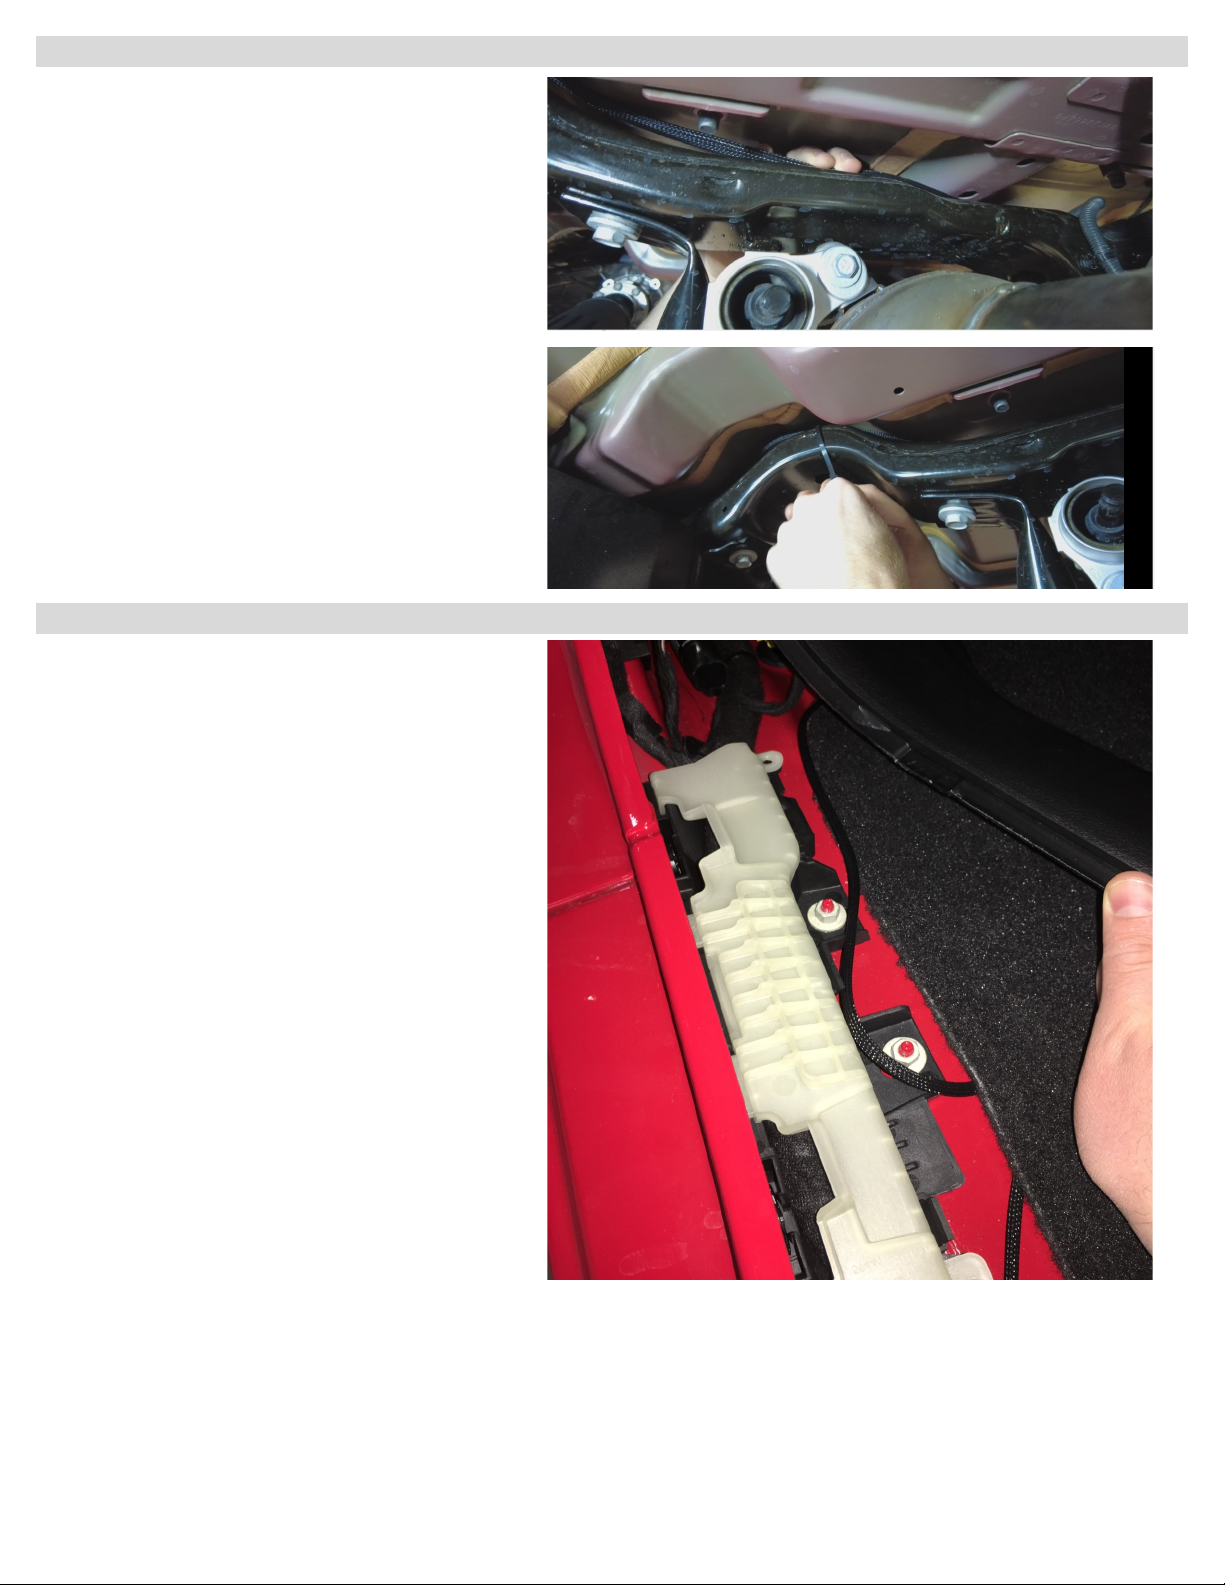
Starting on the driver side, locate the
three body bolts on the underside of the
vehicle. Back the three body bolts
about 1/4” to allow free movement of
the washer up and down.
**Breaker bar may be required to
loosen the body bolts. SEE BELOW IN
STEP THREE FOR TIPS FROM
MECHANICS.
Step 12
**TIP FROM A MECHANIC***
As you start loosening, as soon as you
hear the bolt pop or feel it bind, re-
verse direcon 1/4 to 1/2 turn to clear
the threads. This will make it easier as
you progress.
—————————————-
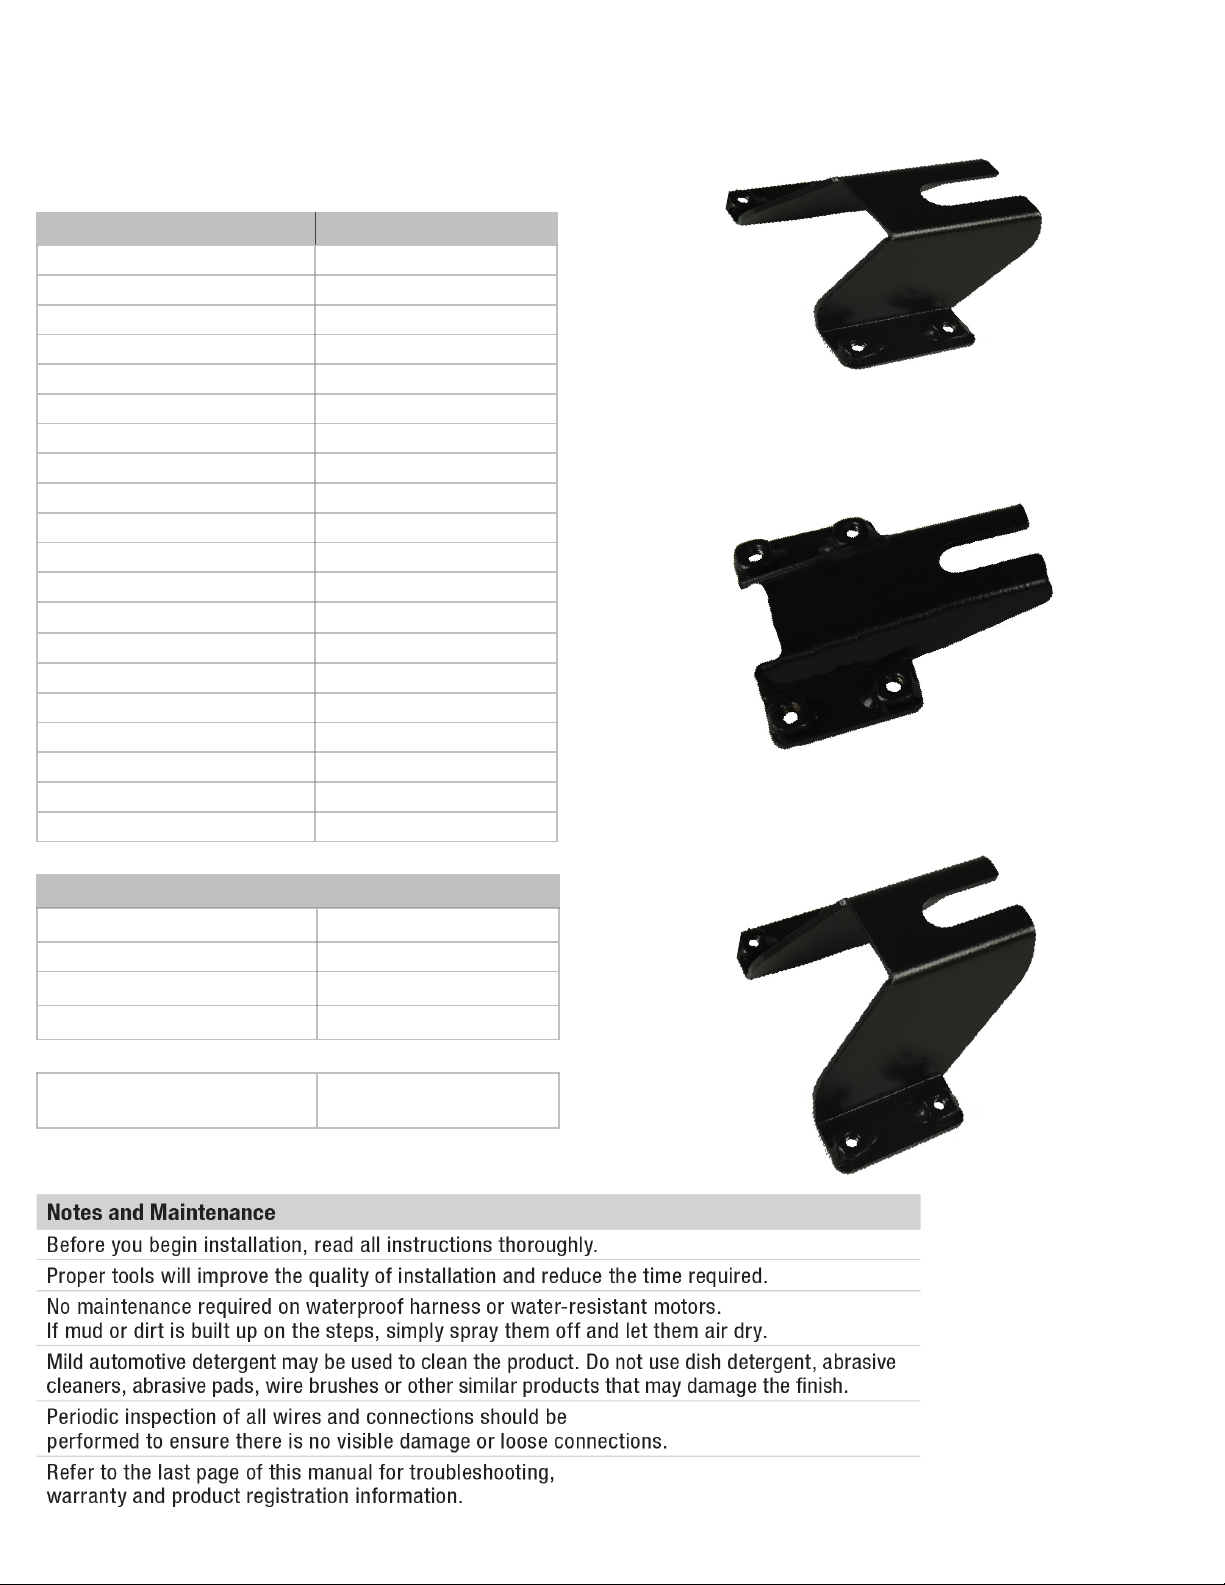
With each body bolt loose, slide each
bracket between the bolt head and the
washer in their correct positions. Install
the rear bracket at a slight angle and the
middle bracket in straight.
Rear—Tall Bracket
Middle— Flat Bracket
**In some cases the washer doesn’t
allow enough gap you will have to use a
small file or Dremel tool to remove the
two-three threads closest to the washer.
This can be achieved by either using a
file while the bolt is still in the hole or
you can remove it completely.
Mechanic Install—Step 10
**IF INSTALLED, REMOVE FACTO-
RY SLIDERS*
Start on the drivers side.
Remove two front pinch seam bolts on
the lower front corner panel fender
using a 10mm socket and wrench. Leave
the holes open. Keep the hardware as
you will re-install it in the final step
Step 13
Install the front bracket at a 45 degree
angle to the jeep, with the bracket
between the head and washer,
and twist straight so the bracket faces
towards the side of the jeep.
Front—Short Bracket