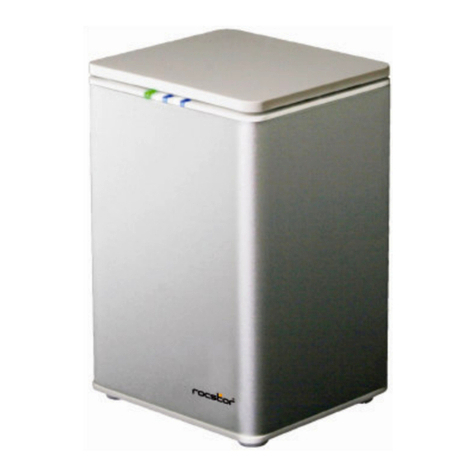
Rocstor Rocpro U32 User manual
Other Rocstor Storage manuals

Rocstor
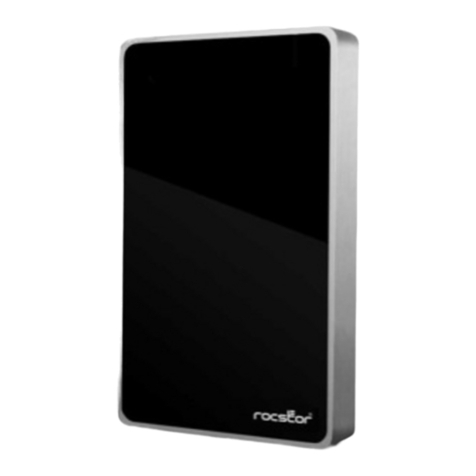
Rocstor ROCMETRIX User manual

Rocstor
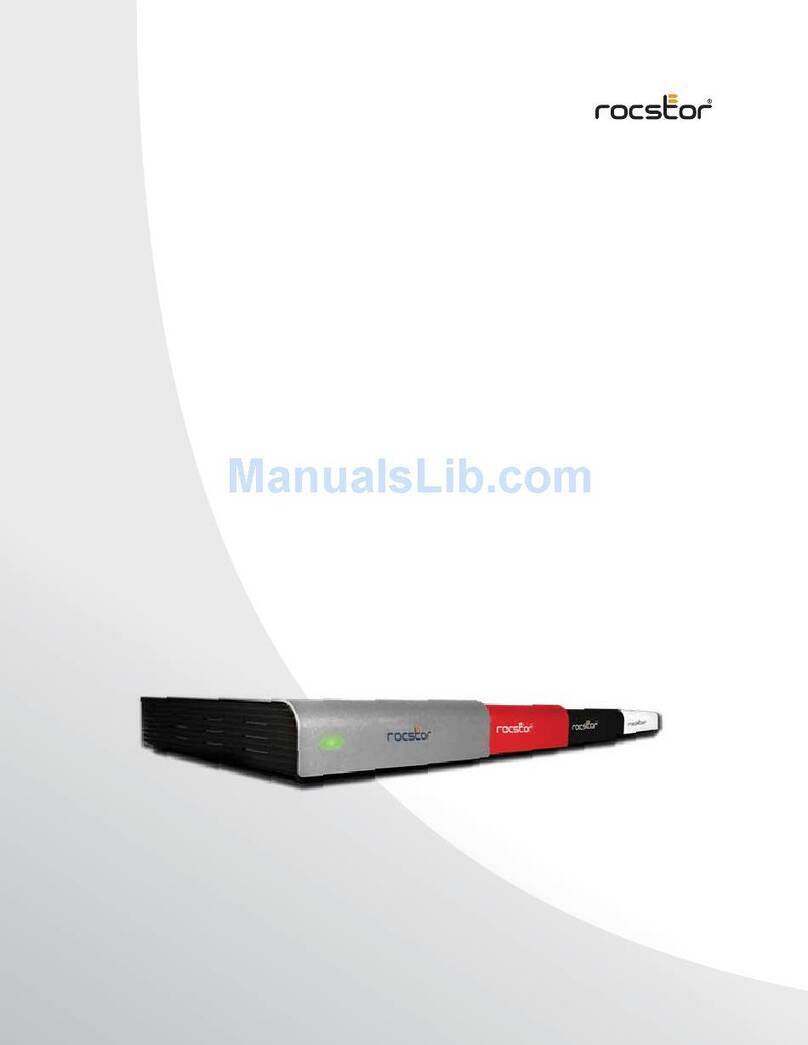
Rocstor Rocsafe MX User manual
Rocstor
Rocstor ROCPORT 9CX 320GB User manual

Rocstor
Rocstor 2T User manual
Rocstor
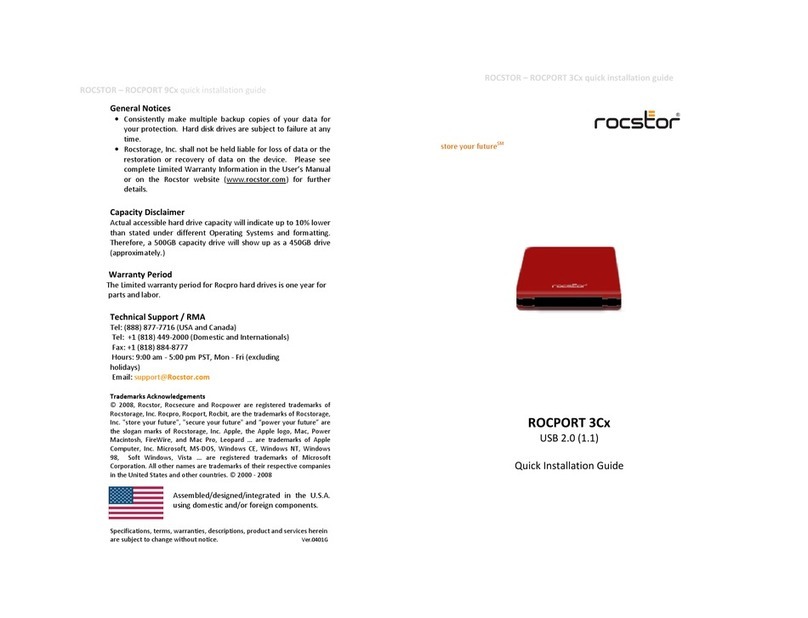
Rocstor Rocport 3CX User manual

Rocstor
Rocstor Rocpro P33 User manual

Rocstor
Rocstor accustor PR3600 User manual
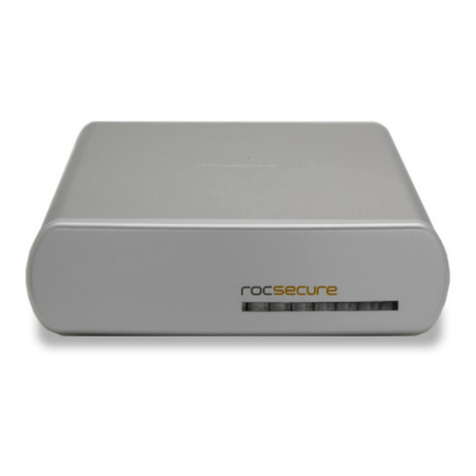
Rocstor
Rocstor ROCBIT 3A User manual
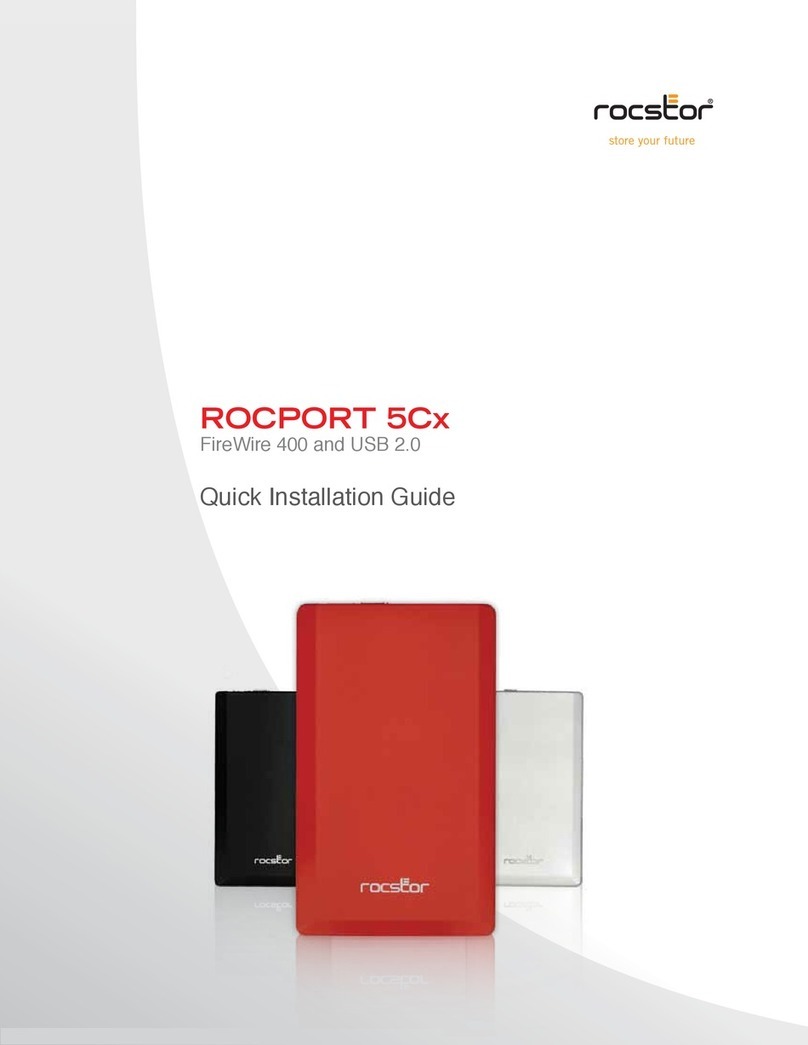
Rocstor
Rocstor Rocport 5CX User manual
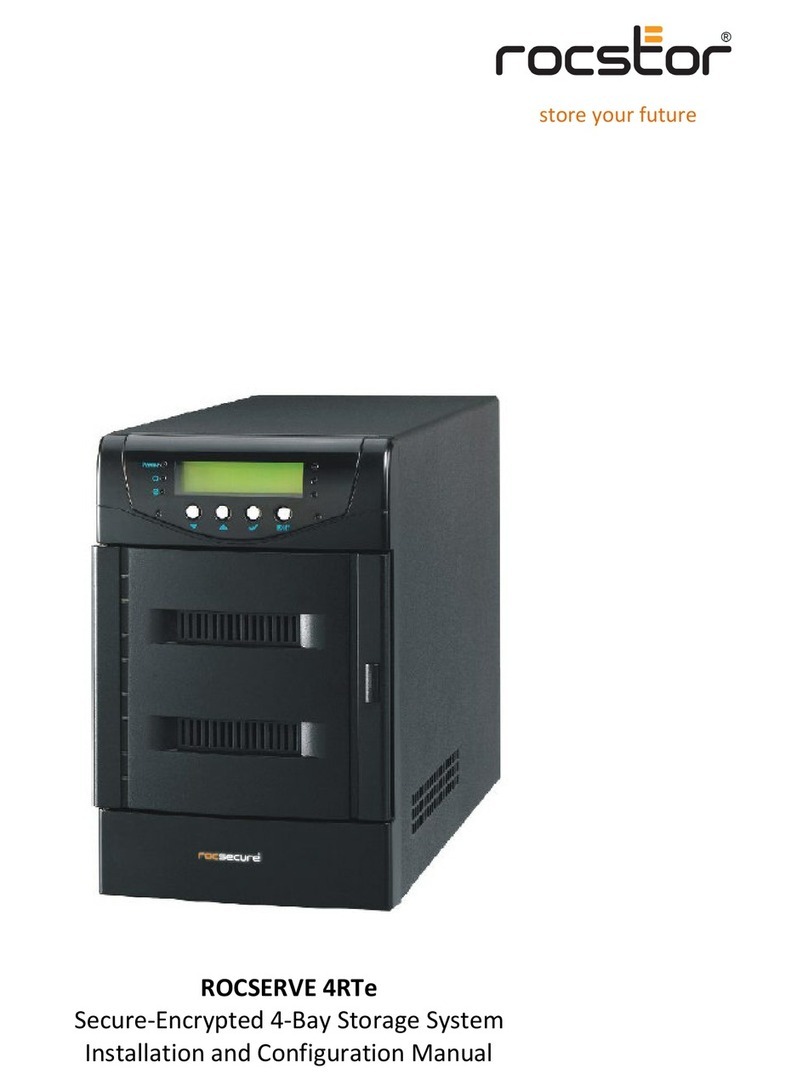
Rocstor
Rocstor ROCSERVE 4RTe Manual
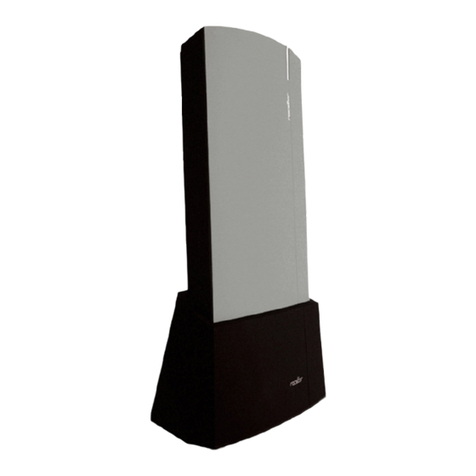
Rocstor
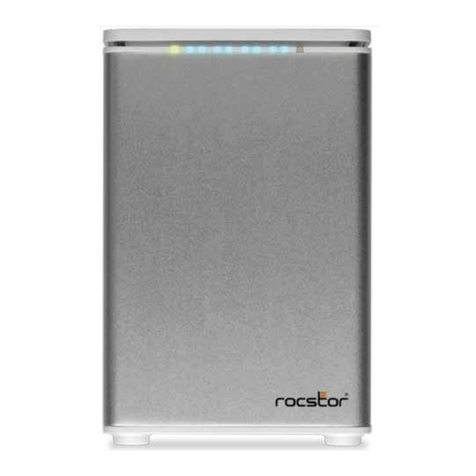
Rocstor Eagleroc E3 1TB User manual
Rocstor
Rocstor ARCTICROC 4T User manual

Rocstor
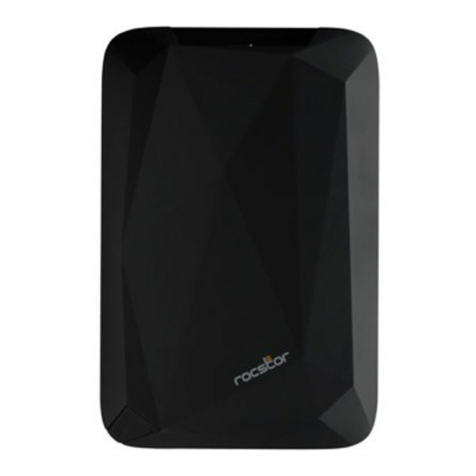
Rocstor Rocport 3CX User manual
Rocstor
Rocstor AIRHAWK A9 User manual
Rocstor
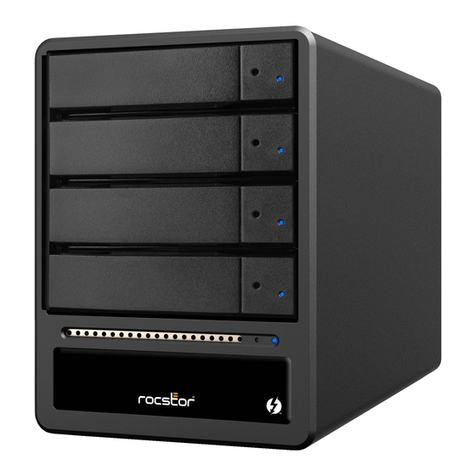
Rocstor ROCPRO T24 User manual

Rocstor
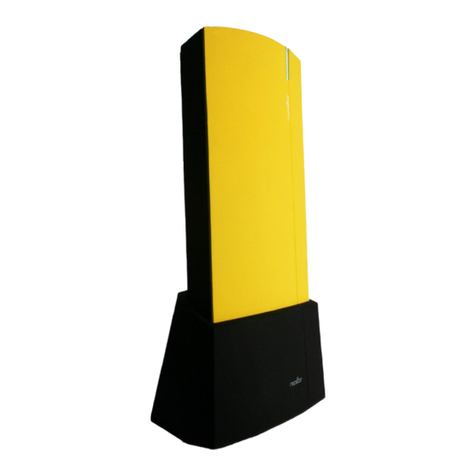
Rocstor ARCTICROC 4T User manual
Rocstor
Rocstor EAGLEROC E9 User manual
Rocstor
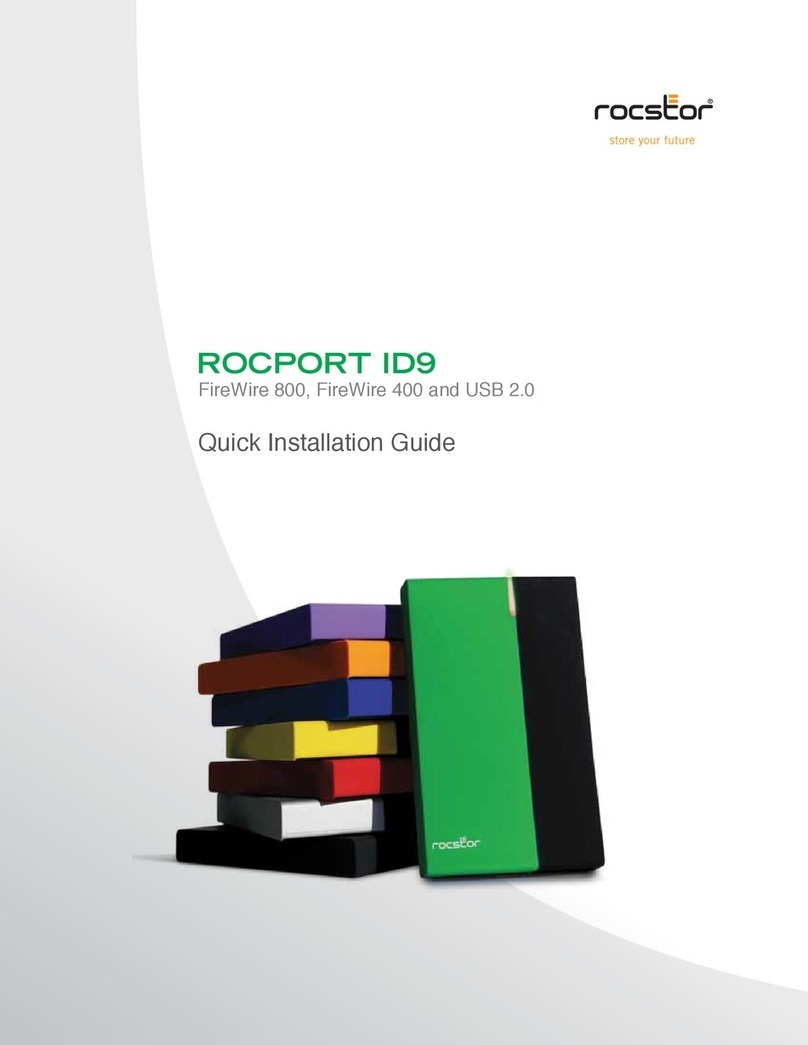
Rocstor Rocport ID9 User manual

Rocstor
Rocstor ROCPORT 9CX 320GB User manual
Rocstor
Rocstor Rocpro 850 1.5TB User manual
Popular Storage manuals by other brands

Spectra Logic
Spectra Logic T-Series Spectra T50e quick start guide

Panasonic
Panasonic LKM-F931-1 instruction manual

Tabernus
Tabernus Enterprise Erase E2400 user guide

Western Digital
Western Digital Ultrastar Data60 installation guide

HP
HP P9000 user guide
Dell
Dell PowerVault MD3600f Series Getting started


