ROEST COFFEE ROEST User manual

USER MANUAL
ROEST COFFEE AS User Manual 2.0 Updated October 2021

CONTENTS

1 IMPORTANT SAFEGUARDS
General
One year guarantee
Revisions
Alterations service & accessories
Electrical
Mechanical
Roasting
2
3
4
4
4
5
5
2 UNPACKING AND SETUP
Contents of the box
Roaster overview
Touch screen overview
Positioning the roaster
Ventilation
How to use hose and elbow
Safety precautions and ventilation requirements
Cha drawer
Setting up Sample Roaster
Placing the cooling filter
Setting up Wi-Fi
Using the roaster with Wi-Fi
Wi-Fi hack
Connecting to Wi-Fi with Iphone
Connecting to Wi-Fi with Android
Connecting to Wi-Fi with a web browser
Troubleshooting
Using the roaster without Wi-Fi
Using the roaster without WiFi
7
8
9
14
14
15
15
16
17
18
18
19
19
19
22
24
25
26

28
28
28
28
29
29
29
29
30
31
31
31
31
32
33
33
34
34
35
35
36
38
38
4 MAINTENANCE
Cha collector
Cleaning
Daily
After 1000 roasts
After 5000 roasts
40
41
41
41
41
3 OPERATING THE ROASTER
Pre-heating the Roaster
Profiles
Selecting profiles
Downloading profiles
Ready to roast
Type of profiles
Before roasting
Start roasting
During roasting
End roast
After the roast
Automatic roasting
Automatic roasting with First Crack Detection
Automatic roasting without First Crack Detection
Manual roasting
Manual roasting with a power profile
Manual roasting with an ET profile
From auto to manual and back
Adjustable parameters
Parameters - Main screen
Paramenters - Roast settings
Machine setup
Using the trier

45
45
45
47
48
49
50
51
52
53
56
56
58
6 ROASTER WEB PORTAL
Web portal address
One user - One roaster
One user - Multiple roasters
Main Menu > Live
Main Menu > Logs
Log preview
Compare logs
Main Menu > Profiles
Assigning profiles to ROEST
Create new profile
Autodrop for time-based profiles
Precise plot
Settings
5 PROBLEM SOLVING
Troubleshooting
43

1
IMPORTANT
SAFEGUARDS

When using electrical appliances, basic safety precautions should always be followed,
including the following:
IMPORTANT SAFEGUARDS 2
GENERAL
1. Read all instructions carefully before using the appliance.
2. The roaster is only intended for commercial use.
3. Incorrect operations and improper use can damage the appliance and cause injury to the user.
4. Do not touch hot surfaces. Use handles or knobs.
5. To protect against electrical shock do not immerse cord, plugs, or roaster in water or other
liquids.
6. Always turn o the power button and unplug from outlet when not in use and before cleaning.
Allow to cool before turning o.
7. The use of accessory attachments or software not recommended by the appliance manufacturer
may cause injuries, fire or electric shock.
8. Do not use outdoors.
9. Do not let cord hang over edge of table or counter or touch hot surfaces.
10. Do not place on or near a hot gas or electric burner, or in a heated oven.
11. Always attach plug to appliance first, then plug cord into the wall outlet. To disconnect, turn
any control OFF, then remove plug from wall outlet.
12. Do not use appliance for other than intended use.
13. The roaster operates at high temperatures, and must be kept away from flammable materials,
including chemicals, fabrics, and paper.
14. The roaster must be placed on a heat resistant and slip proof surface that will not allow the
roaster to slide.
15. Allow 20cm of space around the sides and front of the roaster.
16. Never use the ROEST from within a cabinet.
17. Never leave the ROEST unattended during pre-heating and roasting. Also, do not leave the
roaster unattended until 2 minutes after the cooling process has started, to ensure no fire is
present.
18. There is a risk of the coee beans catching fire during roasting. Parts of the roaster also
becomes hot enough to cause burns.

19. The smoke from roasting may be harmful. Please ensure adequate venting of smoke.
20. The instructions for cleaning the appliance must be followed. They are located in
section called Maintenance.
21. The appliance must not be operated by means of an external timer or separate remote-control
system.
22. This appliance can be used by children aged from 8 years and above and persons with reduced
physical, sensory or mental capabilities or lack of experience and knowledge if they have been
given supervision or instruction concerning use of the appliance in a safe way and understand
the hazards involved:
• Children shall not play with the appliance
• Cleaning and user maintenance shall not be made by children unless they are older than 8 and
supervised
• Keep the appliance and its cord out of reach of children less than 8 years
23. If the supply cord is damaged, it must be replaced by a special cord or assembly available
from the manufacturer or its service agent.
24. If coee beans or etc. are sucked in by the ventilation, they will be ejected (shot out) at a
high speed from the exit ventilation hole. Especially this can happen through the cooling tray.
Therefore, the ventilation exit hole must never be directed against people and a person must
never look inside the ventilation exit hole when the roaster is on. We recommend to always use
at least a small ventilation hose to create a 90-degree angle.
25. This appliance is intended to be used in cupping labs, coee shops, roasteries and household and
similar applications such as: sta kitchen areas in shops, oces and other working environments;
- farm house; - bed and breakfast type environments.
26. Save these instructions.
3 IMPORTANT SAFEGUARDS
ONE YEAR GUARANTEE
This product is guaranteed for one year from the date of purchase. If any defect arises due to
faulty materials or workmanship, the faulty products must be returned to ROEST for repair or
replacement.
The following conditions apply:
1. The product must be installed and used in accordance with the instructions contained in this
user manual.
2. The guarantee does not cover wear and tear, damage, misuse or consumable parts.
3. ROEST Coee AS has no responsibility for incidental or consequential loss or damage.

REVISIONS
IMPORTANT SAFEGUARDS 4
VERSION MAJOR CHANGES
1.0 Initial release for pilotcustomers
1.1 Changes in Important safeguards and new operational function such
as manual PID mode and Power profiles
1.2 Changes to incorporate firmware v10000
1.3 Changes to incorporate firmware v10003
1.4 Updated Caution warning, Overview, Operating the ROEST and Web
Portal
1.5 Updated Edit Profiles
1.6 Small updates and added link to WIFI – STEP BY STEP setup
1.7 Updated with new pictures and info about cha drawer.
1.8 Updated with new screen layout
1.9 Updated to comply with CB-scheme regulations
2.0 Complete revision including layout
ALTERATIONS SERVICE & ACCESSORIES
1. Do not modify the roaster without permission from the producer.
2. Any accessories not recommended by the manufacturer must not change the operation of the
coee roaster or interfere with normal operation.
3. If disassembling is necessary, allow the machine to completely cool before service is carried
out. Always disconnect the power plug before disassembling the roaster.
4. Do not operate the roaster if not fully assembled.
5. Do not operate the coee roaster if it is damaged or you suspect a malfunction.
6. Do not attempt to service the roaster yourself unless instructed to do so by us. The use of
accessory attachments other than those supplied or recommended by the manufacturer may
cause hazards and can void your warranty.
ELECTRICAL
1. To avoid electric shock, do not operate the roaster in a wet environment or near water. Any
cleaning should be with a moist or dry cloth and should only be performed when the roaster is
cooled down and with the power cord disconnected. Some parts may be removed for additional
cleaning. Please see the cleaning section.

2. The power cord and USB cord must be arranged in such a way that they will not be tripped
over, or able to pull the roaster o the table. Keep the cords away from the front part of the
roaster, which may get very hot and can melt the wire.
3. The roaster needs a dedicated electrical circuit with ground (earth). Do NOT plug other
appliances into this circuit.
4. If an extension cord is needed, please make sure it meets the minimum requirements of power
rating and is fully grounded (earthed). Do not connect other appliances to cord.
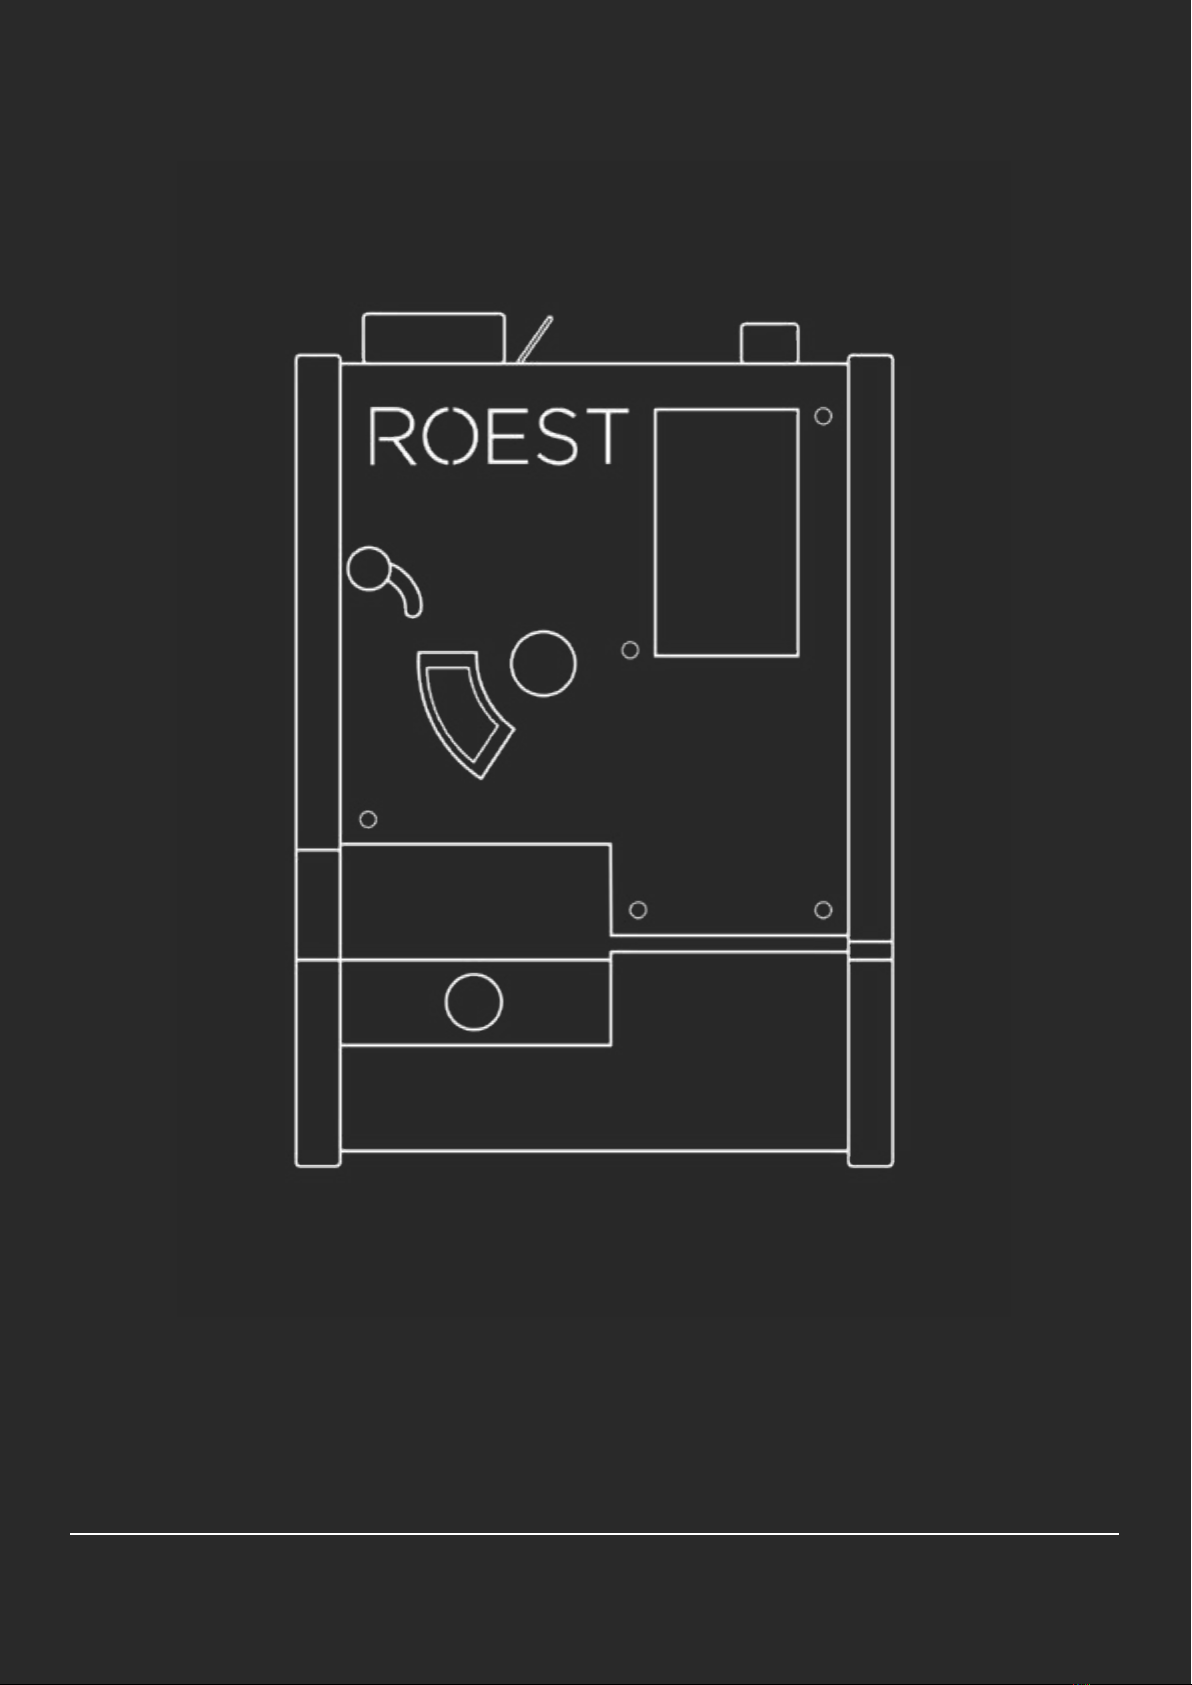
MECHANICAL
1. Never touch moving parts, and do not place hands or fingers inside the drum while the roaster
is connected. This includes the trier hole, hopper and the side where beans exit.
2. Never place hands or fingers inside the ventilation exit at the back. The fan has metal impellers
that can create injuries.
3. The coee roaster is heavy, and care should be taken when moving the roaster. Only move the
roaster when it is completely cooled down. Do not lift the coee roaster by the handles, cha
collector or any other detachable parts.
ROASTING
1. When the coee beans ware dropped into the cooling tray, they are extremely hot, and should
not be touched until cooled completely.
2. The operating environment should be clean and free from dust and sand.
3. ROEST is only for roasting coee beans. Roasting other food/items will void the warranty.
4. After roasting has finished the roaster will return to “roasting standby mode” and will be ready
to roast another batch.
5. When roasting is done please leave the roaster to cool down (see page 31).
6. Do NOT disconnect the power until properly cooled down or you can risk damages.
7. The cha collector should be emptied after each roast session or after every 25 roasts.
8. After 1000 and 5000 roasts, the roaster must be cleaned (see page 41)
9. The roaster is designed for profile roasting, minimum 5 minutes roasting cycles. Meaning the
temperature goes down to below 250 degress celcius between each roast. The roaster shall
therefore not be used on maximum power in manual mode. If the environment temperature
reaches 320 degrees Celsius the electrical element will be turned o.
5 IMPORTANT SAFEGUARDS

2
UNPACKING
AND SETUP

After receiving the ROEST, please inspect
the packaging for any damage. If you
are in doubt, please contact the shipping
company, and document the damage.
CONTENTS OF THE BOX
ROEST Sample Roaster
Hopper Trier
Cooling tray
Cha foam air lock
Bean cooler filter
80 mm Hose clamp
Cupping Tray
Cha drawer
In the Cha drawer
Power cord
Wi-Fi antenna
2x Hex keys
4x Top plate screws
Proximity Sensor
(extra)
Heating Element
(extra)
Ventilation hose 1.5 m
7 UNPACKING AND SETUP

UNPACKING AND SETUP 8
ROASTER OVERVIEW
Front overview:
1
2
3
4
Hopper
Bean charge handle, for dropping
the beans into the drum
Rotary encoder, for adjusting settings
Bean drop handle, for pre-heating the
drum or manually releasing the beans
5
6
7
8
Bean trier
Touch screen
Bean cooler tray
Cha collector
9
10
11
12
Ventilation exit
Wi-Fi antenna
Cooling fan
USB for troubleshooting
13 Power button and socket
Back overview:
1
2
3
6
5
4
7
8
910
11
12
13

TOUCH SCREEN OVERVIEW
9 UNPACKING AND SETUP
Time
For timing the roast.
Event button
This is for manually pressing “Charge”,
“Yellowing” and “First crack”.
Development time
Pre-set development time for automatic bean
dropping (read more on page 35). If pressed
when the countdown has started the automatic
drop is cancelled and “DROP NOW” enables.
Air temp
(ET, environment
temperature)
Temperature measured
inside the drum.
Bean temp (BT)
Temperature of
the beans.
Power
Power percentage of
the heating element
Fan
Speed of the
drum ventilation fan.
WIFI strength and Cha indicator
The selected profile
Automatic FC
Indicates if Automatic
First Crack detection
is active. Text does not
appear when it is o.
RoR
Rate of rise of BT
T: Target temperature
D: Dierence between
actual temp and
target temp
YELLOWING
00:57
197.5°c
75 %
BEAN TEMP (RoR: 23.0)
127.7°c
Standard NA
NEXT EVENT DEVELOPMENT TIME
AIR TEMP (T: 197 DIFF: 0.5)
AUTOMATIC FC
46.5 %
00:50
FAN POWER (MAX: 100%)
Notifications
Message appears at the bottom to
inform of crack counts and alerts.

Press the time
to enter the
MAIN MENU
PROFILES
ROAST SETTINGS
MACHINE SETUP
WIFI SETTINGS
PREVIOUS
CHAFF COUNTER
5 RESET
YELLOWING
00:57
197.5°c
75 %
BEAN TEMP (RoR: 23.0)
127.7°c
Standard NA
NEXT EVENT DEVELOPMENT TIME
AIR TEMP (T: 197 DIFF: 0.5)
AUTOMATIC FC
46.5 %
00:50
FAN POWER (MAX: 100%)
Cha counter
Number of completed roasts
Reset
Press after emptying the cha
drawer to reset the counter
UNPACKING AND SETUP 10

ROEST Standard
ROEST Kenya
NA Standard
Matt 50g Prole
PREVIOUS
Prole 4
DOWNLOAD
Prole 3
Prole 2
Prole 1
TW Honduras
Prole 5
PROFILES
0.0%
%SEC
185° C
FIRST CRACK SETTINGS
PREVIOUS
YELLOWING BT THRSHLD.
BUZZER TEMPERATURE
AUTODROP SETTING
REDUCE PWR AFTER FC
175° C
FIRST CRACK DETECTION: ON
WAITING TEMPERATURE
180° C
MAIN MOTOR SPEED
BUZZER
55 RPM
ON OFF
ROAST SETTINGS
The PROFILES-button takes you to
the library of downloaded profiles.
See page 52 for information about
how to download profiles.
Press “ROAST SETTINGS” in order
to adjust parameters shown on the
touchscreen.
See page 36 for more details.
11 UNPACKING AND SETUP

UNPACKING AND SETUP 12
MACHINE SETUP
DISCONN.
PREVIOUS
WIFI STATUS
CLOUD STATUS
ROEST SERVER STATUS
WIFI MAC ADDR
WIFI SIGNAL STRENGTH
WIFI SIGNAL QUALITY
IP ADDRESS
AP SSID
AP BSSID
TOGGLE WIFI
CONNECTED
ONLINE
ONLINE
E0:4F:43:DB:17:82
82 %
77 %
192.168.1.40
roest
AA:C9:EB:23:99:7A
WIFI SETTINGS
Press “MACHINE SETUP” to adjust
cooling- and light settings, and
change the temperature reading.
You can also view your current
software version.
Connect to Wi-Fi and get an
overview of the status in “WIFI
SETTINGS”. See how on page 19.
90 SEC
50 %
PREVIOUS
COOL. TRAY WARN (BETA)
BEAN COOLER LIGHT
BEAN COOLING IDLE %
BEAN COOLING DURATION BEAN COOLING %
90 %
TEMPERATURE READING
WINDOW LIGHT
C
ON OFF
RUNTIME 0000D 04:42:26 Version 17.4.3-rc1
F
ON OFF
ON OFF
ACTIVATE
WIFI SETUP
PUSH FOR DEBUG WIFI SCAN

FIRST CRACK SETTINGS
Turn Automatic FC on or o,
change the bean temperature
treshold and trigger count.
More info about AFC on page 31.
PREVIOUS
TRIGGER COUNT
BT TRESHOLD
TOGGLE FIRST CRACK DETECTION
SENSIVITY
5
ON OFF
150° C
13 UNPACKING AND SETUP
ROAST SETTINGS

UNPACKING AND SETUP 14
POSITIONING THE ROASTER
VENTILATION
It is recommended to use a flameproof metal hose with a diameter of 80 mm (3 inches). The hose
should be less than 3 meters to ensure proper ventilation. A standard 80 mm hose of 1.5 meters
is included in the package. We also provide other options - a 90 degree elbow and a 3 meter
ventilation hose. For more information about ventilation options visit:
www.roestcoee.com/ventilation
Ensuring proper ventilation is important for better functionality and to create a healthy and safe
working environment.
The roaster must be placed on a flat, hard
surface with a minimum of 20 cm clearance to
all sides and 40 cm above the roaster.
40 cm
20 cm
1.5 meters ventilation hose 90 degree elbow
20 cm

SAFETY PRECAUTIONS AND VENTILATION REQUIREMENTS
Make sure that the air inlet on the back is not blocked by any means. The ventilation/
cooling holes on the side and on the back must likewise not be blocked.
The roaster must stand on its four legs with free air passing under the roaster.
The roaster has powerful fans that are accessible (for cleaning) at the back. The
impellers (fan blades) can create injury on hands/fingers. Never place your hand or
fingers inside the ventilation exit hole.
HOW TO USE HOSE AND ELBOW
Stretch and cover the ventilation exit with the hose, and tighten with the clamp included in the
package. Direct fumes outside through an open window or to an internal ventilation system.
The elbow is easily inserted into the ventilation exit, and does not need a clamp. Direct the
airflow away from the walls and towards a window - works both sideways and upwards.
Clamp
15 UNPACKING AND SETUP
If hot air from the
ventilation exit hits the
wall (wall is too close),
the heating element
will shut down to
protect the roaster
from overheating and
catching on fire.
Table of contents
Popular Kitchen Appliance manuals by other brands

Hamilton Beach Commercial
Hamilton Beach Commercial 932 Operation manual

Summit
Summit SCR1841BCSS owner's manual

Manitowoc
Manitowoc convotherm 4 Operating and installation instructions

Avantco Equipment
Avantco Equipment QuickShot QS-1800 user manual

Emeril Lagasse
Emeril Lagasse Pasta&Beyond PM-01 owner's manual

SEVERIN
SEVERIN Mr.Twister KM 3923 Instructions for use