rojaflex RB25LEU User manual

Eine aktuelle Vollversion der Anleitung finden Sie hier/
You can find a current full version of the manual here/
Vous trouverez ici une version complète et actuelle du mode d‘emploi/
Puede encontrar una versión completa actual del manual aquí/
Potete trovare una versione completa attuale del manuale qui/
Een actuele volledige versie van de handleiding vindt u hier/
Aktualną, pełną wersję podręcznika można znaleźć tutaj/
A kézikönyv aktuális, teljes verzióját itt találja:
https://www.rojaflex.com/bedienungsanleitungen.html
ORIGINAL ASSEMBLY AND
OPERATING INSTRUCTIONS
Rojaflex RB25LEU
With electronic limit switches and integrated radio receiver
Tubular motor
Rojaflex_RB25LEU_manual_V4_2022-06-15
IT
NL
PL
HUN
EN
FR
ES
Original assembly and operating instructions
Instructions de montage et d‘utilisation originales
Instrucciones de montaje y funcionamiento originales
Istruzioni originali per il montaggio e l‘uso
Originele montage- en gebruiksaanwijzing
Oryginalna instrukcja montażu i obsługi
Eredeti összeszerelési és kezelési útmutató

www.rojaex.com 3
2 www.rojaex.com
Safety instructions ............................................................ 3-5
Technical data / scope of delivery / ................................ 6
Function overview drive head
Compatible handheld and wall transmitters .............. 7
Mounting
Prepare assembly .................................................................. 8
Mounting the motor ............................................................ 9
Settings and programming
Commissioning battery /..................................................10
Programming the end positions / battery switch
Functional description Programming key P1............11
Programming the first handheld or wall
transmitter .............................................................................12
Change the direction of rotation of the drive...........13
Setting the end positions (end points)................. 14-15
Setting the intermediate position.................................16
Set jog mode /......................................................................17
Program additional handheld and wall transmitters
Delete handheld and wall transmitters.......................18
Troubleshooting / FAQ ......................................................19
Contact information...................................................... Back
RB25LEU
Tubular motor with
electronic limit switches and
integrated radio receiver for
interior textile shades
Art.-Nr.
RB25LEU 1000012319
CONTENTS
Content
ATTENTION!
After unpacking, compare the device type with
the corresponding information on the type plate.
Incomplete devices or devices that do not comply
with the specifications must not be put into
operation and a complaint must be lodged with
our customer service department (see contact
information) before commissioning.
EU Declaration of Conformity according to Article 10(9):
Herewith declares Schoenberger Germany Enterprises GmbH & Co. KG, Hohenschäftlarn,
that the radio system type rojaflex tubular motor "RB25LEU" complies with the directive 2014/53/EU.
The full text of the EU Declaration of Conformity is available at the following Internet address:
www.rojaflex.com/konformitaetserklaerungen.html

www.rojaex.com 3
2 www.rojaex.com
Important safety instructions!
For the safety of persons it is impor-
tant to follow these instructions!
Please keep the manual and hand it over
to the new owner in case of change of
ownership!
This appliance can be used by children
aged from 8 years and above and per-
sons with reduced physical, sensory or
mental capabilities or lack of experience
and knowledge if they have been given
supervision or instruction concerning use
of the appliance in a safe way and under-
stand the hazards involved.
Children are not allowed to play with the
device.
Cleaning and maintenance by the user
must not be carried out by children wit-
hout supervision.
WARNING!
The motor must be switched off during
cleaning, maintenance and replacement
of parts.
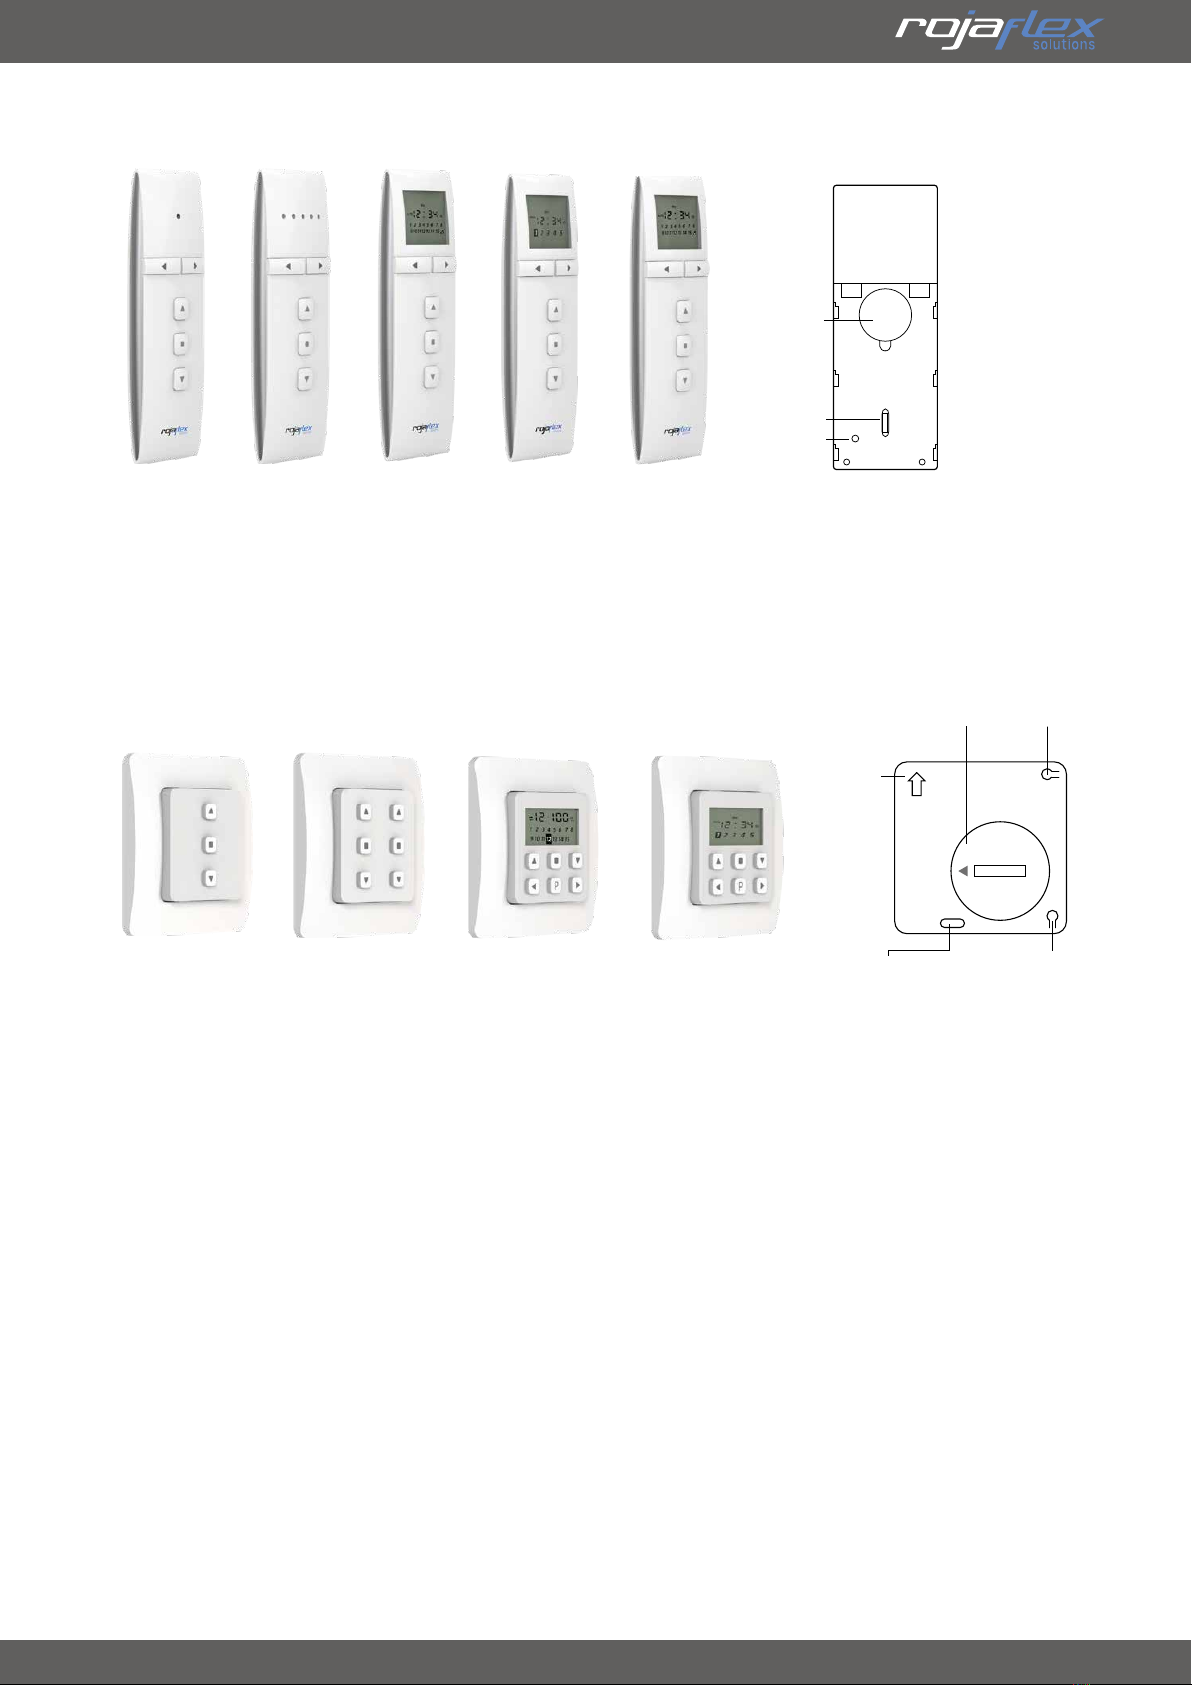
Hand-held and wall-mounted transmit-
ters must be stored in such a way that
unintentional operation of the system is
excluded in order to prevent injuries and
damage.
Carry out all assembly and connection
work in a de-energized state.
Der Einsatz defekter Geräte kann zur
Danger to persons and damage to pro-
perty (electric shock, short circuit).
Never use defective or damaged equip-
ment.
Check that the drive and power adapter
(charger) are intact.
The mains adapter (charger) of this drive
may only be replaced by the same type,
supplied by the manufacturer of the
drive, in order to avoid hazards and da-
mage to the drive.
Please contact our service department
(see last page for contact details) if
you notice any damage to the device.
ATTENTION!
It is essential to observe the installati-
on and connection instructions!
Improper installation and assembly
can lead to serious injuries!
Important operating instructions
Charge the drive battery before first use
to ensure full battery performance.
Only use the original charger of the
motor (5V USB charging adapter) for this
purpose.
Do not operate the motor in the event
of an undervoltage alarm (see descripti-
on on page 10).
Rated torque and rated operating time
must be compatible with the characte-
ristics of the driven equipment.
Proper operation of the equipment is
only guaranteed if it is properly ins-
talled, assembled, supplied with suffici-
ent power and maintained.
The plant must be secured against un-
authorized operation. Take safety pre-
cautions against unintentional switch-
on.
General safety instructions

www.rojaex.com 5
4 www.rojaex.com
Only use original accessories from the
manufacturer to avoid damage to the
drive and the driven equipment.
The manufacturer‘s liability for defects
and damage is excluded if these are
based on non-observance of the opera-
ting instructions (incorrect installation,
incorrect operation, etc.).
ATTENTION!
It is essential to observe the
instructions for correct use and the
operating conditions!
There is an increased risk of injury if
used improperly!
Use the motors only for opening and
closing interior sunshades.
Instruct all persons in the safe use of the
engine.
Prohibit children from playing with
stationary controls or with the remote
control.
Store the handheld transmitter in such
a way that unintentional operation, e.g.
by children playing, is impossible.
Carry out all cleaning work on the sun
shading system in a de-energized state.
Take special care with moving and open
/ extended equipment, as parts may
fall if fastenings (e.g. springs, brackets,
consoles, etc.) weaken or are broken.
ATTENTION!
The following installation
instructions must be observed!
The range of radio controls is regulated
by the legal requirements for radio
systems and is influenced by structural
conditions, among other things.
When planning, make sure you have
adequate radio reception.
This is especially true if the radio
transmitter is located in a different room
than the radio receiver, and therefore
the radio signal must penetrate walls or
ceilings.
Do not install the radio control in the
direct vicinity of large metallic surfaces.
Other transmitting equipment (e.g.
radio headphones, baby monitors, radio
weather stations) whose transmission
frequency is identical to that of the
radio control unit may interfere with
reception.
Lay the antenna of the motor/
receiver as straight as possible (e.g.
do not wrap the antenna around the
motor or cables etc.).
IMPORTANT!
Disposal instructions!
European Directive 2012/19/EU (WEEE)
Our electrical and
electronic products are
marked with a crossed-
out wheeled garbage
can, which indicates
that these products
and any batteries they
may contain must be
collected separately
at the end of their
useful life and must not be disposed of
together with normal household waste.
General safety instructions

www.rojaex.com 5
4 www.rojaex.com
The substances contained in these
products may have negative effects on
health and the environment, so users of
electrical products and batteries also have
a responsibility in recycling these waste
materials and in this way contribute to the
protection, preservation and improvement
of the environment.
Obligation for separate disposal
Our duty as manufacturers is, among other
things, to inform you of your obligation to
separate disposal.
• When disposing of products with
batteries, remove them from the
product and dispose of them separately.
• When disposing of illuminants, they
must be disposed of separately to the
receptacle.
Return option and
Recycling program EU
We are connected to public-law return
systems throughout Europe and thus
offer our customers access to a Europe-
wide network of local recycling facilities
(recycling centers, take-back points or
similar).
Our products are professionally recycled
via these local facilities. This reduces the
amount of waste - to the benefit of the
environment.
Our registration numbers:
*For registration data of other European
countries, see Contact Information page.
A take-back by us as manufacturer
according to §19 WEEE is not to be asserted.
Information on the degree of fulfillment
of the collection and recycling
requirements
It is also our duty as a manufacturer to
inform you about the degree of fulfillment
of the collection and recycling requirements.
Since we are connected to a qualified take-
back system, we can refer to the degree of
fulfillment of the recycling companies.
You can find this information on our
website.
Deletion of personal data
Some of our products contain personal data.
This applies in particular to information and
telecommunications technology devices
such as computers and smartphones. In
your own interest, please note that each end
user is responsible for deleting the data on
the old devices to be disposed of!
Reg. no.*
WEEE DE 41060608
Battery DE 88866710
Illuminant
Transport and
Shipping packaging DE5768543732165
General safety instructions

www.rojaex.com 7
6 www.rojaex.com
Scope of delivery
Compare after unpacking:
• the package contents with the information on the scope of delivery in these instructions.
• the motor type with the corresponding information on the nameplate.
Please refer to the packaging for the type designation and to the table above for the technical data.
If necessary, incomplete devices or devices that do not comply with the specifications
must not be put into operation and a complaint must be lodged with our customer service
(see contact information) before the motor is installed!
Drive
(Model / type see package specification)
incl. integrated battery and radio receiver
Assembly and operating instructions
Required accessories
(not included in the scope of delivery)
1. Adapter
2. Driver
3. Mains charging adapter
Voustrouverez ici une version complète et actuelle du mode d‘emploi/
Puedeencontrar una versión completa actual del manual aquí/
Potetetrovare una versione completa attuale del manuale qui/
Eenactuele volledige versie van de handleiding vindt u hier/
Aktualną,pełną wersję podręcznika można znaleźć tutaj/
Akézikönyv aktuális, teljes verzióját itt találja:
BEDIENUNGSANLEITUNG
Mit elektronischen Endschaltern und integriertem Funkempfänger
Rohrmotor
IT
NL
PL
HUN
EN
FR
ES
Original assembly and operating instructions
Instructions de montage et d‘utilisation originales
Instrucciones de montaje y funcionamiento originales
Istruzioni originali per il montaggio e l‘uso
Originele montage- en gebruiksaanwijzing
Oryginalna instrukcja montażu i obsługi
Eredeti összeszerelésiés kezelési útmutató
1 2 3
Motor type
Motor voltage
Rated current
Charging
current (max.)
Charging
voltage
Engine power
Output torque
Output speed
Switch-on
duration (max.)
Temperature
range
Protection class
Transmitter
memory
Min. shaft
diameter
Emission-sound
pressure-
Dimensions
(mm)
RB25LEU 12 V/DC 1,2 A 2,0 A 5 V 10 W 1,1
Nm 28 Min-1 6 Min. -10 °C / +50 °C IP 20 20 30,9 mm ≤ 70 dB a=503 / b=9
c=482
Radio
frequency
433,05 - 434,79
MHz
Technical data
a
c
b
Jacket pipe diameter: RB25LEU = 25 mm
Function overview drive head
Battery switch
ON / OFF
USB
Charging
socket
LED
Programming
key (P1)
Technical data / scope of delivery / function overview

www.rojaex.com 7
6 www.rojaex.com
*With the „DIP“ switch you can, depending on the radio receiver (see receiver instructions), choose between „SI“ and „SI“.
(Single = one-way communication) and „BI“ (Bidirectional = two-way communication) - radio.
Please follow the instructions of the respective transmitter!
Handheld transmitter
Required DIP switch position = SI
SI BI
O
p
e
n
-
C
l
o
s
e
UP
Battery compart-
ment
DIP switch* One-
way / two-way
communication
Orien-
tation
guide
P2 Programming
key channel 1
P2 Programming
key channel 2 (not
used with WSR-1
and WSR-15)
Wall transmitter
WSR-1
90100084
WSR-2
90100085
WSR-15
90100086
WSTR-5
90100087
P2
SI
BI
Battery com-
partment
DIP switch*
Single /
Bi - Directional
Programming
button
HSR handheld
transmitter rear
side with cover
open
HSR-1
90100079
HSR-5
90100080
HSR-15
90100081
HSTR-5
90100082
HSTR-15
90100083
WSR wall
transmitter back
side
Compatible handheld and wall transmitters

www.rojaex.com 9
8 www.rojaex.com
The shaft of the driven system (roller blind, screen, etc.) must fit tightly against the adapter and driver of the
drive.
Only use adapters and drivers from our range of accessories that are permitted and approved for the drive.
Adjusting the shaft
A groove must be cut into the
shaft to accommodate the adap-
ter cam.
Make sure that the shaft has a
straight and undamaged cutting
edge.
Deburr the cut surfaces with a file.
Assembly of the adapter and driver
Groove for adapter
Cam 8x6 mm
Plug in the adapter (1)
on the outer casing of the drive.
Make sure that the adapter is
fitted with the wide bead to the
motor head (see drawing) and is
seated completely up to the stop
in the groove of the base ring on
the drive head.
Insert the driver (2)
onto the output shaft of the drive
and secure it with the lock
washer (3).
Mounting
1
2
3

www.rojaex.com 9
8 www.rojaex.com
Carefully push the drive into the
shaft.
Do not hit the drive head under
any circumstances!
Make sure that the adapter is
inserted into the shaft as far as it
will go.
A crooked adapter can„slip
through“ if necessary. In this case,
there is a risk that the limit swit-
ching of the drive will not func-
tion properly.
This can cause damage to the
drive and the driven equipment.
Secure the driver with two short,
opposing screws (self-tapping
sheet metal screws) or blind rivets.
Mounting the motor into the shaft
Make sure that no screws are screwed into the shaft in the area of
the outer casing of the drive.
Do not drill in the area of the casing pipe!
Then mount the drive together with the shaft in the bearings of the equipment to be driven.
Follow the instructions for the sun protection system (roller blind, screen, etc.).
Mounting

www.rojaex.com 11
10 www.rojaex.com
Commissioning / Battery
1. Charge the drive battery before first use to ensure
full battery performance.
Only use the original charger of the motor (5V
USB charging adapter) for this purpose.
2. Do not use the motor in case of undervoltage.
Please note the following information /
messages:
Voltage below 7V:
Motor alarm during operation.
Motor beeps 10 x /
LED on motor head flashes 10x.
Note that the battery should be charged.
Voltage below 6.8V:
Motor stops during operation.
Charge the battery!
Battery charge for operation min. 7.2V.
Voltage below 6V:
Engine does not start.
Charge the battery!
Battery charge for operation min. 7.2V
Settings / Programming
1. During settings or programming, each keystroke
must be made within max. 5 seconds. Otherwise,
the system automatically exits the programming
mode.
2. The actuator moves UP/DOWN briefly after each
keystroke during programming or the actuator
beeps as feedback for a received command.
3. When programming, always wait for the actuator
feedback before sending the next command.
Programming the end positions
1. The end positions UP and DOWN must not be in
the same position.
There must be at least 2 shaft revolutions
between the UP and DOWN end positions.
2. After programming the end positions, switch
off the drive (battery switch on the motor head)
and then switch it on again to complete the
programming.
3. To delete any end positions which have
already been programmed or which have been
programmed incorrectly, reset the actuator to the
delivery state (see page 11).
4. If no commands are sent to the drive, the drive
exits the programming mode automatically after
approx. 2 minutes.
5. The max. operating time of the drive is approx.
6 minutes. After that, the drive switches off
automatically.
Battery switch ON/OFF
The drive must be switched on at the battery switch
before any programming or setting work is carried
out.
Battery switch
ON / OFF
Settings and programming

www.rojaex.com 11
10 www.rojaex.com
1.Control the drive with
the P1 key:
Press the P1 key briefly:
Actuator runs OPEN
Briefly press the P1 key again:
Drive stops
Briefly press the P1 key again:
Drive drives DOWN
ATTENTION!
Function is only active if end positions
have already been taught.
2.Programming mode:
Press the P1 key for approx. 2
seconds:
Actuator moves briefly UP /
DOWN.
Release the P1 key:
Antrieb piept 1x.
Drive is in programming mode.
3.Change the direction of
rotation:
Press the P1 key for approx. 10
seconds:
Drive moves 3 x UP / DOWN.
Release the P1 key:
Antrieb piept 3 x
Direction of rotation is changed.
4.Switching off the
receiver:
Press the P1 key for approx. 6
seconds:
Drive moves 2 x
UP / DOWN.
Release the P1 key:
Antrieb piept 2 x
Receiver is switched off.
Drive can now NOT be operated with
the handheld transmitter!
To reactivate the receiver, briefly press the P1 key
on the motor head 2 times.
5.Reset (drive back to
delivery state):
Press the P1 key for approx.
14 seconds:
Drive moves
4 x UP / DOWN.
Release the P1 key:
Antrieb piept 4 x
Drive is in delivery
condition.
ALL settings (end positions,
transmitter) are deleted!
Functional description of the P1 programming key
(programming button on the motor head)
Settings and programming

www.rojaex.com 13
12 www.rojaex.com
Programming the first handheld or wall transmitter
1. Switch on drive / battery
(Battery switch position see page 6 / page 10)
2. Set the drive to programming readiness by pres
sing the P1 key on the motor head.
The drive signals its readiness for programming by a
beep and a short vibration.
After that, each keystroke must be executed within
approx. 5 seconds.
If the pauses between the individual processes are
too long, the system automatically exits the pro-
gramming mode.
The example below shows how to program a
1-channel handheld transmitter using the program-
ming button on the motor head.
When programming a multi-channel handheld or
wall transmitter (HSR-5 / HSTR-5 etc.), please select
the desired channel on the handheld or wall trans-
mitter first before you start programming.
P2
SI
BI
P2
SI
BI
2 sec. Press key P1
on the actuator.
Motor vibrates briefly and
beeps 1 x.
Motor vibrates briefly.
1 sec. press key P2
on the handheld
transmitter.
Release key.
Motor piept 1 x.
Motor piept 1 x.
1 sec. press UP key
button on
the handheld
transmitter.
1 sec. press key P2
on the handheld
transmitter.
Motor vibrates
briefly and beeps 6
times.
Handheld
transmitter is
programmed!
Afterwards, be sure to check the direction of rotation of the drive with the UP and DOWN keys!
If the drive moves in the DOWN direction when the UP key is pressed, the direction of rotation of the drive
must be changed (see next chapter)!
Settings and programming

www.rojaex.com 13
12 www.rojaex.com
P2
SI
BI
P2
SI
BI
2 sec. Press key P1
on the actuator.
Motor vibrates briefly and
beeps 1 x.
Motor vibrates briefly.
1 sec. press P2 key
on the handheld or wall
transmitter.
Release key.
Motor piept 1 x.
Motor piept 1 x.
1 sec. press DOWN key
key on the handheld or
wall transmitter.
1 sec. press P2 key
on the handheld or wall
transmitter.
Motor vibrates briefly
and beeps 6 times.
Handheld transmitter
is reprogrammed!
Direction of rotation is
changed.
Change the direction of rotation of the drive
After programming the first handheld or wall trans-
mitter into the drive receiver, check the direction of
rotation of the drive by pressing the UP and DOWN
keys.
If the drive moves in the DOWN direction when the
UP key is pressed, the direction of rotation of the
drive must be changed.
To do this, start from the beginning with the chapter
„Programming the handheld transmitter“ and press
the DOWN key on the handheld or wall transmitter
after the P2 key on the handheld or wall transmitter
instead of the UP key.
Settings and programming

www.rojaex.com 15
14 www.rojaex.com
Setting the end positions (switch-off positions) of the actuator
To set the end positions, a handheld or wall trans-
mitter must be programmed into the receiver of the
actuator.
Both end positions (top and bottom) must be set
and the following steps must be performed in the
specified sequence in each case.
Activating the end position setting
Setting the upper end position
P2
SI
BI
P2
SI
BI
Motor vibrates
briefly and beeps
1 x.
Motor moves in
direction OPEN.
Motor vibrates
briefly and beeps 4
times.
Motor beeps 4 x,
vibrates briefly and
then beeps 1 x.
Release key!
End position OPEN
is set.
1 sec. press P2 key
on the handheld
or wall transmitter.
Proceed to
the next step
immediately.
Press UP key on
the hand-held
or wall-mounted
transmitter and
move the blind (the
drive) to the desired
upper end position.
1 sec. press P2 key
on the handheld or
wall transmitter.
When the upper
end position
(end position) is
reached, press the
STOP key and keep
it pressed.
1 sec. press UP key
button on the
handheld or wall
transmitter.
As soon as the
shutter (drive) has
reached the upper
end position (end
position), press the
STOP key.
Motor vibrates
briefly and beeps
1 x.
Use the UP and
DOWN keys to make
fine adjustments, if
desired.
Settings and programming

www.rojaex.com 15
14 www.rojaex.com
Setting the lower end position
P2
SI
BI
P2
SI
BI
Motor moves in
direction AB.
Motor beeps 4 x,
vibrates briefly
and then beeps
1 x.
Release key! End
position DOWN
is set.
After setting the
upper end position,
press the DOWN key
on the handheld or
wall transmitter.
Press DOWN key on
handheld or wall
transmitter for 1 sec.
Press the P2 key on
the handheld or wall
transmitter for 1 sec.
Press the P2 key on
the handheld or wall
transmitter for 1 sec.
When the lower
end position
(end position) is
reached, press the
STOP key and keep
it pressed.
As soon as the
shutter (drive) has
reached the lower
end position (end
position), press the
STOP key.
Motor vibrates
briefly and beeps
1 x.
Motor vibrates
briefly and beeps
1 x.
Motor vibrates
briefly and beeps
4 x
Use the UP and
DOWN keys
to make fine
adjustments, if
desired.
Changing the end positions
If end positions (switch-off positions) have already been set and these must be changed, please proceed as
follows.
Deleting the end position setting (to change the end positions)
ATTENTION!
The end positions must then be readjus-
ted!
Start with the item “Activating the end
position setting”.
Settings and programming

www.rojaex.com 17
16 www.rojaex.com
Approach the intermediate position
To move the blind (drive) to the stored intermediate position, press the
STOP key for at least 3 seconds.
The intermediate position can be approached from any position.
If the blind (drive) is in the intermediate position, you can use the Up
or Down keys to control the respective set end position, e.g. to open or
close the blind completely.
Motor vibrates
briefly and beeps 3
times.
Intermediate
position is saved.
Press the Stop key
again for approx. 3
seconds.
Motor vibrates
briefly and beeps
1 x.
Press the Stop
key for approx. 1
second.
Setting the intermediate position
Between the end positions Top and Bottom you can store an interme-
diate position at any point (e.g. half open). Proceed as follows to pro-
gram the intermediate position:
P2
SI
BI
Motor vibrates
briefly and beeps
1 x.
Press the P2 key for
approx. 1 second.
Stop the hanging
(the drive) at the
desired position.
Move the blind
(the drive) to the
desired position
using the UP or
DOWN key.
Delete the intermediate position
To delete the intermediate position, move to it (press the stop key for 3
sec.) and then repeat the “Setting the intermediate position” procedure.
Settings and programming

www.rojaex.com 17
16 www.rojaex.com
Motor vibrates
briefly and beeps
1 x.
Motor vibrates
briefly and beeps
1 x.
Motor vibrates briefly
and beeps 7 times.
Additional handheld
or wall transmitter is
programmed.
Press the P2 key on
the handheld or
wall transmitter that
has already been
programmed for 1
second.
Press the P2 key
again for 1 second
on the handheld or
wall transmitter that
has already been
programmed.
Press the P2 key on
the NEW handheld
or wall transmitter to
be programmed for
1 second.
When the jog mode is activated, you can open and close your sun
shading system step by step.
Each time the UP or DOWN key is pressed, the curtain (drive) moves a
short distance.
Only when you press the UP or DOWN key for longer than approx. 3 se-
conds, the corresponding end position is approached and the shutter
opens (or closes) completely.
Program additional handheld and wall transmitters
When programming a multi-channel handheld or wall transmitter (HSR-5 /
HSTR-5 etc.), before you start programming, please select the desired channel
on the handheld or wall transmitter first.
P2
SI
BI
P2
SI
BI
P2
SI
BI
Up to 20 hand-held or wall-mounted transmitters can be programmed.
P2
SI
BI
Motor vibrates
briefly and beeps
1 x.
Motor vibrates
briefly and beeps
1 x.
Press the P2 key
on the handheld
transmitter for 1 sec.
Press UP key
on handheld
transmitter for 1 sec.
Press the
DOWN key on
the handheld
transmitter for 1
sec.
Motor vibrates
briefly and beeps
2 x.
Jog mode is
enabled / disabled.
Set jog mode
To deactivate the jog mode, repeat the procedure.
Settings and programming

www.rojaex.com 19
18 www.rojaex.com
Delete ALL handheld and wall transmitters
Motor vibrates
briefly and beeps
1 x.
Motor vibrates
briefly and beeps
1 x.
Motor vibrates briefly
and beeps 5x.
ALL handheld and
wall transmitters are
deleted.
1 sec.
Press the P2 key on a
taught-in handheld
or wall transmitter.
1 sec.
Press the STOP key
on the handheld or
wall transmitter.
Press the P2 key on
the handheld or wall
transmitter again for
1 sec.
P2
SI
BI
P2
SI
BI
Motor vibrates
briefly and beeps
1 x.
Motor vibrates
briefly and beeps
1 x.
Motor vibrates briefly
and beeps 5 times.
Hand-held or
wall transmitter is
deleted.
1 sec.
Press the P2 key
on the remaining
handheld or wall
transmitter.
Press the P2 key
on the remaining
handheld or wall
transmitter again for
1 sec.
1 sec.
Press the P2 key on
the handheld or wall
transmitter to be
deleted.
P2
SI
BI
P2
SI
BI
P2
SI
BI
Delete individual handheld and wall transmitters
Individual handheld or wall transmitters can be deleted. A taught-in hand-held
or wall transmitter must remain taught-in in the memory to delete another
hand-held or wall transmitter.
ATTENTION!
If a new hand-held or wall transmitter is
subsequently programmed, the end posi-
tions must also be reset!
Settings and programmingc

www.rojaex.com 19
18 www.rojaex.com
1. Drive does not respond to the handheld transmitter
Drive is switched off Switch on the drive with the battery switch (see
page 5).
Handheld transmitter not taught
Check whether the drive can be controlled with the
P1 programming key on the drive head (see page
13). Teach in the handheld transmitter (see page 12
and 14).
Battery not charged or charge too low
Check whether drive can be controlled with pro-
gramming key P1 on the drive head (see page 13).
Charge battery (see page 12).
Receiver is switched off Switch on receiver (see page 5).
Battery of the handheld transmitter empty or not
inserted
Check the battery of the handheld transmitter and
replace it if necessary.
(see manual for handheld transmitter).
Setting of the handheld transmitter is incorrect
Check handheld transmitter setting (single- / bidi-
rectional). Hand-held transmitter must be set to SI
(single radio).
2. Actuator does not respond to the handheld transmitter and cannot be controlled via the P1 key
on the actuator head.
Handheld transmitter not taught see above
Battery not charged or charge too low Charge battery (see page 12).
3. Actuator moves in DOWN direction when UP key is pressed
Direction of rotation of the drive incorrect Change the direction of rotation (see page 15).
4. Drive stops during travel before reaching the end position.
End positions incorrectly set Set end positions (see page 16 and 17).
Max. Operating time exceeded Operating time of the drive max. 6 minutes.
Obstacle in the travel path or hangings too heavy. Check the curtain (roller blind).
Troubleshooting / FAQ

Reprints, including excerpts, only with permission of the author.
Product changes that, in our view, serve to improve quality,
may be carried out at any time, even without notice or communication.
Illustrations may be sample illustrations that differ in appearance from the delivered
goods.
Errors excepted. No liability is assumed for printing errors.
Our general terms and conditions apply.
If you have any questions about this product,
please contact us at the following address:
rojaflex
is a registered trademark of
Schoenberger Germany Enterprises GmbH & Co. KG
Zechtraße 1-7
82069 Hohenschäftlarn
Germany
T +49 (0) 8178 / 93 29 93 93
F +49 (0) 8178 / 93 29 93 94
info@rojaflex.com
www.rojaflex.com
EU Waste and recycling / Registrations
Germany for electrical devices:
Stiftung EAR
WEEE-Reg.-no.: DE 41060608
Germany for batteries:
Stiftung EAR
Batt-Reg.-no.: DE 88866710
Germany for packaging:
LUCID Reg.-no.: DE5768543732165
Austria for electrical devices:
Elektro Recycling Austria (ERA) GmbH
ERA Contract no: 40801
Austria for packaging:
Altstoff Recycling Austria (ARA) AG
ARA License number: 23363
Switzerland for electrical devices:
Stiftung SENS
Membership number: VP11544
France for electrical devices:
Ecologic
Membership number / Take-back system: M3670
National registry: UIN FR208795_01SUIN
France for packaging:
Citeo
Membership number / Take-back system: 532886
National registry: UIN FR208795_01SUIN
Spain for electrical devices:
ECOTIC
Reg.-no.: RII-AEE- 7601
Spain for packaging:
Ecoembes
Membership number: 97556
Italy for electrical devices:
Raccolta differenziata. Verifica le disposizioni del tuo Comune!
Reg.-no.: n/a
Italy for packaging:
Raccolta differenziata. Verifica le disposizioni del tuo Comune!
Membership number: n/a
Table of contents
Other rojaflex Engine manuals