Before You Use the VT-12
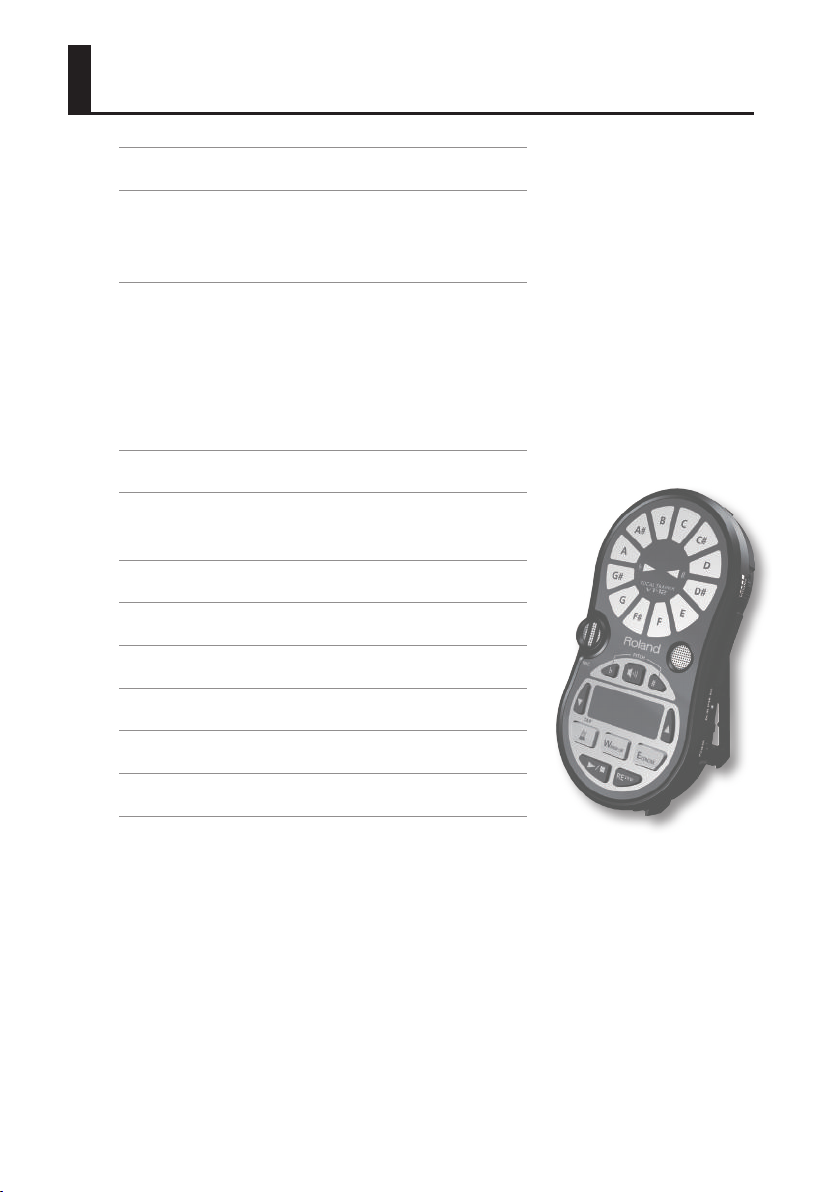
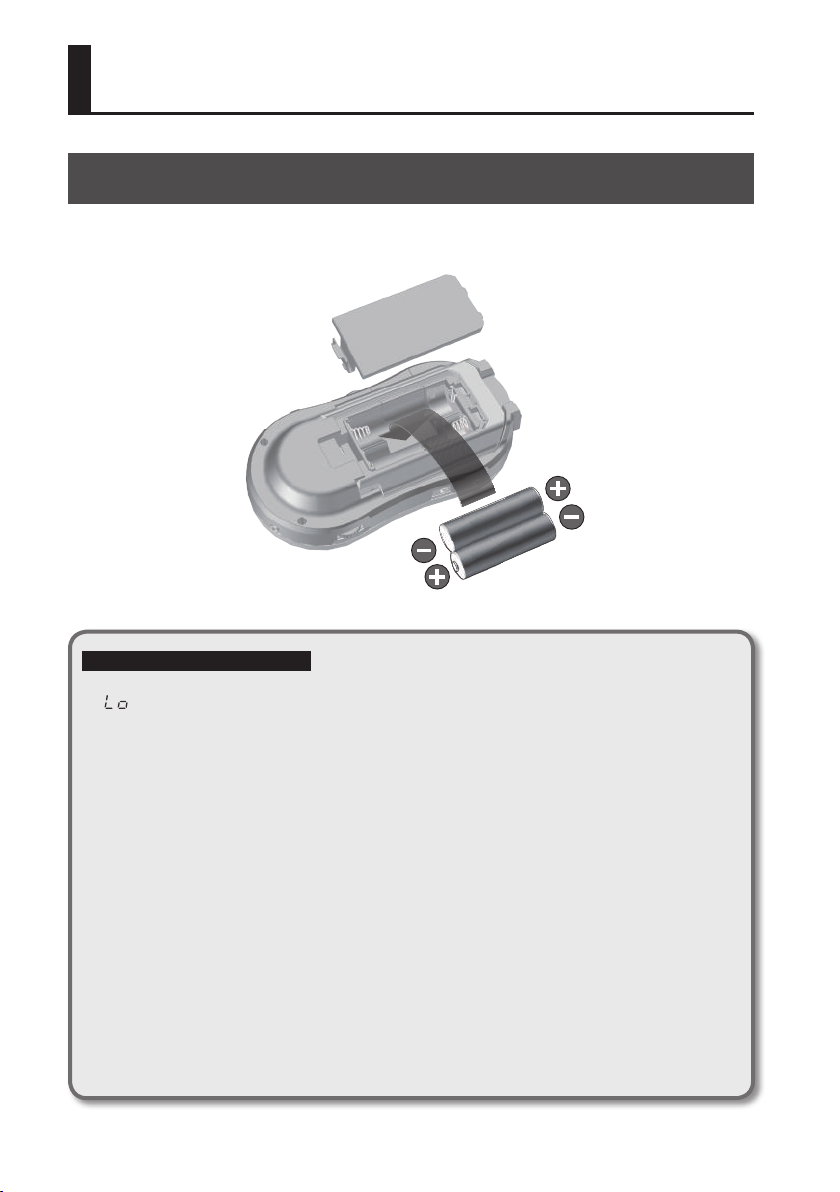
Installing the Batteries
Insert the batteries (two AA batteries) as shown in the illustration, taking care to observe the
correct polarity.
Cautions when using batteries
• As the batteries run low, the display will indicate
“ .” When this occurs, please install fresh batteries.
• If used improperly, batteries may explode or leak
and cause damage or injury. In the interest of safety,
please read and observe the following precautions.
• Carefully follow the installation instructions for
batteries, and make sure you observe the correct
polarity.
• Avoid using new batteries together with used
ones. In addition, avoid mixing dierent types of
batteries.
• Remove the batteries whenever the unit is to
remain unused for an extended period of time.
• Never keep batteries together with metallic
objects such as ballpoint pens, necklaces,
hairpins, etc.
• Used batteries must be disposed of in compliance
with whatever regulations for their safe disposal
that may be observed in the region in which you
live.
• Incorrect handling of batteries, rechargeable
batteries, or a battery charger can cause leakage,
overheating, re, or explosion. Before use, you must
read and strictly observe all of the precautions that
accompany the batteries, rechargeable batteries, or
battery charger.
• When using rechargeable batteries and a charger,
use only the combination of rechargeable batteries
and charger specied by the battery manufacturer.
• If operating this unit on batteries, please use
alkaline batteries or rechargeable Ni-MH batteries.
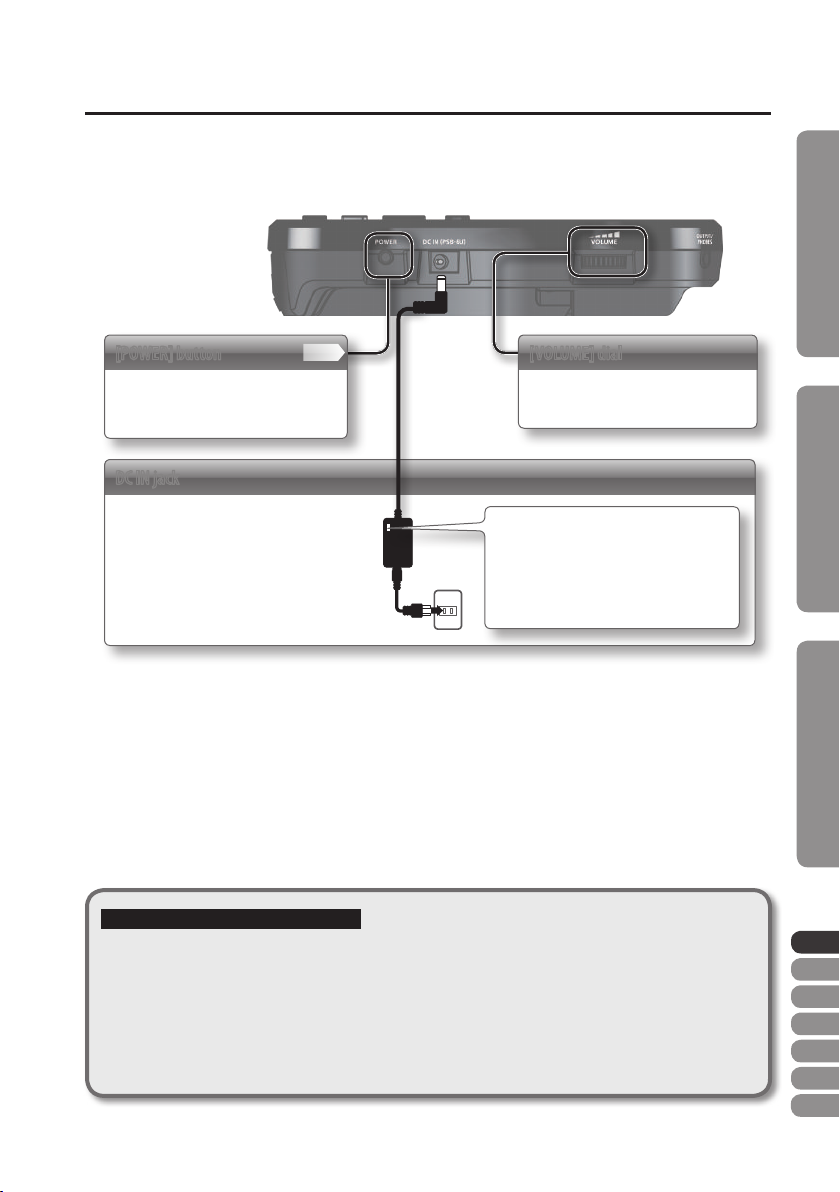
• If operating this unit on batteries, please disconnect
the AC adaptor from this unit.
• Even if batteries are installed, the unit will turn o
if you connect or disconnect the power cord from
the AC outlet while the unit is turned on, or if you
connect or disconnect the AC adaptor from the unit.
• Expected battery life under continuous use:
Alkaline: 6 hours
* These gures will vary depending on the
specications of the batteries and the actual
conditions of use.
8