..............................................................................
..............................................................................
10
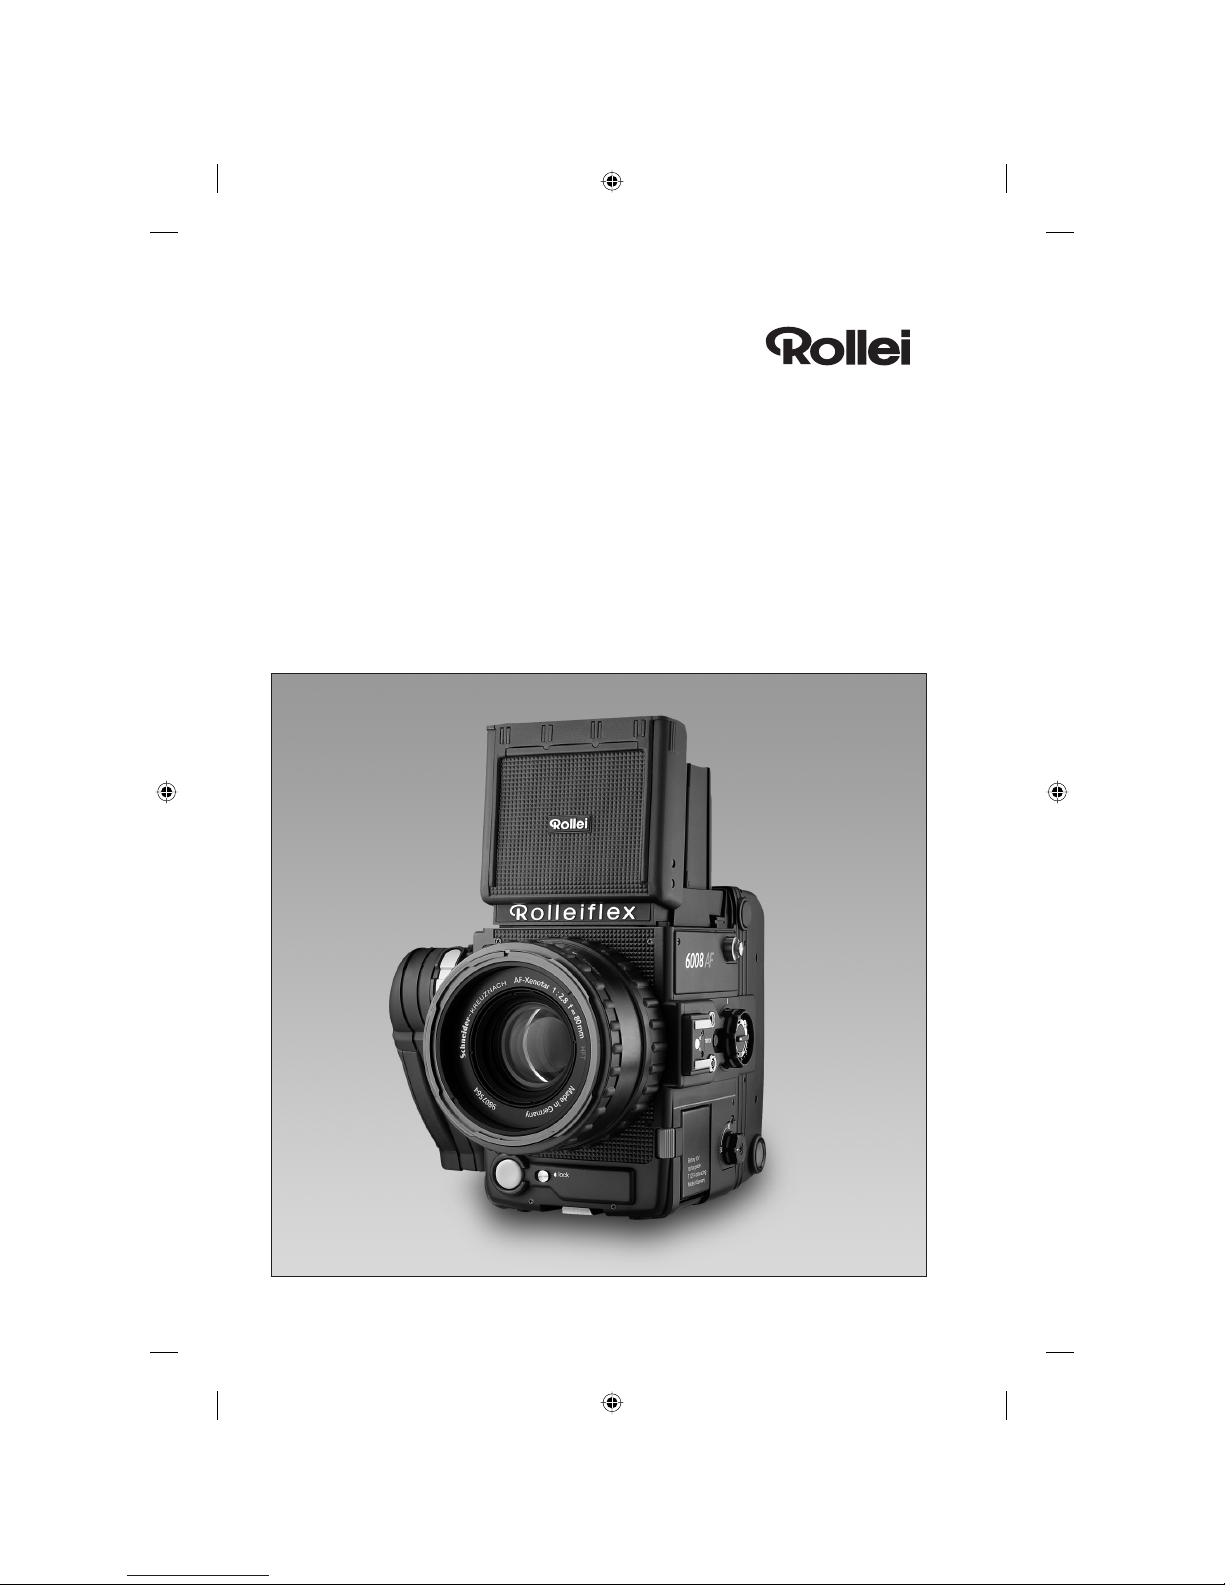
ROLLEIFLEX 6008 AF/6008 integral2
Rolleiflex 6008 AF
Rolleiflex 6008 integral2
Congratulations on your new Rolleiflex
6008. We appreciate your patronage and
trust that your new camera will give you
outstanding service for many years to
come.
Your Rolleiflex 6008 has been designed
for professional use. It is ideally suited for
creative use in fashion, people and action
photography as well as in architectural and
industrial applications.
For the hurried reader, there are
introductory brief instructions.
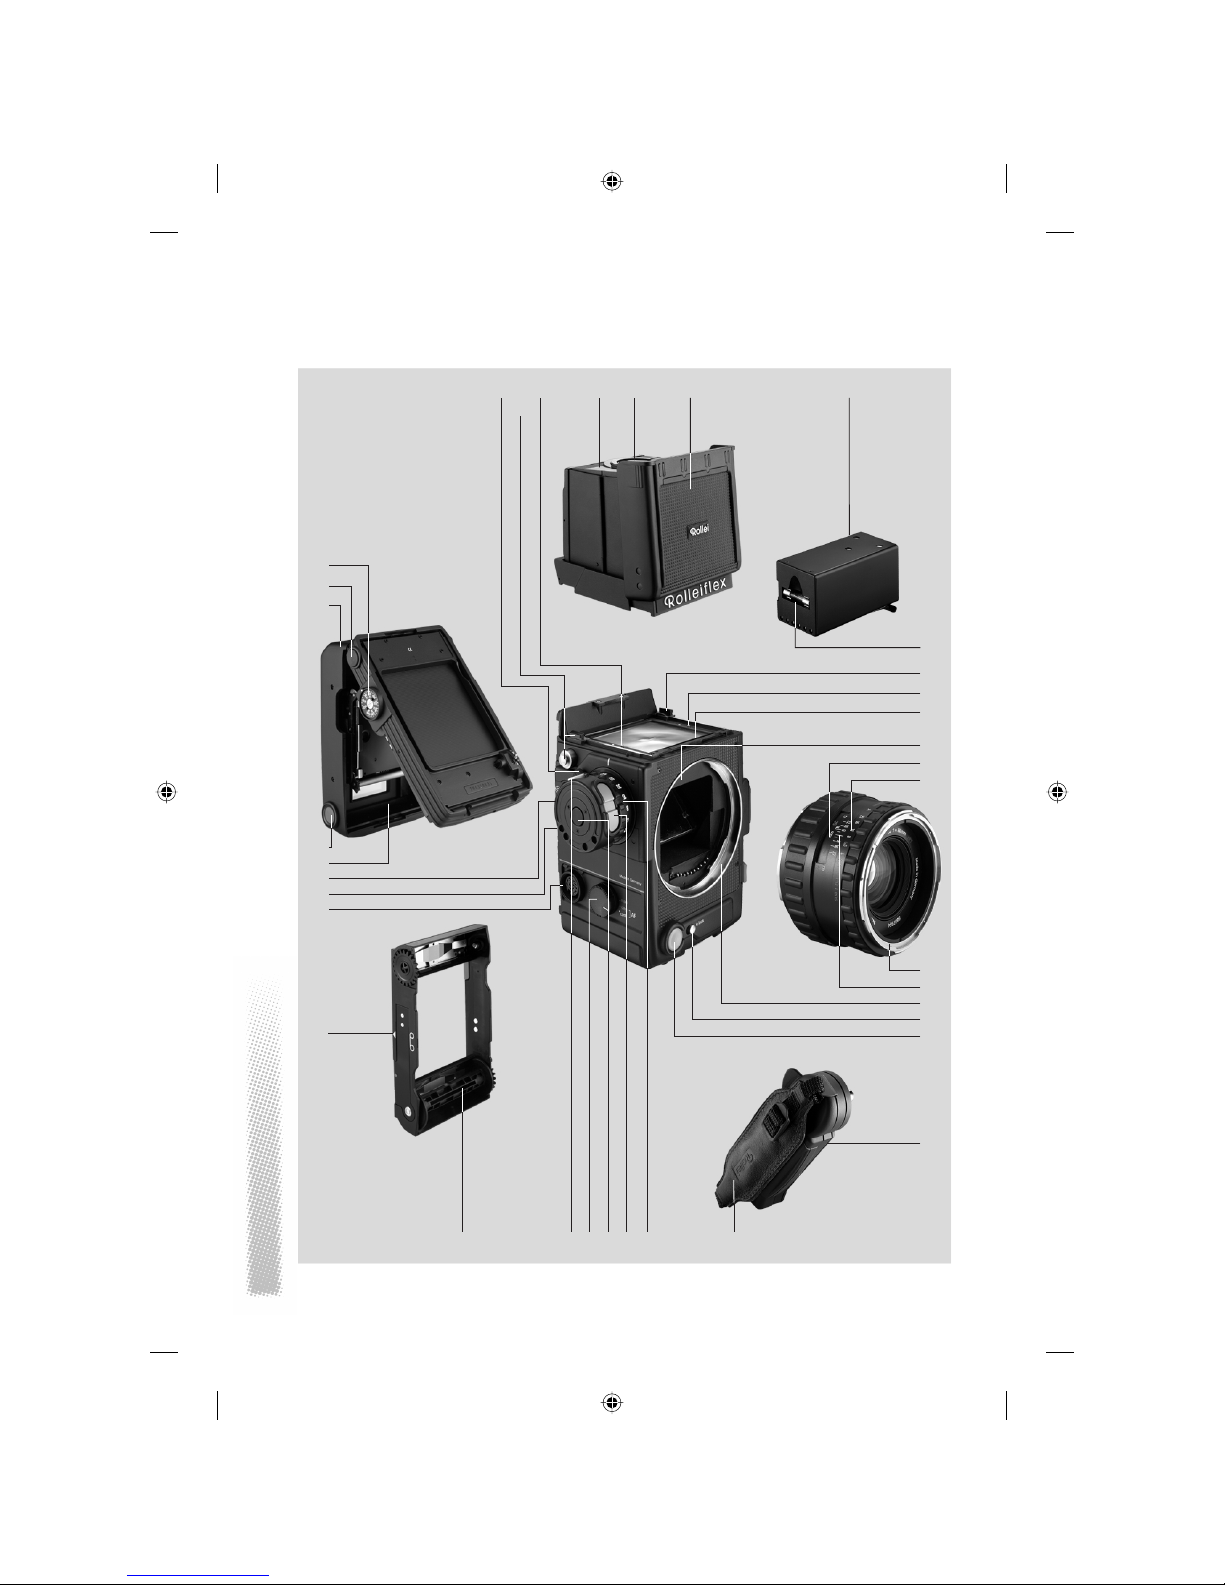
These are followed by a detailed descrip-
tion with pictures of all important aspects
of the camera, guiding you step by step
from assembling the basic camera mod-
ules right up to removing the exposed
film.
This in turn is followed by a number of
practical tips and additional information
on the workings of your camera as well as
its major accessories.
A tabular annex gives all important data of
our line of interchangeable lenses.
In the case of operating errors –which
even an experienced photographer might
make in the heat of a shoot or after pro-
longed non-use of the camera –a trou-
ble-shooting guide will help you locate
possible causes and find a way to correct
them. All parts numbers in the text and
the illustrations stand for one and the
same part and can be looked up in the
two picture plates.