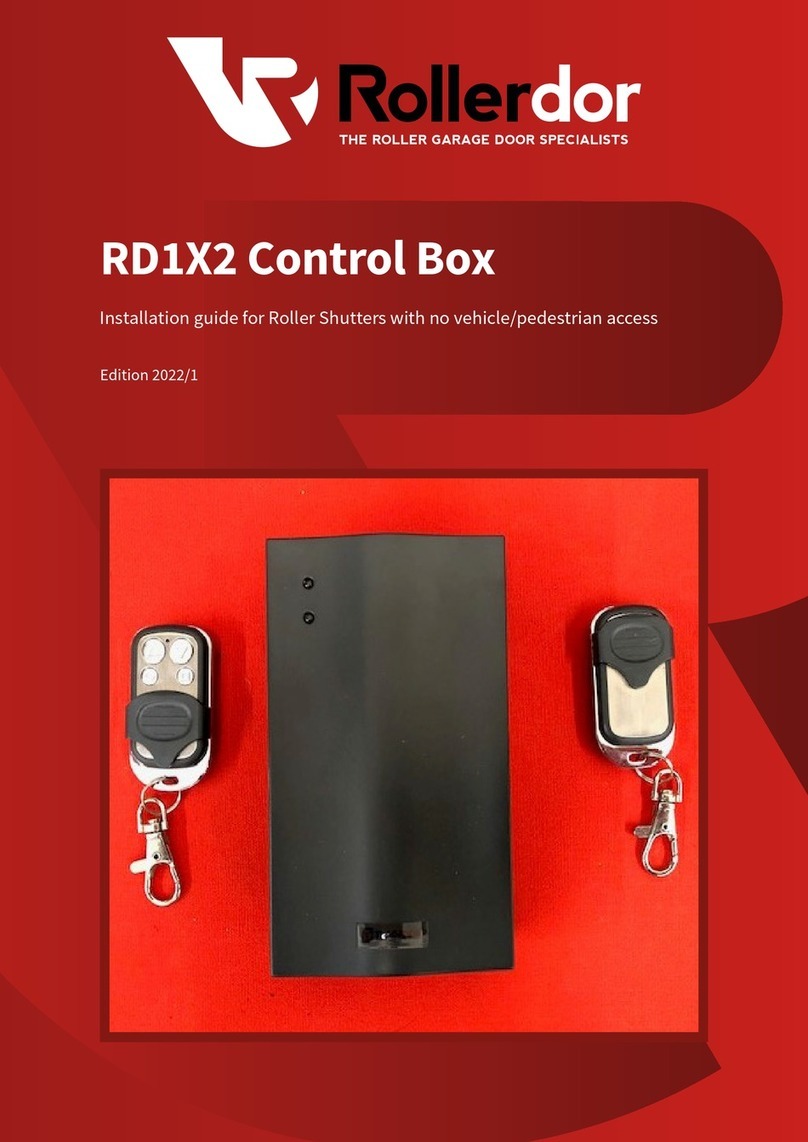
Rollerdor RD20X2 User manual

Rollerdor RD20X2 Control Box, Edition 2022/1
RD20X2 Control Box
Installation Guide for Roller Garage Doors
Edition 2022/1

2
Rollerdor RD20X2 Control Box, Edition 2022/1
1. INSTALLING RECEIVER BOX
1 Open the lid of the receiver box by unscrewing the four
screws (one in each corner) (fig.1).
2 Remove the two screws from the bottom of the box (these
can be found behind the glands) and the wall mounting
plate can be removed from the back
(fig.2 & fig.3).
3 Making sure the fixing plate is square with the screw
fixings at the bottom, mark the four fixings points. This
should be at a comfortable height to operate the push
buttons but out of the easy reach of children
- between 1500mm from the floor and 300mm down from
the roof/ceiling is recommended. Drill and then secure in
place (fig.4).
4 Hook the top of the receiver box on to the wall fixing plate
with the cable glands pointing downwards and secure
with the two screws.
5 If you have a safety brake with a cable then run the two
core cable from the safety brake end across to the same
end as the receiver box, making sure to securely fix the
cable out of the way of the working mechanism.
6 Remove the green 5 terminal block in the bottom left
corner (fig.5) and you will see letters printed on the
circuit board.
7 Wiring as follows:
Mains Power:
N– Neutral / Blue 3 core cable (power)
L– Live / Brown 3 core cable (power)
Earth – connect power cable directly to earth from
motor in plastic connector.
Motor:
U– Brown 4 core cable (motor)
V– Black 4 core cable (motor)
Earth - connect motor cable directly to earth from
motor in plastic connector.
W[c] – Blue 4 core cable (motor)
Safety Brake:
Remove black link wire from far right hand side stop
terminal, and replace with Brown (2 core cable) and
Blue (2 core cable), one each side (fig.5).
fig.1
fig.2
fig.3
Pictures are for illustration purposes only, connector blocks are not provided and further fittings may be required.

3
Rollerdor RD20X2 Control Box, Edition 2022/1
1 Press and hold the bottom close button on the receiver board (fig.5). This is located at the bottom
right corner of the yellow transformer and the barrel should start turning in the downwards
direction. Should the barrel be turning in the upward direction, swap motor
wires black to U and brown to V.
DIRECTION OF ROTATION
fig.5
fig.4
8 Before plugging in, check to make sure that there
are no bare cables touching and all wires are
securely fixed.
9 There is a four dipswitch block at the bottom
middle of the receiver board (usually blue or red).
Slide dipswitch 2 into the up position (fig.5).
Pictures are for illustration purposes only, connector blocks are not provided and further fittings may be required.

4
Rollerdor RD20X2 Control Box, Edition 2022/1
2. SETTING UP WIRELESS
SAFETY EDGE KIT
(RD20X2 OPTICAL SAFETY EDGE)
PROGRAMMING BASE RAIL UNIT
1 The control box is currently in hold to run
operation for open and close, if the limits
of the motor have not been set then please
use the open and close buttons that can be
found at the bottom right corner of the yellow
transformer (Fig.6) to set these limits..
2 Once installation is complete, slide back down
dip switch ‘2’ in the control panel, this can
be found on the four dipswitch block at the
bottom middle of the receiver board (usually
blue or red) (fig.6).
3 For access to the base rail unit on the right side
(where the writing is), push at the end of the
grey cover and slide to the left. This will give
access to the board (fig.7).
4 Remove the plastic tab from the batteries and
the LEDs will blink on the safety edge unit.
5 Inside the receiver box press and hold the
“PROG” button on the receiver card (this is the
card plugged onto the board) until you hear a
single beep (fig.9), then within 5 seconds press
and hold the “PROG” button on the wireless
safety edge (fig.8) and you will hear another
beep from the receiver box.
6 Wait several seconds until you hear 2 beeps
from the receiver box and pairing is complete.
fig.6
PUSH
GREY
SECTION
PUSH
GREY
SECTION
fig.7
Pictures are for illustration purposes only, connector blocks are not provided and further fittings may be required.

5
Rollerdor RD20X2 Control Box, Edition 2022/1
PROGRAMMING RUN TIMERS & LIMITS
1 The curtain must be all the way down in the closed position
before starting.
2 Press and hold the white “PROG” button on the main
receiver board for 2 seconds until the red LED lights up
and stays on, this is next to the start button (fig.10).
3 Press & release the “START” button (next to “PROG”
button) (fig.10) the receiver box will now start a setup
process.
4 Run timer setup is complete.
Please be aware! During set up the
motor may reach thermal cut out.
If this occurs you will need to wind
the curtain down manually to allow air
to pass over the barrel and cool.
This can take up to 45 mins.
If the curtain stops (due to thermal cut
out), or once completed the error light
is on or flashing, then you will need to
clear the memory of the base rail unit
and handsets before restarting the
whole procedure (refer to page 7
to clear memory).
fig.9
fig.8
fig.10
The curtain will open slightly and close again.
The curtain will then open and fully stop.
Press & release the "START" button again
(fig.10) and the curtain will close fully.
Wait for several seconds and the "PROG" light
will turn off.
(1)
(2)
(3)
(4)
Pictures are for illustration purposes only, connector blocks are not provided and further fittings may be required.

6
Rollerdor RD20X2 Control Box, Edition 2022/1
1 Press and hold the “RADIO PROG” button
(fig.11A). You will hear a beep and the red
LED alongside “C1” will illuminated (fig.11B).
Then release the “RADIO PROG” button.
2 Press top button on handset (fig.11A).
The panel will beep to confirm it has accepted.
Repeat for all other handsets.
3 Leave for several seconds and the receiver box
will beep twice to confirm end of programming.
SEQUENTIAL OPERATION
1 Press and hold the “RADIO PROG” button
(fig.11A) until you hear 3 beeps and the red LED
alongside “C3” will illuminate then release the
button.
2 Press top button on handset (fig.12A).
The panel will beep to confirm it has accepted.
Repeat for all other handsets.
3 Leave for several seconds and the receiver box
will beep twice to confirm end of programming.
4 Press and hold the “RADIO PROG” button
(fig.11A) until you hear 4 beeps and the red LED
alongside “C4” will illuminate then release the
button.
5 Press bottom button on handset (fig.12B).
The panel will beep to confirm it has accepted.
Repeat for all other handsets.
6 Leave for several seconds and the receiver box
will beep twice to confirm end of programming.
INDEPENDENT BUTTON OPERATION
fig.12
A
B
3. PROGRAMMING OF REMOTE
CONTROL HANDSETS
fig.11
A
B
Pictures are for illustration purposes only, connector blocks are not provided and further fittings may be required.

7
Rollerdor RD20X2 Control Box, Edition 2022/1
To clear memory you will need a small screwdriver. fig.13
1 Press and hold the “RADIO PROG” button (fig.13).
You will hear a beep and the red LED alongside “C1”
will illuminate.
2 Insert screwdriver between the 2 pin terminals on
the board (MR) to bridge between them (fig.13).
3 Press and hold the “RADIO PROG” button (fig.13).
The panel will beep 8 times and then go into 1
continuous beep. As soon as you hear this, release
“RADIO PROG” button and then remove screwdriver
from terminals and board will stop beeping.
4 Leave for several seconds and the receiver box will
beep twice to confirm end of programming.
CLEARING MEMORY OF REMOTE CONTROL
HANDSETS
MR
fig.14
1 Press and hold the “PROG” button (fig.14A) on
the receiver card (this is the card plugged onto the
board) until you hear a single beep.
2 Insert screwdriver between the 2 terminals on
the board (forks below “PROG” button) to bridge
between them (fig.14B).
3 Press and hold the “PROG” button, the panel will
beep 8 times and then go into 1 continuous beep.
As soon as you hear this release “PROG” button and
then remove screwdriver from terminals and board
will stop beeping.
4 Leave for several seconds and the receiver box will
beep twice to confirm end of programming.
To clear memory you will need a small screwdriver.
CLEARING MEMORY OF BASE RAIL UNIT
B
A
Pictures are for illustration purposes only, connector blocks are not provided and further fittings may be required.

8
Rollerdor RD20X2 Control Box, Edition 2022/1
WIRING AS FOLLOWS:
Receiver Box Green 6 Block Terminal (fig.15):
L0 – Up wire from switch
L2 – Down wire from switch
L1 – Common wire for the supply to the switch
L1 – L3 Link wire between terminals
Rocker Switch (fig.16):
4– Up wire
3– Down wire
5– Common wire for the supply to the switch
Fit Link wire from 5 to 2
To open rocker switch remove screws
Key Switch (fig.17):
Right Block 13 – Up wire
Left Block 14 – Down wire
Right Block 14 – Common wire for the supply to the switch
Left Block 13 – Right Block 14 Link wire between terminals
To open key switch remove screw then turn key
a quarter turn.
HARD WIRED ROCKER / KEY SWITCH
fig.17Bfig.17A
4. OPTIONAL EXTRAS
fig.16
Pictures are for illustration purposes only, connector blocks are not provided and further fittings may be required.
fig.15
A
B
Link wire
Up wire
Down wire
Common wire

9
Rollerdor RD20X2 Control Box, Edition 2022/1
WIRELESS KEY PAD
INSTALLATION
Fit directly to the wall using the 2 fixings making sure it is level and square with the writing at the bottom.
1 Press and hold the “RADIO PROG” button
(fig.15A). You will hear a beep and the red LED
alongside “C1” (fig.15B) will illuminate, then
release the “RADIO PROG” button.
2 Enter the access code and press OK (fig.18B).
The panel will beep to confirm it has accepted
the unit.
3 Leave for several seconds and the receiver
box will beep twice to confirm end of
programming.
PROGRAMMING TO RECEIVER BOX
fig.18
PROGRAMMING CODES
Master Code:
1 Press and hold the * button (fig.18A). For 3
seconds until the LED issues a slow red
flashing light.
2 Enter the master code (factory issue 12345678)
and press OK (fig.18B). The red LED will
flash faster.
3 Press the * button (fig.18A) then enter the new
master code followed by the * button. The LED
will flash green.
4 Enter the new master code again followed by
the * button (fig.18A). The LED will have
a permanent green light for 2 seconds then go
out. This means it has been programmed. If the
second entry doesn’t match the first, the LED
will flash red and it has not been programmed.
1 Press and hold the * button (fig.18A) for
3 seconds until the LED issues a slow red
flashing light.
2 Enter the master code and press OK
(fig.18B). The red LED will flash faster.
3 Enter your new access code (1 to 8 numbers
long) followed by the channel number from
1 to 4 (e.g. 5555 is the number and 1 for the
channel so 55551) and press OK (fig.18B).
4 The LED will have a permanent green light
for 2 seconds then go out. This means it has
been programmed. If you wish for more than
1 access code, then it must be programmed
to a separate channel otherwise it will just
replace the already stored code.
Access Code
Pictures are for illustration purposes only, connector blocks are not provided and further fittings may be required.
AB

Rollerdor RD20X2 Control Box, Edition 2022/1
Rollerdor Ltd
10 & 12 Jarrold Way
Bowthorpe Employment Area
Norwich
Norfolk NR5 9JD
+44 (0)1603 743215
sales@rollerdor.net
www.rollerdor.net
Company Registration Number. 10676267
Registered Oice Address:
Rollerdor Ltd, Bankside 300 Peachman Way,
Broadland Business Park, Norwich,
Norfolk, United Kingdom, NR7 0LB
Edition 2022/1
Table of contents
Other Rollerdor Control Unit manuals