Romer II Series User manual

Romer Series IITM Mill Manual
Version: SIIMM01.3
30 November, 2001
Romer® Labs, Inc.
1301 Stylemaster Drive Union, MO 63084-1156
Fax: (636) 583 6553 Tel: (636) 583 8600
Toll free: (800) 769 1380
“Making the World’s Food Safer”
®

Romer®Labs, Inc.
Page 2of 17
Romer®Labs, Inc.
ROMER
Table of Contents
Introduction....................................................................................................................................3
Safety Information........................................................................................................................4
Romer Series II™ Mill Protection Guidelines...........................................................................5
Operation and Grinding Procedure ...........................................................................................6
Grinder Knob Adjustments..........................................................................................................6
Cleaning and Care.......................................................................................................................7
Specifications................................................................................................................................8
Sampling Procedures ..................................................................................................................9
Technical Service Guide...........................................................................................................13
Replacement Parts.....................................................................................................................14
Warranty......................................................................................................................................15
Fax Order Form..........................................................................................................................16
Routine Maintenance Log.........................................................................................................17

Romer®Labs, Inc.
Page 3of 17
Romer®Labs, Inc.
ROMER
Introduction
Thank you for purchasing the Romer®Labs, Inc. Series II™ Mill (U.S. Patent #4,679,737).
The Romer Series II™ Mill is a versatile and easy to use mill that will meet your sample
preparation and sample grinding needs for a variety of analyses. This mill is designed to grind
and sub-sample human foods, animal feeds and feed ingredients. Other uses are not
advised.
The Romer Series II™ Mill has several features including:
•Each kernel is sub-sampled as it is ground which yields accurate results and minimal
false negatives.
•Grinds 2 lbs (1 kg) per minute, which may reduce labor.
•Easy cleaning prevents cross-contamination.
•Large hopper holds up to 15 lbs (approximately 7 kg) of corn.
•Minimal amounts of heat and dust are generated.
•Lightweight, portable and requires no assembly.
Each Romer Series II™ Mill is quality control checked prior to shipment.
**All 230VmillsareCEapproved.

Romer®Labs, Inc.
Page 4of 17
Romer®Labs, Inc.
ROMER
Safety Information
Safety should always be the first concern when operating the Romer Series II™ Mill. The
following guidelines have been written for your protection. Always use caution when operating
any piece of equipment.
To avoid personal injury:
•Always wear a dust respirator to prevent the inhalation of toxic materials.
•Wear protective eye gear; goggles, safety glasses or other approved eyewear.
•Use the mill only with a grounded 3-prong plug or damage to the unit may occur.
•Make sure the mill is on a level surface.
•Use in a well ventilated area, such as a fume hood, etc.
•Replace fuses as outlined in the Specifications section of his manual.
DO NOT:
•Operate the mill with any part removed (chutes, motor cover, etc.).
•Plug in the unit while the power switch is in the “on” position.
•Use the mill for any purpose other than those stated in this manual.
•Disassemble or otherwise attempt to service this unit unless the power cord is
disconnected.

Romer®Labs, Inc.
Page 5of 17
Romer®Labs, Inc.
ROMER
Romer Series II™ Mill Protection Guidelines
The Romer Series II™ Mill is provided with a shear disk drive release to protect the motor and
burrs if a foreign object, such as a nail or rock, gets into the mill. If the motor will run, but no
sample is discharged, check to make sure the circuit breaker has not been tripped. If the
breaker is not tripped, the shear disk must be replaced.
To replace the shear disk, follow the steps listed below:
1. Remove grinder cap assembly.
2. Pull off shear cap.
3. Pull out revolving burr assembly.
4. Insert new shear disk drive and before reassembling, check to assure that:
•no obstruction is caught between the teeth of either burr
•the tension spring is on the motor shaft
•no dust has built up on the surface of the grinder cap which may prevent the it
from seating properly against the grinder head.
5. During reassembly, make sure the thrust plug is attached to the inside of the grinder
cap assembly.
6. Gradually turn one grinder cap screw, then the other until both are tight. Do Not
completely tighten one screw without equally tightening the other.
The Romer Series II™ Mill is provided with a breaker switch on the back of the motor cover. If
the motor becomes too hot, the breaker switch will release and the motor will stop.
Overheating of the motor is usually due to grinding commodities that contain excess moisture
(over 20%) or fat (almonds, peanuts, etc.). After the motor has cooled, set the grind lever as
far as it will turn counter-clockwise. Reset the breaker switch and resume grinding. Do not
grind high moisture or high fat commodities on the fine grind setting.
Do not connect mill to an overloaded line as serious damage to the motor may result. If the
current fails or a fuse blows while the mill is in operation, turn the grind lever left (mill standing
upright) as far as it will go, then turn the mill “off” before troubleshooting. When the current is
available, allow the mill to operate for 10-15 seconds and then reset the grind lever to the
original setting.
There is no need for further oiling of the Romer Series II™ Mill bearings.

Romer®Labs, Inc.
Page 6of 17
Romer®Labs, Inc.
ROMER
Operation and Grinding Procedure
1. Visually inspect sample for any rocks, metal objects or other foreign material, which
may damage the mill. If the commodity contains dust, wear a fine mesh dust mask or
other appropriate apparatus for inhalation safety.
2. Open restrictor lever one or two notches to the left to allow approximately 20% of the
ground commodity to exit the front chute.
3. Set grind adjust cap for desired sample particle size.
4. Turn power switch to the “on” position.
5. Fill hopper with sample and allow sample to grind through the mill. Collect analytical
sample from the front chute.
6. Using a spatula, thoroughly mix the contents of the sample collected from the front
chute for approximately 30 seconds. This is a critical step that ensures even mixture of
the sample.
7. Clean the mill thoroughly after each use (see Cleaning and Care section).
Grinder Knob Adjustments
The grinder cap can be adjusted to give different particle sizes, however different
commodities will grind to different particle sizes when using the same setting. For example,
corn will grind to a larger particle size than wheat when using the same setting. To obtain a
larger particle size, turn the grinder knob to the left with the mill standing upright. To obtain a
smaller particle size, turn the grinder knob to the right with the mill standing upright.
To grind high fat or high moisture products, it may be necessary to adjust the grinder cap to a
coarse grind setting.
The Romer Series II™ Mill has been preset at Romer®Labs, Inc., but over time, the burr set
(grinding assembly inside the grinder housing) may become worn and need adjustment. To
adjust the burr set, follow the procedure listed below.
1. Turn the power switch to the “off” position.
2. With the mill lying on it’s back, as featured in the photo on the next page, adjust the
grinder knob to the farthest clockwise position.
3. Loosen the outside locking screws on the grinder knob.
4. Turn the power switch to the “on” position.
5. Slowly turn the grind adjustment screw clockwise until a faint grinding sound is heard.
Then slowly turn the grind adjustment screw counter-clockwise 1/8 of a turn until the
burr set no longer makes a grinding noise.
6. After setting the burr set, tighten the locking screws.
7. To achieve a larger particle size, turn the grind adjustment screw counter-clockwise in
step 5 and tighten the locking screws.

Romer®Labs, Inc.
Page 7of 17
Romer®Labs, Inc.
ROMER
Cleaning and Care
A small amount of ground sample may remain in the mill after the total sample has been
ground and a subsample collected. To prevent cross-contamination, use one of the following
procedures to clean the mill after each use.
1. After the sample is completely ground and while the unit is still running, cover the chute
openings with an attachment of an operating vacuum cleaner at the bottom of each
sub-sampling chute. Vacuum for approximately 30 seconds.
2. Run approximately 50 grams of the next sample through the grinder and discard. Grind
the remaining sample.
To fully clean the burr set, turn the power switch to the “off” position and unplug the unit.
Remove the grinding assembly by following the steps in “Romer Series II™ Mill Protection
Guidelines” that detail how to replace the shear pin. Periodically check the burr set and inside
the grinder housing to remove any built-up residue. This area should be thoroughly cleaned
every week with a stiff brush. Soap and water mayalso be used.

Romer®Labs, Inc.
Page 8of 17
Romer®Labs, Inc.
ROMER
Specifications
Grinding Burrs: Nihard Metal Alloy
Grinder Housing: Cast Aluminum
Feedworm: Cast Iron
Shear Drive: Stainless Steel with black oxide finish
Current: AC only Height: 26¾”
Voltage (AC:) 115V or 230V Width: 11¼”
Motor: 115V (AC): ½ HP Depth: 19¼”
230V (AC): ½ HP Breaker: 115V (AC): 10 Amp
Weight: 60 lbs/ 27.3 kg 230V (AC): 5 Amp
FEATURES
Hopper
Power ON/OFF
Switch
Grinder
Knob
Adjustment
Collection
Chutes
Collection
Chute
Adjustment

Romer®Labs, Inc.
Page 9of 17
Romer®Labs, Inc.
ROMER
Sampling Procedures for Mycotoxin Analysis
Proper sampling and sample preparation is the foundation of quality mycotoxin testing. This
is the most crucial step in obtaining accurate mycotoxin test results and is very often
overlooked. Without a properly obtained and prepared sample, mycotoxin test results will
have a high degree of analytical variability.
Please consult your Romer®Labs, Inc representative for a copy of the Romer®Labs, Inc.
Guide to Mycotoxins, Volume 2 entitled “Sampling and Sample Preparation for Mycotoxin
Analysis” This publication outlines the proper procedures for sampling and sample
preparation.
The first objective is obtain a representative sample of whole grain, finished feed or meal from
rail cars, truck lots, storage bins, or feeding pans and troughs.
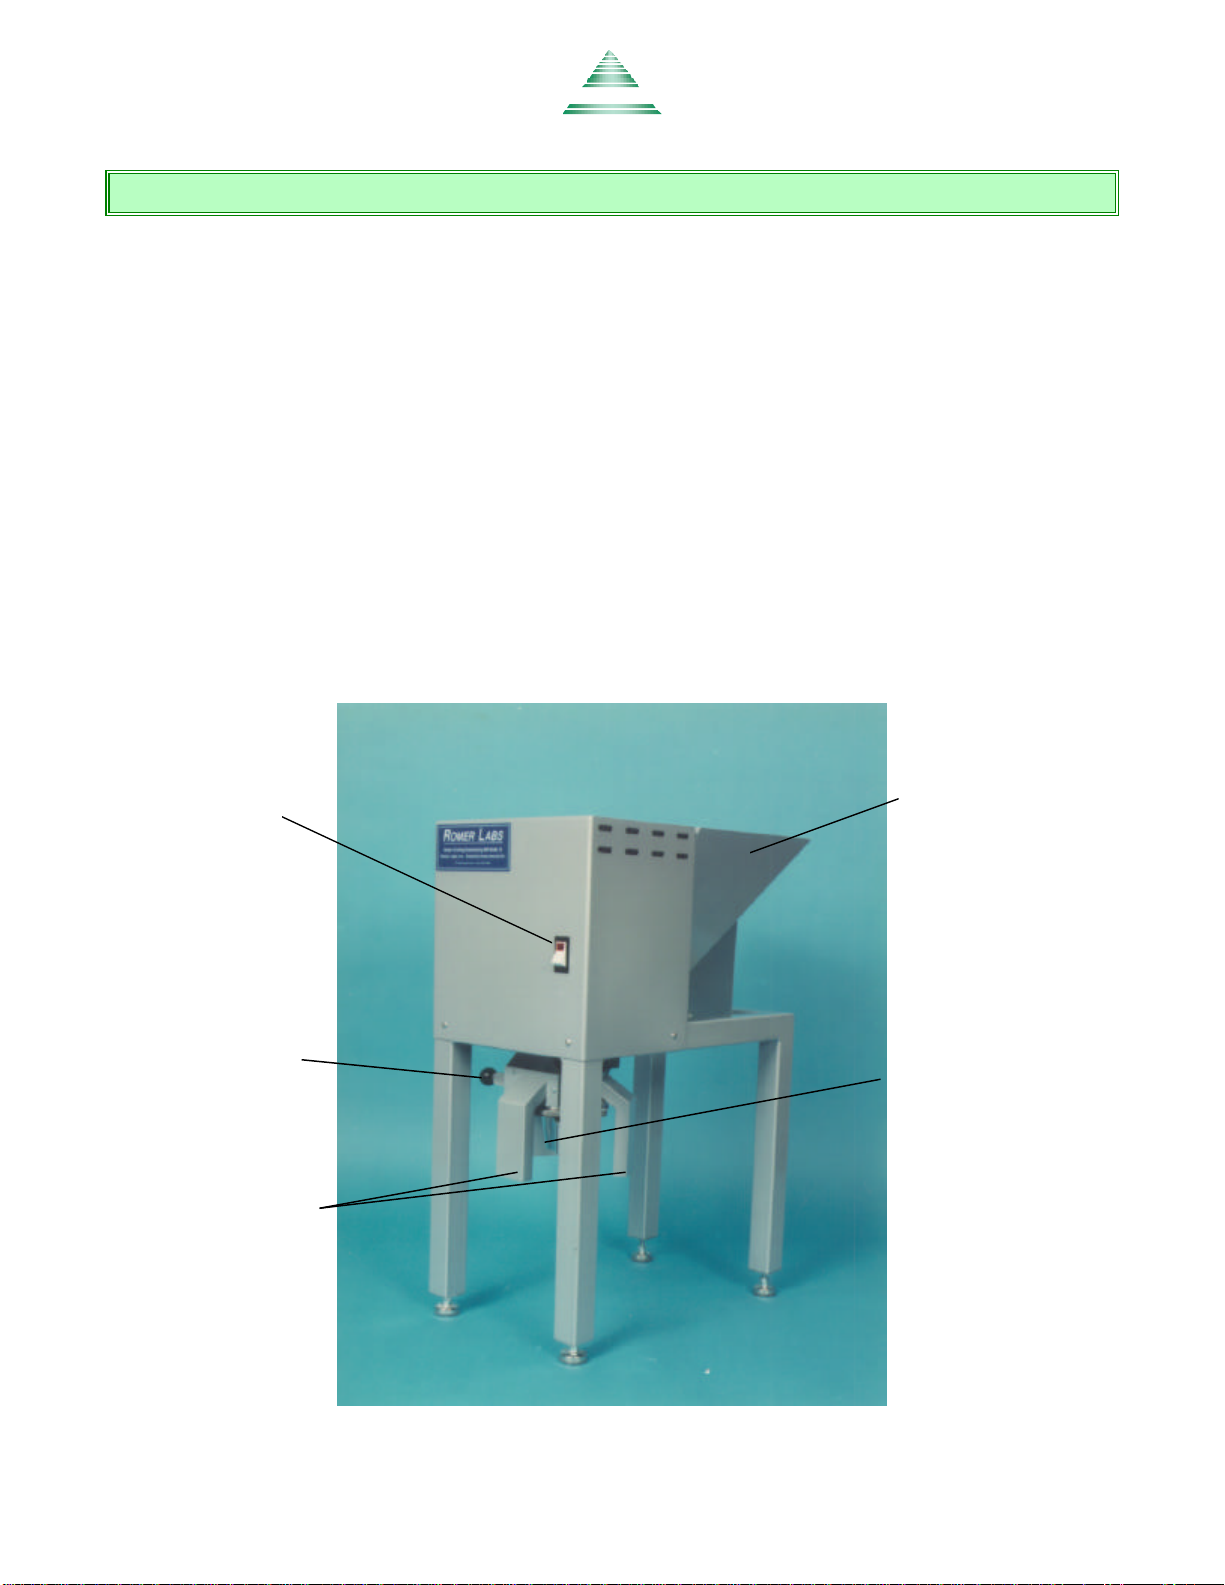
A. Sampling Equipment:
1. Manual Sampling:
•Grain probe or trier (barges, box cars, trucks, hopper containers -see Fig. 1)
•Bag trier (sacked grains -see Fig. 2)
•Pelican sampler (sampling grain in a falling stream)
2. Pneumatic or Hydraulic Probes (terminal elevator or processing plant probe)
3. Mechanical sampling systems
•Diverter-type (automatic sampling of sections or cuts of entire grain flow)
•Point-type (auger sampling of powdered commodities)
B. Sampling Patterns (large grain carriers, storage bins or troughs):
1. Flat-bottom trucks or trailers containing grain more than 4 feet (1.2 m)
deep should use a7-probe pattern with each trailer treated as a separate load.
Flat-bottom trucks or trailers containing grain less than 4 feet (1.2 m) deep
should use a 9-probe pattern (Fig. 3)
2. Hopper car (3-compartment, through or door type), insert probe vertically
at a 10-degree angle in the center or slightly off center in order to miss the cross
beam (Fig. 4)
3. Lift-top and roll-top barges, draw the first probe 4 feet from the stern end
of the barge and 7 feet from the side. Take remaining probes at 15-foot intervals
to the bow end of the barge. The last probe is taken 4 feet from the box end and
7 feet from the side (Fig. 5)
4. Storage Bins should use automatic pneumatic or mechanical sampling
equipment or an adequate probe. If this is not possible, collect 5 probes of feed
or meal or 9 probes of whole grain according to the sampling pattern (Fig. 6).
Collect about 0.5 lbs. from the bottom of the bin using an auger and combine
this with the probed sample. If moisture accumulation is suspected, use the
probe pattern (Fig. 7) to collect potentially moist material from the edges of the

Romer®Labs, Inc.
Page 10 of 17
Romer®Labs, Inc.
ROMER
bin separately and potentially less moist material from the center of thebin.
Transfer the edges-sample and the center-sample to two separate sample bags,
close securely and store under dry, cool conditions until analyzed. Label the one
sample as "Storage Bin Edges" and the other as "Storage Bin Center".
5. Pans and Troughs
•Pans in Poultry House: Collect twelve 75 gram grab samples in
sample bag, 4 at the first station the feed reaches, 4 at the middle
station and 4 at the last station the feed reaches. Fasten bag securely
and store under dry, cool conditions until analyzed.
•Troughs: In the sample bag provided, collect twelve 75-gram grab
samples randomly from trough. Take some samples from each
section of the trough. Close bag securely and store under dry, cool
conditions until analyzed.
6. During Loading or Unloading
The only practical way to obtain a representative sample from a storage bin is
during the loading or unloading process. Either automatic sampling equipment
or grab samples can be used. Collect a series of 50 to 100 gram samples, as
the grain is being loaded or unloaded. A total of 5 lb. of whole grain and 2 lb. of
meal or finishedfeed should be obtained. Take the first sample as soon as the
loading begins and the last one near the end of the loading. Transfer the total
sample collected to a sample bag, close securely, and store under dry, cool
conditions until analyzed.
C. Proper Sample Size
By taking a sample that is too small, the toxins are either missed completely, or found
at much lower levels than truly present. Adequate sample size is important for accurate
mycotoxin analytical results:
1. Minimum Sample Size for Corn or Green Coffee: 5 lbs or approximately 2.5 kg
2. Minimum Sample Size for Wheat or Barley: 3 lbs or approximately 1.5 kg
3. Minimum Sample Size for Flour: 3 lbs or approximately 1.5 kg
Manual Probes
Figure I Figure 2

Romer®Labs, Inc.
Page 11 of 17
Romer®Labs, Inc.
ROMER
Figure 3 –Flat –bottom trucks or trailers
7-Probe Pattern 9-Probe Pattern
Figure 4 –Hopper Cars
Figure 5 –Lift-top Barges

Romer®Labs, Inc.
Page 12 of 17
Romer®Labs, Inc.
ROMER
Figure 6 –Storage Bin:
Feed or Meal: 5 –Probe Pattern
Whole Grain: 9 –Probe Pattern
Figure 7 –Storage Bin (Moisture Accumulation)

Romer®Labs, Inc.
Page 13 of 17
Romer®Labs, Inc.
ROMER
Technical Service Guide
Problem Corrective Action
Mill does not run with power on. Be sure power cord is plugged in and there is
a power supply to mill.
Reset circuit breaker to “in” position.
Mill runs but grain is not being ground Check chutes for blockage.
Check hopper for blockage.
Break up sample so that it can be ground
through mill.
Check shear disk and replace if necessary.
Mill stops during grinding and appears hot. Let mill cool and reset circuit breaker to “in”
position.
Adjust grinding assembly for a coarser grind.
Thrust plug is chipped or missing. Replace thrust plug.
Burrs make grinding noise while running
with no sample in the mill. Adjust burr set.
If you have questions concerning the mill, please contact Romer® Labs, Inc at:
1-800-769-1380 or 636-583-8600

Romer®Labs, Inc.
Page 14 of 17
Romer®Labs, Inc.
ROMER
Replacement Parts
Exploded diagram of the Romer Series II™ Mill assembly:
Part #
Description
Item number
1Grinder cap assembly (includes: grinder cap, grind knob, detent spring,
detent plate, grind adjustment screw, two 10-32 x ½ screws, adjusting
bearings and detent plunger) EQMMP2090
2Shear drive assembly (includes shear drive, 25 shear discs, shear cap
and thrust plug) EQMMP2230
3Feed worm with bushings EQMMP2060
4Burr set EQMMP2030
5Grinder head assembly (includes: grinder head, restrictor gate,
restrictor door, left, right and collection chute) EQMMP2110
Breaker, 10 Amp. EQMMP2010
Thrust plug (pkg. of 5) EQMMP2260
Tension springs (pkg. of 3) EQMMP2250
HOPPER
FACE PLATE
STAND UNIT
WITH MOTOR
3
1
2
4
5

Romer®Labs, Inc.
Page 15 of 17
Romer®Labs, Inc.
ROMER
Warranty
The Series II™ Mill is guaranteed by Romer®Labs, Inc. to be free of defects in workmanship
and materials under normal use for a period of ninety (90) days from the date of purchase by
the consumer. Romer®Labs, Inc. designates the right to determine aproducts warranty
status.
All liability of Romer®Labs, Inc. is limited to the repair or replacement of the mill. Under no
circumstances is Romer Labs, Inc. liable for consequential damage or loss. Instruments and
accessories subjected to misuse, abuse, neglect, modification or unauthorized repair
constitute exclusion from warranty.
All warranty claims must be directed to:
Romer®Labs, Inc.
1301 Stylemaster Drive
Union, MO 63084-1156
Phone: (636) 583-8600
Fax: (636) 583-6553
©2001 by Romer®Labs, Inc. Union, MO
All rights reserved. No part of this manual may be reproduced in any form or by any means,
without expressed written consent from Romer®Labs, Inc. Photocopying is prohibited.

Page 16 of 17
Fax order form
Romer®Labs, Inc.
Please fax your order to: (636) 583 2793
For technical customer service, call toll free:
(800) 769 1380
BILL TO
Name: ......................................................
Company: ......................................................
Address: ......................................................
......................................................
......................................................
Tel: ......................................................
Fax: ......................................................
Purchase order #:...............................................
SHIP TO
same as “bill to” address
Name: .....................................................
Company: .....................................................
Address: .....................................................
.....................................................
.....................................................
Tel: .....................................................
Fax: .....................................................
Method of Payment
Bill company (upon approval of credit)
VISA Master card American Express
Card number: _ _ _ _ _ _ _ _ _ _ _ _ _ _ _ _
Exp. Date: _ _ / _ _
Signature: .......................................................
Method of Shipping
UPS Next Day Air
UPS Second Day Air
UPS 3 Day Select
UPS Groundtrac
Federal Express, Account #:
DHL
Item Number Description Quantity Unit Price (US$)
For Romer®Labs, Inc. shipping dept. only
Date shipped: Invoice #: UPS tracking numbers
Shipping Charge:
Credit card authorization #:
Ref #: Batch#:
®

Page 17 of 17
Routine Maintenance/ Cleaning Log for the Romer Series II™ Mill
Date Initials Cleaning
Method Problem
Repair or Maintenance Done
Method #1-Vacuum chutes for 30 seconds per “Cleaning and Care” section of the manual
Method #2-Run 50g of next sample through, prior to grinding sub-sample per “Cleaning and Care” section of the manual
ROMER
Romer®Labs, Inc
.
Table of contents