Rompa 16717 User manual

Copyright ROMPA® Ltd
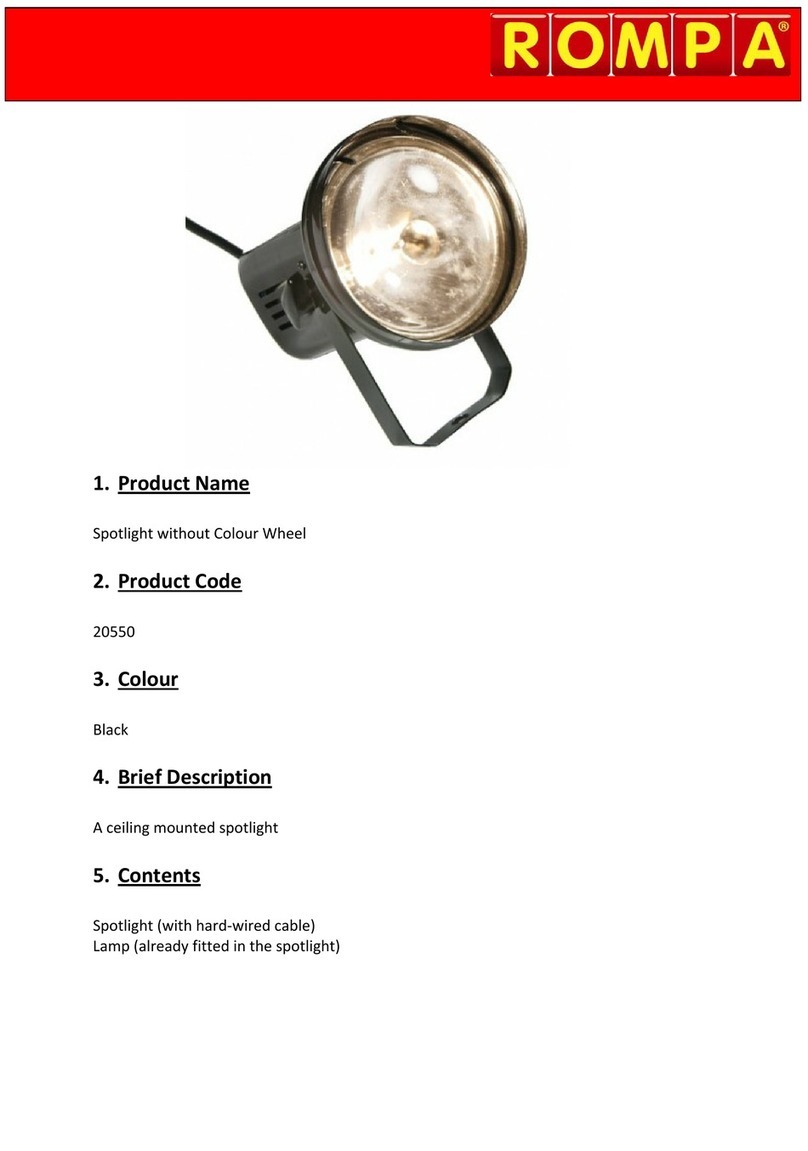
SPOTLIGHT & VARIABLE COLOUR WHEEL, 16717 (16718)
CONTENTS
1 x spotlight 16 x coloured sections
OPERATION
To change the colours
1. Make sure that the spotlight is unplugged before changing the coloured sections (the same
applies for changing the bulb/fuse).
2. Hold the glass wheels steady and turn the central screw anti-clockwise till both wheels can be
removed. Take care when handling these wheels.
3. Carefully separate the glass wheels and slide out the coloured sections. Replace these with
the other colours included.
4. Replace the central screw, taking care not to over-tighten it.
5. Plug the spotlight in at the mains.
6. Switch both switches on the reverse of the spotlight to ‘ON’. The white switch on the right is
for the lamp. The smaller metal switch on the left is to activate the motor so that the wheel
turns. Should you wish to control the motor direction so that only one colour is projected,
switch this metal switch off.
To adjust the speed of rotation
1. Turn the dial on the reverse of the spotlight as indicated.
To adjust the angle of the spotlight
1. Adjust the two handles on either side of the rim. Tighten securely once the spotlight is
positioned as desired.
To change the lamp
1. Remove the glass wheels as above.
2. Remove the three screws that hold the white ring in place. Do not remove the four cross-head
screws that form a square to one side of the lamp. These hold the transformer in place and
should not be removed. Remove the white ring. Carefully turn the spotlight over, placing your
hand over the bulb so as not to drop it. The lamp will fall out of the unit. Take care not to pull
the bulb from the wires connected.
3. Remove the two gold coloured screws to detach the lamp from the spotlight.
4. Replace the lamp.
5. Replace the two gold coloured screws, the white ring, the three screws and the glass wheels.
SAFETY
1. Make sure that the spotlight is on a flat, stable surface.
2. Position the spotlight and its cable out of reach of clients.
3. Make sure that the wheel can turn without being obstructed.
4. Check that the wheels are securely screwed in place, and will not work free.
5. You may wish to screw the base of the spotlight down. Use the four holes already drilled in
the base (screws are not provided as these must suit the surface the base is fixed onto).
6. Always disconnect the spotlight before attempting to replace the coloured sections, fuse or
lamp.
TECHNICAL INFORMATION
230V/50-60Hz
Lamp – 6V/30W
Fuse – T 0.5A 250V
SPOTLIGHT & VARIABLE COLOUR WHEEL 16717, KH 5.03

Copyright ROMPA® Ltd
SPOT ET ROUE VARIABLE, 16717 (16718)
CONTENU
1 x spot 16 x éléments de différentes couleurs
FONCTIONNEMENT
Pour changer les couleurs
1. Important : débranchez le spot avant de changer les éléments (ou la lampe ou le fusible).
2. Tenez fermement les roues en verre et tournez la vis centrale dans le sens inverse des aiguilles
d’une montre. Enlevez les deux roues, en prenant grand soin.
3. Doucement séparez les deux roues et glissez les éléments de couleur des roues. Remplacez ces
éléments.
4. Remplacez la vis centrale, en prenant soin de ne pas la serrer de trop.
5. Branchez.
6. Poussez les deux boutons à l’arrière du spot à la position ‘ON’. Le bouton blanc à droite fait
marcher la lampe. Le bouton plus petit en métal (à gauche) fait marcher le moteur pour que la
roue tourne. Si vous voulez contrôler la direction du moteur pour que le spot projète une seule
couleur à la fois, poussez ce bouton à la position ‘OFF’.
Pour ajuster la vitesse de la rotation
1. Tournez le cadran à l’arrière du spot dans la direction indiquée.
Pour ajuster l’angle du spot
1. Ajustez les deux poignées à chaque côté du spot. Serrez-les quand le spot est bien positionné.
Pour changer la lampe
1. Enlevez les roues en verre (voir plus haut).
2. Enlevez les trois vis qui tiennent le support blanc en anneau. Ne pas enlever les quatre vis en
cruciforme (en carré) au côté de la lampe. Ces quatre vis tiennent le transformateur et devraient
rester en place. Enlevez le support blanc en anneau. Renversez le spot, en positionnant la main
sur la lampe pour ne pas la laisser tomber. La lampe se détachera du spot. Prenez soin de ne
pas tirer la lampe des fils du spot.
3. Desserrez les deux vis dorées pour séparer la lampe du spot.
4. Remplacez la lampe.
5. Remplacez les deux vis dorées, le support blanc en anneau, les trois vis et les roues en verre.
SÛRETÉ
1. Positionnez le spot sur une surface plane et stable.
2. Positionnez le spot hors de la portée des clients.
3. Vérifiez que la roue puisse tourner sans obstruction.
4. Vérifiez que les roues soient fermes et ne se détacheront pas.
5. Vous pourriez fixer la base du spot sur un rayon en vous servant des quatre trous déjà percés
dans la base. Notez: les vis ne sont pas comprises – elles doivent convenir au rayon.
6. Il faut toujours débrancher le spot avant de remplacer les sections, le fusible ou la lampe.
CARACTÉRISTIQUES TECHNIQUES
230V/50Hz
Lampe: 6V/30W
Fusible: T0.5A 250V
SPOTLIGHT & VARIABLE COLOUR WHEEL 16717, KH 5.03

Copyright ROMPA® Ltd
SPOTLIGHT & VARIABLE COLOUR WHEEL 16717, KH 5.03
SNOEZELENLICHTSPOT 16717 (16718)
INHALT
1 Lichtspot 16 Farbsegmente
BEDIENUNGSANLEITUNG
Farbwechsel
1. Stellen sie sicher, daß die Stromzufuhr zum Lichtspot unterbrochen ist, bevor Sie die
Farbsegmente auswechseln. (Dasselbe gilt beim Wechseln der Lampe oder der Sicherung.)
2. Halten sie die Glasräder fest und drehen Sie die Schraube in der Mitte gegen den Uhrzeigersinn,
bis beide Räder entfernt werden können. Gehen Sie vorsichtig mit den Glasrädern um.
3. Schieben Sie die Farbsegmente vorsichtig heraus. Tauschen Sie diese mit anderen
Farbsegmenten aus.
4. Bringen Sie die Schraube in der Mitte wieder an. Achten Sie darauf, sie nicht zu fest anzuziehen.
5. Verbinden Sie den Lichtspot mit der Stromzufuhr.
6. Schalten sie beide Schalter hinten am Lichtspot auf 'EIN' ('ON'). Der weiße Schalter rechts ist für
die Lampe. Der kleinere Metallschalter links schaltet den Motor, der das Farbrad dreht, ein.
Möchten Sie, daß nur eine Farbe leuchtet, so schalten Sie den Motor mit diesem Schalter aus.
Geschwindigkeitsregler
1. Drehen Sie den Regler hinten am Lichtspot wie ausgewiesen.
Winkeleinstellung
1. Benutzen Sie die beiden Halter an der Seite, um den Lichtspot in die gewünschte Position zu
bringen. Ziehen Sie die Halter fest, wenn die gewüncshte Position erzielt ist.
Lampenwechsel
1. Entfernen Sie die Glasräder (siehe oben).
2. Entfernen Sie die drei Schrauben, die den weißen Ring festhalten. Entfernen Sie dabei nicht die
vier Kreuzschrauben, die auf der einen Seite der Lampe im Rechteck angebracht sind. Sie
befestigen den Transformator und sollten nicht entfernt werden. Entfernen Sie den weißen Ring.
Drehen Sie den Lichtspot vorsichtig um, halten Sie Ihre Hand unter die Lampe, damit sie nicht
herausfallen kann. Die Lampe wird aus der Einheit herausfallen. Die Lampe ist mit Drähten
verbunden, ziehen sie daher nicht an ihr.
3. Entfernen Sie die goldfarbenen Schrauben, um die Lampe vom Lichtspot zu entfernen.
4. Tauschen Sie die Lampe aus.
5. Bringen Sie die beiden goldfarbenen Schrauben, den weißen Ring, die drei Schrauben und die
Glasräder wieder an.
SICHERHEIT
1. Achten sie darauf, daß der Lichtspot auf einer ebenen, festen Fläche steht.
2. Achten sie darauf, daß sowohl der Lichtspot als auch sein Kabel außerhalb der Reichweite Ihrer
Klienten ist.
3. Stellen Sie sicher, daß sich das Farbrad ungehindert drehen kann.
4. Prüfen Sie, daß das Farbrad sicher festgezogen ist und sich frei drehen kann.
5. Sie können die Grundplatte des Lichtspots auch festschrauben. Für diesen Zweck sind vier
Löcher in die Grundplatte gebohrt. Es werden hierfür keine Schrauben mitgeliefert, da die Art der
benötigten Schrauben vom Material, in das sie geschraubt werden, abhängig ist.
6. Unterbrechen Sie stets die Stromzufuhr, bevor sie die Farbsegmente, die Sicherung oder die
Lampe auswechseln.
TECHNISCHE DATEN
230 Volt/ 50-60 Hertz
Lampe - 6 Volt/30 Watt Sicherung - T 0,5 Amp 250 Volt
This manual suits for next models
1
Table of contents
Languages:
Other Rompa Spotlight manuals