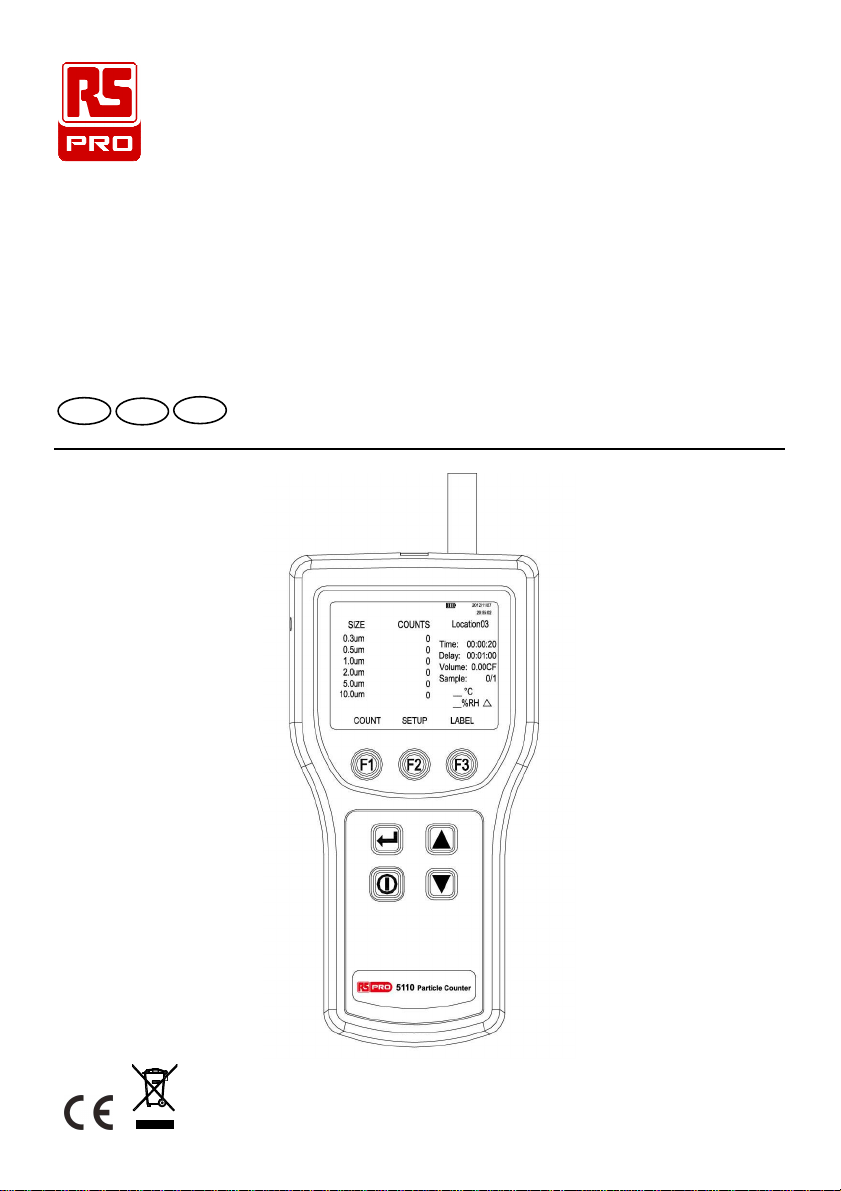
PARTICLE COUNTER / EN
09/15/17 Version No. 00 3
3. SPECIFICATIONS
6 Particle size channels: 0.3, 0.5, 1.0, 2.0, 5.0, 10.0 µm
Flow rate: 0.1 cfm (2.83 L/min)
Light source: Laser diode
Calibration: PSL particles in air (NIST traceable)
Counting efficiency: 50 % at 0.3 µm; 100 % for particles > 0.45 µm
(per JIS B9921:1997)
Zero count: 1 count/5 minute (per JIS B9921:1997)
Coincidence loss: 5 % at 2,000,000 particles per cubic ft.
Relative humidity: ± 7 %, 20 % RH to 90 % RH, non-condensing
Temperature: ± 3 °C, 10 °C to 40 °C (50 °F to 104 °F)
Maximum particle concentration: 70000 particles/L (coincidence loss max. 5%)
Data storage: 500 sample records (rotating buffer)
Data recorded: Date, time, counts, relative humidity, temperature, sample volumes,
alarms, label
Display: TFT color display with backlight
Count modes: Concentration, totalize, audio
Delay time: 0 to 24 hours
Sample inlet: Isokinetic probe
Interface: USB
Vacuum source: Internal pump flow controlled
Dimensions: 11.0 x 21.8 x 6.7 cm (4.33 " x 8.58 " x 2.64 ")
Weight: 875 g
Environmental:
Operating:
10
°
Cto40
°
C(50
°
Fto104
°
F), 20% to90 % RH, non-condensing
Storage: -10 °C to 50 °C (14 °F to 122 °F), Up to 90 % RH, non-condensing
Power: AC Adapter, 12 VDC at 3 A, 100 to 240 VAC, 50 to 60 Hz
Rechargeable Battery: Lithium ion, 8.4 V at 2.5 Ah; replaceable
Charge time: 2.5 hours (Fast Charge mode), 27 hours (Trickle Charge mode)
Continuous Operating Time: 4 hours
Standards: Complies with CE, JIS B9921: 1997, ISO 21501-4
Accessories: Instruction manual, AC adapter, Power cord, USB cable, Zero
count filter, Hardshell carrying case.