8 9
9-7. Alarm Select
Select whether to enable the alarm
9-8. Memory Status
Press the and button to select the memory(flash or
microSD). Press the ESC button to exit and save.
NOTE: If MicroSD card inserted, MicroSD card will be
selected by default Press the ENTER button to format the
flash or MicroSD card, press F1 to confirm formats, and F3
to cancel formats if needed.
9-9. Factory Setting
Press the and button to select Yes or No to restore
factory settings. Press the ESC button to exit and save.
9-10.Units(°C/°F )
Press the and button to select the unit. Press the ESC
button to exit and save.
10. Help File
Press F3 to select the and enter Help File.
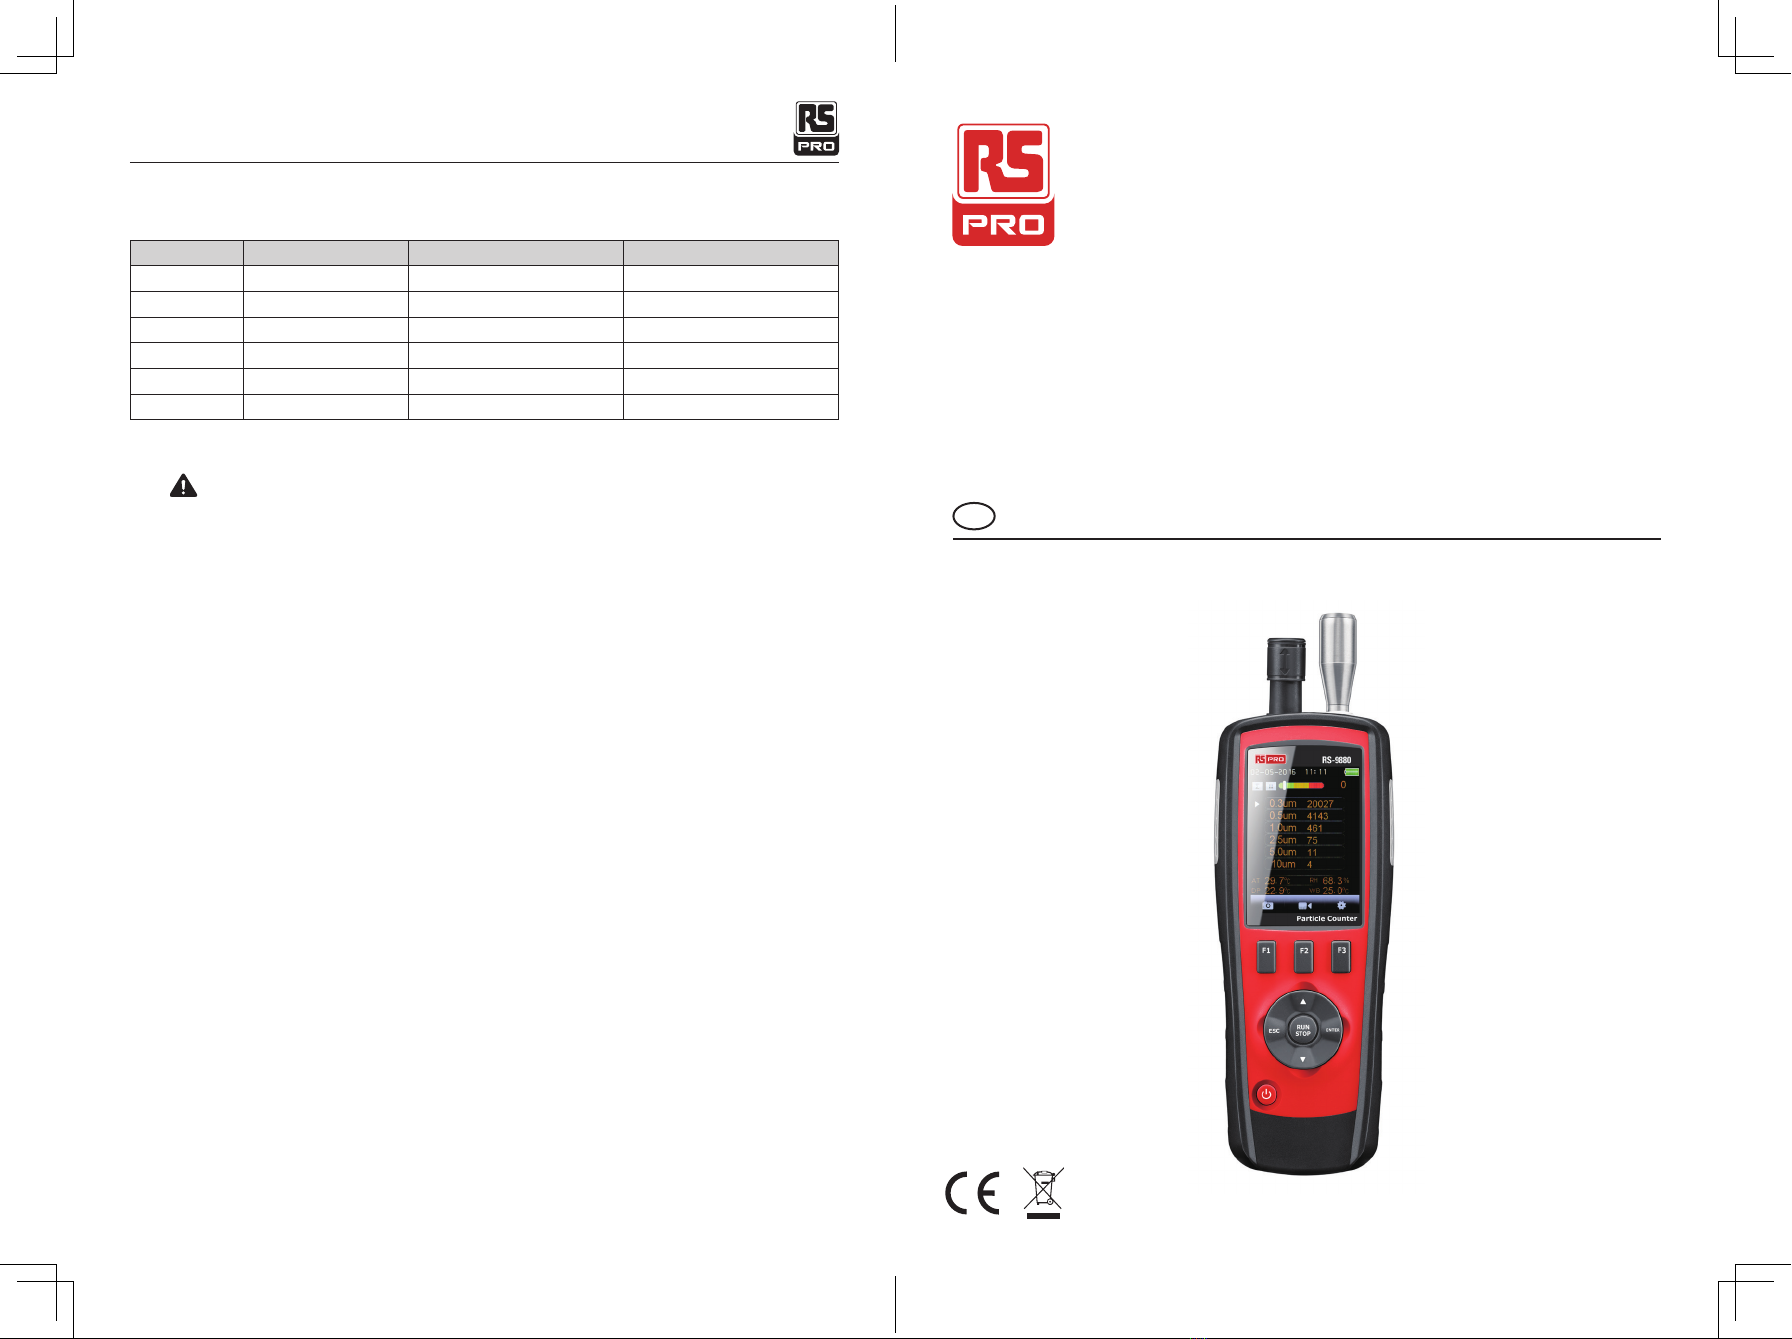
10-1. The 4-in-1 particle counter displays six channels of particle sizes, down to 0.3 μm. Its features
include:
• 2.8-inch TFT 320 x 240 pixels color LCD display
• Takes pictures and records videos (3GP)
• USB interface
• Stores information from readings on removable micro SD memory card(sold separately)
• Holds 5,000 records of date, time, counts, relative humidity, temperatures, sample volumes, alarms,
and location labels
• Selectable sample time and count data
• Programmable delay
• Displays information in five languages(English, German, French, Chinese, and Spanish)
• High and low alarm
• Date/time setup control
• Auto Power Off
10-2. The 4 in 1 particle counter is a state-of-the-art way of measuring airborne particulates.
The device combines a particle counter; a gas detector(HCHO, CO); and the ability to measure air
temperature, relative humidity, dew point(wet and dry), and most surface temperatures.
10-3.Particle counters can be used to measure particles that have been scattered in the air, like dust
and smoke. Such particles result from automobile exhaust, power plant emissions and garbage/furnace
incineration. These particles can negatively affect the human body and tend to be smaller than 2.5μm.
The unit can measure and count these particles, however at the same time, display in
real time the measurements, which you can record, either in pictures or videos. These
recorded measurements can be viewed and graphed at a different location, like your
office.
10-4. Each time you use your particle counter, you expose it to particulate matter. To
increase the service life of the unit, we recommend using it five or fewer times a day.
You can expect to get an average of five years of use from the unit, providing you keep
it clean and limit use and exposure to particulate matter.
Please note: If used in a foggy area, the unit may read mist as dust/particulates.
10-5. The HCHO measurement function of the unit is used mainly to test indoor air
quality.
Typically, the unit identifies carcinogenics, such as formaldehyde, which should be at
less than 0.1 ppm(parts per million). Formaldehyde is found in common household items,
like paint and glue, and even in fruits and vegetables. Early detection limits exposure
and subsequent harm to the human body.
0-1ppm Normal level
9ppm Standard in living areas, according to The United States of America ASHRAE 62-1989
50ppm Average level in an extended space over an 8-hour period, according to OSHA
100ppm Still safe, though the highest level OSHA recognizes as being safe
200ppm Unsafe, with symptoms of CO exposure including slight headache, fatigue, nausea, and
dizziness
800ppm Could be lethal, with death resulting in two to three hours after continued exposure to
CO at this level. Other symptoms include dizziness and extreme discomfort.
In any closed environment, according to the United States Department of Labor, Occupational Safety,
and Health Regulations administration rules, CO concentrations must be maintained at less than 50ppm
(0.005%). Environments with CO concentration greater than 100ppm cannot remain or be closed. This
meter can help you quickly determine the CO concentration in your environment.
10-6.CO measurement harm level discussion
The CO measurement function of the unit measures how much CO is in the air. The instrument is
sensitive enough to test concentration values of between 1ppm and 1000ppm. CO is toxic, and can result
from old stoves, gas heaters, fireplaces, fuel, and exhaust devices. CO can harm the human body, as
illustrated below:
Particle Counter/ EnglishParticle Counter/ English
07/12/2017 Version No. 00107/12/2017 Version No. 001