RTP Goliath 6 Product information sheet

User Manual and Parts Book
Goliath crimper roller 6-8-10
Original user manual
Serial nr:
RTP
427 West Outer Road
Valley Park, MO 63088
2038 English 954.120.000

RTP
2
EU DECLARATION
We:
Redexim BV
Utrechtseweg 127
3702 AC Zeist, Holland
declare entirely under our own responsibility that the product:
GOLIATH CRIMPER ROLLER WITH A MACHINE NUMBER AS INDICATED ON THE MACHINE
AND INDICATED IN THIS MANUAL
to which this declaration refers, complies with the stipulation of the 2006/42/EC machine directive and
the following norms: NEN-EN-ISO 12100:2010, NEN-EN-ISO 13857:2008, NEN-EN-ISO 4254-1:2015.
Zeist, 17-09-2020
A.C. Bos
Manager Operations & Logistics
Redexim Holland

RTP
3
FOREWORD
Congratulations on your Goliath crimper roller purchase. For safe and long-lasting operation of this
machine, it is necessary to read and to understand this user manual. It is impossible to work safely
with this machine without complete knowledge of the content of the user manual.
This machine does not operate independently. It is the user’s responsibility to use the correct tractor or
other towing vehicle. The user should check the combination of the towing vehicle and the machine
with regard to various aspects, such as noise level and safety risks. In addition, the user should
comply with the user instructions of the vehicle and spare parts that are used.
All information and technical specifications provided at the moment that this document is published are
the most recent ones. Design specifications may be changed without prior notice.
You can contact your sales point or dealer if you have questions and/or if there are ambiguities in this
manual or about the machine concerned.
WARRANTY CONDITIONS
AT THE TIME OF DELIVERY THIS MACHINE IS GUARANTEED AGAINST MATERIAL DEFECTS.
THIS WARRANTY IS VALID FOR A PERIOD OF 12 MONTHS FROM THE PURCHASE DATE.
REDEXIM WARRANTIES ARE SUBJECT TO THE ‘GENERAL CONDITIONS FOR SUPPLY OF
PLANT AND MACHINERY FOR EXPORT, NUMBER 188’ THAT ARE PUBLISHED UNDER THE
AUSPICES OF THE UNITED NATIONS ECONOMIC COMMISSION FOR EUROPE.
REGISTRATION CARD
For your own information, fill in the table below:
Serial number of the machine
Dealer name
Date of purchase
Remarks

RTP
4
TABLE OF CONTENTS
1. SAFETY INSTRUCTIONS............................................................................... 5
1.1. Obligations of the user.................................................................................... 5
1.2. Maintenance, repairs and adjustments........................................................... 6
1.3. Using the machine.......................................................................................... 6
2. TECHNICAL DATA ......................................................................................... 7
3. GENERAL DESCRIPTION.............................................................................. 7
4. SAFETY STICKERS........................................................................................ 7
5. FIRST INSTALLATION ................................................................................... 8
6. ATTACHING AND DETACHING THE MACHINE........................................... 9
6.1. Attaching the machine.................................................................................... 9
6.2. Detaching the machine..................................................................................10
7. TRANSPORT..................................................................................................10
8. PUTTING THE MACHINE INTO OPERATION...............................................10
8.1. Safety............................................................................................................10
8.2. Working speed...............................................................................................10
8.3. Filling the drum with water.............................................................................10
9. MAINTENANCE .............................................................................................11
9.1. Cleaning........................................................................................................11
9.2. Grease points................................................................................................11
10. TROUBLE SHOOTING (PROBLEM ANALYSIS) ..........................................12

RTP
5
1. SAFETY INSTRUCTIONS
This machine is designed for safe use. This can only be achieved if you completely follow the safety
instructions described in this manual.
Read and understand the manual before you start using this machine.
If the machine is not used as described in this manual, this can result in injuries and/or damage to the
machine.
This user manual lists instructions that are numbered in sequence. You should follow this sequence.
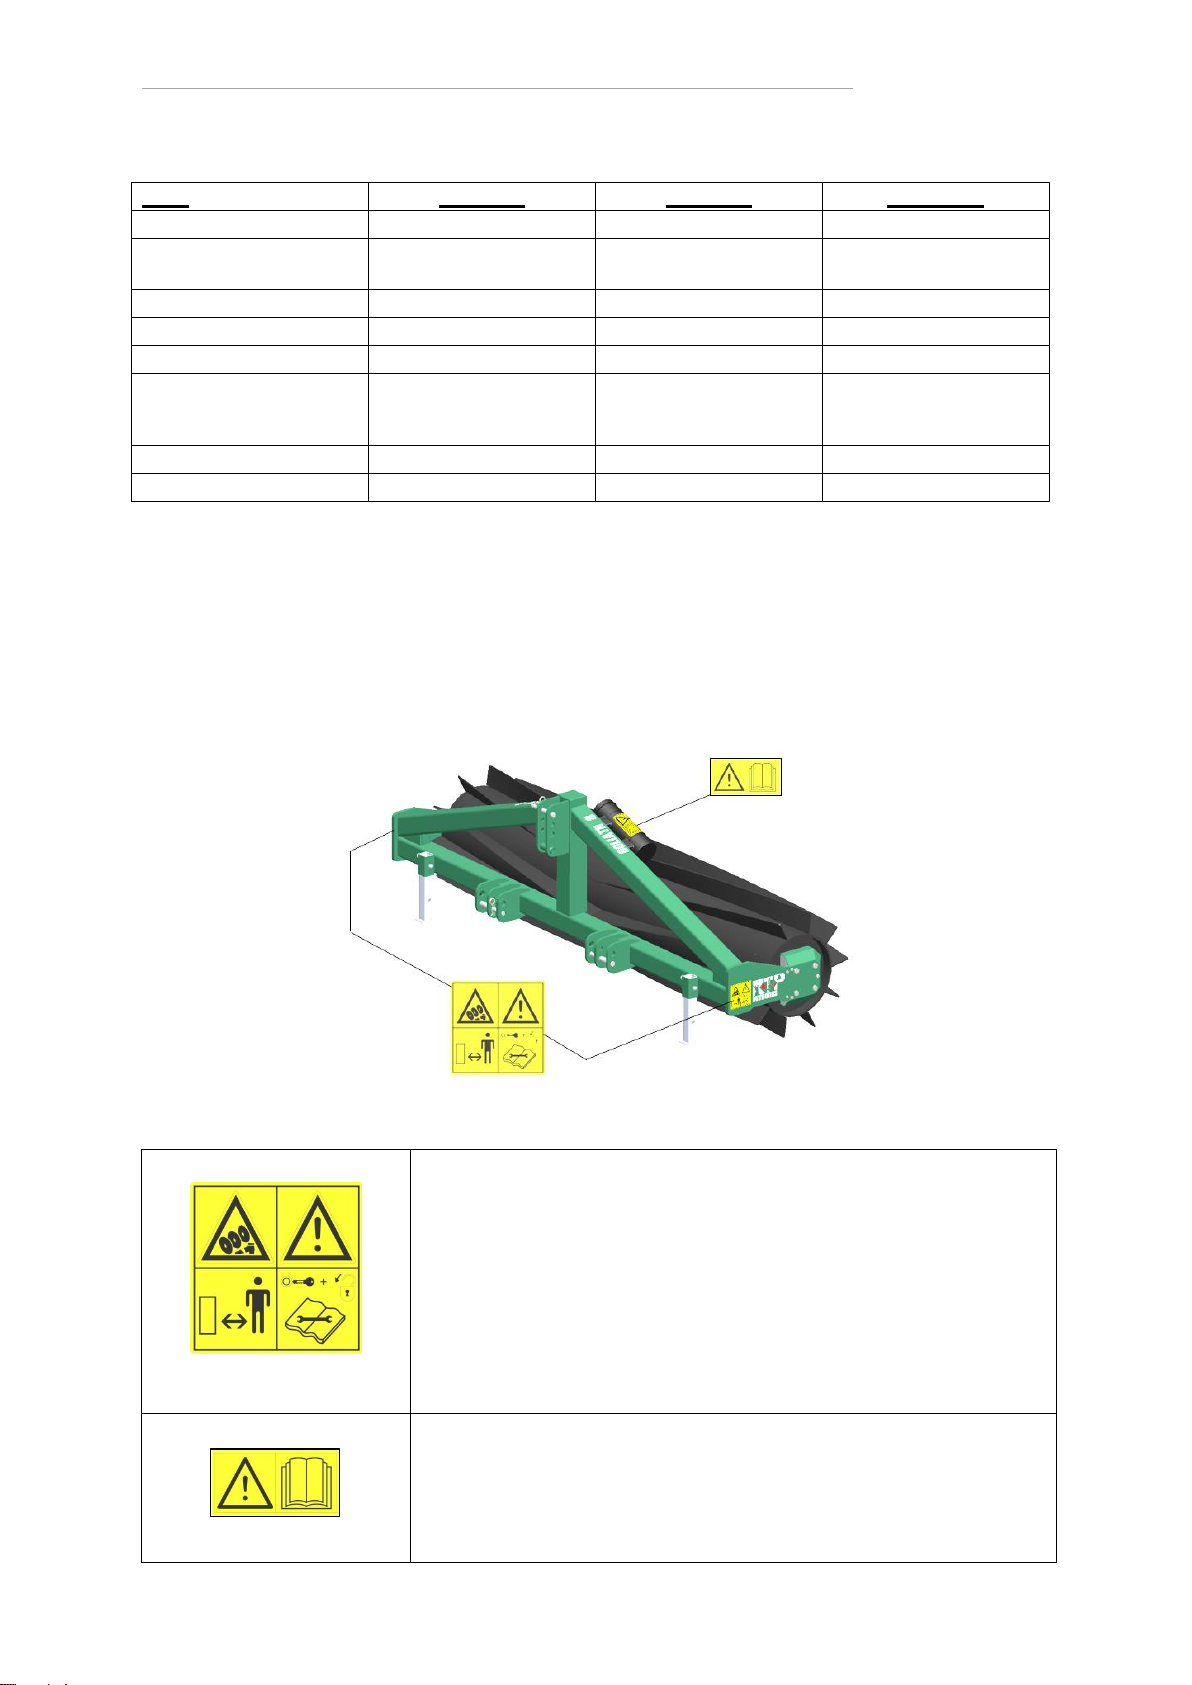
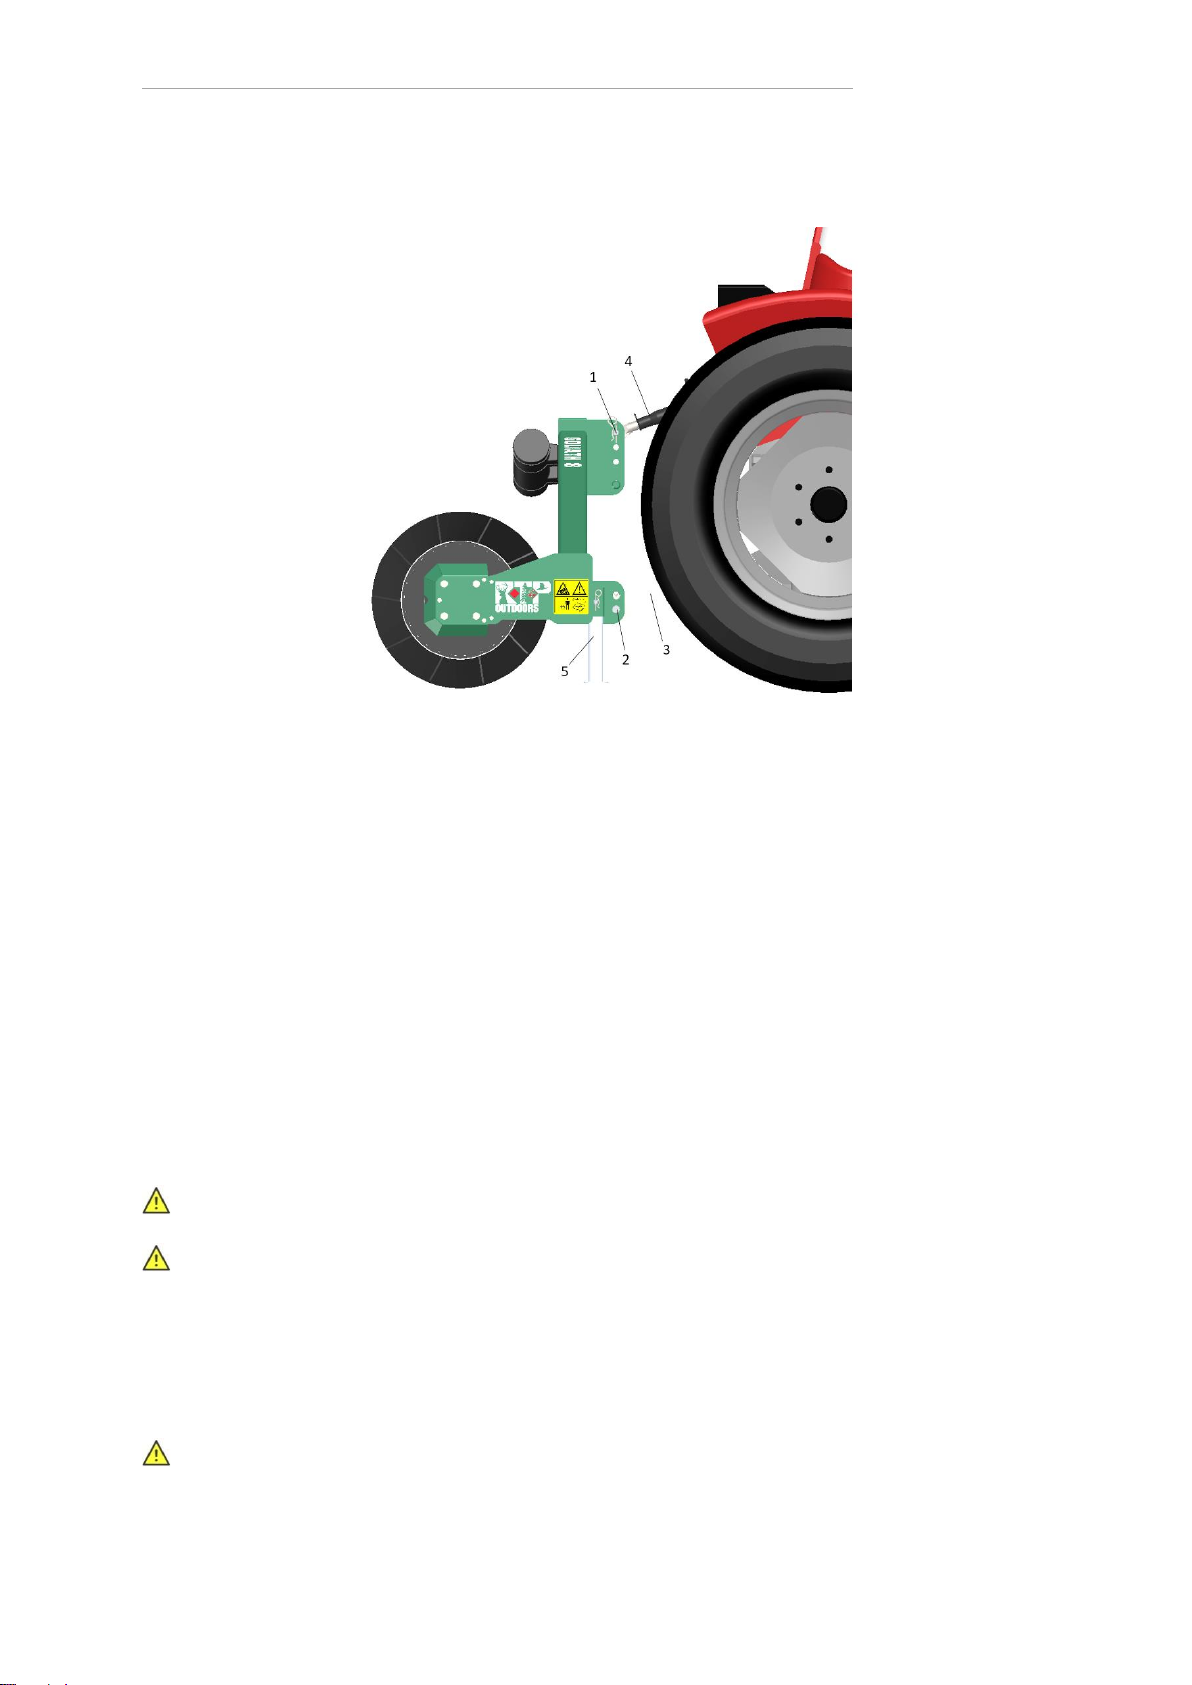
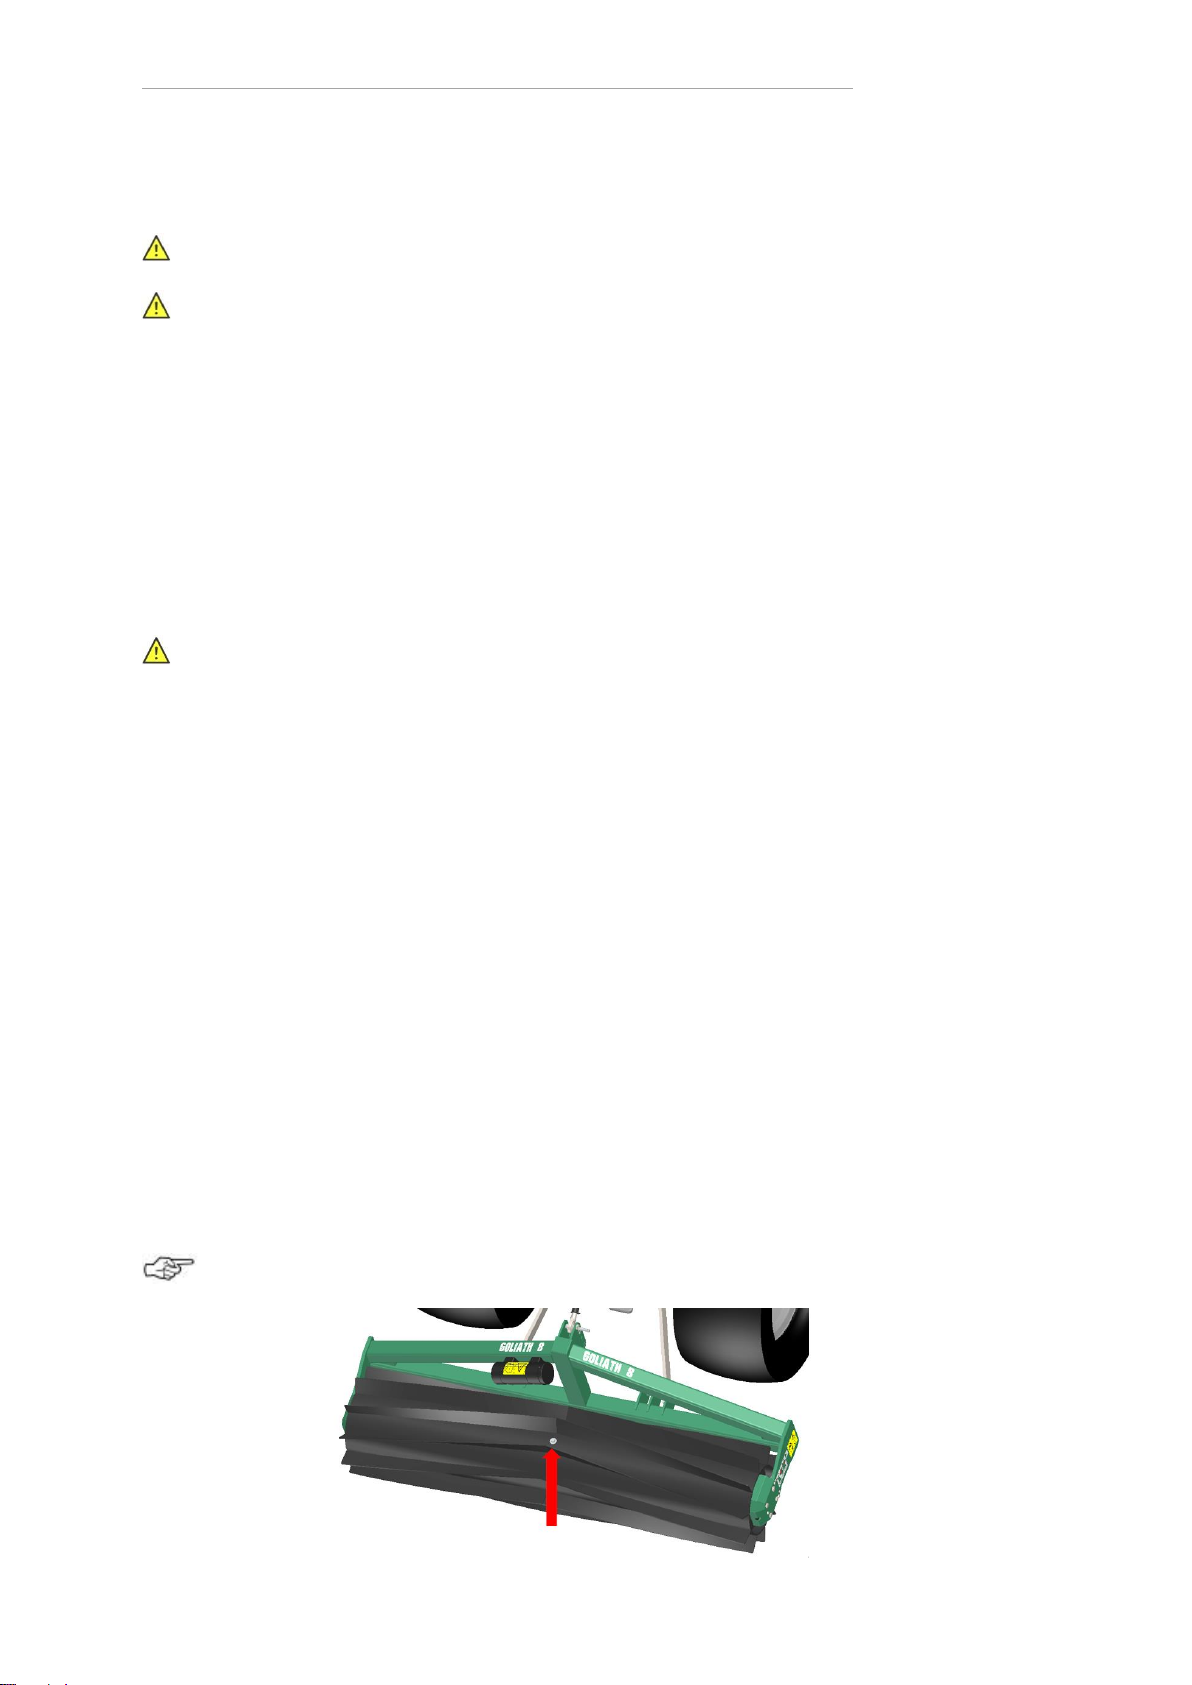
A is an indication of a safety instruction. A means a tip and/or note.
1.1. Obligations of the user
The machine is solely intended for crop flattening tillage on natural areas. Any other use is improper.
The manufacturer will not accept any liability for damage resulting from improper use. All risks
occurring with this are entirely at the expense of the user.
All persons assigned to operate, maintain and repair the machine by the owner must completely read
and understand the operation manual and in particular the chapter of Safety Instructions.
Modifications to the machine that have a negative impact on the safety must be rectified immediately.
The user is obliged to check the machine for visible damage and defects before using the machine.
For safety reasons it is not permitted to make changes or adjustments to the machine (except those
approved by the manufacturer). If modifications to the machine have been made, then the current CE
marking is cancelled. The person that has made these modifications has to apply for a new CE
marking himself.
Following the use, maintenance and repair instructions prescribed by the manufacturer is also
considered proper use of this machine.
The user is responsible for the safe combination of the machine and the towing vehicle, which comply
with the requirements as described in the Technical Data (see Chapter 2). This entire combination
should be tested for noise, safety, risk and user friendliness. User instructions should also be drafted.
Dress appropriately during work activities with the machine. Wear sturdy shoes with protective
toecaps, long trousers and tie up long hair. Do not wear loose clothing.
The general applicable health & safety regulations must also be followed in addition to the instructions
in this user manual.
Relevant traffic regulations also apply in case of using public roads.

RTP
6
1.2. Maintenance, repairs and adjustments
Keep a record of the repair activities.
When unskilled people use, maintain or repair the machine, this could result in injuries to the user and
to third parties. This should be avoided!
Use only original RTP parts for maintenance or repairs because of the safety of the machine and of
the user.
Only authorised technical personnel may carry out repairs to the machine.
When carrying out maintenance, adjustments and repairs, it is necessary to block the machine in
order to prevent it from sinking away, driving off and/or sliding off.
If a hydraulic installation is present, you should always make it pressure-free before working on this
installation.
Used oil/grease is harmful to the environment. Dispose of these substances according to the
regulations that apply in your location.
1.3. Using the machine
Attach the machine to the towing vehicle according to the regulations. Please pay close attention to
the risk of injury!
Never use the machine in the absence of protective guards and safety stickers.
Check the machine for loose bolts, nuts and components before every operation.
Check whether you have a clear field of vision –both close by and far away –before you start moving.
All persons that are going to operate the machine must be familiar with all the functions and control
elements of the machine before starting any work activities.
Never crawl under the machine! If necessary, tip over the machine to work at the bottom side.
If present, check the hydraulic hoses regularly and replace these when the hydraulic hoses are
damaged or appear old.

RTP
7
2. TECHNICAL DATA
Type
Goliath 6
Goliath 8
Goliath 10
Weight
1145 lbs
1410 lbs
1740 lbs
Approximate weight
drum filled with water.
1575 lbs
1994 lbs
2512 lbs
Dimensions (L x W x H)
34.3”x77.1”x36.7”
34.3”x101.1”x36.7”
34.3”x131.1”x36.7”
Working width
72”(6 ft.)
96” (8 ft.)
126” (10.5 ft.)
Speed
Up to 7.5 mph
Up to 7.5 mph
Up to 7.5 mph
Recommended vehicle
30 HP with minimal lift
capacity 24” behind
the lift eyes of 1145 lbs
40 HP with minimal lift
capacity 24” behind
the lift eyes of 1410 lbs
50 HP with minimal lift
capacity 24” behind
the lift eyes of 1740 lbs
Three-point system
Cat. 1-2
Cat. 1-2
Cat. 1-2
Quick hitch connection
Yes
Yes
Yes
3. GENERAL DESCRIPTION
The Goliath crimper roller is a machine for crop flattening tillage on natural areas.
4. SAFETY STICKERS
Safety stickers are located on both sides of the machine. These safety stickers must always be clearly
visible and legible and must be replaced if they have become damaged.
Fig. 1
921.280.402
-In case of maintenance, adjustments and repair,
always switch OFF the engine of the towing vehicle.
-During operation, make sure there are no persons in
the danger area of the machine to prevent them to get
injured by moving parts
-Keep a distance of minimum 4 metres if the machine is
operating (except the operator).
900.280.402
-Prior to using the machine, the operators of the
machine must read the user manual carefully.

RTP
8
5. FIRST INSTALLATION
To remove the pallet and to place the machine horizontally on the ground, take the following steps
(see Fig. 2):
Fig. 2
Make sure that the cable/crane/lift can hoist minimal:
Goliath 6: 1800 lbs
Goliath 8: 2000 lbs
Goliath 10: 2500 lbs
1. Attach a hoisting cable on the center beam of the machine (1).
2. Lift the machine slowly in controlled way, it will turn during lifting.
!! KEEP A SAFE DISTANCE. THE MACHINE MAY START TO SLIDE DURING HOISTING !!
3. Place the machine on its drum on the ground.
4. Support the pallet (2) safely and remove the pallet by removing the 3-point pins (3).
5. Lower the machine on its stand legs (4) and drum and remove the hoisting cable
!! KEEP A SAFE DISTANCE. THE MACHINE MAY START TO SLIDE DURING HOISTING !!
!! NEVER CRAWL UNDER THE MACHINE !!

RTP
9
6. ATTACHING AND DETACHING THE MACHINE
Attaching and detaching the machine has to be done carefully. Follow the instructions below:
Fig. 3
6.1. Attaching the machine
Prior to attaching the machine, check the following points:
-Check whether the machine is undamaged and whether it is safe to attach and use
the machine.
-Check whether the bolts and nuts are tightened with the correct torque.
-Check whether all safety stickers are on the machine and whether these are
undamaged and easily readable. Never use the machine if it has damaged or
unreadable stickers.
The machine should be attached to the tractor in the following manner:
1. Remove the 3-point pins (1 and 2) from the machine (see Fig. 3).
2. Carefully drive the tractor backwards until the lifting arms (3)can be attached to the
machine.
!! Make sure that the tractor and the machine cannot move while you are attaching
them !!
!! Switch off the tractor engine before attaching the machine !!
3. Attach the lifting arms (3) to the machine using the 3-point pins (2). Lock the pins
using the r-clips.
4. Set the stabilizer to a sideways stroke of 100 mm.
5. Mount the top link (4) of your tractor and extend it until it is at the same height as the
top 3-point hitch (1) of the machine
6. Adjust the top rod in such a manner that the machine is horizontal.
!! Make sure that the 3-point pins are locked using the r-clips !!
7. Start the tractor and lift the machine off the ground.
8. Slide the stand legs (5) upwards and lock with the pins and R-clips.

RTP
10
6.2. Detaching the machine
The machine should be detached in the following manner (see Fig. 3):
1. Place the tractor and the machine on a flat surface.
!! Make sure that the tractor and the machine cannot move while you are detaching the
machine !!
!! Switch off the tractor engine before detaching the machine !!
2. Slide the stand legs (5) downwards and lock with the pins and r-clips
3. Carefully place the machine on the ground.
4. Detach the top link (4) and remove it.
5. Detach the lifting arms (3).
6. Start the tractor and drive off.
7. TRANSPORT
The user is responsible for transporting the machine on public roads. Verify the national legislation
regarding the regulations. In view of the machine’s weight, it is not advised to drive faster than 20 km/h
(12.4 mph) with a raised machine. Higher speeds can lead to hazardous situations and result in
damage to the machine and tractor.
When the machine is raised off the ground, the front axle of the tractor has to support
minimum 20% of its weight.
8. PUTTING THE MACHINE INTO OPERATION
8.1. Safety
Before using the machine, you should check the following:
1. Are there slopes? The maximum slope is 20 degrees for this machine. Always go from top to
bottom.
2. Are there hard objects in the ground? If so, use the machine at an adjusted speed.
3. Is there danger of sinking/sliding away? If so, postpone the treatment.
4. If the soil is frozen or very wet, postpone the activities until conditions improve.
8.2. Working speed
The maximum safe working speed of the machine is approx. 12 km/h (7.5 mph). However, the user
should check which speed is optimal to achieve the required result per individual situation and soil
treatment.
8.3. Filling the drum with water
If it is desired to use more weight it is possible to fill the drum with water. There is a filling plug placed
in the center to gain access. (see Fig. 4)
Drain the drum before it starts to freeze. The drum could be damaged if it is not drained.
Fig. 4

RTP
11
9. MAINTENANCE
Time schedule
Check point
Work activities
Before each use
Check for loose bolts/nuts.
Tighten the loose bolts/nuts
with the correct torque.
Presence and legibility of safety
stickers (see Chapter 4)
Replace if damaged or
missing.
After each use
Clean the machine
See chapter 9.1
After first 20 operating hours
(new or repaired)
Grease the bearings
Use EP 2 lubricating grease.
Check for loose bolts/nuts.
Tighten the loose bolts/nuts
with the correct torque.
After every 100 operating hours.
Grease the bearings
Use EP 2 lubricating grease.
Check for loose bolts/nuts.
Tighten the loose bolts/nuts
with the correct torque.
9.1. Cleaning
Remove tangled crop from the drum and nearby the bearings on the side.
If a high-pressure cleaner is used to clean the machine, then observe the following rules:
•Do not use aggressive cleaning agents that can affect the machine.
•Maximum water pressure: 1015 PSI
•Maximum water temperature: 122°F
•Do not aim the jet of the high-pressure nozzle directly at the bearings, oil seals,
lubrication points and stickers.
•Keep a minimum distance of 1.6 ft between the head of the high-pressure cleaner and
the surface you want to clean.
Grease the bearings after cleaning the machine.
9.2. Grease points
To guarantee the proper functioning of the Goliath crimper roller, the lubrication points (1 and 2) at
both sides of the machine (see Fig. 5 ) must be greased periodically. Grease these points according to
the table in Chapter 9.
Fig. 5

RTP
12
10. TROUBLE SHOOTING (PROBLEM ANALYSIS)
Problem
Possible cause
Solution
The drum doesn’t rotate
Crop is tangled between the drum
and bearing.
Remove the tangled crop.
The drum bearings are seized.
Grease and try to get the bearings
running again, if not possible replace.
The tractor does not have
sufficient traction.
Soil is too wet.
Postpone the operation.
The crop is not completely
flattened
The total weight of the machine is
too low.
Fill the drum with water. See Chapter
8.3
This manual suits for next models
2
Table of contents
Popular Industrial Equipment manuals by other brands

GSi
GSi DMC Design III Series owner's manual

ABB
ABB HT612326 Operation manual

EURO-Jabelmann
EURO-Jabelmann EURO-Sorter JKS 144/4S Operating instructions and spare parts list

TRAK
TRAK VMC5 Safety, Installation, Maintenance, Service and Parts List

HALDER
HALDER EH 22350 instructions

turck
turck RA-SAB-15-36 quick start guide