7
must not be painted or sprayed with the same colour can be a tedious process. Pre-
painting will avoid this process.
Please ensure that no paint clog a sleeve where a lug must fit in later. The
tolerances are often so tight that too thick a layer of paint may cause problems. It is
our experiences that a small foam roller instead of a brush, will produce a better
finish and far less clogging of sleeves.
Applying a base or undercoat normally makes life easier afterwards. Two coats of
primer are advisable because the MDF absorbs a lot of paint. Using a single colour
for the undercoat of all parts works quite well from personal experience. You can
choose the paint of your preference, whether it is oil or water based. Cleaning
brushes and rollers are just so much easier if you use a water base paint. A chalk
paste can give a unique finish to walls and give a weathered look if so desired. If you
prefer to protect the paint work of your structure you can always apply a clear spray
coat.
LET’S GET STARTED WITH THE ASSEMBLY
Let’s start by assembling the two top caps (P 1-2). Glue the smaller of the two
squares to the bigger square with the slot. The engraving line will help with the
accurate positioning. Do this for both caps. Next you can glue in the nub of the small
billboard into the slot in the top cap. Do this for both caps.
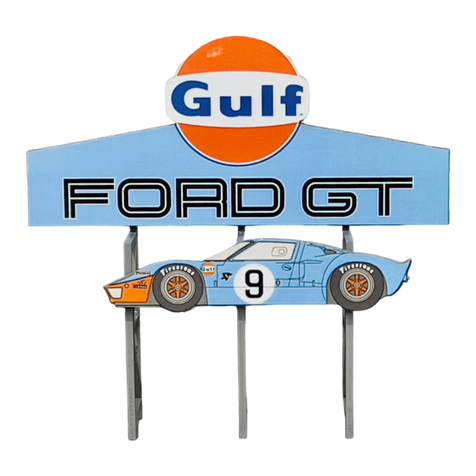
Next, we are going to assemble the two columns and we are going to use the
foundation (D) to assist us, BUT we are not gluing the sides to the foundation at this
stage. Each column is made up of two narrow (C 1-4) and two wide (C 1-4) sides.
Two of the narrow sides (C 1-4) are engraved and they must face to the front Two of
the wide sides (C 1-4) have slots where the billboard will fit in, they must both face
inwards towards each other. All that is needed for a proper sturdy assembly is some
glue where any two parts touch each other. The lugs that fit into the slots stop any
movement, but the glue holds all the parts together. The sides must therefore have
glue on the sides where the sides touch each other (only a little bit of glue is
required) but in this instance the bottom lugs must NOT be glued. The lugs at the
bottom of the sides must be fitted into the slots in the foundation (D) to ensure that
the sides are positioned correctly. As soon as the sides are glued together the
assembled top caps (P) can be glued on. The smaller square of the top caps will fit
in between the sides and help with the positioning of the sides at the top. Allow the
glue to fully set before you proceed.
Next, we will remove the assembled columns and glue the lugs on both sides of the
billboard (A) into the slots of the two assembled columns. The engraving on the
billboard must face to the back. Before this glue sets the whole sub-assembly can be
glued to the foundation (D) by gluing the lugs at the bottom of the columns into the
slots of the foundation. Gently press down on the columns to ensure a snug fit with
the foundation and also press the two columns towards each other to ensure a snug
fit between the columns and the billboard. Ensure that all the parts are plumb and
square and the structure upright before the glue fully sets.
