8
any two parts touch each other. The nubs that fit into the slots stop any movement,
but the glue holds all the parts together. The parts must therefore have glue where
they touch each other (only a little bit of glue is required). Apply some gentle
pressure on the floor to ensure a snug fit. Ensure that the glued parts are true and
square to each other before the glue sets fully. Once the glue has set you can
proceed to glue the one side wall to the sub assembly. NOTE: Have a look at the
slope of the roof and ensure that you pick the correct side wall. Again, allow the glue
to set and then glue the second side wall to the assembled parts and lastly the rear
wall in the same way. Check that you assembly is square and upright as you
progress. Once you have glued all the walls to the floor you can turn the assembly
upright and make sure that all the feet touch the ground.
Now you can glue the central support(M) to the underside of the floor. Now the
completed sub assembly can be glued to the foundation slab (A). There are also five
individual foundation footings (Q 1-5) that can be used instead of the foundation slab
(A). Some of the huts had individual footings and some had a foundation slab.
Next, we will do the roof assembly. There is a central roof beam (J) that fits into the
slots of the side walls. The remaining two roof beams (K 1-2) must be glued to the
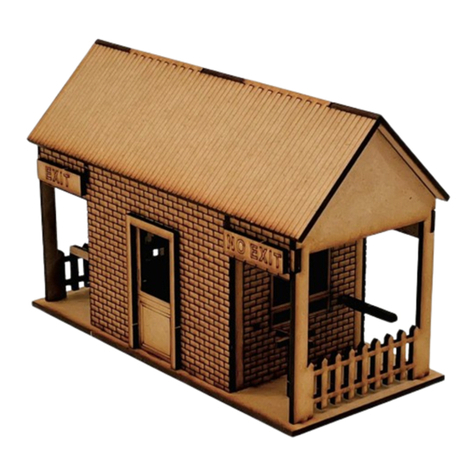
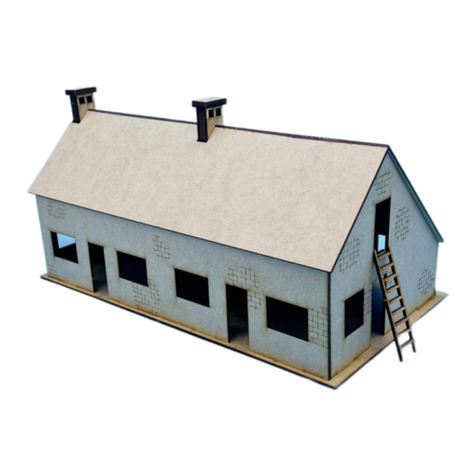
top of the front and rear walls. Have a look at the photos above for some guidance in
the correct positioning. The roof (H) fits on top of the three beams and can be glued
down. If you consider adding lights or furniture at a later stage, then the roof can be
positioned without gluing it down. Note that the roof has one side that is engraved
that must face upwards.
Next, we will tackle the staircase, the one assembly that is slightly trickier than the
rest. Place the one side (N1)on your worksurface. Proceed to glue the nubs on one
end of the threads (P 1-7) into the slots in the side on your workbench. Next, you can
consider to fit all the nubs on the other ends of the landing and treads loosely into
the corresponding slots of the second side (N2) without applying any glue. It should
now be easy to remove one after the other nub, glue it and replace it and then move
on to the next one. It is advised to start from one end and work your way to the other
end by matching nubs and slots one by one, almost like closing a zipper tooth by
tooth. Once all the nubs are snugly into their matching slots, it is time to apply some
gentle pressure on the top side to ensure a snug fit. Ensure that your staircase is
square and plumb before the glue fully sets. The staircase sub-assembly can now be
glued into the slots in the rear wall (C1).
All that still needs to be done is to glue in the rear door (D) and the three window-sills
(L 1-3)into position. The door can be glued in an open or closed position. Note that
the door has an engraved side that must face outwards. The door and sills can be
seen in the photos above.
FINISHING & BRANDING
We leave the finishing to your imagination and your taste. Do whatever you think will
transform this completed structure into an integral part of your race track diorama.
