5
Generally, it is highly advisable to paint/spray before gluing. You may not be able to
get to the inside of the structure after it is glued together. Covering all the parts that
must not be painted or sprayed with the same colour can be a tedious process. Pre-
painting will avoid this process.
Please ensure that no paint clog a sleeve where a lug must fit in later. The
tolerances are often so tight that too thick a layer of paint may cause problems. It is
our experiences that a small foam roller instead of a brush, will produce a better
finish and far less clogging of sleeves.
Applying a base or undercoat normally makes life easier afterwards. Two coats of
primer are advisable because the MDF absorbs a lot of paint. Using a single colour
for the undercoat of all parts works quite well from personal experience. You can
choose the paint of your preference, whether it is oil or water based. Cleaning
brushes and rollers are just so much easier if you use a water base paint. A chalk
paste can give a unique finish to walls and give a weathered look if so desired. If you
prefer to protect the paint work of your structure you can always apply a clear spray
coat.
LET’S GET STARTED WITH THE ASSEMBLY
First of all, we are going to glue the four leg girders B 1-2 and C 1-2 into the base-
plate A and triangular floor D. Apply some glue where the nubs of the leg girders are
going into the slots of the plates, but make sure that you also apply some glue
wherever two pieces make contact. NB:Please note that two leg girders are wider
than the other two. The two wider ones are opposite each other and so is the two
narrower ones also opposite each other. You need to only put a small amount of
glue down the edges of the girders that is in contact with another girder. A quick dry
assembly will help you to identify these edges and get the right orientation with the
end plates. Always use some gentle pressure to ensure that lugs and slots fit snugly.
It is very important that you ensure your pylon is upright and plumb before the glue
sets. Let the glue fully set before you proceed.
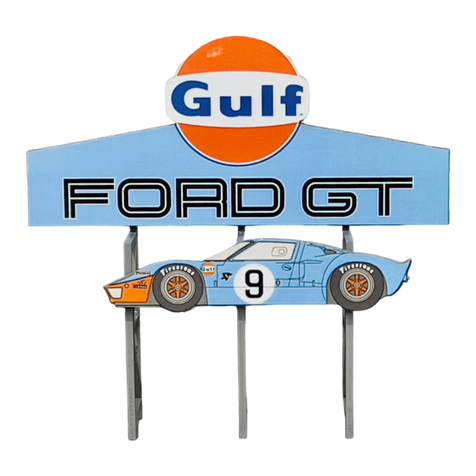
The three billboards can now be glued onto the sub-assembly. Simply get the bottom
slots in the billboards E 1-3 (in a horizontal orientation) to match up with the lugs at
the side of the triangular floor D. Apply some glue where the pieces make contact
and ensure a snug fit. NB:Before the glue sets the top-covering F must be glued in
between the three billboards. Note that the top covering has an engraving that must
face upwards.
Congratulations you have successfully assembled your triangular billboard.
FINISHING & BRANDING
We leave the finishing to your imagination and your taste. Do whatever you think will
transform this into a structure that will compliment your race track diorama. We
recommend that you protect the artwork with a clear spray to ensure a long life.
