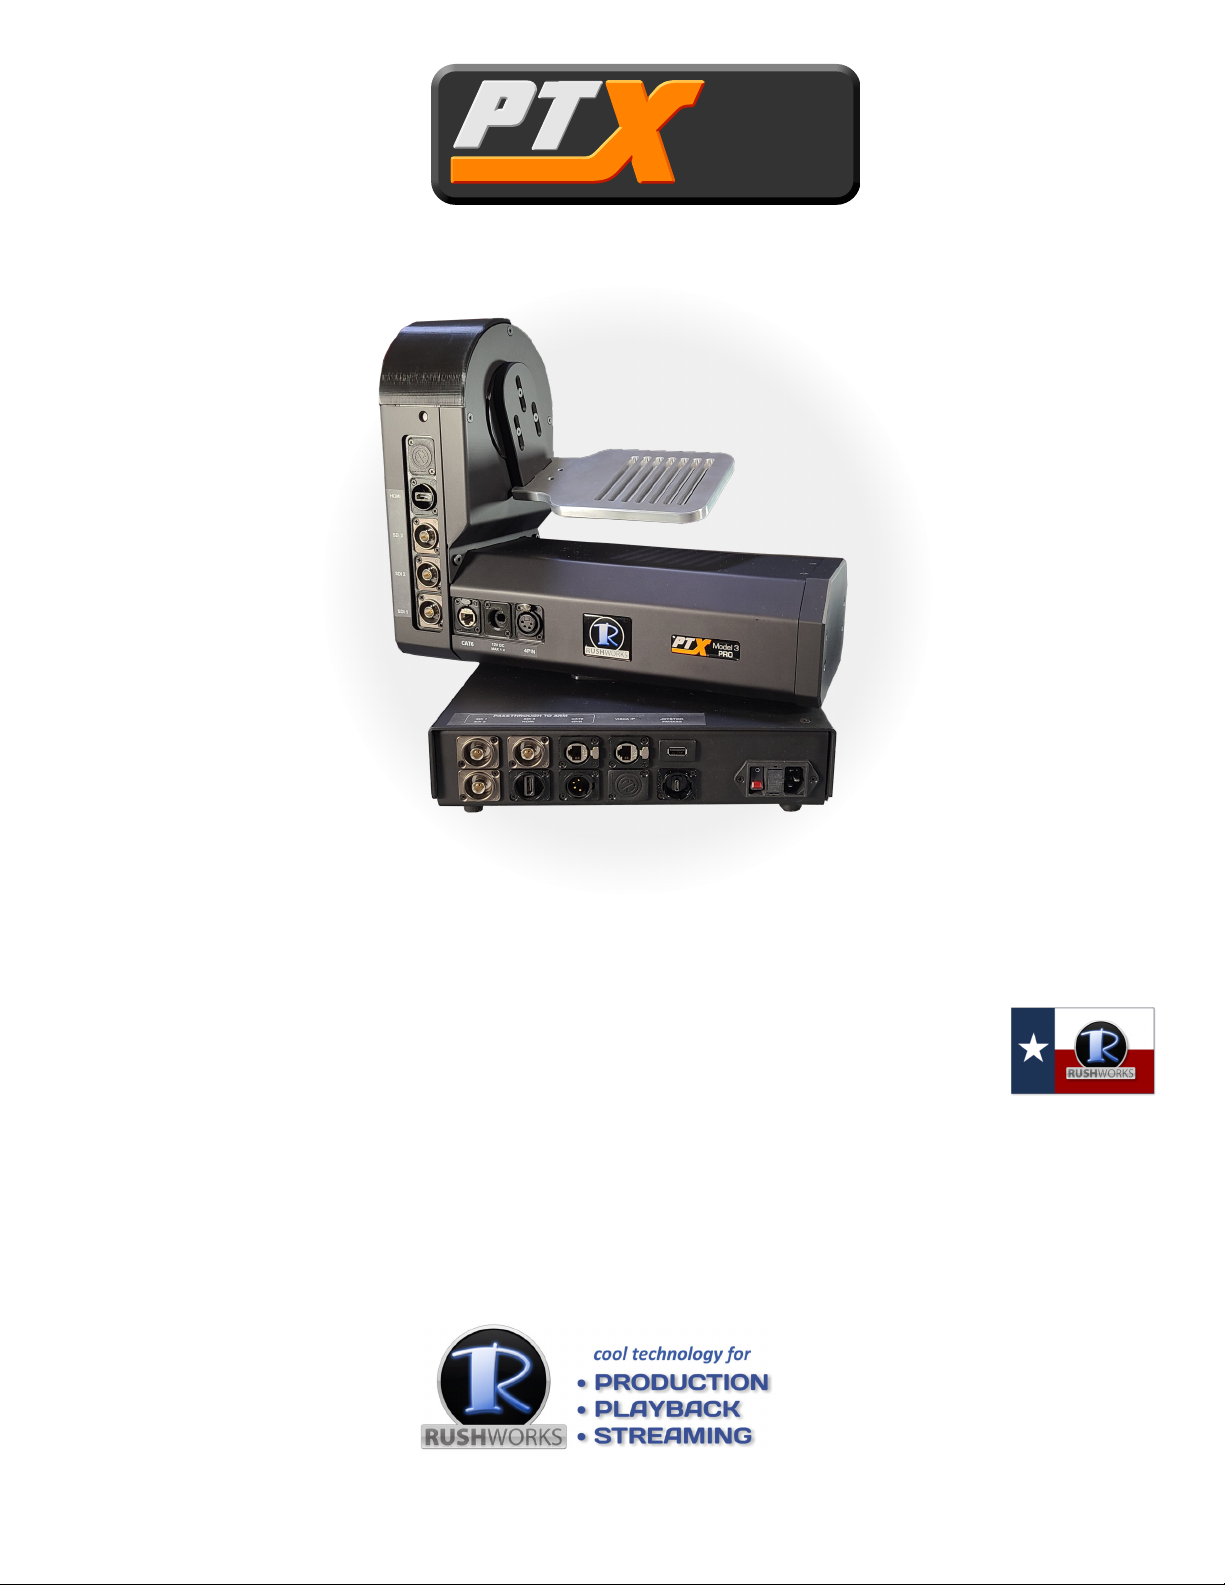
At 43 pounds/19.5kg it has the mass needed to manage large payloads, and the torque generated by two large stepper motors that do the heavy lifting. It communicates with controllers using VISCA over IP, and features multiple passthrough connections for SDI, HDMI, USB, DC camera power and network. User GuideModel 3
PRO
TM
The PTX Model 3 PRO easily accommodates most camera/lens combinations, including models from Blackmagic, Sony, Panasonic, Canon, Red, Arri and more.The PTX Model 3 PRO is the third generation of our robotic pan/tilt heads. Designed and built in Texas USA, it provides a rock solid, whisper quiet platform for your camera and lens investment.SUPPORT888.894.7874 opt 2