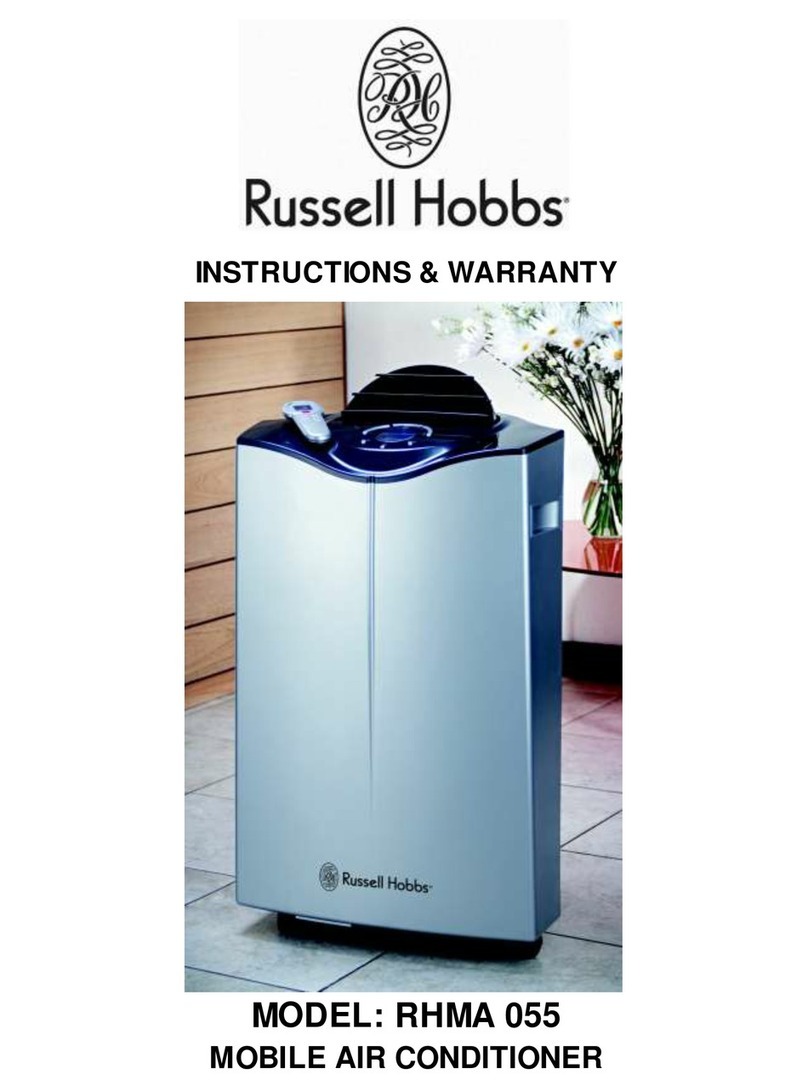
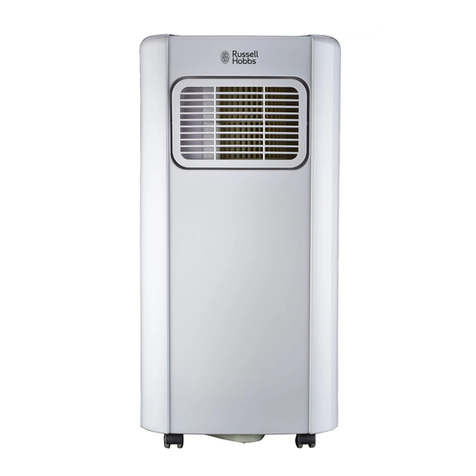
Russell Hobbs RHAC12H Installation guide

INSTRUCTIONS AND WARRANTY
PORTABLE AIR CONDITIONER
MODEL NO.: RHAC12H
DESCRIPTION: Russell Hobbs Portable Aircon 12000 BTU

2
Congratulations on purchasing our Russell Hobbs portable aircon. Each unit is manufactured to ensure
safety and reliability. Before using this appliance for the first time, please read the instruction manual
carefully and keep it for future reference.
CONTENTS
IMPORTANT SAFEGUARDS…..................................................................3
PLACEMENT AND STALLATION…...........................................................5
COMPONENT PARTS.................................................................................7
CONTROL PANEL…...................................................................................8
SCREEN…...................................................................................................9
OPERATION METHODS…..........................................................................9
REMOTE CONTROL…...............................................................................11
WATER DAINAGE…...................................................................................13
MAINTENANCE….......................................................................................14
TROUBLE SHOOTING…............................................................................15
WARRANTY…………………………………………………………………….16

3
IMPORTANT SAFEGUARDS
Please read following safeguards carefully before using the machine:
● This machine is designed for domestic use, please do not use it in any other places.
●Please use this machine indoors not outdoors, and place it in a dry environment.
●Do not use the machine if the power cord, plug or machine becomes damaged.
If there is damage, please contact a professional serviceman for help. If there is a need to
lengthen the power cord, an appropriate extension cord can be used, but please take care to
ensure it does not create an accident risk.
●Please make sure the machine is placed far from heat sources and avoid direct sunlight.
●Please turn the machine off before removing the plug from the mains outlet.
●Please disconnect the plug before cleaning the machine, any service or repair work is carried out or
if the unit is to be left unused.
●Please clean the machine following the guidance in this instruction manual.
●Please make sure the available voltage meets the products requirements, any damage caused by
incorrect power supply is outside of the scope of the warranty.
●Do not let children touch the machine.
● Do not run the machine when no one is there, even if for a short period, please turn it off.
●Do not pull the power cord when removing the plug from the mains socket or moving the machine.
● Do not position the machine where it can become wet with water or other liquid.
●Do not squirt water or oil into machine.
●Do not put hard objects between fan blades.
●Do not repair the machine by yourself. Please refer to a qualified electrician or service agent for
any repair work.
● Only use accessories from reliable suppliers to avoid risk of personal injury or damage to the
machine.
This appliance is not intended for use by persons (including children) with reduced physical,
sensory or mental capabilities, or lack of experience and knowledge, unless they have been
given supervision or instruction concerning use of the appliance by a person responsible for
their safety.
Children should be supervised to ensure that they do not play with the appliance.

4
Note :
● Place the machine on flat ground, at least 50cm from any objects that may restrict the air flow
●Make sure the mains socket can be reached from machine’s location.
●Keep the machine upright so that compressor can work well.
●Do not run the machine near to gasoline or any other flammable liquids.
●Make sure there is free access of air-inlet and air-outlet.
●Do not spray agents (such as pesticides, paint) or other flammable materials near the machine,
otherwise the plastic may become deformed, or electric damage may be caused.
Power supply
●Make sure the plug is not damaged.
● Do not use connectors instead of plug.
●Insert the plug into socket first, then turn on the sockets switch if available and then press
“POWER” on the unit or remote control to run machine.
Please keep this user’s manual safe.

5
Placement and Installation
Placement
● Place the machine on flat and dry ground, and keep it at least 50cm from other objects. (fig.1)
(fig.1)
Installation
● Screw the slide bar connector into the exhaust hose first, then fit the exhaust hose
into exhaust connector
● Put the slide bar connector into adjustable slide bar as shown below (fig.2) and close
the window opening for a tight fit. Adjust the length of slide bar to close as much of the
remaining opening as possible.
(fig.2)

6
Installation Errors
● The exhaust pipe must contain no sharp bends that may restrict the air flow. Installation errors may
cause the unit to overheat and shut down. (fig.3)
(fig.3)
Warning
The length of the exhaust pipe is designed to suit the machine. To avoid poor performance or
malfunction please do not alter, lengthen or change it with anything except an original replacement
part.
Note: maximum length of unfolding exhaust pipe is 1500mm, please shorten the length as much
as possible and keep it level as much as possible when installing to optimize performance and
minimize energy consumption.

7
COMPONENT PARTS
Front side
1. Air-outlet
2. Control Panel
3. Display Screen
4. Castors
Back Side
5. Filter frame upper
6. Power Cord Storage Location
7. Filter frame lower
8. Water outlet Plug cap
9. Exhaust Pipe
10. Carry Handle
11. Exhaust Connector
Check packing accessories, read user’s manual to understand how to use them.
(fig.4)
1. Exhaust hose 2. Adjustable slide bar 3. Slide bar connector 4. Remote control
5. Active carbon filter (optional) 6. Drain connector 7. Drain tube (ID:10mm)

8
Control Panel
Timer Sleep Up DOWN Fan Mode Power
1. POWER: press this key to turn on/off machine. After machine turns on, default value is cooling
mode with low fan speed.
2. MODE: after machine turns on, press this key to select cooling, dehumidifying, fan and heating
mode.
3. FAN: after machine turns on, press this key to select fan speed (high, medium and low).
4. DOWN: under cooling or heating mode, press this key to downward setting temperature from
16~31℃.
5. UP: under cooling or heating mode, press this key to upward temperature from 16~31℃.
6. SLEEP: under cooling or heating mode, press this key to turn on/off sleeping function.
7. TIMER: under power-on or standby mode, press this key to setup on/off time from 1~24.
.
窗户密封板 A
窗户密封板 A

9
On –Unit Display Screen
1. Temperature display
2. Cooling mode indicator
3. Dehumidifying mode indicator
4. Fan only mode indicator
5. Sleeping mode indicator
6. Timer mode indicator
7. Infra red control signal receiver
8. Water full indicator
9. Low fan speed
10. Medium fan speed
11. High fan speed
12. Heating mode indicator
Operational Methods
Cooling mode
● When the machine is switched on, default value is cooling mode with 22℃and low fan speed.
● Press “ MODE” to select cooling mode, cooling mode indictor turns on .
● Press “ UP” or “ DOWN” to adjust temperature ( from 16~31℃).
● Press “ FAN” to select fan speed (low, medium ,high)
Heat pump mode
● Press “MODE” to select heating mode, heating mode indicator turns on.
● Press “ UP” or “ DOWN” to adjust temperature ( from16~31℃).
● Press “ FAN” to select fan speed (low, medium ,high)
Note: When in heating mode, please connect a water-drainage-pipe to remove the water
continuously.

10
Fan mode
● Press “ MODE” to select fan mode, fan mode indicator turns on .
● Press “ FAN” to select fan speed (low, medium, high)
● Temperature and sleeping function cannot be set.
Timer mode
●Under standby mode, press “TIMER” to setup the power-on time. Timer indicator turns on.
●Under power-on mode, press “TIMER” to setup power-off timer. Timer indicator turns on.
Dehumidifying mode
● Press “MODE” to select dehumidifying mode, dehumidifying mode indicator turns on.
● Under dehumidifying mode, sleeping function cannot be set, and fan speed is low.
Sleeping mode
Gradually increase the set temperature in cooling mode and reduces it in heating mode so that
the person sleeping will feel comfortable and energy consumption will be lower.
● Press key marked “SLEEP” to enter into sleeping mode, default value of fan speed is low.
● When sleeping mode turns on , under cooling mode, after the first hour, the set temperature will
increase by 1℃, after the second hour the set temperature will go up another 1℃. The higher
set point will not change further. In heating mode once the sleep mode is selected after one
hour the set temperature will go down 1℃, after the second hour later the set temperature will
go down another 1℃. The higher set point will not change further.
● Sleeping mode is invalid under dehumidifying and fan mode. When the water full indicator
activates, if the machine is on standby or if the mode is changed, sleeping mode is cancelled .

11
Remote Control
Compressor protection
Three minutes later after power on or restart the compressor starts to run.
Remote Control with LCD
The functions of the remote control work the same as your air conditioner’s touch controls
Temperature control set button
Sleep mode button
Timer mode selection button
A/C fan speed button (high, medium, low)
Mode button (cool, fan, dehumidify or heat pump)
Power On/Off
LCD screen

12
Installation of the filter (Carbon Filter Optional )
1. Remove the side filter frame from the unit.
2. Remove the back filter frame from the unit.
3. Separate the filter fixer from the back filter
frame.
4. Remove the active carbon filter from its plastic
bag.
5. Insert the active carbon filter into the filter
frame.
6. Fix the filter by re-assembling the fixer onto the
filter frame.
7. Re-fit the back filter frame inside the unit.
8. Re-fit the side filter frame inside the unit.

13
Water Drainage
This machine has an auto-water-evaporating system. Condensed water is
used to cool down the condenser, which not only improves cooling efficiency,
but also saves energy.
● If inner water tank is full, “ ” will flash on the screen . The machine enters into standby mode;
buzzer sounds, compressor stops and all keys are deactivated invalid till machine returns to normal.
● Referring to the sketch below, unscrew the drain knob 1 at the back of the unit towards the bottom.
Place a container near the outlet into which the water can drain.Pull out the rubber plug to empty out
water. Power off the machine and restart it. The machine will run normally.
Special caution for heat pump function!
When in heating mode, if you wish to operate the unit without the need to empty the water tank,
please connect a water-drainage-pipe to remove the water out continuously.
1. Remove the drain knob.
2. Remove the rubber plug and retain for future use
3. Fix the drain connector into the drain knob.
4. Fix the drain knob to the water outlet of the unit.
5. Connect the drain tube (Inside Diameter:10mm) to the water outlet as shown and locate the other end
into a drain below the drain outlet..
Note: The water-container must be at or lower the outlet level

14
Maintenance
Note: in order to avoid electric shocks, please power-off the machine and pull out
the plug from the mains supply before initiating maintenance or repairs.
Cleaning
● Please pull out the mains plug from the socket before cleaning .
● Use soft damp cloth to clean the machine. Do not use chemical agents, such as benzene, alcohol,
gasoline and so on; otherwise the machine surface or the machine will be damaged.
● Do not splash water into the machine .
Cleanable Filters (All except Carbon which must be replaced when dirty to
enable it to continue to neutralize odours)
● Clean the filters every two weeks, if filters are blocked by dust the machine’s efficiency will be
reduced .
● Clean the filters in warm water with a neutral detergent, then dry the cleaned filters on a shady place.
Note: Don’t run the machine without washable filters.
End of Season Cleaning
If the machine will be unused for a long time, please do as following:
●Remove the drain knob and pull out the rubber plug let the water flow out.
●Let the machine run in fan mode for 2 hours to dry out the inside of the machine
●Turn off the machine and pull out mains plug .
●Clean and dry all filters, then reinstall them .
●Pull out exhaust pipe for safekeeping .
●Put the machine into plastic bag, and place it on a dry place.

15
Trouble Shooting
Please contact a professional serviceman without delay in following situations
Trouble
Cause
Solution
Machine
does not work
Power off
Power on
Water-full indicator is on
Drain water out
Machine
auto-restarts
frequently
Direct sunlight
Draw the curtains
Door and windows are open, so
too much heat is added to the
room .
Close the door and windows, remove
all un-necessary heat sources.
Filters are too dirty.
Clean or replace filters
Air-inlet or air out-let is blocked
Remove blockage
Too noisy
Machine is not sitting on level
solid ground.
Place it on flat and solid ground to
minimize shaking and rattles
Compressor
cannot work
Compressor’s 3 minute
time-delay protection turns on
Wait for 3 minutes for the system to
cool down and rebalance, and then
restart the machine.
Note: when an abnormal events occur, turn off machine and pull out plug, then contact a
professional for help.
This mark indicates that this product should not be disposed of with other household waste
throughout the EU. To prevent possible harm to the environment or human health from uncontrolled
waste disposal, recycle the unit responsibly to promote the sustainable reuse of material resources.
To return your used device, please use the return and collection systems or contact the retailer
where the product was purchased.

16
PLEASE AFFIX YOUR PROOF OF PURCHASE/RECEIPT HERE
IN THE EVENT OF A CLAIM UNDER WARRANTY THIS RECEIPT MUST BE PRODUCED.
W A R R A N T Y
1. Tedelex Trading (Pty) Limited (“Tedelex”) warrants to the original purchaser of this product (“the customer”)
that this product will be free of defects in quality and workmanship which under normal personal, family or
household use and purpose may manifest within a period of 1 (one) year from the date of purchase (“warranty
period”).
2. Where the customer has purchased a product and it breaks, is defective or does not work properly for the
intended purpose, the customer must notify the supplier from whom the customer bought the product (“the
supplier”) thereof within the warranty period. Any claim in terms of this warranty must be supported by a proof
of purchase. If proof of purchase is not available, then repair, and/or service charges may be payable by the
customer to the supplier.
3. The faulty product must be taken to the supplier's service centre to exercise the warranty.
4. The supplier will refund, repair or exchange the product in terms of this warranty subject to legislative
requirements. This warranty shall be valid only where the customer has not broken the product himself, or
used the product for something that it is not supposed to be used for. The warranty does not include and will
not be construed to cover products damaged as a result of disaster, misuse, tamper, abuse or any
unauthorised modification or repair of the product.
5. This warranty will extend only to the product provided at the date of the purchase and not to any expendables
attached or installed by the customer.
6. If the customer requests that the supplier repairs the product and the product breaks or fails to work properly
within 3 (three) months of the repair and not as a result of misuse, tampering or modification by or on behalf of
the customer, then the supplier may replace the product or pay a refund to the customer.
7. The customer may be responsible for certain costs where products returned are not in the original packaging,
or if the packaging is damaged. This will be deducted from any refund paid to the customer.
TEDELEX TRADING (PTY) LTD
www.amap.co.za
011 490-9600 (Jhb)
031 792-6000 (Dbn)
021 535-0600 (CT)
Table of contents
Other Russell Hobbs Air Conditioner manuals
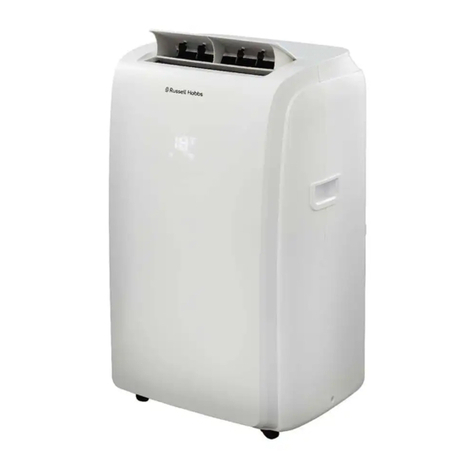
Russell Hobbs
Russell Hobbs RHAC10 User manual

Russell Hobbs
Russell Hobbs RHPAC3001 User manual

Russell Hobbs
Russell Hobbs RHMA 055 Installation guide

Russell Hobbs
Russell Hobbs RHPAC3001B User manual

Russell Hobbs
Russell Hobbs RHPAC11001 User manual

Russell Hobbs
Russell Hobbs RHPAC4002 User manual
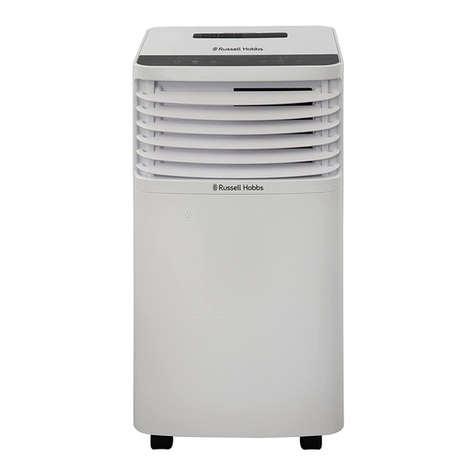
Russell Hobbs
Russell Hobbs RHMA 050 Installation guide
Popular Air Conditioner manuals by other brands

Mitsubishi Electric
Mitsubishi Electric Mr. SLIM SLZ-M15FA2.TH Technical & service manual

Hitachi
Hitachi RAS-70YHA1 instruction manual

Frigidaire
Frigidaire 220218A007 use and care manual

Bosch
Bosch B1 RKM 15001 Instructions for use

Unitary products group
Unitary products group Sunline 2000 DM180 installation manual

LG
LG ZT-Q18GNLH1 owner's manual