manuals.online logo
Brands
  1. Home
  2. •
  3. Brands
  4. •
  5. Russell Hobbs
  6. •
  7. Kettle
  8. •
  9. Russell Hobbs 20441 User manual

Russell Hobbs 20441 User manual

Other Russell Hobbs Kettle manuals

Russell Hobbs EDEN Installation guide

Russell Hobbs

Russell Hobbs EDEN Installation guide

Russell Hobbs STUDIO RHK132 Series User manual

Russell Hobbs

Russell Hobbs STUDIO RHK132 Series User manual

Russell Hobbs RHK20C User manual

Russell Hobbs

Russell Hobbs RHK20C User manual

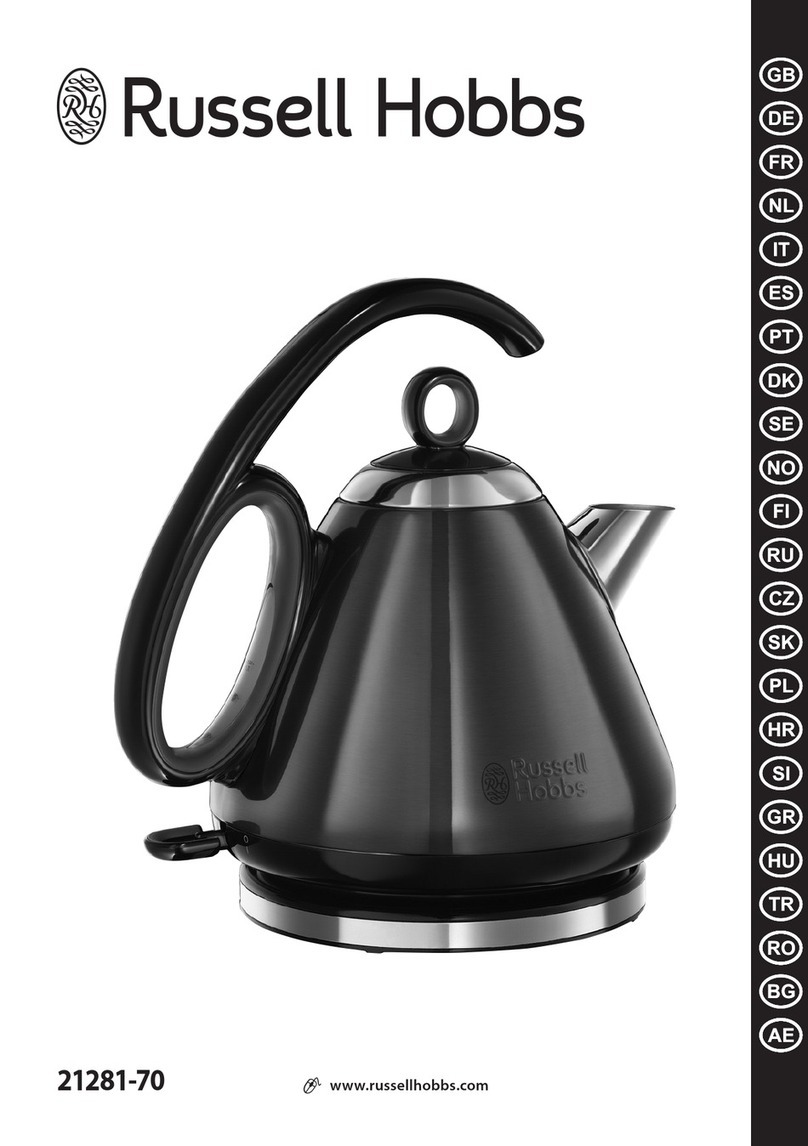
Russell Hobbs 21281-70 User manual

Russell Hobbs

Russell Hobbs 21281-70 User manual

Russell Hobbs 21671-70 User manual

Russell Hobbs

Russell Hobbs 21671-70 User manual

Russell Hobbs 26080-70 User manual

Russell Hobbs

Russell Hobbs 26080-70 User manual

Russell Hobbs 19880-70 User manual

Russell Hobbs

Russell Hobbs 19880-70 User manual

Russell Hobbs 14924 User manual

Russell Hobbs

Russell Hobbs 14924 User manual

Russell Hobbs 19600-56 User manual

Russell Hobbs

Russell Hobbs 19600-56 User manual

Russell Hobbs GF130 User manual

Russell Hobbs

Russell Hobbs GF130 User manual

Russell Hobbs 20460-56 User manual

Russell Hobbs

Russell Hobbs 20460-56 User manual

Russell Hobbs Emma Bridgewater 21889 User manual

Russell Hobbs

Russell Hobbs Emma Bridgewater 21889 User manual

Russell Hobbs MONTANA 3087 Installation guide

Russell Hobbs

Russell Hobbs MONTANA 3087 Installation guide

Russell Hobbs 21150-70 User manual

Russell Hobbs

Russell Hobbs 21150-70 User manual

Russell Hobbs RHEKRET Installation guide

Russell Hobbs

Russell Hobbs RHEKRET Installation guide

Russell Hobbs 24402-70 User manual

Russell Hobbs

Russell Hobbs 24402-70 User manual

Russell Hobbs RHK82BRU User manual

Russell Hobbs

Russell Hobbs RHK82BRU User manual

Russell Hobbs 21672-70 User manual

Russell Hobbs

Russell Hobbs 21672-70 User manual

Russell Hobbs 23830-70 User manual

Russell Hobbs

Russell Hobbs 23830-70 User manual

Russell Hobbs 21600-70 User manual

Russell Hobbs

Russell Hobbs 21600-70 User manual

Russell Hobbs RHK8 User manual

Russell Hobbs

Russell Hobbs RHK8 User manual

Russell Hobbs 21600-57 User manual

Russell Hobbs

Russell Hobbs 21600-57 User manual

Russell Hobbs 21600-70 User manual

Russell Hobbs

Russell Hobbs 21600-70 User manual

Russell Hobbs Kettle User manual

Russell Hobbs

Russell Hobbs Kettle User manual

Popular Kettle manuals by other brands

BRAYER BR1008BK instruction manual

BRAYER

BRAYER BR1008BK instruction manual

Zelmer ZCK8024 user manual

Zelmer

Zelmer ZCK8024 user manual

Dover Unified Brands Groen DH Operator's manual

Dover

Dover Unified Brands Groen DH Operator's manual

Morphy Richards Stainless steel kettle instructions

Morphy Richards

Morphy Richards Stainless steel kettle instructions

FRAM FEK-2200BK manual

FRAM

FRAM FEK-2200BK manual

Bosch TWK 71 GB Series instruction manual

Bosch

Bosch TWK 71 GB Series instruction manual

Cosori CO171-GK user manual

Cosori

Cosori CO171-GK user manual

IKEA UPPHETTA manual

IKEA

IKEA UPPHETTA manual

HUSLOG AK-0832 user manual

HUSLOG

HUSLOG AK-0832 user manual

Clas Ohlson KE7086-BH instruction manual

Clas Ohlson

Clas Ohlson KE7086-BH instruction manual

Brock WK 0902 GR manual

Brock

Brock WK 0902 GR manual

inventum CBW010 instruction manual

inventum

inventum CBW010 instruction manual

Sage Compact Kettle Pure quick guide

Sage

Sage Compact Kettle Pure quick guide

Breville Crystal Clear BKE290 Instruction booklet

Breville

Breville Crystal Clear BKE290 Instruction booklet

ECG RK 1745 instruction manual

ECG

ECG RK 1745 instruction manual

Cosori CS108-NK user manual

Cosori

Cosori CS108-NK user manual

KitchenAid KXC03 instructions

KitchenAid

KitchenAid KXC03 instructions

cecotec THERMOSENSE 600 TOUCH BLACK instruction manual

cecotec

cecotec THERMOSENSE 600 TOUCH BLACK instruction manual

manuals.online logo
manuals.online logoBrands
  • About & Mission
  • Contact us
  • Privacy Policy
  • Terms and Conditions

Copyright 2025 Manuals.Online. All Rights Reserved.

GUARANTEE
Defects affecting product functionality appearing within the
guarantee period will be corrected by replacement or repair at our
option provided the product is used and maintained in accordance
with the instructions. Your statutory rights are not affected.
Guarantee period = 2 years from first retail purchase.
To claim an extra 1 year guarantee, register your product online within
28 days of purchase.
Register at: www.russellhobbs.co.uk/productregister/
Consumables are guaranteed only for their recommended lifecycle.
Replacement/Spare parts* are excluded and are only covered by a 1
year warranty.
* Examples include filters, removable grill plates, drip trays/crumb trays etc.
CUSTOMER SERVICE
If you ring Customer Service, please have the Model Number to hand, as we won’t be able to
help you without it. It’s on the rating plate (usually underneath the product).
The product isn’t user-serviceable. If it’s not working, read the instructions, check the plug
fuse and main fuse/circuit breaker. If it’s still not working, consult your retailer.
If that doesn’t solve the problem – ring Customer Service – they may be able to offer technical
advice.
If they advise you to return the product to us, pack it carefully, include a note with your name,
address, day phone number, and what’s wrong. If under guarantee, say where and when
purchased, and include proof of purchase (till receipt). Send it to:
Customer Service, Spectrum Brands (UK) Ltd, Fir Street, Failsworth, Manchester M35 0HS
email: [email protected]
telephone: 0345 658 9700 (local rate number)
Please note: If you have purchased the product within the last 6 months, please contact the
retailer in the first instance to deal with any matters relating to warranty.
JONLINE
www.russellhobbs.co.uk for more products
IREGISTER ONLINE
Register online for an EXTRA year guarantee*.
Visit www.russellhobbs.co.uk/productregister/
*You must register within 28 days of purchase.
T22-9001207
BOIL DRY PROTECTION
1. This will shorten the life of the element. A boil-dry cut-out will
switch the kettle off.
2. You must then remove the kettle from its stand to reset the
cut-out.
3. Sit the kettle on the work surface till it’s cold.
CARE AND MAINTENANCE
1. Unplug the stand, and let the kettle cool before cleaning.
2. Wipe all surfaces with a clean damp cloth.
3. Keep the connectors dry.
4. Open the lid.
5. Push the hook on top of the filter down then lift the filter out of
the kettle (fig A).
6. Rinse the filter under a running tap while brushing with a soft
brush.
7. Lower the filter into the kettle, and engage the bottom hook in
the bottom of the spout.
8. Press the top of the filter towards the kettle, to lock the hook in
place.
9. Close the lid.
Descale regularly, at least monthly
The suppressor is designed to reduce the noise made by the boiling
water. If you allow scale to build up, it won’t be able to work properly,
and the kettle will become noisier.
Descale the appliance at least monthly with a proprietary descaler.
Follow the instructions on the package of descaler.
Products returned under guarantee with faults due to scale will incur a
repair charge.
RECYCLING
W
To avoid environmental and health problems due to hazardous
substances, appliances and rechargeable and non-rechargeable
batteries marked with one of these symbols must not be disposed of
with unsorted municipal waste. Always dispose of electrical and
electronic products and, where applicable, rechargeable and
non-rechargeable batteries, at an appropriate official recycling/
collection point.
r
20441
I www.russellhobbs.com
Register online for an EXTRA year guarantee
Visit www.russellhobbs.co.uk/productregister/
You must register within 28 days of purchase
Read the instructions, keep them safe, pass them on if you pass the kettle on.
Remove all packaging before use.
IMPORTANT SAFEGUARDS
Follow basic safety precautions, including:
This appliance can be used by children aged from
8 years and above and persons with reduced
physical, sensory or mental capabilities or lack of
experience and knowledge if they have been
supervised/instructed and understand the
hazards involved. Children shall not play with the
appliance.
Cleaning and user maintenance shall not be done
by children unless they are older than 8 and
supervised.
Keep the appliance and cable out of reach of
children under 8 years.
hParts of the appliance will get hot during use.
If you overfill, the kettle may spit boiling water.
Use the kettle only with the stand supplied (and
vice versa).
If the cable is damaged, it must be replaced by
the manufacturer, its service agent, or someone
similarly qualified, to avoid hazard.
Avoid spillage on the stand/connector.
The surface of the heating element is subject to
residual heat after use.
Use the appliance according to these instructions.
Any misuse may cause potential injury, electric
shock or other hazards.
This appliance is intended to be used in household
and similar applications such as:
• staff kitchen areas in shops, offices and other
working environments;
• by clients in hotels, motels and other
residential type environments;
• bed and breakfast type environments;
• farm houses.
bDo not use this appliance near bathtubs, showers, basins or
other vessels containing water.
• Don’t use the kettle for any purpose other than heating water.
• Don’t operate the appliance if it’s damaged or malfunctions.
PARTS
1. Filter
2. Lid
3. Lid release
4. Water level gauge
5. Switch
6. Stand
BEFORE FIRST USE
Fill to max, boil, discard the water, then rinse. Do this twice to
remove any manufacturing dust, etc.
FILLING
1. Open the lid.
2. Fill with at least 1 cup of water, but not above max.
3. If you want only 1, 2, or 3 cups of water, fill to the 1, 2, or 3
marks inside the kettle.
4. Close the lid, and press down to lock it.
USING YOUR KETTLE
1. Put the stand on a stable, level surface. Wind excess cable
beneath the stand.
2. Plug the stand into the wall socket.
3. Put the kettle on the stand.
4. Move the switch to I. The light will come on and the kettle will
start to heat.
5. When it boils, the kettle will switch off.
6. To switch off manually, move the switch to O, or simply lift the
kettle off the stand..
GENERAL
When you lift the kettle, you may see moisture on the stand. Don’t worry, it’s
the steam used to switch off the kettle which is allowed to escape via vents
under the kettle.
h b
ef
k
max
i
j
g
3
2
1
2
A