2
Setting up XStream X5
1. Unpack the X5 and all of its contents
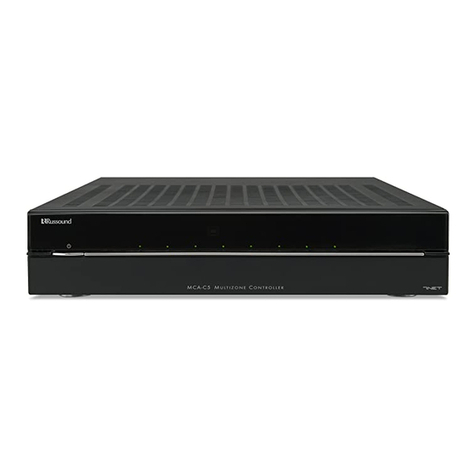
1 X5 Controller Streamer Amplier
1 Power cord
2 Wi-Fi antennas
1 IR emitter
2. Screw the two antennas on the antennae posts as shown
Etherne
Line
u
eaker Ou
Powe
B 2.
eypa
Antenn
uetoot
Optica
Coa
Digital Audio I
Subwoofe
Made in
hin
Tri
er Ou
12VD
1
m
IR
u
00-240V~
50
60
z 2.5
t
erne
Line
u
peaker Ou
ohms mi
Powe
U
B 2.
eypa
l
t
t
ptica
Digital Audio I
ubwoofe
Made in
hina
IR
u
00-240
~
50
60
z 2.5
1/8”
4. Strip back 1/8” of the insulation on the
speaker wire and twist the end of each
wire to tighten the bundle of copper
strands.
Place the stripped end of the wire into
the appropriate terminal and collapse
the latch. Check to make sure there are
no strands of copper showing and check the security of the
wire in the connector. Between each terminal, make sure
the wire is not frayed or touching another connection.
Connect the other end of the wire to each speaker. Be careful
to maintain polarity.
Re-connect the detachable speaker terminal.
3. Remove the detachable speaker connector from the X5
1. Plug in power cable. (All other cables, including Ethernet should be disconnected.) Locate and turn on power switch near AC
inlet on the back of the X5. The XStream X5 will turn on to Access Point Mode. Wait for yellow and green lights to be solid.
Like other Wi-Fi enabled devices, Access Point Mode will allow you to directly connect to the X5 via Wi-Fi.
Refer to the sticker on bottom of X5 to nd host name.
Connecting XStream X5 to your home network
2. Find hostname in wireless access point list on mobile device and connect.
Sticker example:
Only Minutes to Music….
Congratulations and thank you for purchasing the Russound XStream X5. In just a few minutes, you will be
enjoying listening to your favorite personalized stations; music, sports, news, talk, comedy, concerts and
podcasts. All from Pandora®, TuneIn®, SIRIUS/XM® and vTuner®. Let’s get started.

