RV SnapPad XTRA User manual

RV SNAPPAD
XTRA INSTALLATION INSTRUCTIONS
rvsnappad.com | info@rvsnappad.com | 1-866-923-9538

SnapPad XTRA Installation Instructions
Congratulations on joining the SnapPad family!
Very Important Notes:
It is critical that you install the correct SnapPad on the proper foot. Please triple check
prior to installing your SnapPads. Permanent damage could result from trying to install on
the wrong landing foot, resulting in your warranty being voided. Your XTRA’s are designed
to work with 9” round jack feet that are commonly found on Lippert™* leveling systems.
*Trademark is owned by mark owner. SnapPad and its goods are not ailiated with or
endorsed by the mark owner.

Fih Wheel Detailed Instructions
Installation time: 3 - 6 minutes per pad
• SnapPad installation should be performed on a level or near level surface - preferably a hard surface
(concrete or asphalt). Wheel chocks should be placed in front of and behind the RV wheels for additional
safety.
• Be sure to thoroughly clean and dry your landing feet prior to installing your SnapPads.
• SnapPads MUST FIRST BE INSTALLED ON THE FRONT JACKS before continuing to the rear 2 or 4
leveling jacks. Front jack installation MUST BE DONE while the RV is hitched up to the truck. For safety,
also connect the RV’s break-away cable to the truck before installation.
• Operate your jacks manually and install your SnapPads one at a time. If your jacks deploy in pairs, take
note which jack hits the ground first and start there.
• Spread a small bead of concentrated dish soap around the lip of the SnapPad and metal landing foot
to aid installation. Do NOT use any petroleum based lubricant, such as WD-40® as it may negatively
react with the binder in your SnapPads.
• Extend your jacks until about 4 inches from the ground then stop so you can properly align your jack and
SnapPad. KEEP YOUR FINGERS AND ANY FOREIGN OBJECTS CLEAR WHEN LOWERING
THE JACK INTO PLACE.
• Carefully place and center your SnapPad under the landing jack foot. Continue to lower the front landing
jack until it touches the SnapPad. If you feel that the landing pad is not centered on the SnapPads,
retract the landing gear enough to re-center the SnapPads and proceed with extending the landing gear
to complete the SnapPad installation.
• Once SnapPad installation is complete on the front landing jacks, the TRUCK MUST BE DISCONNECTED
AND PULLED AWAY from the RV before installing SnapPads on the rear 2 or 4 leveling jack pads.
• If your lip hasn’t fully engaged, raise your jack and place a shim (small piece of wood no thicker than
1/4”) under the side that hasn’t engaged. Lower your jack again until that side snaps into place.
• Wipe o any excess soap and repeat installation process on the remaining jacks.

Motorhome Detailed Instructions
Installation time: 3 - 6 minutes per pad
• SnapPad installation is best performed on a level or near level surface – preferably a hard surface
(concrete or asphalt). Wheel chocks can be placed in front of and behind the RV wheels for additional
safety.
• Be sure to thoroughly clean and dry your landing feet prior to installing your SnapPads.
• Spread a small bead of concentrated dish soap around the lip of the SnapPad and metal landing foot to
aid in installation. Do NOT use any petroleum based lubricant, such as WD-40®, as it may negatively
react with the binder in your SnapPads.
• Most motorhomes will release their airbags prior to engaging the jacks. This will lower the entire RV at
the beginning of the leveling process. You may place your first SnapPad prior to this however be careful
to not get caught underneath your RV during the lowering process!
• Typically one side will level first. Take note which side that is and start there. Install one SnapPad at a
time and/or use the manual jack operation if possible. Refer to your owners manual for instructions.
• Most jacks are 18” - 24” under your RV. You might need to use a tool such as a broomstick to align your
SnapPads, if necessary.
• Once aligned, begin lowering your jack. Keep an eye on the landing foot as it extends. Stop extending
when the foot is about 2 to 3 inches from the SnapPad. Double check to make sure it is centered, re-
align if necessary and then continue extending the landing gear to complete installation. KEEP YOUR
FINGERS AND ANY FOREIGN OBJECTS CLEAR WHEN LOWERING THE JACK INTO PLACE.
• You should hear a distinctive “snap” as the lip engages. Visually confirm the lip is fully engaged around
the perimeter of the landing foot.
• If your lip hasn’t fully engaged raise your jack and place a shim (small piece of wood no thicker than 1/4”)
under the side that hasn’t engaged. Lower your jack again until that side snaps into place.
• Wipe o any excess soap and repeat installation process on the remaining jacks.

SnapPad XTRA Info & Statistics
Helpful Hints & Tricks for XTRA
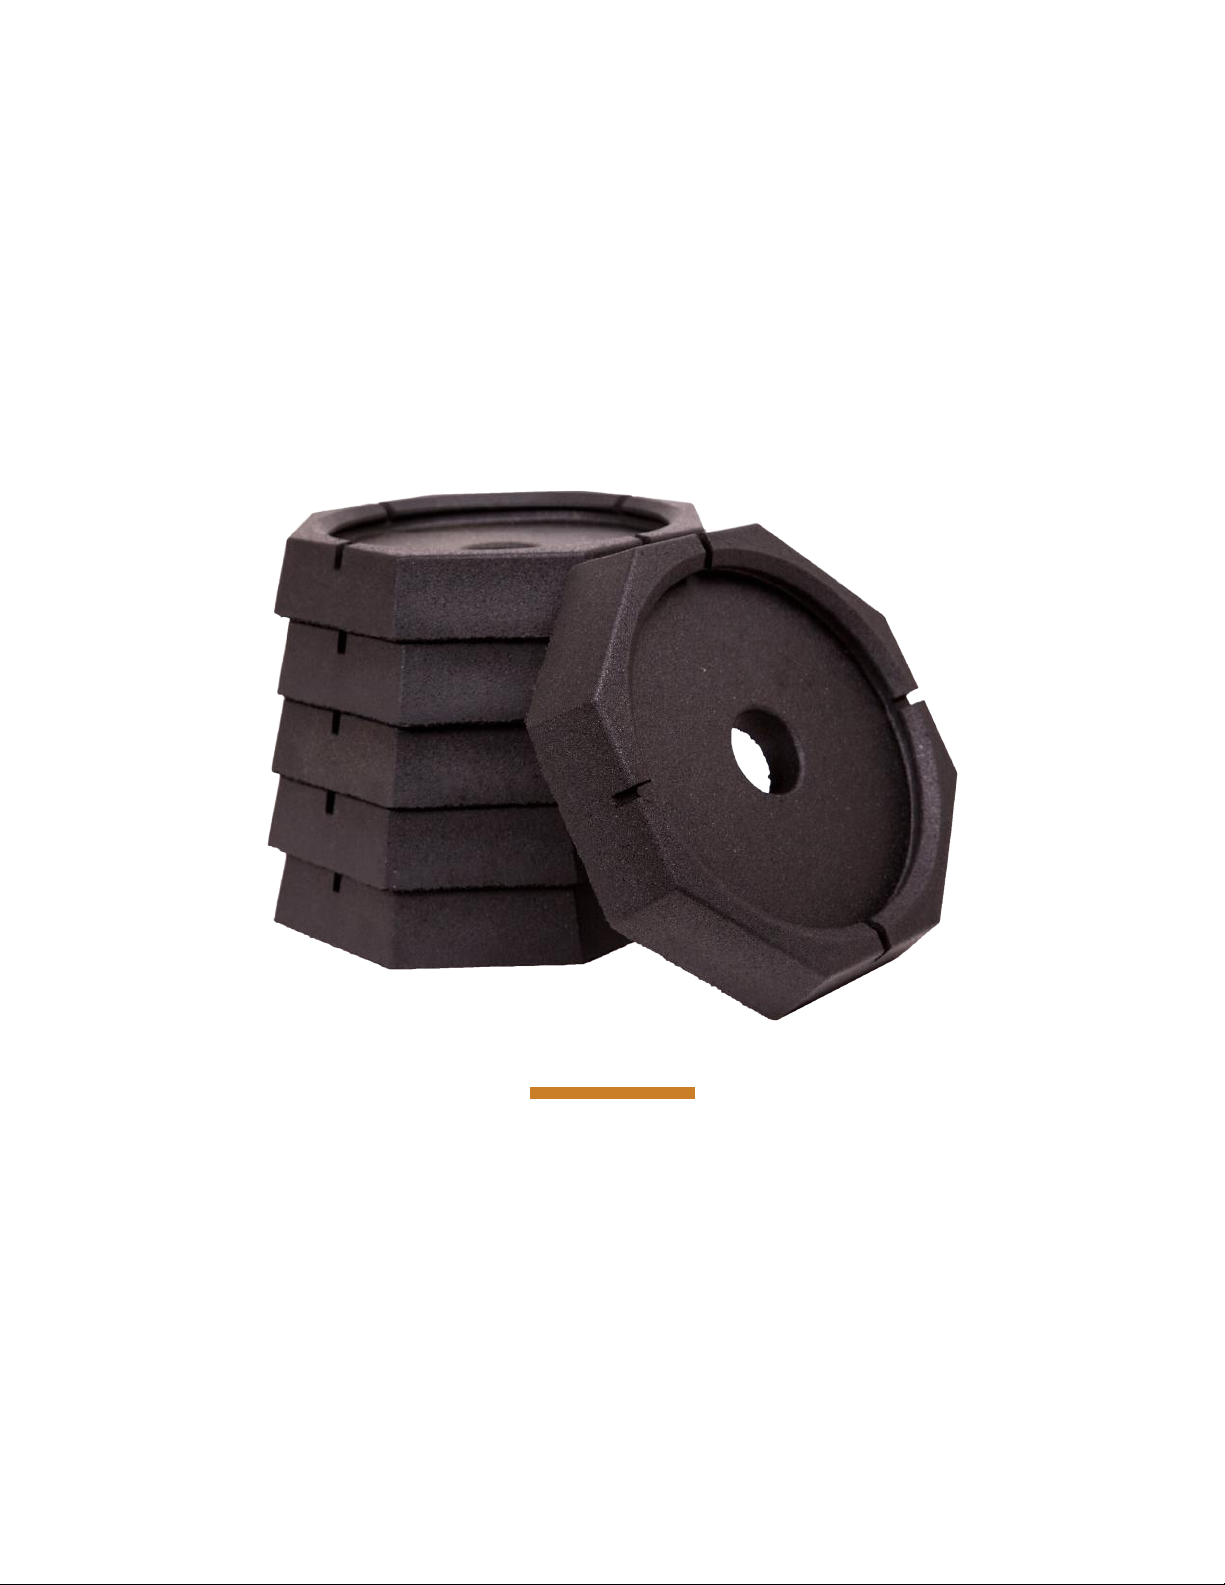
• Dimensions 11” wide x 11” long x 1.83” thick.
• Once installed they add about an inch to your jack thickness.
• 4.8 pounds per pad.
• You’re helping our environment! SnapPads are made from
American recycled tires. That means SnapPads are not only
durable and versatile but environmentally friendly too.
• Will work on any type of surface, level or unlevel, including:
asphalt, concrete, grass, mud, sand, resin, ice, and snow.
• Scientifically tested to maintain integrity at over 120°F down to
-40°F and remain attached at over 50x the force of gravity.
• Generally, it takes 1,300 pounds of vertical pressure to install your
SnapPads. This ensures no matter how far o the beaten path you
venture, your SnapPads with be there with you.
• Proudly made in the USA.
• It’s best (and easiest) to install your SnapPads one at a time on a
level, hard surface.
• However it’s been found that some newer landing feet tend to
bend under the weight of your RV. Should one of your SnapPads
not install immediately this might be the case for you. Remedy
this by installing your SnapPad on soer terrain such as grass.
This will allow your SnapPad to conform around your landing
foot. Once engaged, your SnapPad will remain attached.
• Each leveling system will have it’s own manual operation
function. Please refer to your owners manual for specific
directions.
• Grab a helper! It’s safer, faster, and more eicient with two
people.
• Use your phone or another person to relay the information
between the installer and the person working the controls.
• Install each SnapPad individually and visually confirm the
reinforced lip has engaged on the complete diameter. It is critical
your SnapPad has been installed fully and correctly.
• Standing water? No problem! Your SnapPad XTRA pads have built-
in drainage channels.
• Your SnapPads come with a handy bolt-access hole in the center.
You can use this to remove the jack with the SnapPad still
attached if needed.
• Installation is easier in warm weather (50°F or more).
While not required, we recommend
double protecting your jacks by
covering the landing feet with a
rubberized protectant such as Flex
Seal®. Make sure to cover your jack
cylinders prior to applying and coat
the bottom of your landing feet as
well. Do this prior to installing your
SnapPads and allow the protectant
to cure for 24 hours. Do not spray
your SnapPads with the sealant (it
will not adhere to the rubber).

Warranty Information
XTRA Disclaimers
Origen RV Accessories LTD oers a 2-year manufacturer’s warranty on both performance and defects in
material and workmanship. Should your product fail within a 2-year time frame, Origen RV Accessories LTD
will replace your pad free of charge.
Conditions
Attn: Penny Holderman - 605 S Laurel St, Mishawaka, IN 46544, USA
• You must register your product warranty first in order to be able to file a claim later on, if necessary. For
more information, visit https://rvsnappad.com/pages/general-warranty.
• Origen RV Accessories LTD will replace any defective products within the acceptable 2-year window,
starting from the purchase date.
• Contact customer service via email or phone and provide an emailed picture of product defect.
• Explanation/reason for the return must be documented in order to receive your refund.
• Should you have accidentally ordered the wrong version, ship them back for a full refund.
• Confirmation that defect is not from repeated installation or misuse in any way.
• Product must be shipped back to Origen RV Accessories LTD manufacturing facility at owners cost,
meaning you pay the shipping charges.See address below.
• SnapPads are an aermarket RV accessory, and as such, it is the responsibility of the RV owner to ensure
they are an appropriate and safe addition to their RV.
• Each RV has unique design considerations. It is the responsibility of the RV owner to confirm their
SnapPads have adequate clearance for any moving parts and will not hinder the functionality of any
other system.
• Origen RV Accessories LTD shall not be liable for any special, incidental, indirect or consequential
damages whatsoever (including but not limited to, labor, installation, charges, damage to associated
equipment, RV, trailer, towing or following vehicle) arising from the use or inability to use or install the
product.
• Use extreme caution when installing and using SnapPad. Origen RV Accessories LTD is not responsible
or liable in any way for any indirect or direct injury sustained during installation or future use of the
product.
• Installing SnapPad products on non-compatible leveling systems will result in the voiding of the
warranty and can lead to product failure, property damage, or injury. Origen is not responsible for any
issues arising from the use of our products on non-compatible systems.
• SnapPads are designed to be installed once. Do not remove and re-install as this will also void your
warranty.
Table of contents