manuals.online logo
Brands
  1. Home
  2. •
  3. Brands
  4. •
  5. Ryobi
  6. •
  7. Garage Door Opener
  8. •
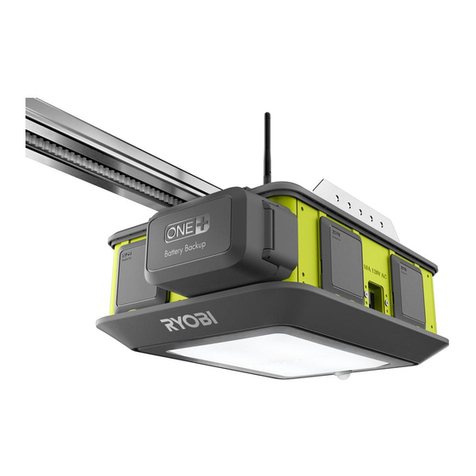
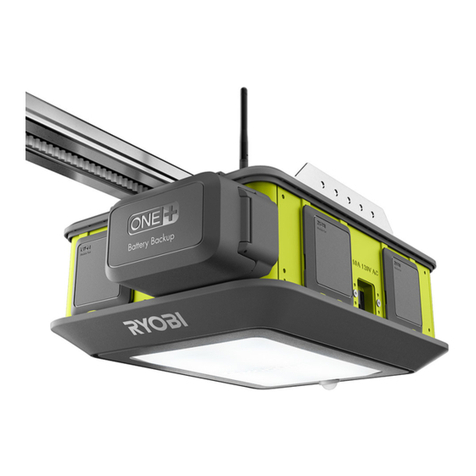
  9. Ryobi GD201 Installation and operating instructions

Ryobi GD201 Installation and operating instructions

Other Ryobi Garage Door Opener manuals

Ryobi GD200 User manual

Ryobi

Ryobi GD200 User manual

Ryobi GD200A User manual

Ryobi

Ryobi GD200A User manual

Ryobi GD200B User manual

Ryobi

Ryobi GD200B User manual

Ryobi GDA100 User manual

Ryobi

Ryobi GDA100 User manual

Ryobi GD125 User manual

Ryobi

Ryobi GD125 User manual

Ryobi GD200 User manual

Ryobi

Ryobi GD200 User manual

Ryobi GDM120 User manual

Ryobi

Ryobi GDM120 User manual

Popular Garage Door Opener manuals by other brands

ATA GDO-6 EasyRoller instruction manual

ATA

ATA GDO-6 EasyRoller instruction manual

CAME F4000 Series installation manual

CAME

CAME F4000 Series installation manual

Garaga SECURITY+ 3265GCM 1HP owner's manual

Garaga

Garaga SECURITY+ 3265GCM 1HP owner's manual

Chamberlain Whisper Drive SECURITY+ WD822K Series owner's manual

Chamberlain

Chamberlain Whisper Drive SECURITY+ WD822K Series owner's manual

Chase Doors DuraShield installation manual

Chase Doors

Chase Doors DuraShield installation manual

CSI Classic installation instructions

CSI

CSI Classic installation instructions

Chamberlain Elite 3575S owner's manual

Chamberlain

Chamberlain Elite 3575S owner's manual

Richmond GTR156 user manual

Richmond

Richmond GTR156 user manual

B&D Controll-A-Door 5 instruction manual

B&D

B&D Controll-A-Door 5 instruction manual

Chamberlain MyQ 940ESTD owner's manual

Chamberlain

Chamberlain MyQ 940ESTD owner's manual

Automatic Technology GDO-9V1 SecuraLift installation instructions

Automatic Technology

Automatic Technology GDO-9V1 SecuraLift installation instructions

Westfalia 19 36 07 instruction manual

Westfalia

Westfalia 19 36 07 instruction manual

Chamberlain HD520EVP manual

Chamberlain

Chamberlain HD520EVP manual

Cardin BL Series instruction manual

Cardin

Cardin BL Series instruction manual

Chamberlain 8355 - 1/2 hp installation instructions

Chamberlain

Chamberlain 8355 - 1/2 hp installation instructions

Bauer CROSS18 Application. Installation and Maintenance Manual

Bauer

Bauer CROSS18 Application. Installation and Maintenance Manual

Dorma ES 90 manual

Dorma

Dorma ES 90 manual

Wayne-Dalton 8124 Installation instructions and owner's manual

Wayne-Dalton

Wayne-Dalton 8124 Installation instructions and owner's manual

manuals.online logo
manuals.online logoBrands
  • About & Mission
  • Contact us
  • Privacy Policy
  • Terms and Conditions

Copyright 2025 Manuals.Online. All Rights Reserved.

ADDENDUM FOR
RYOBI GARAGE DOOR OPENER
WARNING:
This addendum is not a substitute for reading the operator’s
manual. To reduce the risk of injury or death, user must read
and understand operator’s manual before installing or using this
product. All page references refer to the operator’s manual.
NOTE: Install felt washer onto the drive shaft of the RYOBI garage door
opener prior to assembling the sprocket and the rails as described on
page 18 of the operator’s manual.
INSTALLING THE FELT WASHER
See Figures 1 - 2.
When installed correctly, the felt washer can prolong the life of the
motor. To install:
Place the power head on a towel or the packaging material with the
light cover facing down. Do not place the unit directly on hard surfaces
as this may damage the light cover and motion sensor.
Remove the felt washer from the plastic bag.
NOTE: The felt washer has been premixed with sufficient lubricant.
No additional lubricant is required. Do not attempt to dry or “clean”
the felt washer.
Slide the felt washer down the motor shaft and onto the base of the
power head.
Fig. 1
Fig. 2
A -Plastic Bag (sac en plastique , saco plástico)
B -Felt Washer (rondelle en feutre, arandela de fieltro)
A -Felt Washer (rondelle en feutre, arandela de fieltro)
B -Shaft (arbre, eje)
C -Power Head (bloc moteur, cabezal motor)
A
B
C
A
B
991000982
1-6-17 (REV:04)
ADDENDA POUR D’OUVRE-PORTE DE
GARAGE DE RYOBI
APÉNDICE PARA ABRIDOR DE
GARAJE DE PUERTA RYOBI
AVERTISSEMENT :
Ce addenda n’est pas un substitut à la lecture du manuel
d’utilisation. Pour réduire les risques de blessures, l’utilisateur
doit lire et veiller à bien comprendre le manuel d’utilisation avant
d’installer ou d’utiliser ce produit. Les références de page se
rapportent au manuel d’utilisation.
NOTE : Installer la rondelle de feutre sur l’arbre d’entraînement de
l’ouvre-porte de garage RYOBI avant d’installer la roue dentée et les
rails comme décrit à la page 18 du manuel d’utilisation.
INSTALLATION DE LA RONDELLE EN FEUTRE
Voir la figures 1 et 2.
S’il est installé correctement, la rondelle de feutre peut prolonger la durée
de vie du moteur. Pour installer :
Déposer le moteur sur une serviette ou le matériau d’emballage en
plaçant le couvercle du luminaire en dessous. Ne pas placer l’unité
sur des surfaces dures directement, puisque cela peut endommager
le couvercle du luminaire et détecteur de mouvement.
Retirer la rondelle en feutre du sac en plastique.
NOTE : La rondelle de feutre est déjà suffisamment lubrifiée. Aucun
ajout de lubrifiant n’est requis. Ne pas assécher ou nettoyer la rondelle
de feutre.
Insérer la rondelle de feutre sur l’arbre de moteur et sur la base du
bloc moteur.
ADVERTENCIA:
Esta apéndice no reemplaza la lectura del manual del operador.
Para reducir los riesgos de lesiones o muerte, el usuario debe leer
y comprender el manual del operador antes de instalar o utilizar
este producto. Todas las referencias a páginas se refieren al manual
del operador.
NOTA: Instale la arandela de fieltro en el eje del impulsor del el sistema
de apertura para portón de garaje RYOBI antes de ensamblar la rueda
dentada y los rieles como se describe en la página 18 del manual del
operador.
INSTALACIÓN DE ARANDELA DE FIELTRO
Vea la figura 1 y 2.
Si la instalación es correcta, la arandela de fieltro puede prolongar la
vida útil del motor. Para instalar:
Coloque el cabezal de alimentación sobre una toalla o sobre el material
de embalaje con la cubierta de la luz hacia abajo. No coloque la
unidad sobre superficies duras directamente ya que se podría dañar
la cubierta de la luz y sensor de movimiento.
Retire la arandela de fieltro de la saco plástico.
NOTA: La arandela de fieltro cuenta con una mezcla previa suficiente
de lubricante. No es necesario agregar más lubricante. No intente
secar o “limpiar” la arandela de fieltro.
Deslice la arandela de fieltro por el eje del motor y hasta la base del
cabezal del motor.
Français Español