Ne pas utiliser
d’essence E15 ou E85 (ou un carburant conten-
ant plus de 10 % d’éthanol) dans ce produit.
Une telle utilisation représente une violation de
la loi fédérale et endommagera l’appareil et
annulera la garantie.
No utilice combustibles E15 o E85 (ni combus-
tibles que contengan más de 10 % de etanol)
con este producto. Esto constituye una
violación a la ley federal, dañará la unidad y
anulará la garantía.
Procédure de démarrage du moteur
Procedimiento de arranque del motor
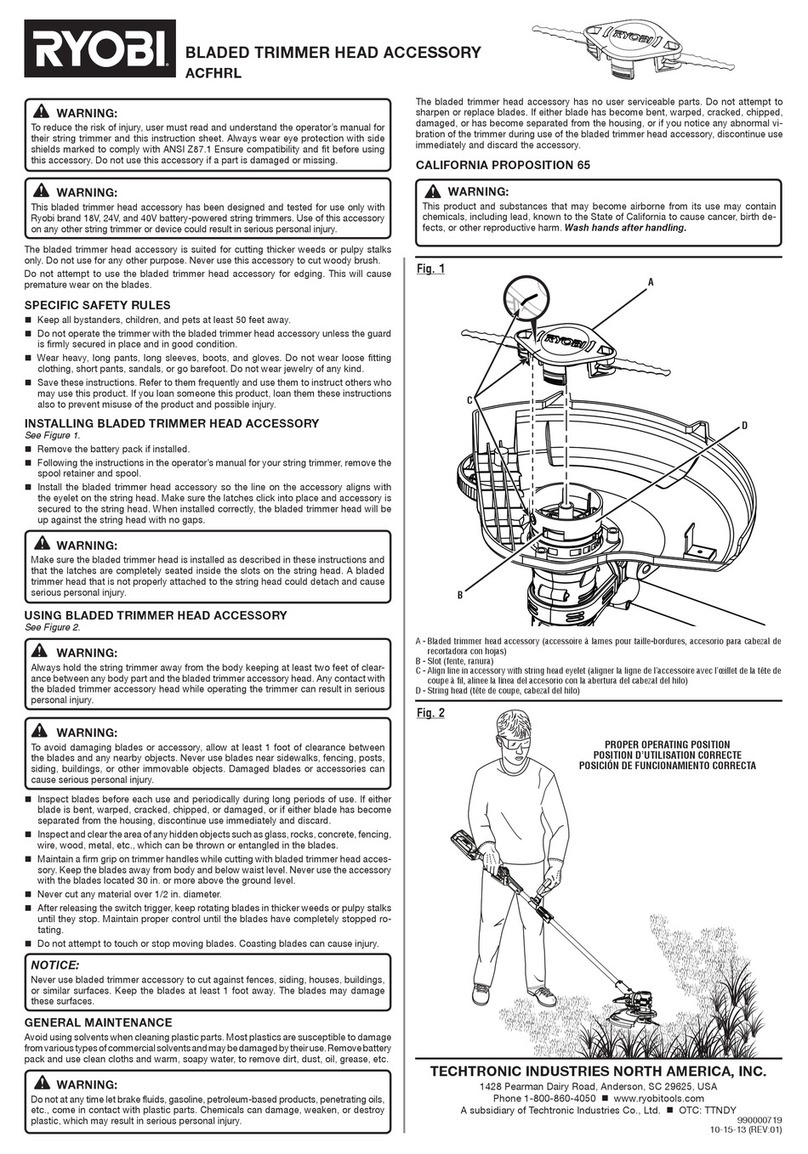
AVERTISSEMENT : Cette procédure de démarrage du moteur n’est pas un substitut au
manuel d’utilisation, qu’il importe de lire. Pour réduire les risques de blessures, l’utilisateur
doit lire et veiller à bien comprendre le manuel d’utilisation avant d’employer ce produit.
ADVERTENCIA: Comprender el Procedimiento de arranque del motor no equivale a leer
el manual del operador. Para reducir el riesgo de lesiones, el usuario debe leer y comprender
el manual del operador antes de usar este producto.
®
Ce produit à été entièrement testé avant expédition pour assurer la complète satisfaction de l'utilisateur.
Este producto ha sido probado enteramente antes de embarcarse para asegurar la
completa satisfacción del consumidor.
Le manuel d'utilisation donne des conseils pour le dépannage.
El manual del operador ofrece sugerencias para la solución de problemas
Pour plus d’information sur l’enregistrement, consulter le manuel de l’utilisateur.
Para ver las instrucciones de registro adicionales, consulte el manual del operador.
Visitez le site www.ryobitools.com pour enregistrer votre nouvel outil en ligne.
Dirijase a www.ryobitools.com y registre en linea su nueva herramienta.
Pour toute question concernant l'utilisation ou l'entretien du produit, appeler le service d'assistance
téléphonique Ryobi !
¡Si tiene preguntas sobre el funcionamiento o el mantenimiento del producto, llame al teléfono de
atención al consumidor de Ryobi !
®
APPELER LE
1-800-860-4050
www.ryobitools.com
BESOIN D'AIDE?
¿NECESITA AYUDA?
LLAME AL
La palanca del carburador en la posición " FULL CHOKE " ( anegación máxima ).
No oprima el gatillo del acelerador.
Le levier du volet de départ en position << FULL CHOKE >> (complètement ouvert ).
Ne pas presser la commande d’accélérateur.
Desserrer le bouchon du réservoir de carburant lentement. Éviter de répandre du carburant.
Remettre immédiatement le bouchon en place et le serrer à la main. Essuyer tout carburant répandu.
Vierta cuidadosamente el combustible en el tanque.Evite los derrames.Vuelva a colocar inmediatamente
la tapa del tanque de combustible y apriételo con la mano. Limpie todo derrame de combustible.
Moteur chaud / motor caliente:
Pour arrêt / para apagar :
Moteur froid / motor frío:
En plaçant la gâchette d’accélérateur à la position marche au ralenti, tirez brusquement
sur la poignée du démarreur jusqu’à ce que le moteur démarres. (Max.3 fois)
Si la température extérieure est égale ou inférieure à 15,5 °C (60 °F), continuez à tirer la poignée du démarreur
jusqu'à ce que le moteur démarre.
Si elle est supérieure à 15,5 °C (60 °F), placez le volet de départ sur HALF CHOKE (volet de départ demi ouvert)
et tirez la poignée du démarreur jusqu'à ce que le moteur démarre.
Con el gatillo acelerador en ralentí, jale del mango del arrancador enérgicamente hasta
que empiece a funcionar el motor.(3 veces como máx.)
Si la temperatura exterior es 15 ºC (60 °F) o menor,continúe tirando del mango del arrancador hasta que empiece
a funcionar el motor.
Si la temperatura exterior es mayor a 15 ºC (60 °F) coloque la palanca del anegador en la posición HALF CHOKE
(anegación media) y tire del mango del arrancador hasta que empiece a funcionar el motor.
Utilisation de première fois seulement : Verser tout le contenu d'une bouteille de lubrifiant le à moteur dans l'orifice de remplissage de l'huile à l’aide de l’entonnoir fourni.
Utilisations postérieures : Vérifier le niveau de lubrifiant du moteur et a jouter de le lubrifiant, selon le besoin.
Uso de la primera vez solamente: Vierta el contenido completo de una botella de lubricante para motores con el embudo provisto en el orificio de relleno de aceite.
Aplicaciones posteriores: Verificar el nivel de lubricante para motor y añadir lubricante,si es necesario.
Presione lentamente 10 veces la bomba de cebado.
Appuyer lentement 10 fois sur la poire d'amorçage.
Presione lentamente 10 veces la bomba de cebado.
Después ponga la palanca del anegador en la posición RUN (funcionamiento).
Tire del mango del arrancador hasta que empiece a funcionar el motor.
Appuyer lentement 10 fois sur la poire d'amorçage.
Mettre le levier du volet de départ en position RUN (marche).
Sur le cordon du lanceur jusqu,à ce que le moteur démarre.
Pour arrêter le moteur, mettre le commutateur STOP dans la position d’arrêt « STOP ».
Para apagar el motor, coloque el interruptor de STOP en la posición de apagado “ STOP ”.
1 GALLON
GAS
10x
10x
RUN
4
1
2
3
5
6
LUBRICANT
HALF
CHOKE
Laisser le moteur tourner pendant 10 secondes et mettre le levier du volet de départ en position RUN (marche).
Permita que el motor funcione 10 segundos y después ponga la palanca del anegador en la posición RUN
(funcionamiento).
AVIS AVISO
5
2
4
6
8
7
FULL
CHOKE
RUN
HALF
CHOKE
3
1
RUN
