Fold Here
Installation Instructions
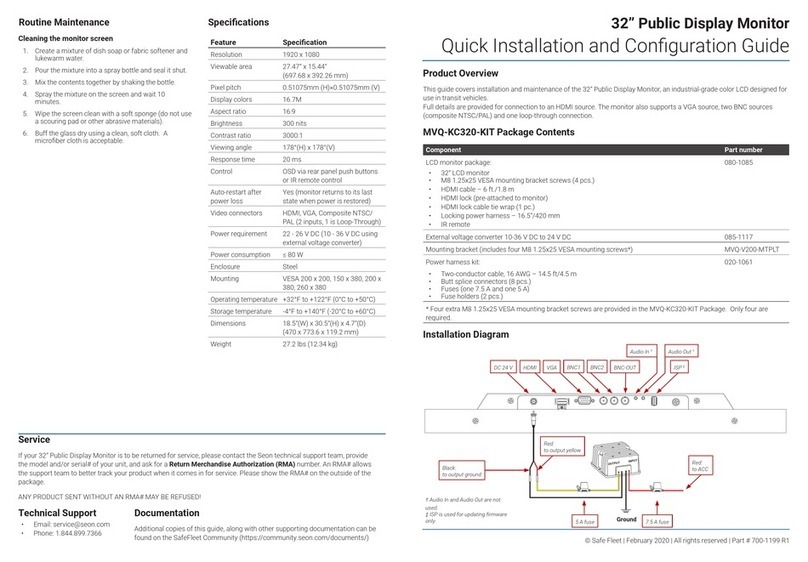
Install the hardware
1. Choose suitable locations for the monitor and the cameras.
2. Route the cables, drilling holes where necessary.
3. Install the mounting bracket for the monitor in a preferred location on the vehicle’s dashboard using the
provided round head Phillips screws.
4. Secure the monitor on the mounting bracket with the provided nylon head screws.
5. Install the cameras on the vehicle as required.
Connect the harness
Refer to the wiring diagram.
1. Connect the 4 camera connectors to the cameras.
2. Connect the power and trigger wires as follows:
• Black to ground, typically a dedicated ground stud or the screw tapped into the chassis as ground
• Blue to the back camera trigger, typically the rear door switch
• Brown to the right camera trigger, typically the right-turn signal
• Yellow to the left camera trigger, typically the left-turn signal
• Red to power, typically after the battery kill switch.
3. Connect the other end of the harness to the monitor’s connector.
Round head
Phillips screws
Nylon head screws
Monitor controls overview
Perform the power-on test
1. Start the vehicle.
2. Turn on the monitor, using the On/Off button.
3. If the video sources are connected, check that the video from each camera is displayed on the screen.
4. If trigger wires are connected, activate the triggers to check that the cameras turn on as expected and
corresponding video from them is displayed.
5. Cycle through camera views using the camera selection button to ensure that video from each camera is
displayed.
6. Check that cameras have audio and that the volume controls are working.
NOTE: Supported cameras/resolution and how to change them
Note that this monitor can support the standard denition cameras, as well as the 720p AHD cameras.
However, it cannot support both kinds at the same time.
To change the camera/resolution from the monitor menu:
1. Press the Menu button, then use the down arrow button to navigate to the Camera Type option and
press the Menu button again. The yout menu with the list of camera types is displayed.
2. Use the down arrow button to select the desired type of camera, then press the Menu button.
Note that the monitor will reboot after the camera type selection is made.
Volume controls
(Up/Down)
Split
image
view
Rotate
image
Menu
item
selection
Camera
selection
On/Off
button
Menu V1/V2/V3


