Safeline Sit'n'Stroll User manual

Safeline Corp.

U.S. Patents #5.104.134 and 4.620.771 lntcrnafional Patents Listed Inside
SAFELINE
gCORPORATION”
1-800-829-I 625
1777 South Bellaire Street, Suite 330 + Denver, Colorado 80222
Phone: (303) 757-2400 + Fax: (303) 757-1988
E-mail: [email protected] + Website: www.safelinecorp.com
Safellne Corporation TM SIP ‘n’ StrollTM 5.In-1 Comblnatlon CarseaWStroller page 1 of 24

Thank you for purchasing the Sit’n’Stroll5-in- 1
Combination Car Seat/StrollerTM. The Sit’n’StrolP
is the most advanced car seat/stroller available, and
we believe the simplest, safest and most convenient
way to travel with an infant.
The most important benefit the Sit’n’StrollTM can provide is increased
protection for your child. Studies have shown the use of a child
restraint system reduces the likelihood of death and injury caused by
the tremendous forces involved in an automobile accident. Please
follow these instructions carefullly to minimize the risk of injury or
death to your child in the event of a sudden stop or collision. No
system can guarantee the safety of your baby, but child restraints
have been proven so effective they are required in all 50 states and
by most industrialized nations in the world.
Child restraints could be recalled for safety reasons. You
must register this restraint to be reached in a recall. Send
your name, address and the restraint’s model number and
manufacturing date to Safeline Corporation, 1777 South
Bellaire Street, Suite #330, Denver, Colorado 80222 or call
303-757-2400. For recall information, call the U.S.
Government’s Auto Safety Hotline at l-800-424-9393
(202-366-0123 in D.C. area).
Safeline CorporationTM Sit ‘n’ Stroll TM 5.in-1 Combination Carseat/Stroller page 2 of 24

Limited Six Month Warranty
All Safeline products purchased from an authorized Safeline dealer
are warranted against defective materials and workmanship for six
months from the original date of purchase. This warranty does not
include any problems associated with normal wear, abuse, misuse
or negligence by the purchaser. This warranty also does not apply
to any Safeline product purchased secondhand.
The purchaser must complete the owner registration card within 30
days of purchase and provide original receipt as evidence of
original purchase date to file warranty claims. Registering your
Safeline product assures you can be reached in the event of a
safety recall. For recall information call the U.S. Government’s Auto
Safety Hotline at l-800-424-9393 (202-366-0123 in D.C. area).
Safeline Corporation reserves the right to inspect all claims of
defective workmanship and materials in order to determine the
cause of all malfunctions. Furthermore, Safeline Corporation may
exercise its right to repair, replace or refund the original purchase
amount at the Company’s discretion and based on the conclusions
of its investigation.
This Child Restraint System Conforms toThis Child Restraint System Conforms to
all Federal Motor Vehicle Safety Standards.all Federal Motor Vehicle Safety Standards.
This Restraint is Certified fbr Use inThis Restraint is Certified for Use in
Aircraft.Aircraft.
1
Safellne CorporationrM Sit ‘n’ StroP W-1 Combination CarseaVStroller page 3 of 24

Table of Contents
Warranty
Get to KnowYour Sit’n’StrollTM
Safety Guidelines
Securing Your Child in the Sit’n’StrolP
Installing the Sit’n’StrollTM in Your Vehicle:
Choosing an Appropriate Vehicle Seat
Determining the Correct Seating Position
Rear-Facing Position
Forward-Facing Position
Installing the Sit’n’StrollTM on an Aircraft
Converting the Sit’n’Stroll TMfrom Car Seat to Stroller
Operating the Sit’n’Stroll Brakes
Converting the Sit’n’StrollTM from Stroller to Car Seat
Attaching the Sunshade
Adjusting the Harness
Removing the Harness
Installing the Harness
Maintenance and Care
6
7
8
9
11
11
13
14
15
16
17
18
21
International Patents and Descriptions
United States
EC0
France
Great Britain
Germany
Canada
EC0
France
Great Britain
The Netherlands
Germany
Japan
Canada
5,104,134
4,620,771
257141
257141
257141
P3677012.4
1,277,349
466429
466429
466429
466429
69109384.9
2,554,798
2,046,740 (Serial Number)
2
Safeline CorporationTM Sit ‘n’ Stroll TM 5in-1 Combtnation Carseat/Stroller page 4 of 24

#
A
WARNING Y
A
FAILURE TO FOLLOW EACH OF THE
INSTRUCTIONS CAN RESULT IN YOUR CHILD
STRIKING THE VEHICLE’S INTERIOR DURING A
SUDDEN STOP OR CRASH.
Get to Know Your Sit’n’StrollTM
Stitch Line, / Telescoping Handle
.
Primary Forward-Facing
Harness Position
(For children who weigh
28 pounds and over)
Secondary Forward-
Facing Harness Position
(For children who
weigh less than 28
Harness Tabs
Adjustment
Buckle
/I I !I
I I / ,. Crotch Buckle
/
Front Flap
Brake
Rear Wheel Assembly
Rear W\heel Flap
Front Wheel
Assembly
The instructions contained within this manual are
guidelines for the proper use and adjustment of the
Sit’n’StrollTM. Always consult with your physician to
determine the specific needs of your child.
3
Safeline CorporationTM Srt ‘n’ Stroll TM 5-In-1 Combination CarseatStroffer page 5 of 24

Safety Guidelines
Always use good common sense! If you have questions about your Safeline
product, please call us at 800-829-l 625 or 303-757-2400.
Do not place this rear-facing car seat in a vehicle seat with a passenger side
air bag. In the event of a collision or sudden stop, the force of an inflating air
bag can cause serious injury or death. Not following this warning places your
child at serious risk. If your vehicle has a passenger side air bag, consult your
owner’s manual for child restraint installation instructions.
Never leave your child unattended in a car.
Never allow your child to install the Sit’n’StrollTM in the car; an adult should
always install the Sit’n’StrollTM to ensure proper installation.
Never allow your child to unbuckle the vehicle’s seat belt while the car is in
motion. Your child must remain restrained by the Sit’n’StrollTM’s 5point
harness system and the vehicle’s seat belt at all times in order to be securely
restrained.
Not following these instructions could lead to your child impacting with the
vehicle’s interior in a sudden stop or collision.
Do not alter or modify any part of the Sit’n’StrollTM.
Do not place heavy objects on the Sit’n’StrollTM.
Secure loose objects in your car. In the event of a sudden stop or collision,
loose objects will continue to move and may cause serious injury
to passengers.
Diligently read and follow all instructions contained in this manual. Keep your
instruction manual with you whenever you use the Sit’n’StrollTM. The
instruction manual should be stored in the plastic bag and attached in the rear
storage bin with the supplied hook and loop.
This child restraint is designed for use by children who weigh between 5 and
40 pounds (2.3kg to 18.1 kg) and whose height is between 18 and 40 inches
(458cm and 101.6cm). This unit is certified for use by children in the REAR-
FACING position from 5 to 25 pounds (2.3kg to 11.3kg) and in the FORWARD-
FACING position from 20 to 40 pounds (9.1 kg to 18.1 kg).
If this child restraint is involved in a crash, it must be replaced. The vehicle
seat belt securing the infant restraint must also be replaced. Damage is not
always visible.
The shoulder straps must pass over the infant’s shoulders and between the
legs directly to the buckle. The child’s legs should always straddle the crotch
buckle. The lap straps of the harness should always come over the top of your
child’s legs.
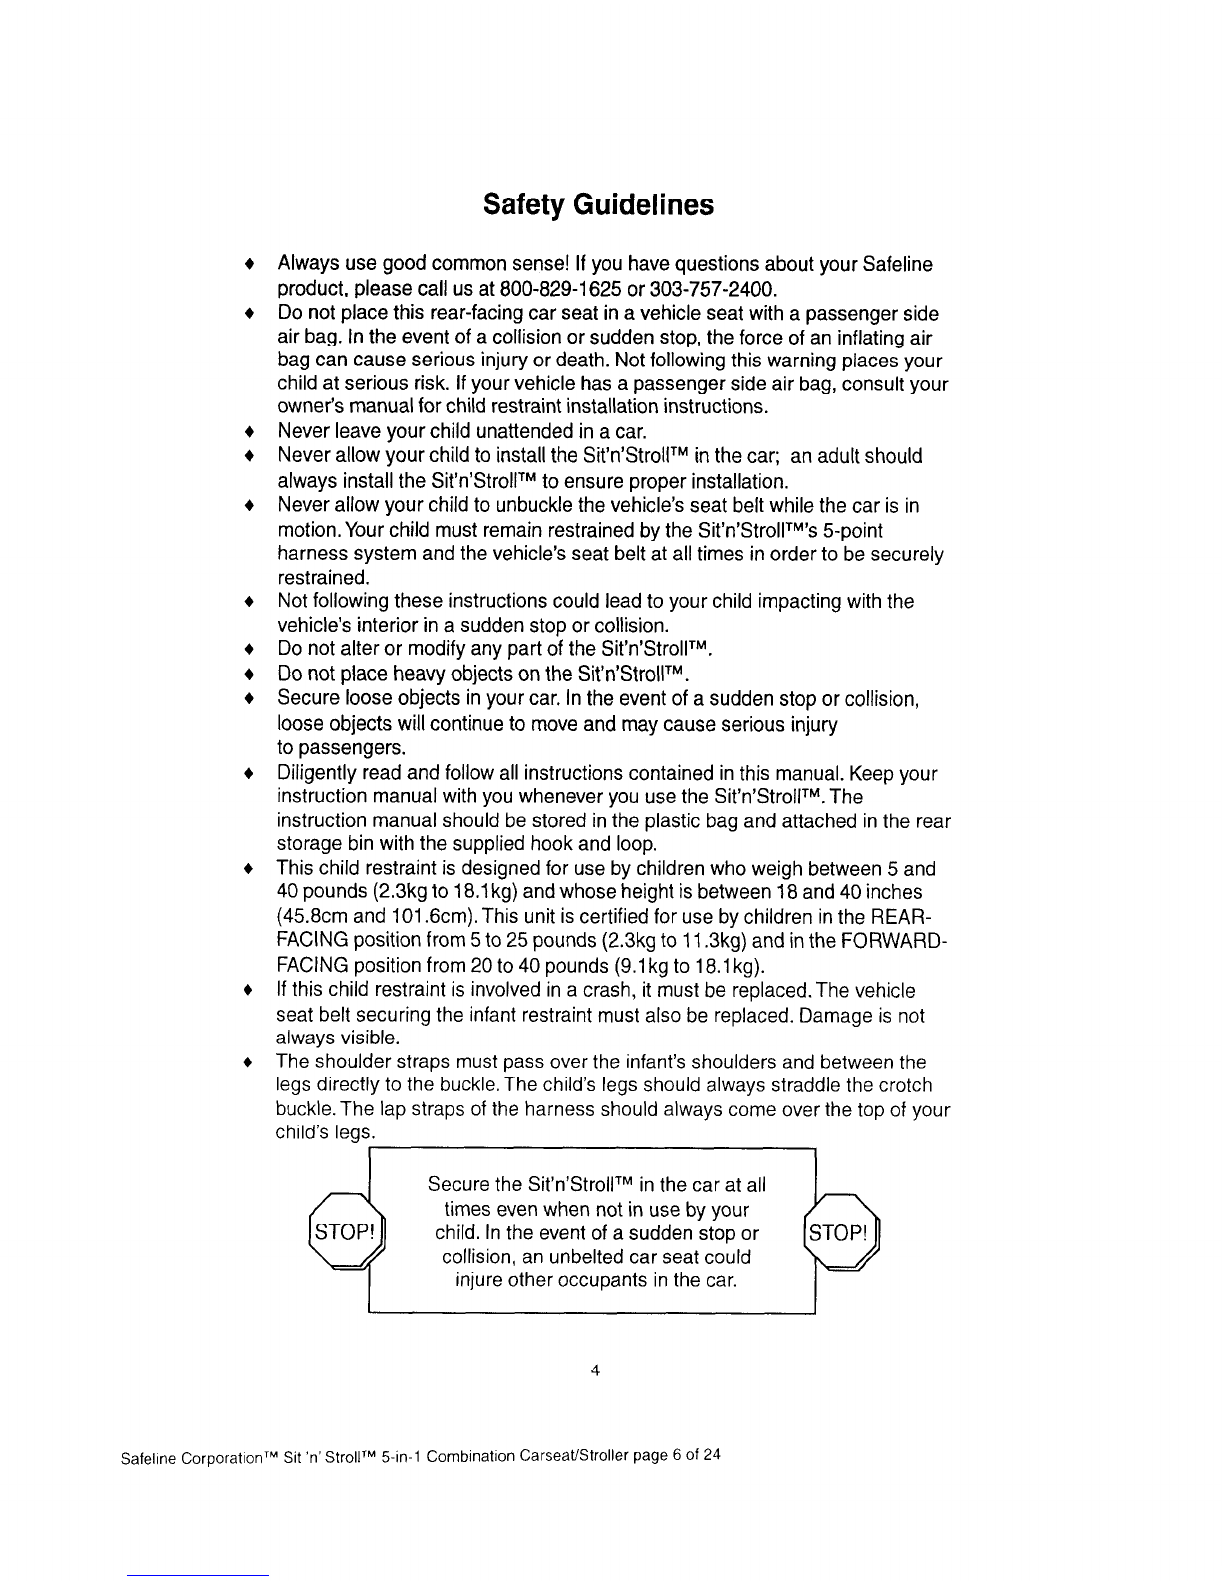
Secure the Sit’n’StrollTM in the car at all
times even when not in use by your
child. In the event of a sudden stop or
collision, an unbelted car seat could
injure other occupants in the car.
4
Safellne CorporatlonTM Sit ‘n’ Stroll TM s-in-1 Combination CarseaVStroller page 6 of 24

Securing your Child in the Sit’n’StrollTM
On hot or sunny days, always check the fabric and
metal buckles before placing your child in the
restraint to avoid burns or discomfort.
1.
2.
To unlock the restraint harness, press the red
buckle release button and pull the two metal L-
clips out of the buckle.
Place your child in the Sit’n’StrollTM. Ensure the
harness passes snugly over your child’s shoul-
ders and each leg, and then snaps into the
crotch buckle. Tug on the metal L-clips to ensure
they are securely locked in the crotch buckle.
When using the Sit’n’StroP in the rear-
facing position, use the shoulder slots at or
below your child’s shoulders. When using the
Sit’n’StrollTM in the forward-facing position,
use the shoulder slots at or above your child’s
shoulders. See “Adjusting the Harness” on page
16 for instructions on how to change the shoulder
slots.
3. If the restraint is too tight or too loose for your
child, use the adjustment buckle located on your
child’s left shoulder strap to correct the tension.
See “Adjusting the Harness” on page 16 for a
detailed explanation on using the adjustment
buckle. Adjust the harness so there is no more
than two fingers clearance between the child’s
body and the harness straps. After properly
threading the harness back through the
adjustment slide, take any excess strap and
follow the harness back down through the crotch
buckle, tucking the excess under the seat cover.
4. Snap the two halves of the black chest clip
together. Ensure the chest clip is positioned
directly over the child’s chest area. Ensure the
shoulder straps cannot slip off the infant’s
shoulders. If the chest clip is placed
incorrectly, you must remove the shoulder
pads in order to ensure proper placement of
the chest clip over the child’s chest.
5
Safeline CorporatronTM Sit ‘n’ StrolP 5- In-1 Combination CarseatEtroller page 7 of 24

infants and other small children may require additional head and
posture support when using the Sit’n’StrolP to avoid injury or
suffocation. Bolsters may assist in supporting the neck and head of a
small child. Retailers of children’s products generally carry bolsters in
their accessory aisles. If you have questions regarding bolsters,
please contact Safeline or the American Academy of Pediatrics.
Installing the Sit’n’StrollTM in Your Vehicle
Choosing an Appropriate Vehicle Seat
The Sit’n’Stroll was designed to be used in automobiles and airplanes, and should
not be used in boats or on motorcycles. The Sit’n’StrollTM must be positioned in a
seat that faces the front of the vehicle. The Sit’n’StrollTM was not designed to be
used in seats facing the rear or the center of the vehicle, and it is dangerous to
install and use the Sit’n’StrollTM in any such seat. The back seat is the safest
location for children 12 and under.
See the drawings below for further clarification.
Correct Position!
The center rear seating
location is generally the
safest position for your child.
Danger!
Do not install your
Sit’n’StrollTM in a vehicle seat
that faces the center of the
vehicle.
Correct Position!
Always install your
Sit’n’StrollTM in a vehicle seat
that faces the front of the
vehicle.
Danger!
Do not install your
Sit’n’StrollTM in a vehicle seat
that faces the rear of the
vehicle.
6
Safehne CorporationTM Sit ‘n’ Stroll TM 5-in-l Combination CarseatKtroller page 8 of 24

Do not place this rear-facing car seat in a vehicle
seat with a passenger side air bag. In the event of a
sudden stop or collision, the force of an inflating air
bag can cause serious injury or death to a child. Not
following this warning places your child at serious
risk. Owners of vehicles with passenger side air
bags should refer to their owner’s manual for child
restraint installation instructions.
Determining the Correct Seating Position
Determining the direction you should face your child is one of the most important
decisions regarding the safety of a child in a car seat. Safety experts recommend
your child remain in the rear-facing position until he or she is at least 20 pounds
and at least 1 year of age. The Sit’n’Stroll TMis certified for use by children up to
25 pounds in the rear-facing position and up to 40 pounds in the forward-facing
position. Consider both the weight and age guidelines when determining the
direction in which you should face your child while traveling in a vehicle. A child
under one year of age may not have the physiological development necessary to
sustain the forces involved in a sudden stop or collision while sitting in a forward-
facing position. Consult with your physician to determine your child’s specific
needs.
+ Always use the Sit’n’StrollTM rear-facing if your baby weighs less than 20
pounds or is less than 1 year of age (and less than 25lbs), unless otherwise
directed by your child’s physician.
+ When your child weighs at least 20 pounds, but less than 25 pounds, and the
top of his or her head is below the top of the stitch line, you can still use the
Sit’n’StrollTM in the rear-facing position, However, you may use the
Sit’n’StrollTM in the forward-facing position.
+ If your child’s head is higher than the stitch line when he or she is sitting in the
Sit’n’StrollTM or if your child weighs more than 25 pounds, you must use the
Sit’n’StrollTM in the forward-facing postion.
If your child meets all of the above guidelines for the rear-facing
position, but his or her legs are too long, have him or her sit with his or
her legs crossed. Your child is generally safer remaining in the rear-
facing position for as long as the rear-facing guidelines are applicable.
According to accident statistics, children
are safer when properly restrained in the
rear seating positions than in the front
seating positions.
7
Safeline CorporationTM Sit ‘n’ Stroll TM 5in-1 Combination CarseatGtroller page 9 of 24

Placing your child in the
or she is over one year old
your child at serious risk. Before placing your child in the
forward-facing position, consider both the weight and age
guidelines for the forward-facing postion. Consult with your
physician to determine the individual needs of your child.
lnsfalling the Sit’n’SfrollrM in the
Rear-Facing Position
1.
2.
3.
Thread the vehicle seat belt under the rear-
facing tabs on the armrests of the
Sit’n’StrollTM. Secure the vehicle seat belt
on the other side of the Sit’n’StrollTM in the
vehicle seat buckle. Rock the Sit’n’StrollTM
from side to side to ensure the vehicle seat
belt holds the unit firmly in place. If the
vehicle seat belt is loose, press down firmly
on the armrests and tug on the vehicle seat
belt until it retracts and tightens.
With continuous-loop lap/shoulder belts
that allow the buckle to slide freely up and
down the belt, you must use the metal
locking clip (enclosed). To use the clip, first
install the Sit’n’StrollTM and tighten the
vehicle seat belt by pulling on the shoulder
belt. Grip the shoulder and lap belts
together about M inch from the buckle and
slide the locking clip over both belts (see
picture). Rock the Sit’n’StrollTM from side to
side to ensure the vehicle seat belt holds
the unit firmly in place.
For manually adjusted seat belts that are
not automatically tightened by a retraction
system, adjust the belt until it is tight. Rock
the Sit’n’StrollTM from side to side to
ensure the vehicle seat belt holds the unit
firmly in place.
When using the Sit’n’StrollTM in the rear-facing
position, thread the Sit’n’StrollTM’s 5point
harness system through the shoulder slots at or
below the shoulders of the child.
8
Safeline CorporationTM Sit ‘n’ Stroll TM 5-in-1 Combination CarseatIStroller page 10 of 24

If the vehicle seat belt loosens, twist the adjustment buck/e and the
end of the be/t twice before buckling it. This should prevent the
adjustment system from inadvertently loosening.
If the lap belt you are using will not hold the unit firmly
in place or will not reach around the car seat, use
another seating position in the vehicle. If no other
position exists with a lap belt that will remain tight,
contact your auto dealer to have one installed. Like all
car seats, the Sit’n’StrollrM must always be anchored
with a lap belt that will remain tight at all times,
For infants, you should install the Sit’n’StrollTM at a 45degree angle.
The Sit’n’StrollTM automatically positions your child at a 45-degree
angle when placed on a f/at surface. Because not a// automobile seats
are flat, the seat may install at an angle less than 45degrees. To
correct this problem, you can roll a towel and secure it under the front
edge of the Sit’n’StrollTM where the vehicle seat bottom and back
meet. For more information on this subject, please contact the
American Academy of Pediatrics.
Installing the Sit’n’StrollTM in the
Forward-Facing Position
For your child’s safety, the Sit’n’StrollTM’s patented design provides
double belted protection for your child and is designed to use your
automobile’s seat be/t the way if was originally designed-to go
across the front of the occupant.
Forward-Facing Seat Belt Positions
The Sit’n’StrollTM is equipped with two sets of tabs for the forward-facing seating
postion. The tab postion that is best suited for your child is determined by his or
her height and weight.
+ If your child is taller then 33 inches and weighs over 28 pounds, the vehicle
seat belt should be secured in the primary forward-facing seat belt position
(see diagram on next page).
+ If your child is under 33 inches and weighs less than 28 pounds, the vehicle
seat belt should be secured in the secondary forward-facing seat belt position
(see diagram on next page).
9
Safeline CorporationTM Sit ‘n’ Stroll TM 5In-1 Combination CarseaVStroller page 11 of 24

Shoulder Belt
Primary
Forward-
/ Facing
1. Pull the vehicle seat belt around the front of the
Sit’n’Stroll and position it tightly between the
primary forward-facing tabs. Secure the vehicle
seat belt on the other side of the Sit’n’StrollTM in
the vehicle seat buckle. Rock the Sit’n’StrollTM
from side to side to ensure the vehicle seat belt
holds the unit firmly in place.
Primary Forward-Facing
Seat Belt Position
2. With continuous-loop lap/shoulder belts that
allow the buckle to slide freely up and down the
belt, you must use the metal locking clip
(enclosed). To use the clip, first install the
Sit’n’StrollTM and tighten the vehicle seat belt by
pulling on the shoulder belt. Then grip the
shoulder and lap belt together and slide the
locking clip over both belts. Rock the
Sit’n’StrollTM from side to side to ensure the
vehicle seat belt holds the unit firmly in place.
Shoulder Belt
u’ Secondary
ing
b
Secondary Forward-Facing
Seat Belt Position
3. For manually adjusted seat belts that are not
automatically tightened by a retraction system,
adjust the belt until it is tight. If the vehicle belt
loosens, twist the adjustment buckle and the
end
of the belt twice before buckling it.This
should prevent the adjustment system from
inadvertently loosening. Rock the Sit’n’StrollTM
from side to side to ensure the vehicle seat belt
holds the unit firmly in place.
When using the Sit’n’StrollTM in the forward-facing
position, thread the Sit’n’StroP% 5-point harness
system through the shoulder slots at or above the
shoulders of your child.
IO
Safehne CorporationTM Sit ‘n’
Stroll
TM 5-in-1 Combination Carseat/Stroller page 12 of 24

Installing the Sit’n’StrollTM on an Aircraft
3.
Contact the airline prior to taking the child
restraint on board the aircraft.
Install the Sit’n’StrollTM in the airline seat the
same way you would when using it in a car.
You may need to raise the armrests in the
aircraft to allow room for the Sit’n’StrollTM. After
the Sit’n’StrollTM is in place, you can usually
lower the armrest back into place. If you are
seated behind the bulkhead where the arm-
rests don’t raise, you can usually slide the
Sit’n’StrollTM like a tray in between the arm-
rests and the seat cushion.
Regular luggage checking of a Sit’n’StrollTM
may result in damage to the unit. We suggest
you gate check your unit if necessary.
Contact your airline and inquire if they offer special rates for
children traveling in car seats.
In private aircraft, do not install the car seat where it
will block an exit from the aircraft or where it could
block or inhibit the use of flight controls.
Do not place the car seat next to an emergency exit or
a seat row which contains an emergency exit.
Converting the Sit’n’Stroll TMfrom Car Seat to Stroller
For your child’s comfort, the Sit’n’StrollTM utilizes an advanced torsional
suspension system that is active while the unit is in stroller mode. It is
normal for the stroller to flex and have a springy feel just like your car.
The suspension system aids in ride comfort for your child and prevents
damage to the components. The Sit’n’StrollTM handle incorporates flex
steering which means the “looseness” you feel is normal and aids in
maneuvering the stroller.
11
Safeline CorporationTM Sit ‘n’ StrollTM 5-h-l Comblnatlon CarseatMroller page 13 of 24

The Sit’n’StroP is designed to be converted from car seat to
stroller and back again while holding the child, still secured in the
Sif’n’Stro//~“, OFF THE GROUVD. If the Sif’n’StroP is converted on
the ground, the mechanism may jam.
The Sit’n’StrolF is to be used only by one child at a
time. Never p/ace more than one child in the seat.
Until you are well practiced in following these
instructions, do not attempt to convert from car seat
to stroller or vice/versa with your child in the seat.
Always secure your child using the Sit’n’StrollTM’s
5-point harness system.
Individuals with a history of back trouble are advised
to excercise caution or refrain from quick movement
when converting the Sit’n’Stroll with a child in it. Do
not attempt to convert the unit if you are at risk of back
injury.
WARNING a,
Excess weight placed in the storage bin may cause a
hazardous unstable condition. The manufacturer
recommends not to exceed 10 pounds. Parcels or
accessory items or both placed on the unit may cause
the unit to become unstable.
Slider
Grip
1. Place one hand in the handle slot located
between your infant’s feet. With your other
hand, grasp the slider grip located on the back
of the Sit’n’StrollTM. Gripping both handles
securely, remove the Sit’n’StrollTM from your
vehicle. Squeeze the red lock release evenly
with your fingers and move the slider grip
down. This deploys the wheels.
2. When the slider stops, relax your finger
pressure on the red lock release and allow it
to latch securely in its lowest position. Pull up
on the grip without squeezing the red lock
release to ensure the wheels are locked.
Place the Sit’n’StrollTM on the ground.
12
Safeline CorporationrM Sit ‘n’ Stroll TM 5-k-l Combination CarseatEtroller page 14 of 24

Release Tabs I
3. With one hand, compress the red handle release
tabs located under the stroller handle, and with the
other hand, pull up on the stroller handle. Select
one of the four (4) handle height positions and
release the red handle release tabs to lock the
stroller handle into place.
Never use the stroller when 4 holes are showing on the
handle tube. Always ensure the red handle release tabs
are engaged with one of the four sets of holes in the
handle tubes. Before using the Sit’n’StrollTM as a
stroller, ensure the handle is locked and cannot slide
up or down.
The arm moving the slider grip should be on the side of the
Sit’n’StrollTM. You do not want your arm over the top of the stroller
handle.
When converting from the car seat to the stroller position, support the
Sit’n’StrollTM with your hip. Do not block the front or the rear wheel
flaps with your leg.
When converting the Sit’n’StrollTM, right-handers should face the
child’s left side.
Operating the Sit’n’StrollTM Brakes
l
If your Sit’n’StrollTM was manufactured before September 19, 1998, locate the
red brake tabs on the aluminum legs above your rear wheels. Use your hand
to push the brake straight down the metal tube. It will engage with the spokes
of the wheels and will lock the stroller in place. To unlock the brake, pull in the
opposite direction until the brake has disengaged from the wheel spokes and
locks in its uppermost position.
l
If your Sit’n’StrollTM was manufactured after September 19, 1998, your brakes
will be located directly on the rear wheel set. To engage the brakes, simply
push the red brake tab toward the ground. Disengage the brake by pulling the
red brake tab back toward the body of the Sit’n’StrollTM.
13
Safehne CorporatioriTM St ‘n’ Stroll TM 5-In-1 Combination CarseaffStroller page 15 of 24

Converting the Sit’n’StroP from Stroller to Car Seat
1.
2.
3.
Compress the red handle release tabs and
push the stroller handle down until it locks in its
lowest position.
Align the front wheels by rolling the stroller
back 6 to 12 inches. Place one hand in the slot
handle located between your infant’s feet. With
your other hand, grasp the slider grip located
on the back of the seat. Lift the seat off the
ground.
Squeeze the red lock release evenly with your
fingertips and slide the slider grip up to its stop
position. Relax your finger pressure on the red
lock release. Push down on the slider grip to
ensure the wheels are properly locked. The
wheels should now be stored behind their
protective flaps.
Manuevering Over Curbs: Always back up to the curb, pull up on the
telescoping handle and lift the rear wheels over the curb. Pull the
stroller backwards and allow the front wheels to ride up over the curb,
Neverpush down on the telescoping handle to prop the front wheels
on the curb first. The pressure placed on the handle may cause
damage.
Locking the Wheels: When converting the Sit’n’StrollJM from stroller
to car seat, the wheels must lock in the uppermost position. To ensure
the wheels lock properly keep your finger tips on the slider and
sqeeze evenly over the entire surface of the slider button until the
wheels are up. Grab the top of the seat (near the red handle release
tabs) with your thumb and squeeze your thumb and fingers together
until the wheels click into place, indicating the wheels are properly
locked.
3.
Hold the unit in
the
air to
convert.
Deploy the
wheels.
Place the
Sit’n’Stroll on
the ground and deploy
the handles.
Away you go!
14
Safelme CorporationTM Sit ‘n’ Stroll TM 5-in-1 Combmatlon CarseatEtroller page 16 of 24

The Sit’n’StrolP Sunshade
Head
1.
2.
3.
4.
1.
2.
Hole #2 -
Hole #3 -3
Tension Cord
Attaching the Sunshade
Attach the head rest clips to the top of edge of the seat back, on either side of
the handle tubes.
Push the edge of the seat cover forward exposing the plastic shell. Locate the
third hole down from the top.
Keep the seat cover fabric pushed forward and press the push pin (sewn into
the bottom portion of the sunshade) into the third hole until it clicks into place.
Repeat this procedure for both sides of the sunshade.
Pull the tension cords down and attach to the bottom of the seat (as shown)
to increase the sunshade’s coverage. Pull the tension cord back over the
sunshade and attach to the back of the seat in order to pull the shade away
from the baby.
Removing the Sunshade
Reach behind the seat shell and use your finger tips to press the push pins
outward until they pop free from the seat shell hole.
Carefully remove the remaining head rest clips and tension cord clips at-
tached to the side of the seat’s shell.
15
Safeline CorDorationTM Sit ‘n’ StrolP 5in-1 Comblnatlon CarseatEtroller page 17 of 24

Adjusting the Harness
For your child’s safety, the Sit’n’StrollJM utilizes a continuous-loop 5-
point harness system-the kind most recommended by safety experts.
Never use the Sit’n’StrollJM without the harness
securely buckled.
Metal Slide
(Back of Shell)
Chest Clip
Adjustment Slide
Crotch Buckle with
Left and Right Clips
Generally speaking, the tighter the harness, the more effective it will be in
protecting your child in the event of a sudden stop or collision. However, use
your best judgement and gauge your baby’s comfort when using the
Sit’n’StrollTM. As your child grows you will need to make adjustments to the
harness system. For minor harness adjustments, use the adjustment slide
located on your baby’s left shoulder strap.
For major harness adjustments, move the shoulder straps to a higher placement
on the back of the seat as your baby gets larger. Additionally, use the following
instructions to remove the fabric cover for washing or cleaning.
16
Safeline CorporatlonTM Sit ‘n’ Stroll TM 5-in-1 Combination CarseatEtroller page 18 of 24

I’
...‘..“.’
The harness must a/ways be routed through (i.e.
behind and under) the plastic shell. Never route the
harness through the fabric cover only.
After making harness adjustments, ensure the
harness is threaded through the adjustment buckle
properly. (See adjustment slide detail above).
Chest Clip
Adjustment
Slide
Removing the Harness
Adjustment
’ Buckle
1. The excess harness is stored under the fabric
seat cover on your child’s left side. Pull the
harness out from under the fabric cover,
through the silver L-clip in the crotch buckle,
and out of the silver adjustment buckle.
Chest
’ Clip
Silver
-L-Clip
2. Grasp the harness on your child’s right hip
(your left side when facing the Sit’n’StrollTM)
and pull. When the harness is completely
removed from underneath the stroller, pull it
out of the silver L-clip on the left side of the
crotch buckle.
17
Safeline CorporationTM Sit ‘n’ Stroll TM 5-in-1 Combination CarseatEXroller page 19 of 24
Other manuals for Sit'n'Stroll
2
Table of contents
Other Safeline Car Seat manuals
Popular Car Seat manuals by other brands

Joie
Joie signature i-Prodigi instruction manual

BEBE CONFORT
BEBE CONFORT Coral Instructions for use

BEBE CONFORT
BEBE CONFORT Opal Instructions for use

Westfalia
Westfalia 82 81 84 instruction manual

Avionaut
Avionaut AeroFIX RWF instructions

Titaniumbaby
Titaniumbaby X Drive i Size 5973 Instructions for use