Safety Vision LED7B-TS User manual

USER GUIDE
LED7B-TS
LED10B-TS

LED7B-TS / LED10B-TS USER GUIDE
Document Version: 1
Revision: 0
Safety Vision attempts to provide information contained in this
manual based on the latest product information available at the time
of publication. However, because of Safety Vision’s policy of continual
product improvement, Safety Vision reserves the right to amend the
information in this document at any time without prior notice.
This material is confidential and the property of Safety Vision. It is shared
with your company for the sole purpose of helping you with the operation
of the described equipment.
Safety Vision makes no warranty of any kind with regard to this material,
including, but not limited to, the implied warranties of merchantability
and fitness for a particular purpose. Safety Vision shall not be liable for
errors contained herein or for incidental or consequential damages in
connection with the furnishing, performance, or use of this material.
Safety Vision expressly disclaims all responsibility and liability for the
installation, use, performance, maintenance, and support of third-party
products. Customers are advised to make their independent evaluation of
such products.
No part of this document may be photocopied, reproduced, or translated
to another language without the prior written consent of Safety Vision.
Safety Vision®is a registered trademark of Safety Vision, LLC. All other
products or name brands mentioned in this document are trademarks of
their respective owners. For more information about Safety Vision and its
products, go to www.safetyvision.com or call 800-880-8855.
LED7B-TS / LED10B-TS USER GUIDE
TABLE OF CONTENTS
WHAT’S IN THE BOX? 1
Monitor 2
IR Remote Control 3
INSTALL ATION
Before You Start 4
Fan-Shaped Bracket 5
U-Shaped Bracket 7
IR Remote Control Battery 8
WIRING 9
WIRE 10
OPERATION
Powering On the Monitor 11
Using the Touchscreen 11
Switching between Camera Feeds 11
Entering/Exiting Standby Mode 12
Zooming In/Out of Camera Feeds 12
Opening/Closing the Main Menu 13
NAVIGATING THE MAIN MENU
Volume 14
Display 15
Input 15
LED7B-TS / LED10B-TS USER GUIDE

LED7B-TS / LED10B-TS USER GUIDE
1
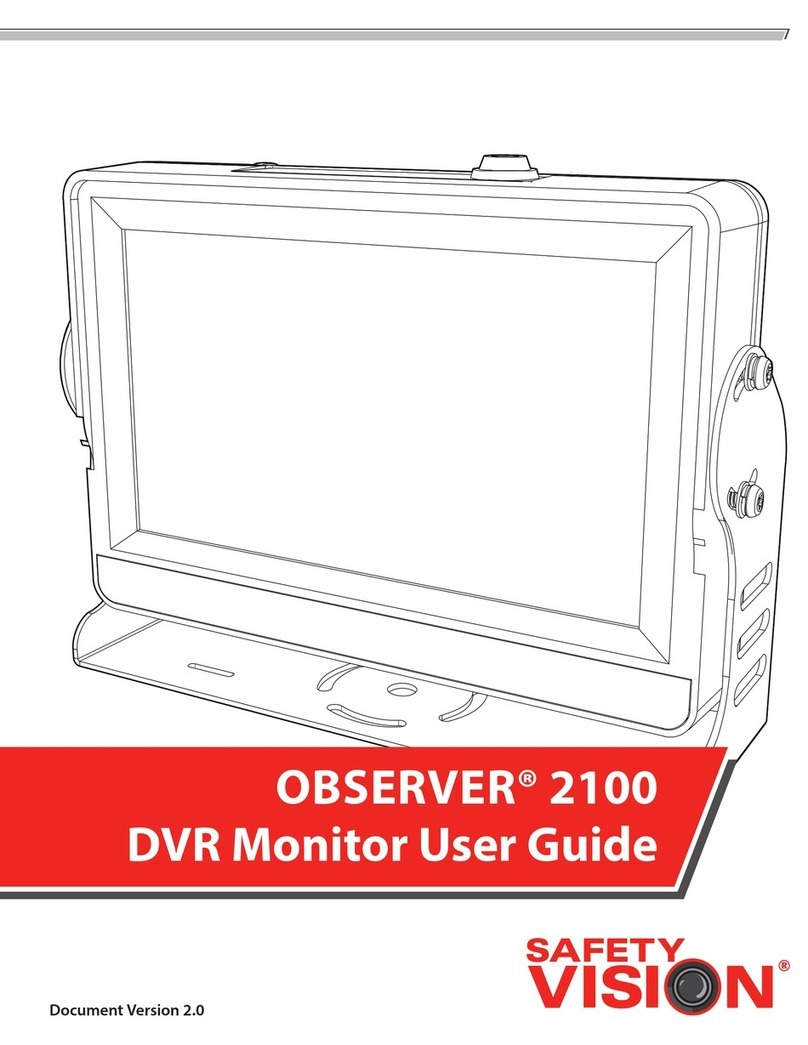
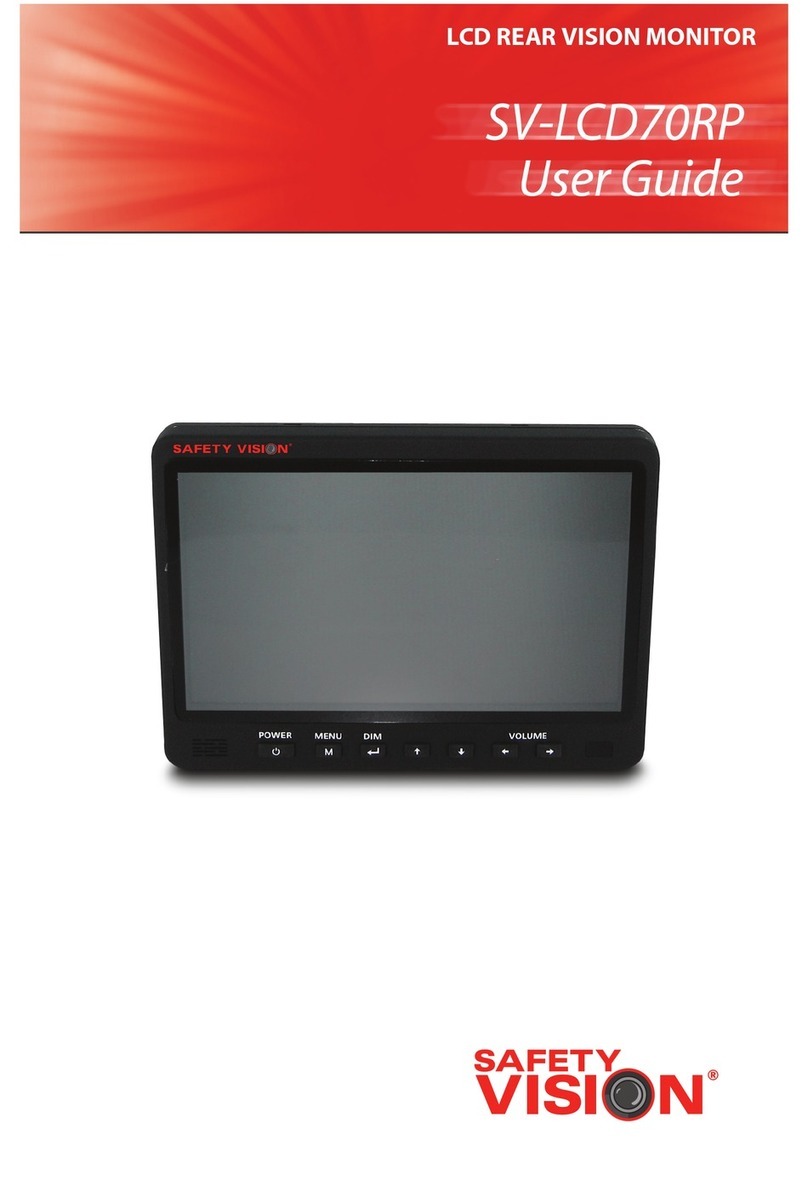
WHAT’S IN THE BOX?
• Monitor
• Wiring harness
• Fan-shaped mounting bracket
• U-shaped mounting bracket
• Mounting bracket angle adjustment screws
• HDMI adapter
• Sun shield
• Infrared (IR) remote control (CR2025 battery not included)

LED7B-TS / LED10B-TS USER GUIDE
2
Monitor
1 HD touchscreen
2 Infrared sensor
3 Power button
4 Light level sensor
5 Speaker
6 HDMI adapter
7 AV input

LED7B-TS / LED10B-TS USER GUIDE
3
IR Remote Control
DOWN
Moves cursor down
MUTE
Mutes and unmutes speaker
LANG
Enters the Language menu
AV
This button is not used
MENU
Enters the Main Menu or
returns to the previous menu
MODE
Switches the monitor input
between DVI (HDMI) and
cameras (CAM)
P/N
This button is not used
POWER
Power on or put monitor in
standby mode
REST
Restore to factory default
SELECT
Enters a selection
UP
Moves cursor up
LEFT
Decreases volume / moves
cursor left
RIGHT
Increases volume/moves
cursor right

LED7B-TS / LED10B-TS USER GUIDE
4
INSTALLATION
Before You Stat
• To reduce the risk of electric shock, disconnect the vehicle battery
before installing the monitor.
• Do not install the monitor where it may interfere with safe vehicle
operation or prevent air bag deployment.
• To allow adequate air circulation around the device, leave at least two
inches of space between the monitor and walls, cabinets, or other
objects.
• Route cables where they may not be pinched, stepped on, or interfere
with passenger mobility.
• Do not bend, force, or ovetighten connections.
• Before connecting the monitor, confirm the output voltage of the
power supply is between 10 and 32V DC.
• When connecting the monitor to a power supply, observe polarity to
prevent damage.

LED7B-TS / LED10B-TS USER GUIDE
5
Fan-Shaped Bracket
Select a safe position within the observer’s line of sight (for example, on the
dashboard) to install the monitor.
1. Secure the monitor bracket to the mounting surface with the supplied
screws, the pre-applied high-bond adhesive, or both.

LED7B-TS / LED10B-TS USER GUIDE
6
2. Slide the monitor onto the mounting bracket to the desired height and
tighten the locknut to secure the monitor to the mounting bracket.
3. Adjust the monitor horizontally and vetically, then tighten the handle
screw to lock the monitor into position.
(Fan-Shaped Bracket cont.)

LED7B-TS / LED10B-TS USER GUIDE
7
U-Shaped Bracket
Select a safe position within the observer’s line of sight (for example, on the
dashboard) to install the monitor.
1. Secure the monitor U-shaped bracket to the mounting surface with the
supplied screws.
2. Slide the monitor into the U-shaped bracket and thread the 4 angle
adjustment screws through the bracket and into the mounting holes on
either side of the monitor.
3. Adjust the monitor to the desired angle and secure it in place by
tightening each of the 4 angle adjustment screws.

LED7B-TS / LED10B-TS USER GUIDE
8
IR Remote Control Battery
The IR remote control requires a CR2025 battery (not included). To install new
battery:
1. Press the clip on the side of the battery tray and slide the tray out.
2. Inset the CR2025 battery, positive side up, into the tray.
3. Slide the battery tray back in the IR remote control.

LED7B-TS / LED10B-TS USER GUIDE
9
WIRING
1. Connect the 22-pin DIN connector on the wiring harness to the 22-pin
DIN connector on the monitor cable.
2. Connect camera 1 to the Cam1 input on the wiring harness.
3. Repeat the previous step for cameras 2 through 4 as needed.

LED7B-TS / LED10B-TS USER GUIDE
10
WIRE DESCRIPTION
VCC Ignition power 10-32V DC
GND Ground
TRIG 1
Reverse (typically connected to vehicle’s backup lights).
• When activated, the monitor receives input from
camera 1.
TRIG 2 When activated, the monitor receives input from camera 2.
TRIG 3 When activated, the monitor receives input from camera 3.
TRIG 4 When activated, the monitor receives input from camera 4.
4. Connect the individual wires on the wiring harness as follows:
(Wiring cont.)

LED7B-TS / LED10B-TS USER GUIDE
11
OPERATION
Powering On the Monitor
Upon turning the vehicle ignition, the monitor will automatically
power on.
Using the Touchscreen
Upon powering on the monitor, camera 1 (Cam1) will display by default. (see the
Power On section).
Switching between Camera Feeds
To switch between camera feeds, slide your finger left or right across the
screen. Cameras display in the following order:
Cam1 ▶Cam2 ▶Cam3 ▶Cam4 ▶Cam1.
NOTE: Users may only swipe between cameras when the monitor source is set to
Cameras (see the Input section).

LED7B-TS / LED10B-TS USER GUIDE
12
Entering / Exiting Standby Mode
• To enter Standby Mode, swipe your finger down from the top of
the screen.
• To exit Standby Mode, swipe your finger up from the bottom of
the screen.
Zooming In / Out of Camera Feeds
To zoom in on a camera feed:
1. Define the zoom area by placing two fingers on the screen and
spreading them apat. A red border will appear.
2. To activate the zoom, tap within the red border.
To exit the zoom view, tap within the red border or press the physical
power button.
(Operation cont.)

LED7B-TS / LED10B-TS USER GUIDE
13
Opening / Closing the Main Menu
• To open the Main Menu, tap the screen anywhere in the bottom fouth
of the screen, as demonstrated in the red box below.
• To exit the Main Menu, tap the screen anywhere above the area in red
box shown below.
(Operation cont.)

LED7B-TS / LED10B-TS USER GUIDE
14
NAVIGATING THE MAIN MENU
Tap an icon (Volume, Display, Input, Settings, or Power)to enter
corresponding submenus.
Volume
Tap the Volume icon to adjust audio levels. The following window will appear:
• To adjust the volume, drag the volume slider bar to the left (decrease)
or right (increase).
• To mute, tap the speaker icon. Tap the icon again to unmute.
To exit, tap away from the volume slider bar.

LED7B-TS / LED10B-TS USER GUIDE
15
Display
Tap the Display icon to change camera views. The following window will appear:
• Each numbered icon correlates to its respective camera. To switch
camera views, tap a numbered icon.
To exit, tap away from the Display window.
Input
Tap the Input icon to change the monitor display source. The following
window will appear:
• To change the monitor display source, tap Camera or DVI (HDMI).
To exit, tap away from the Input window.

LED7B-TS / LED10B-TS USER GUIDE
16
Settings
Tap the Settings icon. The following menu will appear:
The following pages detail the options within each icon listed above.
Power
To enter Standby Mode, tap the Power icon in the Main Menu or press the
physical power button.
This manual suits for next models
1
Table of contents
Other Safety Vision Monitor manuals

Safety Vision
Safety Vision LED7B-TQ User manual

Safety Vision
Safety Vision SV-LED70WP4 User manual

Safety Vision
Safety Vision SV-LED70WQ4 User manual

Safety Vision
Safety Vision 56BA-AHD User manual

Safety Vision
Safety Vision SV-LED70WQ4 User manual

Safety Vision
Safety Vision SV-LCD70 User manual

Safety Vision
Safety Vision OBSERVER 2100 User manual

Safety Vision
Safety Vision SV-LED70WP4 User manual

Safety Vision
Safety Vision SV-LCD70A User manual

Safety Vision
Safety Vision SV-LCD70RP User manual