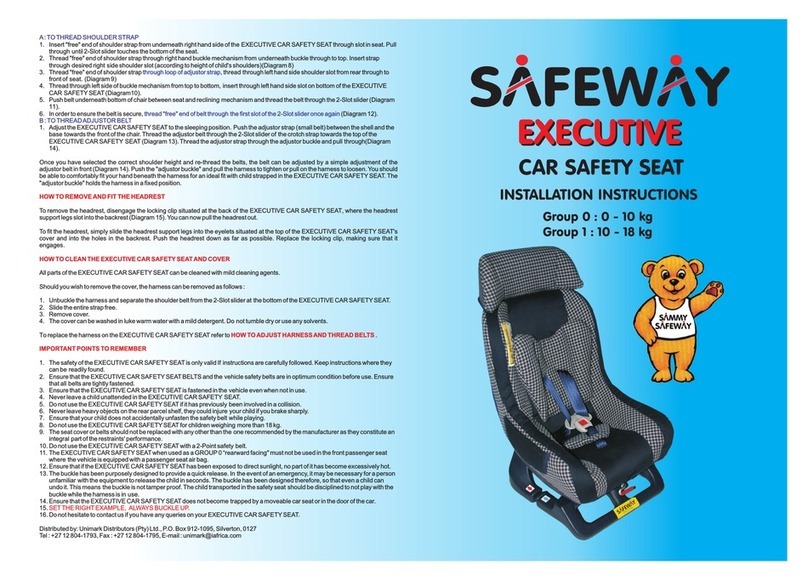
Safeway INDY User manual

inDY
INSTALLATION INSTRUCTIONS
Group 0 : 0 - 9 kg
Group 1 : 9 - 18 kg

Important Information
- These instructions are important. Please read them carefully before using
the Child Safety Seat and retain them for future reference.
- The Child Safety Seat has been manufactured to comply with the European
Standard ECE R44/04, as a Group 0 (suitable for children from birth to 10
kgs) and Group 1 ( suitable for children from 9 to 18 kgs)
-- The Child Safety Seat must be fitted and used in accordance with the
manufacturers instructions. Incorrect installation could be dangerous. The
safety of the seat is only valid if the instructions are carefully followed.
- Under no circumstances should the Child Safety Seat be used on the front
passenger seat equipped with an active airbag.
- Ensure that the Child Safety Seat belts and the vehicle safety belts are in
optimum condition before use. Ensure that all belts are tightly fastened.
-- Ensure that the Child Safety Seat is fastened in the vehicle even when not
in use.
- The cover and shoulder pads are a safety feature. Never use the Child
Safety Seat without them.
- Vehicle interiors can become very hot when left standing in direct sunlight.
The metal fittings on the seat and harness may become hot and should be
covered up.
-- Seat and harness assemblies which get damaged or become badly worn or
which have been involved in an accident must be replaced to maintain safety.
- Do not place heavy objects on the parcel shelf, which could, in the event of
an accident, cause injury to passengers.
- Ensure that no part of the Child Safety Seat is trapped in a door or folding
seat. If your car has a folding rear seat, ensure that it is correctly locked
upright.
-- Do not attempt to dismantle, modify or replace any part of the Child Safety
Seat other than the part recommended by the manufacturer as they
constitute an integral part of the restaints’ performance.
- Do not use the Child Safety Seat for children weighing more than 18 kgs.
- Do not use the Child Safety Seat with a 2-point safety belt.
-- The buckle has been purposely designed to provide a quick release. In the
event of an emergency, it may become necessary for a person unfamiliar with
the equipment to release the child in seconds. The buckle has been
designed, therefore, so that even a child can undo it. This means the buckle
is not tamper-proof. The child transported in the Child Safety Seat should be
disciplined to not play with the buckle while the harness is in use.
- Set the right example and always wear your safety belt at all times.
2

Vehicle Application
Features
Child Seat Base
Harness
Adjusment
Button
Harness
Head Rest
Seat Cover
Shoulder Pad
Comfort Pad
Harness Buckle
Harness
Adjustment
Strap
Rear Facing
Routing Slot
Belt Guide
Instruction
Guide
Pocket
Shoulder
Strap Slots
Forward Facing
Routing Slot
Belt Guide
Rearward Facing
Routing Slot Child Seat Base
Press stud
Yoke
Shoulder
Straps
Shoulder Pad Ties
Correct Fitting
Suitable
Incorrect Fitting
Not Suitable
The Child Safety Seat is suitable for conventional use in all vehicles
equipped with 3-point seat belts that are fitted in accordance with European
Standard (ECE-16 or equivalent standard)
IMPORTANT : The Child Safety Seat MUST only be installed using a
3-point safety belt (Lap & Diagonal Belt)
Under no circumstances should any Child Safety Seat be used on
a front passenger seat with an active airbag
Not to be used on this seat with a
passenger airbag active
Only use on this seat if a Lap &
Diagonal belt is fitted
3
Belt Guide

Adjusting the Harness System for your Child’s Weight
Recline the seat by using one hand to hold the seat
and with the other hand pull the red handle and slide
the seat forward to the preferred reclined position
Release the tongues of the buckle by pressing the red
button of the buckle and pull them out
Place your child in the seat and check the height of
the shoulder straps for correct positioning
The shoulder straps must be threaded through the
slots in the cover and shell that are in line with, or just
above your child’s shoulders. Note : The shoulder
straps must not be lower than the shoulders.
To adjust the height of the shoulder straps, press the
silver harness adjustment button and pull both
harness straps forward to create slack.
From behind the seat, unhitch the harness straps from
the yoke and pull the straps through to the front of the
seat.
Untie the shoulder pad cords and pull these through to
the front of the seat
Thread the shoulder pad cords and shoulder straps
back through the correct height slots ensuring the
straps are not twisted and that both straps are at the
same height. Re-attach the shoulder straps to the yolk
and re-fasten the shoulder pad cords.
4

Installing the Child Safety Seat - Rearward Facing
For use with GROUP 0 - from birth to 10 kgs (approx. 9 months)
Wrap the diagonal section of the belt around the back
of the Child Safety Seat and thread it through the belt
guide on the top of the Child Safety Seat
WARNING !
DO NOT use the Child Safety Seat rearward facing on a
passenger seat fitted with an active airbag
The Child Safety Seat must be fully reclined when
rearward facing.
Place the Child Safety Seat on the vehicle seat with
the front of the Child Safety Seat firmly against the
back of the vehicle seat
Fasten the vehicle seat belt and thread the lap belt
section under the seat and through the Rear Facing
Routing Slot
Installation Checkpoints - Rearward Facing
Red Clip
Buckle
Pull hard on diagonal belt strap to tighten the lap belt
strap over the Child Safety Seat and place the Red
Clip over the diagonal belt as close as possible to the
vehicle buckle. ONLY PLACE THE RED CLIP OVER
THE DIAGONAL BELT, NOT BOTH.
The Child Seat must be
in the fully reclined
position
The vehicle seat belt has
been pulled tightly and is
not twisted
The lap section of the seat belt
is under the seat and through
the blue marked openings and
is not twisted
The Child Seat is pushed
back into the vehicle seat
5

Installing the Child Safety Seat - Forward Facing
For use with GROUP 1 - from 9 to 18 kgs (approx. 4 years)
Installation Checkpoints - Forward Facing
The vehicle seat belt has been
pulled tightly and is not twisted
The vehicle seat belt is
fed through the slots in
the shell of the Child
Safety Seat
The vehicle seat belt is
fed through the slots in
the shell of the Child
Safety Seat
The Child Safety Seat is
pushed back into the
vehicle seat
Place the Child Safety Seat firmly against the back of
the vehicle seat
Pull the vehicles 3-point safety belt through the back
of the shell between the plastic of the shell and the
cover and fasten the seat belt into the buckle.
Ensure that the lap belt section goes through the two
red guide clips on both sides of the base.
Red Clip
Buckle
Pull hard on diagonal belt strap to tighten the lap belt
strap over the Child Safety Seat and place the Red
Clip over the diagonal belt as close as possible to the
vehicle buckle. ONLY PLACE THE RED CLIP OVER
THE DIAGONAL BELT, NOT BOTH.
Fastening the Child Safety Seat Buckle
Fasten the buckle by bringing the two tongues of the harness straps
together and pushing them into the buckle until a click is heard.
6

Cleaning & Maintenance
To remove the cover for cleaning, release the shoulder straps from the
yoke and untie the shoulder pad cords at the back of the Child Safety
Seat. Pull these through to the front of the seat.
Unclip the press-studs on both rear sides of the Child Safety Seat cover.
Carefully pull the cover off from the top of the Child Safety Seat.
Push the buckle and harness straps through the slots in the cover and
then remove the cover from the Child Safety Seat.
IMPORTANT
The cover is a safety feature. Never use the Child Safety Seat without it.
Don’t put your child’s safety at risk by using other makes of replacement
covers, they could stop the Child Safety Seat from protecting your child
as well as it should.
WASHING INSTRUCTIONS
The cover is removable and washable at 30 deg.
Line dry only. Do not use tumble dryer.
The buckle may be cleaned with warm water. Do not lubricate.
Dryclean, Any solvent
Except Trichloroethylene Do not bleach Do not
Tumble Dry
Machine Wash
Cold Do Not Iron
7

Warranty
•• The warranty period starts from the date of purchase and is valid for a
period of 12 months. The warranty applies to manufacturing defects only.
The date of purchase can only be determined with an original sales receipt.
The warranty is only applicable to the original owner and is not transferable.
The warranty is only applicable to products that have not been adapted by
the user.
•• In the case of any defects, the owner is required to return the product to the
retailer. If the retailer cannot solve the problem, he must return the product,
complete with a clear description of the complaint and the original sales
receipt to the manufacturer. An exchange or return cannot be demanded.
Repairs do not constitute an extension to the warranty term. The
manufacturer is not liable for any damages other than those on products
supplied.
• No warranty is given if:• No warranty is given if:
- The product is not supplied to the manufacturer complete with the original
sales receipt.
- Defects are caused by improper use or maintenance that is not in
accordance with the instruction in this manual.
- Repairs are carried out by third parties.
- Defects are caused by neglect.
- Damage is determined.- Damage is determined.
- If there is normal wear and tear of the parts, belts and/or cover, which may
be expected from everyday use.
- There is damage to the car upholstery.
- The stated warranty terms and conditions have not been satisfied.
DISTRIBUTOR DETAILS :
Unimark Distributors
PP.O. Box 912-1095
Silverton
0127
Tel : +27 12 8041793
Fax : +27 12 8041795
E-mail : info@safewaybabies.co.za
Web : www.safewaybabies.co.za
8
Table of contents
Other Safeway Car Seat manuals

Safeway
Safeway MARLIN User manual

Safeway
Safeway EXECUTIVE User manual

Safeway
Safeway Dolphin User manual

Safeway
Safeway Unify User manual

Safeway
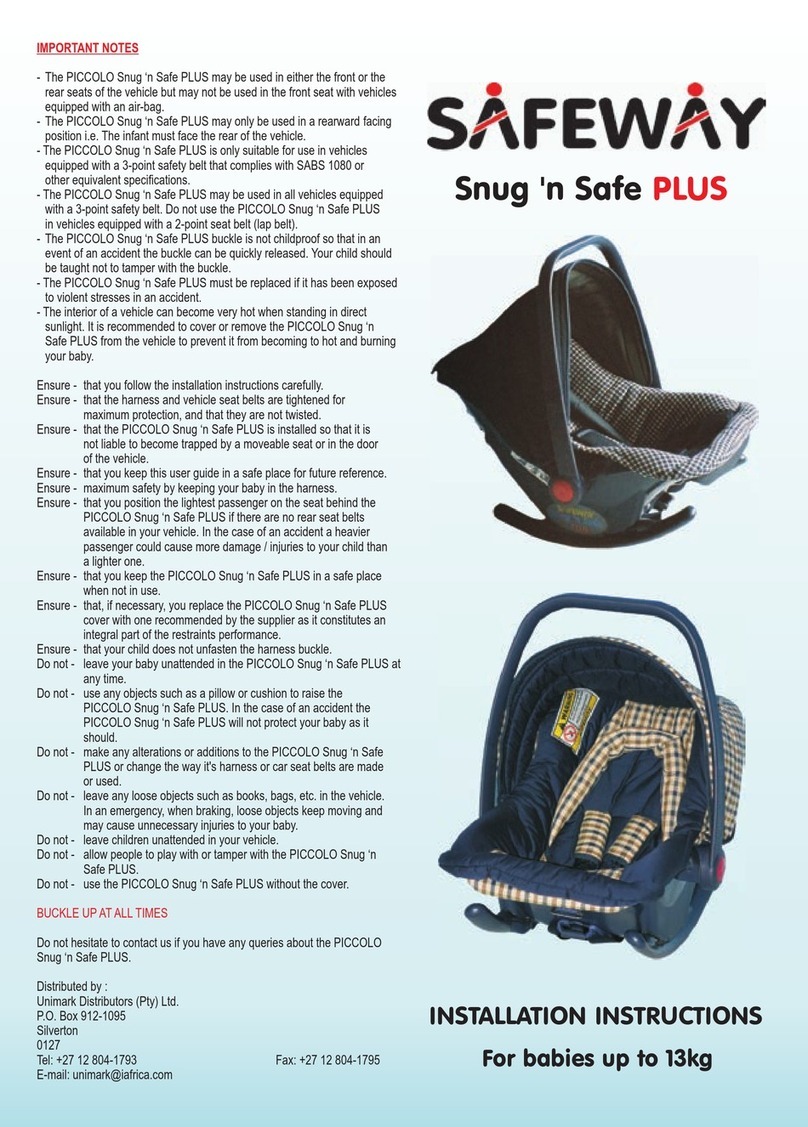
Safeway Snug 'n Safe PLUS User manual

Safeway
Safeway Cosmos User manual

Safeway
Safeway Polar User manual

Safeway
Safeway Snug'n Safe Astra User manual

Safeway
Safeway SMART SPORT Isofix User manual

Safeway
Safeway SNUG 'N SAFE User manual