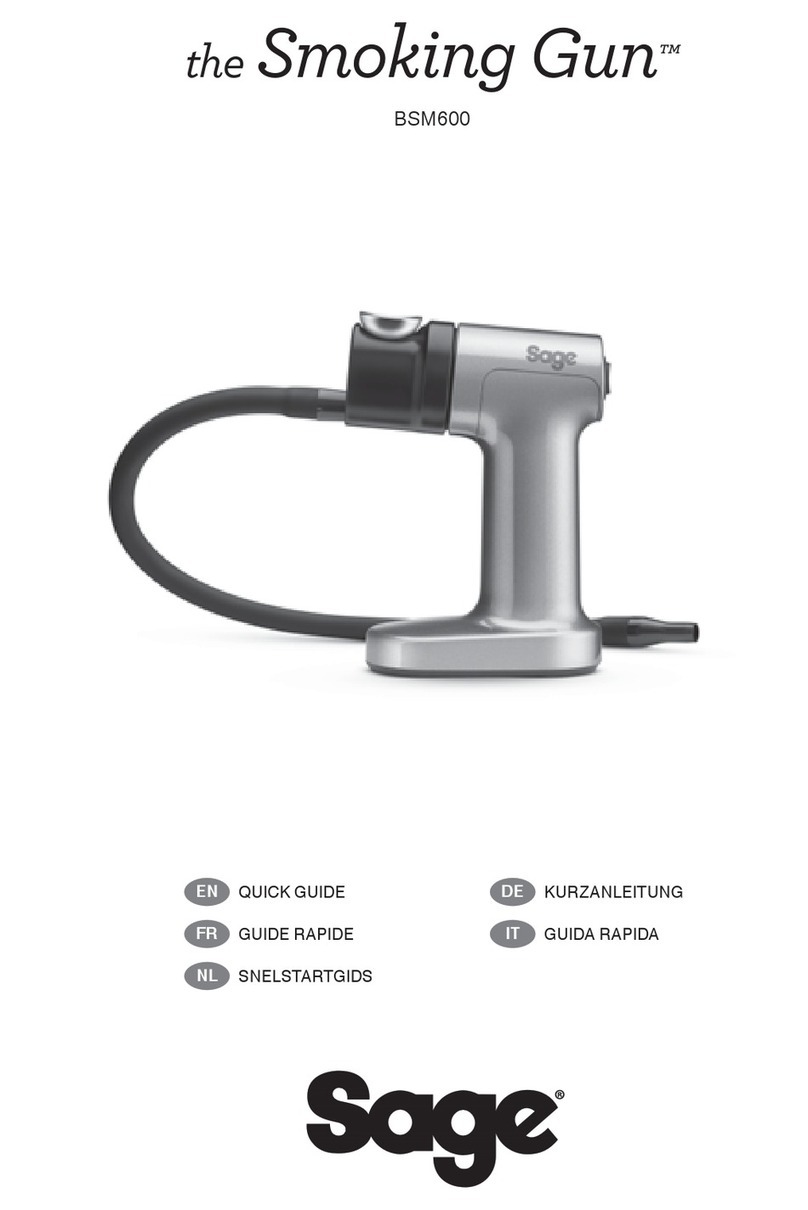
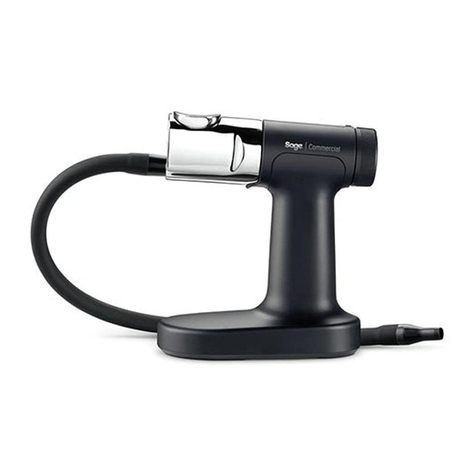
Sage Smoking Gun BSM600 User manual

the Smoking Gun™
BSM600/SSM600
EN USER GUIDE

2
SAGE®
RECOMMENDS
SAFETY FIRST
At Sage®we are very safety
conscious. We design and
manufacture consumer
products with the safety
of you, our valued customer,
foremost in mind. In addition
we ask that you exercise a
degree of care and adhere
to the following precautions.
IMPORTANT
SAFEGUARDS
READ ALL INSTRUCTIONS
BEFORE USE AND SAVE
FOR FUTURE REFERENCE
• A downloadable version of
this document is also available
at sageappliances.com
• Remove any packaging material
and promotional labels before
using the Smoking Gun™
for the rst time.
• Do not place the Smoking Gun™
near the edge of a table, counter
or bench top during operation.
Ensure that the surface is level,
clean and free of water.
• Do not place any part of the
Smoking Gun™in a gas,
electric or microwave oven or
on a hot gas or electric burner.
• Keep smoking gun clear of
walls, curtains and other heat
or steam sensitive materials.
Minimum 20cm distance.
• Always ensure the Smoking
Gun™is properly assembled
before use. Follow the
instructions provided in this book.
• Do not leave the product
unattended when in use.
• Do not touch hot surfaces.
• Do not use harsh abrasives
or caustic cleaners when
cleaning this product.
• Keep the product clean.
Follow the care and cleaning
instructions provided in this book.
• Children shall not play with
the appliance.
• The appliance can be used
by children aged 8 years
or older and persons with
reduced physical, sensory or
mental capabilities or a lack
of experience or knowledge,
only if they have been given
supervision or instruction
concerning use of the appliance
in a safe way and understand
the hazards involved.
2Sage®Recommends Safety First
5Components
6Assembly
6Functions
7Tips
7Care & Cleaning
8Troubleshooting
9Guarantee
Contents

3
EN
• Cleaning of the appliance
should not be carried out by
children unless they are aged
8 years or older and supervised.
• The appliance should be kept
out of the reach of children
aged 8 years or younger.
• This product is intended for
household use only. Do not use
this product for anything other
than its intended use. Do not
use in moving vehicles or boats.
• It is recommended to regularly
inspect the product.
• Any maintenance other
than cleaning should be
performed at an authorised
Sage®Service Centre.
• Do not attempt to burn anything
other than small wood chips,
wood sawdust, dried herbs,
cooking spices, or tea leaves
in the burn chamber.
• Use only in a well ventilated
area; the burning of wood
chips/dust, dried herbs,
cooking spices, and/or tea
leaves may result in the
emission of combustion
by-products which are known
to cause cancer, birth defects,
and/or reproductive harm.
• The metal barrel and burn
chamber of the Smoking Gun™
will become very hot when
in use. Allow device to cool
completely before touching
barrel or burn chamber,
cleaning, or storing.
• Always use the Smoking Gun™
in an upright position. Heated
smoking materials may fall out
of the burn chamber if tipped,
resulting in a re hazard.
• Always empty ash and
burnt material into a
non-ammable receptacle.
• Exercise proper care when
igniting the smoking materials;
improper ignition of ammable
materials may result in explosion
or re hazard.
• Always use a match or lighter
to ignite the materials in the
Smoking Gun™; DO NOT
USE a kitchen torch or other
heat device as the excessive
heat may damage the unit.
• Do not point the Smoking
Gun™at any person or
ammable object.
• Avoid using the Smoking
Gun™in areas where smoke
may activate smoke alarms
or re suppression systems.
• Never operate the Smoking
Gun™without the stainless steel
mesh lter in place; burning/
glowing embers may enter the
body damaging the unit or be
ejected through the nozzle,
creating a re or burn hazard.
• Removal or disassembly of any
parts of the Smoking Gun™other
than the burn chamber; stainless
steel mesh lter, battery
compartment cover, or batteries
may result in irreparable
damage and void the warranty.

4
• Batteries can contain ammable
substances. If handled
improperly, batteries may
leak, heat up, ignite, or
exploded, which could damage
the device and your health.
• Keep batteries away from
children. If swallowed, they can
be life-threatening. If a battery
has been swallowed, seek
immediately medical help.
• Do not throw batteries into the
re, do not short-circuit them,
and do not take them apart.
• Do no dismantle, open or shred
secondary cells or batteries.
• Remove exhausted batteries
immediately from the device.
There is an increased risk
of leakage.
• When possible, remove the
battery from the equipment
when not in use.
The symbol shown
indicates that this appliance
should not be disposed of
in normal household waste.
It should be taken to a local
authority waste collection centre
designated for this purpose or to
a dealer providing this service.
For more information, please
contact your local council oce.
Please dispose of the batteries
in an environmentally friendly
manner. Do not throw batteries
into normal household waste.
Please use the return and
collection systems in your
community or contact the
retailer where the product
was purchased.
FOR HOUSEHOLD USE ONLY
SAVE THESE INSTRUCTIONS

5
EN
Components
A. On / o switch
B. Removable burn chamber
C. Removable mesh lter
D. Die-cast barrel
E. Silicone hose
F. Robust housing
G. Battery operated
A
D
B
C
E
G
F
Rating Information
6V (4x1.5V AA Batteries)

6
Assembly
1. Place the mesh filter in the top of the burn
chamber and press down with a finger to
seat it into the bottom of the burn chamber.
2. Place the burn chamber into the barrel.
Push down until the spring around the burn
chamber provides a small click sensation.
CLICK
3. Press the larger plastic end on the silicone hose
rmly into the round hole on the front of the barrel.
BATTERIES
Use 4 x AA (1.5V alkaline) batteries only.
(No rechargeable batteries)
1. Remove battery cover from underside of unit
by sliding clip towards rear and rotating outwards.
2. Insert batteries into cavity with orientation
to match the outer face of the battery cover.
3. Replace battery cover and press to snap
into place.
Functions
BEFORE FIRST USE
Wipe the burn chamber and mesh filter with
a damp cloth.
OPERATION
1. Place a small amount of wood chips (or desired
smoking materials) into the burn chamber.
NOTE
Do not overll the burn chamber. The wood
chips should just cover the mesh lter area
with a thin layer.
2. Press down the power switch located on
the rear of the main unit, to activate the fan
at high speed.This position is designated
by 2 lines =on the switch.
–
Low Speed
O
O
=
High Speed
To smoulder the
wood chips and
generate smoke.
For greater airow
to assist in initially
igniting wood chips.
3. Use a handheld lighter or match to apply
a ame to the top surface of the wood chips.
Move the ame around to ignite the entire
exposed surface. For best results make sure
the burning area is evenly distributed or centred.
WARNING
Maintain the presence of the lighter for
a period of time sucient to start ignition only.
Excessive heat may cause damage to the unit.
4. Once the smoke is seen exiting the end of the
hose, depress the top of the switch to maintain
the fan on low speed (designated by 1 line –).
Allow the wood chips to smoulder and direct
the smoke to where required.
5. When sucient smoke has been generated
or wood chips are extinguished, return the
switch the central position to turn the fan o
(designated by a circle O).

7
EN
Care & Cleaning
1. Before cleaning, make sure the unit is
completely cooled down and power switch
is positioned to o position.
2. Remove the burn chamber from the barrel.
Invert the burn chamber and tap on a solid
surface to remove any remaining wood chips
or ash.The burn chamber may be cleaned
by hand with warm soapy water or by placing
in a dishwasher.
3. Wipe the barrel clean if residue is visible.
4. Mesh filter can be cleaned with warm soapy
water and small brush as required.
5. Clean hose and tube ends in warm soapy
water as required.
6. Use damp cloth to clean the main unit.
Do not immerse in water.
NOTE
• Do not use unit without the burn chamber present.
• Do not use unit if there is no mesh lter in
the burn chamber.
• Cannot be used to bubble through liquid.
• Remove the batteries if the device is not to be
used for a long period of time.
• Allow the unit to cool completely between
consecutive burns.
NOTE
Replace mesh filter if it becomes clogged.
Filter specication: No.20 US Sieve Size
[Ø19.0mm (¾ inch), stainless steel 304].
WARNING
Resin may stain hands, handle parts with caution.
Visit www.sageappliances.com to order more
wood chips.
6. Allow the unit to cool completely after burning
has completed.
7. When cooled completely the burn chamber
can be removed by pulling it free of the barrel.
NOTE
Invert the burn chamber and tap on a solid surface
to remove any remaining wood chips or ash.
It is recommended to clean the burn chamber prior
to re-assembly.
Tips
• Only 3 minutes under smoke is all that is needed
to provide smoke avour and aroma for meats,
sh, fruits, or vegetables after cooking. Simply
place the food in a covered casserole, stockpot,
Dutch oven, or other covered dish / pan and inject
smoke under the lid.
• Don’t place hose directly in the food.
Place it just slightly above.
• Continuous smoking with the Smoking Gun™
is NOT required.
• Ensure the unit has had sucient time to cool
before reloading and operating additional burn
cycles if required.
• Use wood chips that have been specifically
prepared for the purpose of smoking – these
timbers will have been dried to the correct level
and will produce less resinous materials in the
smoke output from the unit.

8
Troubleshooting
POSSIBLE PROBLEM EASY SOLUTION
Fan not starting. • Check orientation of batteries.
• Switch not turned to High or Low speed.
• Replace batteries.
No smoke generated. • Ensure mesh filter is not blocked.
• Ensure the hose is not blocked.
• When using a container ensure there is an outlet for the air to escape.
• Ensure the fan starts when the switch is pressed to High or Low.
• Ensure wood chips are dry and small.
• Increase fan speed to High.
Not enough smoke. • Turn fan to High Speed to increase burn rate.

9
EN
2 YEAR LIMITED GUARANTEE
Sage Appliances guarantees this product for
domestic use in specied territories for 2 years
from the date of purchase against defects
caused by faulty workmanship and materials.
During this guarantee period Sage Appliances
will repair, replace, or refund any defective
product (at the sole discretion of
Sage Appliances).
All legal warranty rights under applicable
national legislation will be respected and will
not be impaired by our guarantee. For full terms
and conditions on the guarantee, as well as
instructions on how to make a claim, please visit
www.sageappliances.com.
Guarantee

10
Note
SSM600_EU_UG8_D21

11
EN
Note

BSM600/SSM600 UK UG1 B22
GBR
BRG Appliances Limited
Unit 3.2, Power Road Studios,
114 Power Road, London, W4 5PY
Freephone (UK Landline): 0808 178 1650
Mobile Calls (National Rate): 0333 0142 970
DEU AUT
Sage Appliances GmbH
Campus Fichtenhain 48, 47807 Krefeld,
Deutschland
Deutschland: 0800 505 3104
Österreich: 0800 80 2551
FRA
Sage Appliances France SAS
Siège social: 66 avenue des Champs
Elysées – 75008 Paris
879 449 866 RCS Paris
France: 0800 903 235
IRE
Ireland
1800 932 369
NLD
Netherlands
0800 020 1741
CHE
Switzerland
0800 009 933
ITA
Italy
800 909 773
LUX
Luxembourg
800 880 72
ESP
Spain
900 838 534
DNK
Denmark
80 820 827
PTR
Portugal
0800 180 243
SWE
Sweden
0200 123 797
POL
Poland
00800 121 8713
FIN
Finland
0800 412 143
BEL
Belgium
0800 54 155
NOR
Norway
80 024 976
www.sageappliances.com
Registered in England & Wales No. 8223512
Registered in Germany No. HRB 81309 (AG Düsseldorf)
Registered in France No. 879 449 866 RCS
EN Due to continued product improvement, the products illustrated or photographed in this document may vary slightly from the actual product.
DE Aufgrund unserer kontinuierlichen Produktverbesserungen kann die hier gezeigte Abbildung geringfügig vom tatsächlichen Produkt abweichen.
FR En raison de leur amélioration continue, les produits représentés ou photographiés dans le présent document peuvent différer légèrement du produit réel.
NL Vanwege voortdurende productverbeteringen, kunnen de afgebeelde producten in dit document licht afwijken van het eigenlijke product.
IT A causa del continuo miglioramento dei prodotti, il prodotto descritto o illustrato in questo documento può variare leggermente rispetto al prodotto reale.
ES Perfeccionamos nuestros productos continuamente, por lo que el artículo podría diferir ligeramente de la ilustración o la fotografía en este documento.
PT Devido à melhoria contínua dos produtos, os produtos ilustrados ou fotografados neste documento podem variar ligeiramente do produto real.
PL Ze względu na stale przeprowadzane ulepszenia, produkty przedstawione na ilustracjach lub zdjęciach w tym dokumencie mogą różnić się od używanego produktu.
DA På grund af løbende produktudvikling kan de illustrerede eller fotograferede produkter i dette dokument variere en smule fra det faktiske produkt.
SV På grund av kontinuerlig produktförbättring kan produkterna som visas i illustrationerna och fotografierna i detta dokument skilja sig något från den faktiska produkten.
FI Jatkuvan tuotekehittelyn seurauksena kuvituksen tuotteet eivät välttämättä ole täysin samanlaisia kuin varsinainen tuote.
NO På grunn av kontinuerlig produktutvikling kan produktene som er vist eller avfotografert i dette dokumentet, variere noe fra det faktiske produktet.
Copyright BRG Appliances 2022
B##### / S##### UG# – #22
Other manuals for Smoking Gun BSM600
4
This manual suits for next models
1
Table of contents
Other Sage Smoker manuals
Popular Smoker manuals by other brands

Mac's BBQ
Mac's BBQ ProQ Manual and user guide

Myron Mixon Smokers
Myron Mixon Smokers Gravity Series owner's manual

Mayer Barbecue
Mayer Barbecue RAUCHA MS-400 MASTER Assembly instructions

Master Forge
Master Forge MFW784BDP operating instructions

Medina River
Medina River Big Daddy Double Bar B Q Assembly instructions

Kingsford
Kingsford PROFESSIONAL Series Assembly and operating instructions