- 5 -
Automatically enter the energy saving status
In order to save the energies of batteries, if the camera is not used in 30s,the
camera will auto enter the energy saving status.
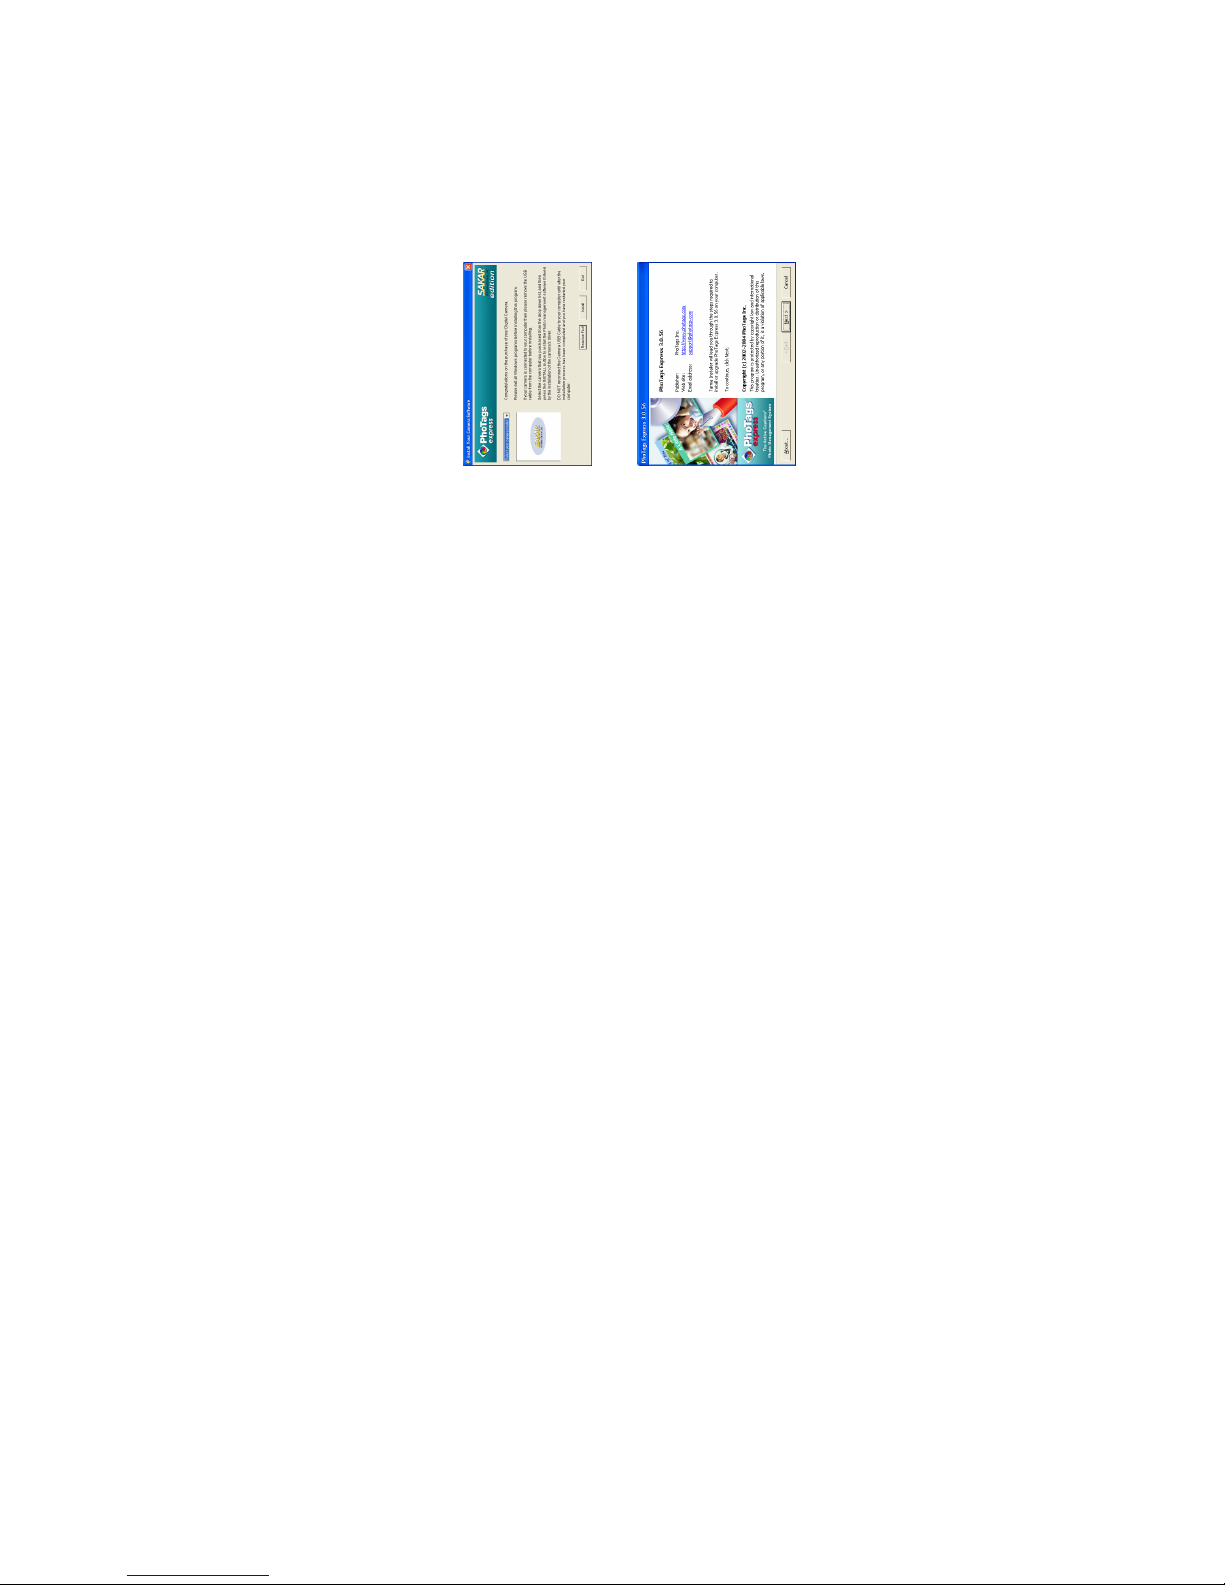
Software Installation
IMPORTANT: Before attempting to install the software, make sure that
you do not have the camera or the USB cable attached to your computer.
This will affect the install process and will cause your installation to fail.
Do not connect the cable to the computer until the entire installation
process has been completed. We suggest you follow the step by step
instructions that will appear on your screen during the installation process.
SECTION ONE- Software & Camera Driver Installation
1. Insert the CD into your CD-Rom drive. Make sure that your camera is not
connected to the computer.
2. For WIN 2000 or WIN XP operating systems - On the “Install your
camera software” screen, select your camera model from the drop down
list and click the “Install” button to install PhoTags Express followed by
the installation of PhoTags WebCam Express and your camera driver.
For WIN 98SE operating system- On the “Install your camera software”
screen and follow these instructions:
1. Click the “DirectX” button and follow the installation instructions,
restart your computer after the installation
2. Insert the CD into your CD-Rom drive. Make sure that your camera