manuals.online logo
Brands
  1. Home
  2. •
  3. Brands
  4. •
  5. Salto
  6. •
  7. Door Opening System
  8. •
  9. Salto XS4 KPB14 Series User manual

Salto XS4 KPB14 Series User manual

All contents current at time of publication.
SALTO Systems S.L. reserves the right to change availability of any
item in this catalog, its design, construction, and/or materials. P-201363 - -ED.2008-05-27
Adapter Kit For
Adapter Kit For
KPB14xx.. ®
DORMA AD4300 Panic Bar
P
9 Selfdrilling Screw DIN 7504 PH
14 To Fix, Counter Clockwise
P
7
Surface-Latch
CUT THE SPINDLE
SEE INSTRUCTIONS
12 Exterior Plate
5 BottomWasher
Ai6xx...
7
1/2
01445-02 3 Battery Holder
11 BatteryCover
12 To Fix, Counter Clockwise
4 M5 DIN 7985 PZ
9 Selfdrilling Screw DIN 7504 PH
8 M5 DIN 7991 HEX
01406-01-ff
01015
01436-35/50
01465-01
*
BOLT EXTENSION
ONLYFOR P > 2 - 3/8" (60mm)
follow user manual
AT THIS POINT DO NOT
CLOSE THE DOOR
TEST THE LOCK FIRST
* SEE DORMA AD4300 PANIC BAR
INSTALLATION INSTRUCTIONS
Eng E* MONTAJE BARRA ANTIPANICO
DORMA AD4300 SEGUN
INSTRUCCIONES DEL FABRICANTE
P
Door Inch / Puerta (mm)
Length
Inch (mm)
BOLT
EXTENSION
SUPLEMENTO
1-3/8"<1-7/8" (35<48mm) 1-3/8" (35mm)
1-7/8"<2-9/16" (49<65mm) 2-3/16" (50mm)
2-5/8"<3-1/8" (66<80mm) 1-3/8" (35mm) 1
3-3/16"<3-3/4" (81<96mm) 2" (50mm) 1
3-13/16"<4-3/8"(97<111mm) 1-3/8" (35mm) 2
4-3/8"<4-3/4" (112<120mm) 2" (50mm) 2
_
01405
** For door thickness (P) over
2-9/16" (65mm)
Use special wire 01045-350
Eng ** Para puertas de espesor (P)
mayores de 2-9/16" (65mm),Utilice el
cable especial 01045-350
Installation Secuence .......
12312
Installation Secuence .......
12314
E
®®
SP00095-3520
SP00095-5020 (x20)
(x20)
SP01126-20(x20)
6
L
C
FOR ELECTRONIC ESCUTCHEON
Length
(1)M5x LengthDIN7985
(3)M5x LengthDIN7991
(1) Ø3,9x19DIN7504
(?) BOLT EXTENSION
MAX. TORQUE:
1,4 N.m/13 lb.in
2 5/8" (67mm) 1 9/16" (40mm)
01401
10 LR03SP00159-10(x30)
Ai650m00ffH8
Ai660m00ffH8
COMPATIBLE
MODELS
MODELOS COMPATIBLES
E
Eng
EXTERNAL
ELECTRONIC
ESCUTCHEONS
* SIEHE DORMA AD4300
STANGENGRIFF MONTAGE
INSTALLATION ANWEISUNGEN
D®
KOMPATIBLE MODELLE
D
KPB15xx.. ®
DORMA AD4400 Panic Bar
Surface - Panic Bolt
CUT THE SPINDLE
SEE INSTRUCTIONS
12 Exterior Plate
3 BottomWasher
Ai6xx...
10
01445-02
3 Battery Holder
11 BatteryCover
12 To Fix, Counter Clockwise
4 M5 DIN 7985 PZ
9 Selfdrilling Screw DIN 7504 PH
11 M5 DIN 7991 HEX
01406-02-ff
01015
01436-35/55
*
BOLT EXTENSION
ONLY FOR P > 2 - 3/8" (60mm) follow user manual
AT THIS POINT DO NOT
CLOSE THE DOOR
TEST THE LOCK FIRST
* SEE DORMA AD4400 PANIC BAR
INSTALLATION INSTRUCTIONS
Eng E* MONTAJE BARRA ANTIPANICO
DORMA AD4400 SEGUN
INSTRUCCIONES DEL FABRICANTE
01405
®®
SP01126-20(x20)
4
L
C
MAX. TORQUE:
1,4 N.m/13 lb.in
2 5/8" (67mm)
01401
10 LR03
SP00159-10(x30) Ai650m00ffH8
Ai660m00ffH8
COMPATIBLE
MODELS
MODELOS COMPATIBLES
E
Eng
EXTERNAL
ELECTRONIC
ESCUTCHEONS
* SIEHE DORMA AD4400
STANGENGRIFF MONTAGE
INSTALLATION ANWEISUNGEN
D®
KOMPATIBLE MODELLE
D
(4)M5x LengthDIN7991
(2) Ø3,9x19DIN7504
(?) BOLT EXTENSION
FOR ELECTRONIC ESCUTCHEON
01402
01400
01465-01
6 WireCover
5 TopWasher 8 Battery Holder
13 Battery Cover
12 LR03
**
2a
2a
** Für Turen breiterer (P) als 2-9/16"
(65mm), Verwenden sie den
speziellen Kabel 01045-350
D
P
Door Inch / Puerta (mm)
Length
Inch (mm)
BOLT
EXTENSION
SUPLEMENTO
1-3/8"<1-7/8" (35<48mm) 1-3/8" (35mm)
1-7/8"<2-9/16" (49<65mm) 2-3/16" (55mm)
2-5/8"<3-1/8" (66<80mm) 1-3/8" (35mm) 1
3-3/16"<3-3/4" (81<96mm) 2" (50mm) 1
3-13/16"<4-3/8"(97<111mm) 1-3/8" (35mm) 2
4-3/8"<4-3/4" (112<120mm) 2" (50mm) 2
_
INSIDE
OUTSIDE
Only Wireless Models:
-Exit detection depending of the panic bar model.
-Panic bars with no exit detection, will cause an intrusion alarm
each time the door is opened from inside.
Sólo Modelos Wireless:
-La detección de salida depende del modelo de barra antipanico.
-Barras antipanico sin detector de salida, pueden causar una
alarma de intrusion cuando la puerta sea abierta desde el interior.
Eng
E
Adapter Kit For
All contents current at time of publication.
SALTOSystems S.L. reserves the right to change availability of any
item in this catalog, its design, construction, and/or materials. P-201363 - -ED.2008-05-27
O9/16" (14mm)
P
6-3/4 " (171mm)
3-1/8" (80mm)
L
C
O2 1/8" (54mm)
O1" (25mm)
3/4" (20mm)
Outside Inside
L= P+14mm
L
L= P+9/16"
Spindle Length L
L
C
Outside
Cutting the Spindle
P= Door Thickness
Eng
E
Eng
L
C
Corte del Cuadradillo
P= Espesor de Puerta
KPB14/15
E
Eng
AD4400
DOOR PREPARATION: 2 STEPS
-FOLLOW DORMA AD4000
DOOR PREPARATION INSTRUCTIONS
-FOLLOW PRESENT SALTO DOOR PREPARATION
SHEET INSTRUCTIONS FOR SALTO/DORMA
ADAPTER KIT
1
2
MECANIZADO DE PUERTA: 2 PASOS
-SIGA LAS INSTRUCCIONES DE PREPARACION DE PUERTA
DORMA AD4000
-SIGA LAS PRESENTES INSTRUCCIONES DE PREPARACION
DE PUERTA PARA EL KIT DE ADAPTACION SALTO/DORMA
®
®
®
®
1
2
5-7/16" (137.5mm)
1-15/16" (49.5mm)
2/2
SELECT
HANDING
AB
CD
SELECTION OF HANDING
PUSH
INSERT
4
1
Caution !
Do not disconnect !
PULL
ONLY FOR PROXIMITY MODELS
Note: This equipment has been tested and found to comply with
the limits for a Class B digital device, pursuant to part 15 of the FCC
Rules. These limits are designed to provide reasonable protection
against harmful interference in a residential installation. This
equipment generates, uses, and can radiate radio frequency
energy and, if not installed and used in accordance with the
instructions may cause harmful interference to radio
communications. However, there is no guarantee that interference
will not occur in a particular installation. If this equipment does
cause harmful interference to radio or television reception, which
can be determined by turning the equipment off and on, the user is
encouraged to try to correct the interference by one or more of the
following measures:
•Reorient or relocate the receiving antenna.
•Increase the separation between the equipment and
receiver.
- Connect the equipment into an outlet on a circuit
different from that to which the receiver is connected.
- Consult the dealer or an experienced radio/TV
technician for help.
Declaración de conformidad
Por medio de la presente Salto Systems S.L. (Pol. Lanbarren C/Arkotz,9
- 20180 Oiartzun – Spain - CIF B20708517), declara que este equipo
cumple con los requisitos esenciales y cualesquiera otras
disposiciones aplicables o exigibles de la Directiva 1999/5/CE o la
Directiva 89/336/EEC. Podrá encontrar una copia de la declaración de
conformidad original en la siguiente dirección de Internet:
http://www.saltosystems.com
Todos los modelos de proximidad son “Receiver class 3”.
Declaration of conformity
By means of the present Salto Systems S.L. (Pol. Lanbarren C/Arkotz,
9 - 20180 Oiartzun - Spain - CIF B20708517), declares that this
equipment fulfills the essential requirements and any other applicable
or indispensable dispositions of the Directive 1999/5/CE or the
Directive 89/336/EEC. You will be able to find a copy of the original
declaration of conformity at the following Internet address:
http://www.saltosystems.com
A
ll proximit
y
models are "Receiver class 3".
E
Eng
E
E
SELECCIONE MANO
E
Eng
Eng
1
TIRAR
SELECCIONE MANO
E
E
Eng
Eng
No desconectar
E
Eng
Eng
01445-02
3
E
2
Fasten Exterior Plate
Fijar la Placa Exterior
E
Eng
CUT
®
DORMA AD4300 Panic Bar
* SEE DORMA AD4000 PANIC BAR
INSTALLATION INSTRUCTIONS
Eng E* MONTAJE BARRA ANTIPANICO
DORMA AD4000 SEGUN
INSTRUCCIONES DEL FABRICANTE
®®* SIEHE DORMA AD4000
STANGENGRIFF MONTAGE
INSTALLATION ANWEISUNGEN
D®
E
VORVEREITUNG DER TÜR: 2 SCHRITTE
-SIEHE DIE ANWEISUNGEN DER TÜR VON DORMA AD4000
-SIEHE DIESE ANWEISUNGEN FÜR DIE VORBEREITUNG DER TÜR
FÜR DEN SALTO/DORMA ANPASSUNGSKIT
1
2
D®
®
Drückvierkant Abschneiden
D
DP= Tür Breite
DRÜCKERRICHTUNG WÄHLEN
D
INTRODUCIR
HINEINSTECKEN
-PULSAR
-DRÜCKEN
D
D
HERAUSZIEHEN
Verbindung nicht unterbrechen
D
D
DRÜCKERRICHTUNG WÄHLEN
D
Aussenplatte fixieren
D

This manual suits for next models

1

Other Salto Door Opening System manuals

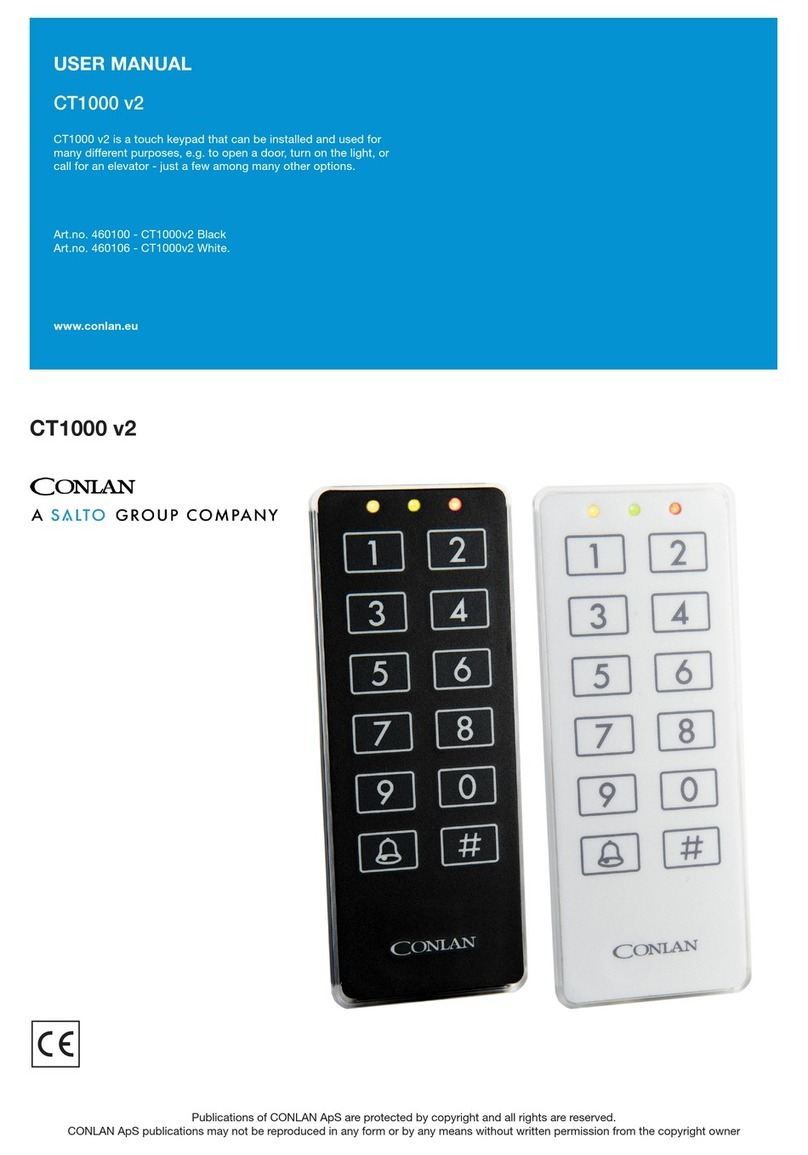
Salto Conlan CT1000 v2 User manual

Salto

Salto Conlan CT1000 v2 User manual

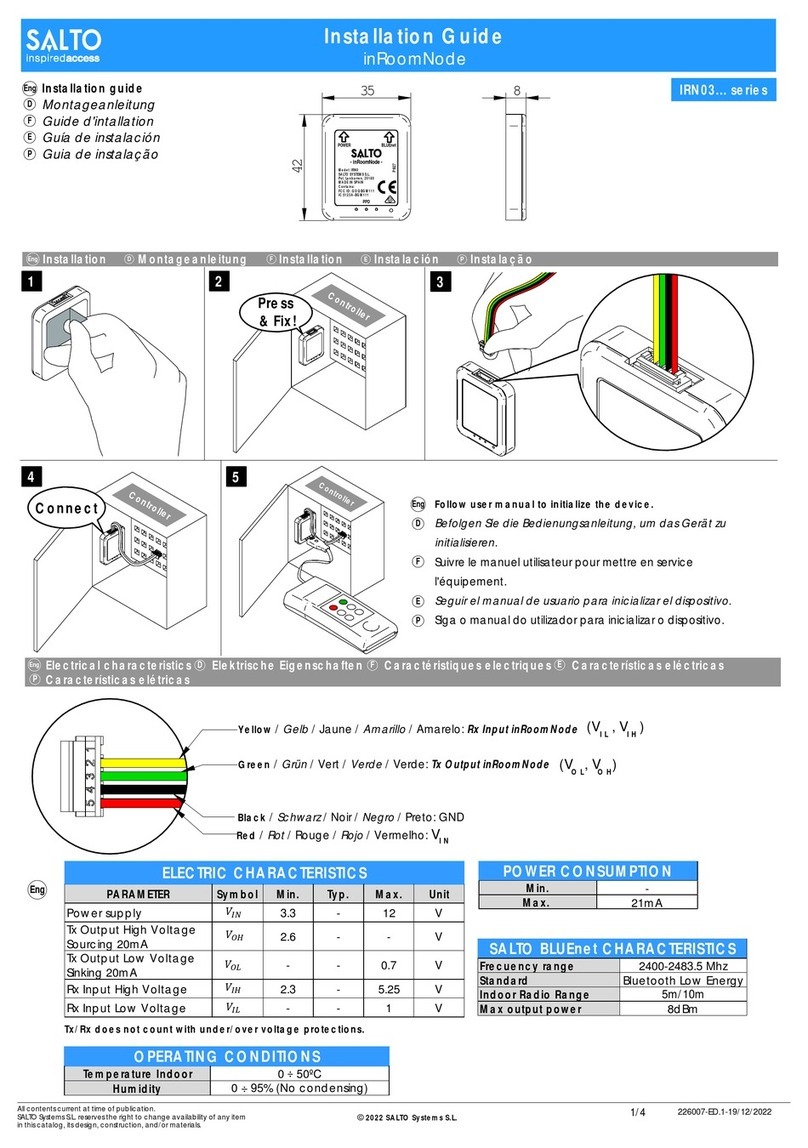
Salto inRoomNode User manual

Salto

Salto inRoomNode User manual

Salto Conlan CT1000 v2 User manual

Salto

Salto Conlan CT1000 v2 User manual

Salto WRD 0E4 Series User manual

Salto

Salto WRD 0E4 Series User manual

Popular Door Opening System manuals by other brands

DH2 Solutions Abloy DA460 Information

DH2 Solutions

DH2 Solutions Abloy DA460 Information

Brookfield Industries NB-2000-HD2 installation instructions

Brookfield Industries

Brookfield Industries NB-2000-HD2 installation instructions

Assa Abloy King 640 installation instructions

Assa Abloy

Assa Abloy King 640 installation instructions

Richmond GTR197 user manual

Richmond

Richmond GTR197 user manual

D+H BAZ 04-N-UT Original instructions

D+H

D+H BAZ 04-N-UT Original instructions

Roger Technology SMARTY Series INSTRUCTIONS AND RECOMMENDATIONS FOR THE INSTALLER

Roger Technology

Roger Technology SMARTY Series INSTRUCTIONS AND RECOMMENDATIONS FOR THE INSTALLER

Eco ETS 73 Operator's manual

Eco

Eco ETS 73 Operator's manual

Uaccess Eternity EDC700 Series Installation

Uaccess

Uaccess Eternity EDC700 Series Installation

Dorma SVP-S4 DCW Series manual

Dorma

Dorma SVP-S4 DCW Series manual

Eco FSA ECO SR-EFR Assembly instruction

Eco

Eco FSA ECO SR-EFR Assembly instruction

Dorma G-EMF Series Mounting instructions

Dorma

Dorma G-EMF Series Mounting instructions

FAAC 940SMT manual

FAAC

FAAC 940SMT manual

Cal-Royal 2260V Series Installation instruction

Cal-Royal

Cal-Royal 2260V Series Installation instruction

Assa Abloy Corbin Russwin PED5400 FE installation instructions

Assa Abloy

Assa Abloy Corbin Russwin PED5400 FE installation instructions

SECO-LARM Enforcer SD-C141S installation manual

SECO-LARM

SECO-LARM Enforcer SD-C141S installation manual

Cal-Royal 98-3PT installation instructions

Cal-Royal

Cal-Royal 98-3PT installation instructions

Dormakaba Muto Premium XL150 Supplemental instructions

Dormakaba

Dormakaba Muto Premium XL150 Supplemental instructions

Dormakaba 8600 FH installation instructions

Dormakaba

Dormakaba 8600 FH installation instructions

manuals.online logo
manuals.online logoBrands
  • About & Mission
  • Contact us
  • Privacy Policy
  • Terms and Conditions

Copyright 2025 Manuals.Online. All Rights Reserved.