Samplix Xdrop User manual

Xdrop™ manual
Droplet MDA (dMDA)
User manual v. 1.0 released 26 Aug. 2019

2
Table of Contents
Chapter 1: Xdrop™ at a Glance page 3
Targeted enrichment overview
Xdrop™ instrument overview
Required items for Xdrop™ dMDA
Suggested Samplix products
Equipment and reagents for Xdrop™ supplied by the user
Chapter 2: General DNA Amplification by dMDA page 9
Break sorted droplets
Set up dMDA reaction
Load the dMDA cartridge
Generate dMDA droplets on the Xdrop™ instrument
Chapter 3: Evaluation of Targeted Enrichment page 19
Quantify total DNA
Evaluate the enrichment of target DNA
Calculate fold enrichment of target DNA
Contact:
Samplix ApS
Mileparken 28
DK – 2730 Herlev
www.samplix.com
Mail: [email protected]
For research use only, not for use in diagnostic procedures.
Copyright 2019. Reproduction in any form, either print or electronic,
is prohibited without written permission of Samplix ApS

3
Chapter 1: Xdrop™ at a Glance
Targeted enrichment overview
Congratulations with your new Xdrop™ instrument, which we expect will facilitate groundbreaking research.
The Xdrop™ technology introduces a new approach for genomic analysis as the technology enables targeted
enrichment of genomic regions in droplets. The Xdrop™ technology offers sensitive and unbiased PCR-free sample
enrichment and general amplification prior to downstream analysis e.g. next generation sequencing.
Using the Xdrop™ instrument, cartridges, and reagents, sample DNA is partitioned into millions of picolitre size highly
stable droplets. The Xdrop™ droplet PCR (dPCR) droplets are suitable for standard PCR cycling, flow cytometry analysis
and sorting.
In the first step of enrichment, the sample is diluted and partitioned into millions of double emulsion droplets using the
Xdrop™ instrument and the advanced microfluidics dPCR cartridge. Droplets containing the target DNA molecules are
identified by a 120-160 base pair targeted PCR specific to a sequence within or adjacent to the region of interest.
Positive droplets are identified by their fluorescence and physically separated from negative droplets by use of a
standard cell sorter. The result is an enrichment of long single molecules comprising tens of kilobases of DNA
information.
For downstream universal amplification of the single molecules, Samplix has developed a proprietary technology by
which the high molecular weight DNA molecules are partitioned into thousands of droplets for high fidelity multiple
displacement amplification in droplets (dMDA).
The Xdrop™ enrichment and amplification technology are compatible with downstream molecular biology techniques
such as short and long read DNA sequencing.

4
Xdrop™ instrument overview
The Xdrop™ droplet generator is compatible with Samplix dPCR cartridges for production of dPCR droplets
and Samplix dMDA cartridges for the generation of droplets for amplification of DNA. When using dMDA
cartridges, always use the accompanying holder. The Xdrop™ droplet generator is used for generating both
dPCR and dMDA droplets.
The Xdrop
™
droplet generator is composed of the following parts (see figure below):
Drawer – holds the dPCR or dMDA cartridge.
Touch screen – provides the means to control the droplet generator with gloved or un-gloved
hands.
USB port on the back of the instrument – connects to a USB flash drive for troubleshooting, saving log files,
and for updating instrument firmware.
Status LED – Green when in standby and operating and yellow-green when opening and closing the
drawer.
Air vents on the back of the instrument – for ventilation.
A start button on the front of the instrument.
A hardware switch on the back of the instrument.

5
Specifications
Width: 25 cm / 9,8 inches
Height: 25 cm / 9,8 inches
Length: 48 cm / 18,9 inches
Weight 17 kg / 37,5 lbs.
Voltage requirements: 110 V-240 V
Support
To find technical support, contact the technical support team at support@samplix.com
Warranty
The Xdrop™ instrument and associated accessories are covered by a standard Samplix ApS warranty. Contact your local
Samplix ApS office for the details of the warranty.
Safety
We strongly recommend that you follow the safety specifications listed in this section and throughout this manual.
Xdrop™ is produced to comply with Safety Requirements for Electrical Equipment for Measurement, Control, and
Laboratory Use (UL 61010-1) and complies with EU (CISPR 11, class A, group 1, 150 kHz – 30 MHz) EMC.

6
Instrument safety warnings
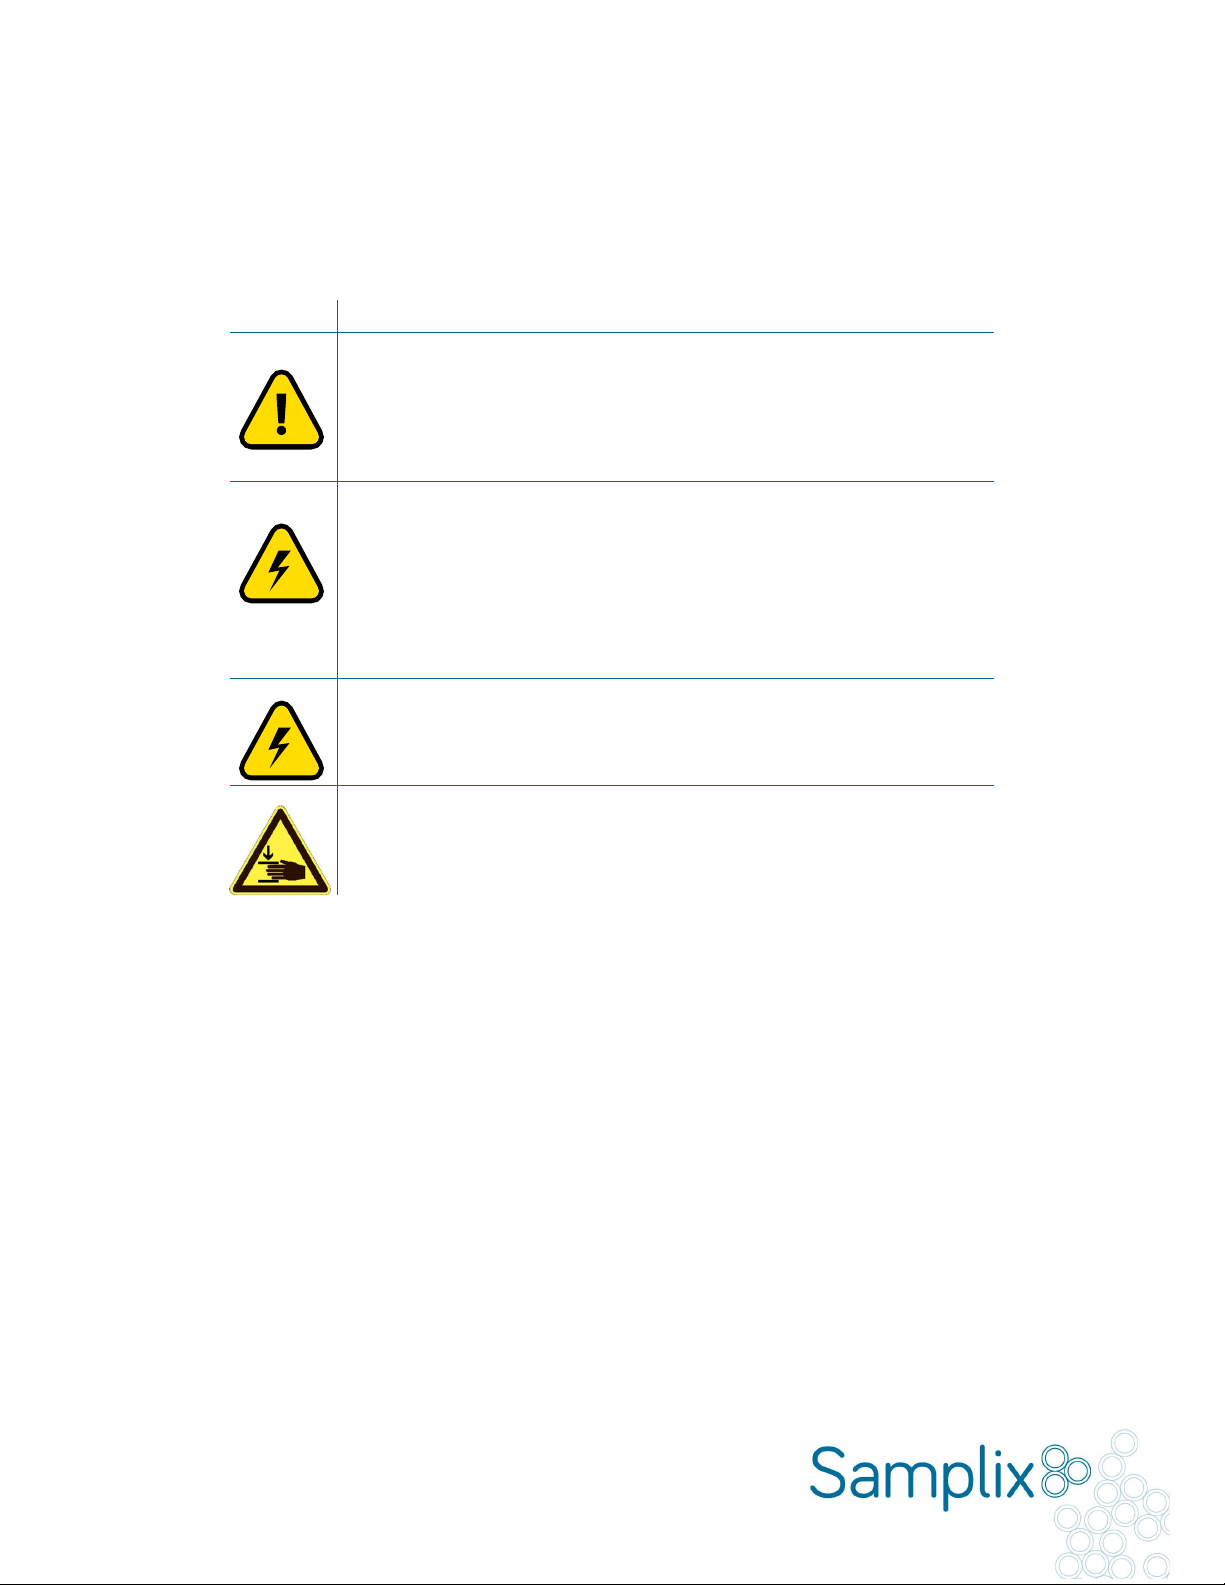
The following warning labels refer directly to the safe use of the droplet generator.
Icon
Meaning
Warning about the risk of harm to body or equipment. Operating the Xdrop™
before reading this manual can constitute a personal injury hazard. Only
qualified laboratory personnel should operate this instrument.
Warning about the risk of harm to body or equipment from electrical shock.
Do not attempt to repair or remove the outer case of this instrument, power
supply, or other accessories. If you open these instruments, you put yourself
at risk for electrical shock and void your warranty. All repairs must be done
by an authorized repair service.
Never remove the outer case of an Xdrop
™
instrument. This may cause
you to receive an electrical shock.
Warning about the risk of harm to hands and fingers. Always keep hands
and fingers away from the instrument when the drawer is in motion.
Intended use and intended users
The Xdrop™ instrument is intended for use by trained laboratory personnel in a clean laboratory environment for DNA
sample preparation from mixed DNA samples using droplet microfluidic technology.
Transportation and storage
Always transport the instrument in the original Samplix box. Before starting up the instrument, let it stay in room
temperature for at least 2 hours.
Maintenance and cleaning
If the instrument is shipped back to Samplix for maintenance, please make sure that the outer surfaces are cleaned
using a cloth and 70 % ethanol.

7
Required items for dMDA
Xdrop™ Instrument (Cat. No. IN00100)
dMDA cartridge (Cat. No. CA20100)
dMDA holder (Cat. No. HO10100)
dMDA gasket (Cat. No. GA20100)
Storage films (Cat. No. FI00100)
dMDA kit (Cat. No. RE20300)
dMDA kit part 1 (store at -20°C)
dMDA-mix (5x) ●
dMDA enzyme ○
dMDA kit part 2 (store at room temperature)
dMDA oil ●
Break solution ●
Break colour ●
Suggested Samplix products
Cell sorter control kit (Cat. No. CO10100)
Cell sorter control kit part 1 (store at -20°C)
Droplet dye ●
dPCR buffer (2x) ●
Cell sorter control kit part 2 (store at 4°C)
Control droplets ○
Positive control primer kit (store at -20°C) (Cat. No. CO10200)
dPCR control primers ●
Enrichment validation primers ●
Positive control DNA ●
Primer test PCR kit (store at -20°C) (Cat. No. RE10200)
dPCR mix (2X) ●
qPCR dye (20x) ●

8
Equipment and reagents for Xdrop™ enrichment and amplification supplied by the user
In addition to required and suggested Samplix products, the following items are also suggested.
Thermal cycler
Real-time PCR cycler
LAF (Laminar Air Flow) hood
Flow cytometry analyser / cell sorter
Quantification of nucleic acids – Nanodrop, Qubit, Quantus, Bioanalyzer, Tapestation or similar
Microcentrifuge
Vortex
Freezing blocks for both PCR tubes and microcentrifuge tubes
Nuclease-free water
Nuclease-free tubes and filter pipette tips
Wide bore pipette tips (P200 Pipette, Orifice size: 1.5 mm)
PCR tubes
1.5 ml LoBind tubes

9
Chapter 2: General DNA Amplification by
dMDA
Break sorted droplets (if applicable)
If continuing the enrichment of selected DNA molecules from Xdrop™ dPCR droplets, release the DNA from the sorted
dPCR droplets by breaking the droplets with Break solution ● and Break colour ● as described below. Do not store
sorted dPCR droplets longer than a few hours as this may lead to degradation of DNA. If amplifying already purified
DNA, continue directly to “Set up dMDA reaction” page 10. For advice on the dPCR reaction see Xdrop™ manual droplet
PCR (dPCR).
1. Add 20 μl Break solution ● to each tube of sorted dPCR droplets.
2. Add 1 μl of Break colour ●. This will colour the water phase. NB: The water phase may be a colour ranging from
yellow to purple as the Break colour functions as a pH indicator.
3. Flick tube gently, do not vortex.
4. Spin tube briefly (15-30 sec).
5. Remove the clear Break solution phase from the bottom of the tube and discard. Be careful to remove all the
Break solution.
6. Repeat steps 3-5 to remove all leftover Break solution. It is important to remove all the Break solution phase as
residual Break solution may inhibit downstream enzymatic reactions.
7. Keep the coloured water phase, which will contain DNA from the dPCR droplets (Fig. 2.1).
Fig. 2.1. Break sorted dPCR droplets with Break solution
●
and Break colour
●.
Discard the clear break solution
phase at the bottom of the tube. Keep the top coloured water phase, this phase will contain your DNA molecules.

10
Set up dMDA reaction
Note: Do not use any other reagents than Samplix dMDA kit (Cat. No. RE20300) for Xdrop™ dMDA droplet production
as this may compromise droplet production, droplet stability, and downstream enrichment.
Prepare amplification mix following the table below in a Laminar Air Flow (LAF) bench or similar dust free environment.
Be careful to avoid DNA contaminations of any kind.
Amplification mix
1X
H2O (molecular grade) 5 μl
dMDA mix (5x) ● 4 μl
dMDA enzyme ○ 1 μl
Template DNA solution 10 μl
Total 20 μl
1. Mix reagents as above, mix gently, no vortexing.
2. Aliquot mix in cooling block. Important! Keep cold at 4°C until use.
3. Add 10 μl template (sorted dPCR droplets after break).
4. Include the following control reaction:
10 μl molecular grade H2O, (negative control)
5. Consider preparing these suggested controls:
10 μl sheath fluid from flow cytometer, (contamination control)
10 µl 1 pg total non-sorted input DNA, (positive control)
6. Mix gently and keep cold at 4°C until loading the sample mix on the dMDA cartridge.

11
Load the dMDA cartridge
The dMDA reaction takes place inside droplets formed in the dMDA cartridge in the dMDA holder (Fig. 2.2). The
cartridge must be sealed with a gasket on top during droplet production. Load samples in a clean LAF bench.
NB: re-use the holder for the next run.
Fig. 2.2. Left: dMDA holder. Right: Top view of dMDA cartridge with inlet well on top and exit well below. White holes at the bottom of
the wells are the entrances of the microfluidic channels.
Set up the cartridge:
1. Unpack the dMDA holder and cartridge from their plastic bags wearing gloves.
2. Handle the cartridge as follows:
Always wear gloves when handling the cartridge.
Hold the cartridge by its sides or by the handle.
Do not touch any of the inlet wells or droplet exit wells.
Be cautious to avoid DNA contamination at all times.
Store the cartridge if partially used in a clean, sealed plastic bag.
3. Be careful not to use the same sample line more than once as this will disrupt droplet production and lead to
contamination of your sample. In order to avoid using the same line more than once, mark the storage plastic
bag with a permanent marker once a line has been used.

12
Fig. 2.3. The assembled dMDA cartridge with holder (light grey) and dMDA cartridge (black) inserted.
Note: It is absolutely mandatory that the sample is injected into the dMDA cartridge with wide bore pipette tips.
4. Place the dMDA cartridge in the groove of the dMDA holder as shown in Fig 2.3. Inlet wells are placed closest
to the numbers on the holder while the outlet wells are placed closest to the side with the Samplix logo.
5. Place the wide bore pipette tip (with 20 μl sample mix) in the inlet hole at the bottom of the inlet well making a
tight connection (Fig. 2.4 and 2.5).
Fig. 2.4. Injection of the sample in the inlet well. Left: Drawing of a correct and incorrect position of the tip for loading of the sample
mix in the inlet well. The wide bore pipette tip should enter the hole in the pointy end of the tear shaped inlet well. Right: Drawing of
inlet wells showing the loading point of the sample. Load the sample in the position indicated by the arrow while following the
instructions.

13
Fig. 2.5. Loading the dMDA cartridge. Left: Pipette positions when loading the dMDA sample mix, 1: The tip outside the sample, press
the pipette’s push button to the first stop. 2: Transfer 20 μl sample mix to the dMDA cartridge and insert the tip correctly in the
sample hole in the inlet well. 3: Inject the sample mix slowly. With the pipette tip still in the inlet hole, wait 15 seconds. 4: Remove the
pipette tip while still holding the push button at the first stop. Right: Photo of loading of the dMDA cartridge in the sample hole in the
pointy end of the tear shaped inlet well.
6. Slowly inject the sample and hold the pipette push button in the first stop position for 15 seconds while still
applying moderate pressure on the pipette tip to ensure a tight connection between the pipette and cartridge
(see Fig. 2.4).
7. Remove the pipette while still holding the pipette push button in the first position. The entire sample should
have entered the channel in the chip, there should be no liquid visible in the well.
8. Repeat steps 5 to 7 for the next line to use, if applicable
9. Add 75 μl dMDA oil ● to the side of the inlet well allowing it to flow gently into the reservoir in the loaded
line(s). Do not inject the oil directly into the upper channel hole (see Fig. 2.2).
10. Place the gasket on top of the cartridge using the hooks on each side (Fig. 2.6).
Fig. 2.6. Attach gasket to dMDA cartridge.

14
Generate dMDA droplets on the Xdrop™ instrument
Before powering up the instrument please make sure that the main power switch is in the “1” position. The main switch
is located at the back of the instrument. Power up the instrument by pushing the Start/Stop button at the front.
Instrument will start initializing and will shift to “Welcome screen”.
1. Press “open” on the Xdrop™ instrument touch screen to eject the drawer (Fig. 2.7).
Fig. 2.7. The Xdrop™ instrument “welcome screen”. Press open to eject the drawer.
2. When the “open” or “next” button has been pressed, the screen shifts to “Please place cartridge” and “close
drawer”.
3. Place the loaded cartridge with the holder in the Xdrop™ instrument drawer. Make sure that the cartridge is
correctly positioned into the drawer by aligning the rounded corner on the holder to the rounded corner on
the instrument drawer (Fig. 2.8) as the incorrect insertion of the cartridge may cause damage to the
instrument. Once the cartridge is correctly inserted, press “close” to retract the drawer into the instrument.

15
Fig. 2.8. Photo of Xdrop
™
instrument with a correctly inserted dMDA cartridge
4. Once the drawer is fully closed, press “next” on the touch screen.
5. The droplet generator instrument can operate with either dPCR or dMDA cartridges. Use the dMDA cartridge
with the “dMDA” option on the touch screen (Fig. 2.9).
Fig. 2.9. The Xdrop™ instrument “select cartridge screen”. Select dMDA cartridge.
6. The channels to be processed are selected by pressing the corresponding numbers 1-8 on the screen. When
selected, the button turns green (green = selected & blue = not selected) (Fig. 2.10). Deselect the channels not
used.

16
Fig. 2.10. Selecting the channels to be used. Selected channels will be indicated by green buttons (in this figure,
channels 2, 4, 6, and 8). Blue buttons indicate channels not yet selected.
7. Press “run”.
The message “Making your droplets” and the remaining run time is displayed on the screen (Fig. 2.11). The dMDA
protocol will produce droplets in approximately 45 seconds.
Fig. 2.11. Touch screen image while producing droplets.
8. Once droplet production has been completed, the screen will change to “Your droplets are ready”.
(Optional: To save the Log file from this production, insert a FAT formatted USB stick into the USB port at the back of
the instrument. 1-2 seconds after having inserted the USB, a “Save Log” button will appear on the touch screen. Push
the button and enter an appropriate name for your log file).

17
9. Press “Open” to eject the cartridge.
10. Remove the cartridge from the instrument and place it in a LAF bench.
11. Press “Close” to make the instrument retract the drawer back into its closed position.
12. Press “Finish” to return to the Welcome screen.
13. Shut down the instrument after a completed droplet production to avoid damage to the instrument. If the
instrument is not to be used for several hours, it should preferably be turned off. To turn it off, push the
ON/OFF button at the front to power off the instrument to initiate the automatic shutdown procedure.
14. Collect all the dMDA droplets from the exit well with a P200 pipette and transfer into a PCR tube. Pipette
slowly so that the droplets do not stick to the walls of the exit well. The total volume of dMDA droplets and oil
in the exit well is 70-100 μl (Fig. 2.12).
Fig. 2.12. Collection of dMDA droplets in the exit well. Left: Drawing of exit well. Notice that the sides are slightly slanting towards the
inlet hole of the well. Collect the dMDA droplets by pipetting gently. Right: dMDA droplets in PCR tube after collection. dMDA droplets
will form a white layer on the top with the excess oil at the bottom.
15. Inspect the volume of collected droplets before removing the oil (step 16). You can expect approximately 2-3
mm layer of droplets.
16. Remove the excess dMDA oil from the bottom of the collection PCR tube. Only 1-2 mm of dMDA oil should be
left in the bottom of the tube (see Fig. 2.12).
17. If some lines are still unused when all samples have been run, place a protective foil over the cartridge while
still in the holder (Fig. 2.13) and store the dMDA cartridge and holder in a Ziplock bag at room temperature
until further use.

18
Fig. 2.13. Place a transparent protective foil on the dMDA cartridge to seal the wells to
avoid cross-contamination.
18. Incubate dMDA droplets in a thermo cycler at 30°C for 16 hours followed by 10 minutes at 65°C. Run the
following program on a thermocycler:
Temperature Duration
30°C 16 hours
65°C 10 min
4°C ∞

19
Chapter 3: Evaluation of Targeted
Enrichment
Quantify total DNA
After dMDA incubation at 30°C, finalising at 65°C, break the dMDA droplets with Break solution ● and Break colour ●
(Fig. 3.1).
1. Add 20 μl Break solution ● to each tube.
2. Add 1 μl of Break colour ●. This will colour the water phase. NB: The water phase may be a colour ranging from
yellow to purple as the Break colour is functioning as a pH indicator as well.
3. Flick tube gently, do not vortex.
4. Spin tube briefly (15-30 sec).
5. Remove the clear Break solution phase from the bottom of the tube and discard.
6. Repeat steps 3-5 to remove all leftover Break solution. It is important to remove all the Break solution as residual
Break solution may inhibit downstream enzymatic reactions.
7. Keep the coloured water phase, which will contain DNA from the amplified DNA. (Fig. 3.1).
Fig. 3.1. Break sorted dMDA droplets with Break solution
●
and Break colour
●
. Discard the clear break solution
phase at the bottom of the tube. Keep the top coloured water phase, this phase will contain your DNA molecules.
Measure the total amount of enriched DNA by a reliable and sensitive method such as with Qubit™, Bioanalyzer™,
TapeStation™, FEMTO Pulse™ or similar. If possible, evaluate the size of sorted DNA fragments.

20
Evaluate the enrichment of target DNA
An online tool for calculating the DNA enrichment is available at samplix.com
To determine fold enrichment of target DNA, perform a qPCR using primers not overlapping the dPCR amplicon used in
the dPCR step. See “General guidelines for primer design” or at the online primer design tool at samplix.com. If a
specific region of DNA is required, place the validation primer pair on the opposite side of this region but with
maximum 5 kb distance from the dPCR primers. The enrichment will be highest in the region close to the dPCR
amplicon.
To quantify the enrichment, perform a standard qPCR reaction using your own preferred qPCR reagents (Fig. 3.2).
Set up a qPCR for detection using the following DNA as a template:
dMDA sorted positive population, 1:10 dilution (enriched sample, red curve below)
dMDA H
2
O, 1:10 dilution (negative control)
Suggested controls:
o dMDA sheath fluid from flow cytometer, 1:10 dilution (contamination control)
o dMDA 1 pg non-sorted input DNA, 1:10 dilution (positive control)
Input DNA, same concentration as input in droplets (dark blue curve below, run a standard curve once to
calculate PCR efficiency, light blue curves. See Xdrop™ droplet PCR Manual)
H
2
O (negative PCR control)
Fig. 3.2. Example of amplification curve for qPCR validation of enrichment with quantification primers. Curves from left: Red:
dMDA sorted positive population. Light blue: 10x reference DNA. Dark blue: 1x reference DNA. Light blue: 0,1x reference
DNA.
Other manuals for Xdrop
1
Table of contents
Other Samplix Laboratory Equipment manuals