Samsung SM421 User manual

Operation Handbook
SM421
Operation Handbook (2a/8)
Version 1.0
P.N: J68061090A

© Copyright Reserved 2007 Samsung Techwin Co., Ltd.
Samsung Techwin Co., Ltd.
DongBang Rental B/D 1F, 333-1, Sangdaewon1-dong, Joongwon-
gu, Sungnam-shi, Gyeonggi-do, Republic of Korea
(Post Code: 462-807)
(http://www.samsung-smt.com)
STS Co., Ltd.
The Representative C/S Company
DongBang Rental B/D 3F, 333-1, Sangdaewon1-dong, Joongwon-
gu, Sungnam-shi, Gyeonggi-do, Republic of Korea
(Post Code: 462-807)
Tel: +82-31-743-6500, 6732~4
This manual and the hardware/software described in this manual are
under the protection of copyright law.
The contents and specications in this manual are subject to change
without advance notice. For detailed information on future revisions, you
can visit the web site of our Business Division.
Samsung Techwin Co.,Ltd. guarantees that the information handled in
this manual is correct and reliable. However, Samsung Techwin Co.,
Ltd. shall not assume responsibility for any situation occurred due to
inaccurate description or typographical error.
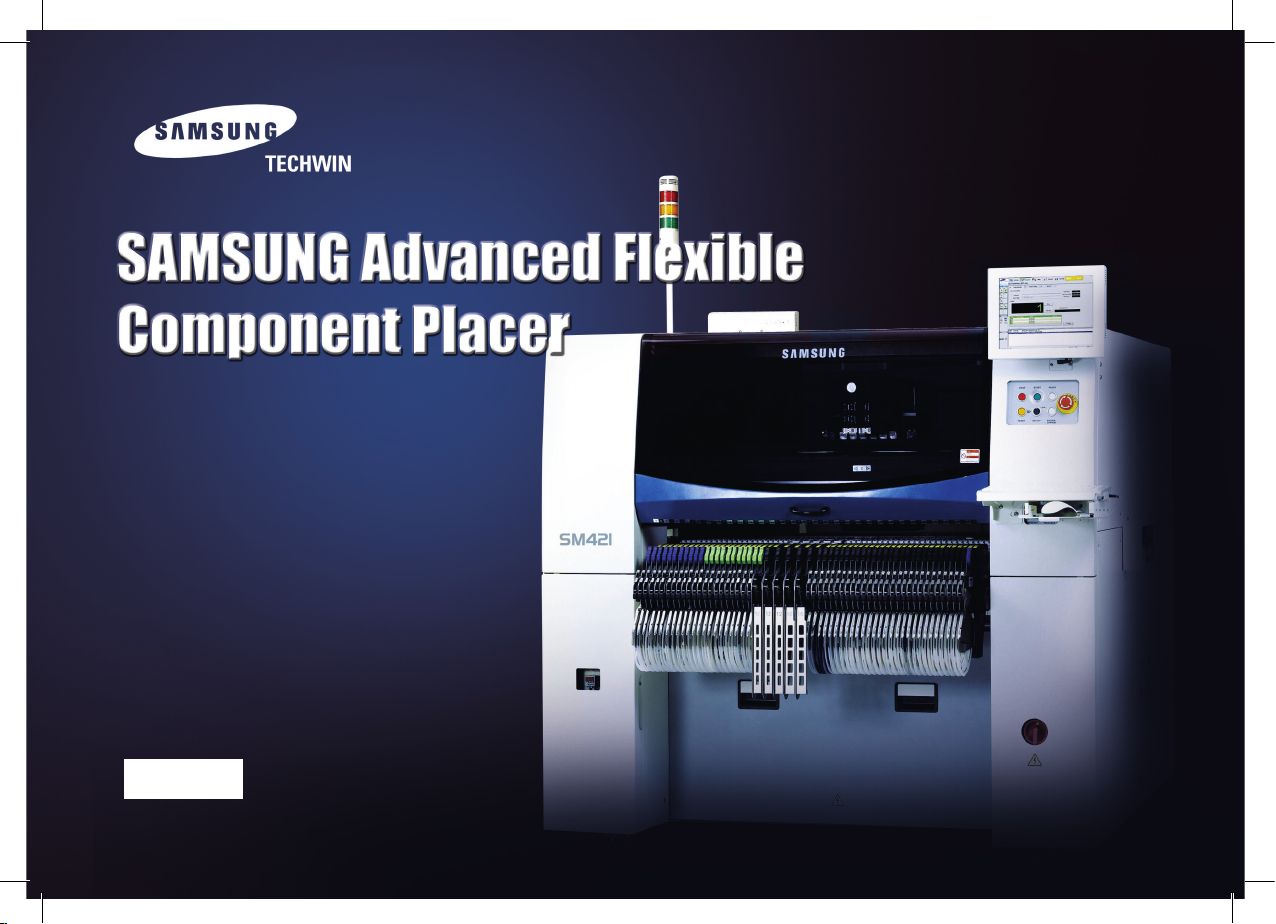
SM421 is a registered trademark of Samsung Techwin Co.,Ltd.
Windows XP Embedded is a registered trademark of Microsoft Co.,Ltd.
Except for making copies of software for normal use under the copyright
law, reproduction of the contents of this manual, in whole or in part,
without the prior written permission of Samsung Techwin Co., Ltd. is
prohibited.
Please send inquiries or comments concerning mistakes, typographical
errors and omissions contained in this manual as well as ideas for
improvement to the following address.
Cautions to be exercised for the safety and to be referred to for the work are
described as follows in this manual.
The item according to this mark describes the item to which the
user needs to refer when performing the corresponding work.
※Warnings and cautions for safety
If the instructions following this symbol are not followed, serious
accidents could occur, or death or serious injury of the operator
could happen. Be sure to follow the instructions.
Danger
If the instructions following this symbol are not followed, serious
accidents could occur, or serious injury of the operator could
happen. Be sure to follow the instructions.
Warning
If the instructions following this symbol are not followed, damage
of machine hardware, software, and data could occur or the
operator could be injured. Be sure to follow the instructions.
Caution

PART IV How to Stop the Machine in
Emergency
Temporary Stop ..........................................................34
Emergency Stop.........................................................38
PART V Changing Jobs
SMT In-Line Process ..................................................44
Changing Jobs............................................................45
SM421 Operation Hand-Book
3
Table of Contents
PART I Machine Overview
PART III Production
PART II Power Supply and Procedure
Preparing for Production
Procedure of Power Suppy.........................................10
Procedure Preparing for Production...........................14
Preparation For Production ........................................20
Production ..................................................................28
Finishing Production...................................................31
Name of Each Part .......................................................5
Name of the Operation Panel.......................................6
Conguration of MMI ....................................................7
Table of Contents..........................................................3
Overview - Operation Process......................................4
PART VI
Additional Check Points
Checking Feeder.................................................................50
Arranging Backup Pins.......................................................57

SM421 Operation Handbook
4
The overall process to operate the SM421 machine is as follows:
Overview - Operation Process
4
●Air pressure ●Rated voltage
●Foreign material inside the machine
●Nozzle state ●Feeder ●Close doors
●
Check safety state around the machine.
Turn on the main switch on the front
side of the machine clockwise to sup-
ply power to the machine.
2. Turning on the main switch
If the MMI is executed, the program
is initialized automatically and each
module of the machine is checked.
3. MMI Initialization
The ‘Ready’ button to operate the
machine.
4. Supplying the power to the
servomotor
Press the ‘Home Start’ button in the
Teaching Box to return the machine to
origin.
5. Returning to origin
The warm-up is performed for about
10 minutes before starting the part
placement in order to increase the
placement accuracy of the machine.
6. Warm-up
Select and load the PCB le to work
with.
7. Loading the PCB le
●Adjust conveyor width.
● Set the PCB xing method.
8. Setting the conveyor
9. Arranging the backup pins
●
Select the ‘Production’ menu of
the MMI.
●Select the ‘Start’ submenu.
●Enter production amount in the
<Production Plan> edit box.
●Press the ‘Start’ button in OperationPanel.
10. Creating the PCB
Once the production is nished, click
the <PCB Stop> button to nish the
production.
11. Finishing the production
●Press the ‘Reset’ button.
●Click the <Exit> button.
●Turn off the main switch.
(counterclockwise).
●Put the surrounding of the working
area in order.
12. Turning off the machine9. Arranging the backup pins
Arrange the backup pins at appropri-
ate positions so that they can support
the bottom of the board.
1. Checking the machine
before starting the machine
Overview
SM421 Operation Handbook
4

SM421 Operation Handbook
5
PART I Machine Overview
PART I. Machine Overview
This part describes the name of each part, teaching box and the conguration of
MMI(Man-Machine Interface).
AIRPRESSURE SAFEGUARD
OVERRIDE
MAINSWITCH
STOP
RESET SELECTFEEDER
CHANGE
START READY
[CH1]
TRAY
NEXT PREVIOUS
LAN
MCCB GROUND
INTERFACE
[CH2]
FEEDER
STOP
RESET SELECTFEEDER
CHANGE
START READY
Name of Each Part
1. Front view of the machine 2. Rear view of the machine

SM421 Operation Handbook
6
SM321
1
2
3
Indication of operation speed (5 steps)
Machine Overview
Name of the Operation Panel
Selects the operation speed
in the Jog Mode.
▲ UP: Increase the speed
▼ Down: Decrease the speed
Changes over the Jog, Bang,
Home and O.Line mode.
Turns on/off the vacuum of
each head.
Selects the item to be operated.
Indicates the movement of each
axis and rotation direction.
Emergency stop button

SM421 Operation Handbook
7
PART I Machine Overview
Conguration of MMI
Machine Overview
The conguration of MMI
Display the Shortcut-bar
The PCB le name
being worked on is
displayed.
A sub menu tool-
bar is shown.
Menu
●New
●Open
●Save/Save as
●Merge
●Exit
● ErrorMsg Bar
● Windows Tool
A main menu tool-bar is shown. The state of a Machine - ●IDLE
● RUN
●FREEZE
●WAIT
● PAUSE
●EMER
Displays the state of a Nozzle.

SM421 Operation Handbook
8
Initialization (0)
Input production quantity
Indicates work progress
Change unit system
Product
Sub-Menu
Tab Dialog
Box
Machine Overview
The conguration of 'production' screen
Conguration of MMI
Displays PCB
Data
For the detailed description about each function of the ‘Production’ menu, refer to
‘11.1 Product Main’ of the ‘Administrator’s Guide’.

SM421 Operation Handbook
9
PART I Machine Overview
9
Machine Overview
The conguration of 'production' screen
‘Option Setting’ dialog box
‘Tape Feeder Monitor’ dialog box
‘My PCB’ dialog box

SM421 Operation Handbook
10
3 Phase AC 220V ± 20V
Check if the rated voltage is correctly connected to the
machine.
Rating voltage
[CH1]
TRAY
NEXT PREVIOUS
LAN
MCCB GROUND
INTERFACE
[CH2]
FEEDER
STOP
RESET SELECT FEEDER
CHANGE
STARTREADY
PART II. Power supply and Procedure Preparing for Production
This part describes how to supply the
power and the items to be checked
before starting production.
1. Rating voltage and connecting power source
Procedure of Power Suppy (Check List)

SM421 Operation Handbook
11
PART II Power supply and Procedure
Preparing for Production
For a detailed description of how to check and clean the nozzle, please refer to Chapter “Daily Inspection” in Maintenance manual.
- Select the appropriate nozzle according to the type and size of the part to be placed.
PART II. Power supply and Procedure Preparing for Production
2. Nozzle type and applied part
1. Type of nozzle
Nozzle
name
CN020
(Option)
CN030
(Option) CN040 CN065 CN140 CN220 CN400N CN750 CN110
External
shape
Outside
diameter
Φ
0.5
Φ
0.6
Φ
0.75
Φ
1.2
Φ
2.2
Φ
3.6
Φ
6.2
Φ
9.0
Φ
12.7
Inside
diameter
Φ
0.16
Φ
0.28
Φ
0.38
Φ
0.65
Φ
1.4
Φ
2.2
Φ
4.0
Φ
7.5
Φ
11.0

SM421 Operation Handbook
12
PART II. Power supply and Procedure Preparing for Production
2. Nozzle type and applied part
- Select the appropriate nozzle according to the type and size of the part to be placed.
Nozzle
name
Material
number
Minimum part
width Applied part
CN020 J90551006A 0.2
~ 0.5
0402 Chip
Dedicated
CN030 J90550133D 0.3
~ 1.5
0603, 1005 Chip
Dedicated
CN040
J90550134C 0.5 ~ 1.25 1005, 1608, SOT(Molded part 1.6 x 0.8)
CN065
J9055136C 0.8 ~ 2.5 2012, 3216, MELF(Molded part 1.2 X 2.0), SOT23
CN140
J9055256A 2.5 ~ 4.0 Aluminum electrolytic capacitor(
Small-Size
), Tantalum capacitor,
Trimmer
CN220
J9055351A 4.0 ~ 7.0 Aluminum electrolytic capacitor(
Medium-Size
), SOP(Narrow),
SOJ, Connector
CN400N
J9055258B 7.0 ~ 10.0 Aluminum electrolytic capacitor(
Large-Size
), SOP(Wide), TSOP,
QFP, PLCC, SOJ, Connector
CN750
J9055259B 10.0 ~ QFP(
Medium-Size
), PLCC(
Medium-Size
)
CN110
J9055260B 20.0 ~ QFP(
Large-Size
), PLCC(
Large-Size
)

SM421 Operation Handbook
13
PART II Power supply and Procedure
Preparing for Production
PART II. Power supply and Procedure Preparing for Production
3. Turning on/off the main switch.
1. Turning on the main switch
- Turn Off - Turn On
2. Turning off the main switch
- Turn off the
main Switch
- Press the ‘RESET’
button
- Click the <EXIT> button

SM421 Operation Handbook
14
[CH1]
TRAY
NEXT PREVIOUS
LAN
MCCB GROUND
INTERFACE
[CH2]
FEEDER
STOP
RESET SELECT FEEDER
CHANGE
STARTREADY
PART II. Power supply and Procedure Preparing for Production
1. Inspections
Procedure Preparing for Production
1. Check the power connection
- Be sure to check around and inside the machine before turning on the main switch.
- Check if there is any foreign matter such as a chip on the feeder base, and whether the feeder is correctly installed.
- Check if the nozzle is blocked with any foreign matter such as solder and the operation of the nozzle spring is smooth.
- Check whether the safety doors at the front and rear are open. If opened, close them.
Caution

SM421 Operation Handbook
15
PART II Power supply and Procedure
Preparing for Production
AIRPRESSURE SAFEGUARD
OVERRIDE
MAINSWITCH
STOP
RESET SELECT FEEDER
CHANGE
START READY
PART II. Power supply and Procedure Preparing for Production
2. Check the air pressure
The Range of the rated pressure: 0.45~0.55MPa
1. Inspections
Pressure Increase (Clockwise)
Pressure Decrease (Counterclockwise)
3. Check the main switch is on
- Check the room temperature before turning on the rst machine
(Recommended temperature: above 20℃)
- If the temperature is below 20℃, ensure that the room
temperature is 20℃. And then wait for 30 minutes before
turning on the machine torevent the condensation of air.
Caution

SM421 Operation Handbook
16
PART II. Power supply and Procedure Preparing for Production
2. MMI initialization
If the power is supplied to the machine, the PC is turned on and
the MMI is executed automatically to check each module by
initializing the program.
1. Turn on the main switch
2. Check the MMI initialization and module (automatically)
3. Press the ‘READY’ button

SM421 Operation Handbook
17
PART II Power supply and Procedure
Preparing for Production
SM321
1
2
3
PART II. Power supply and Procedure Preparing for Production
3. Return to origin (Homing)
When the machine is in ‘Ready’ state, it can be returned to
the origin. (homing)
1. Check if the light of the 'ready' button is on
2. Press the ‘Start’ button (▼)
3. It is returned to the origin

SM421 Operation Handbook
18
PART II. Power supply and Procedure Preparing for Production
4. Warming-Up
1. Selecting the ‘Utility’ Menu: Displays the Utility screen 2. Selecting the ‘Warmup’ submenu: Open the Warm Up
dialog box
The warm-up should be performed for about 10 minutes
before starting the part placement in order to increase the
placement accuracy.
Temperature condition: 20 ~ 28
℃

SM421 Operation Handbook
19
PART II Power supply and Procedure
Preparing for Production
3. Click the <Start> button. Perform the warm-up 4. Click the <Stop> button and close the dialog box after
performing the warm-up for about 10 minutes
PART II. Power supply and Procedure Preparing for Production
4. Warming-Up

SM421 Operation Handbook
20
PART III. Production This part describes the production procedure.
1. Loading the PCB le
Preparation For Production
- Displays the ‘Product Monitor’ screen. - Displays its submenu.
1. Select the ‘Product’ menu 2. Click the ‘Open’ icon
Table of contents
Popular Laboratory Equipment manuals by other brands

Olympus
Olympus U-HGLGPS instruction manual

Thermo Scientific
Thermo Scientific TSQ 8000 Preinstallation manual

SPECS
SPECS XR 50 user manual

Monmouth Scientific
Monmouth Scientific Circulaire FB250 operating & maintenance manual

TESTO
TESTO 882 instruction manual

Labconco
Labconco FreeZone 70020 Series user manual