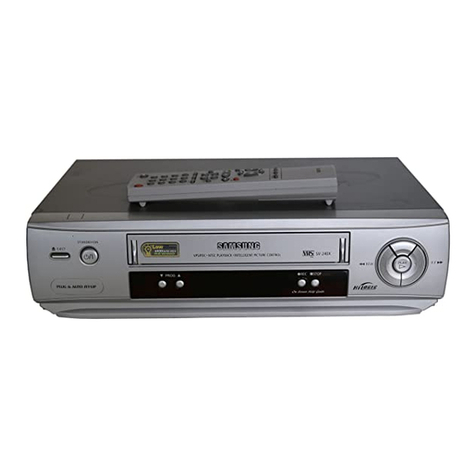
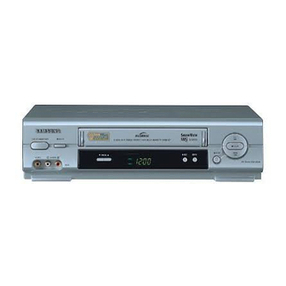
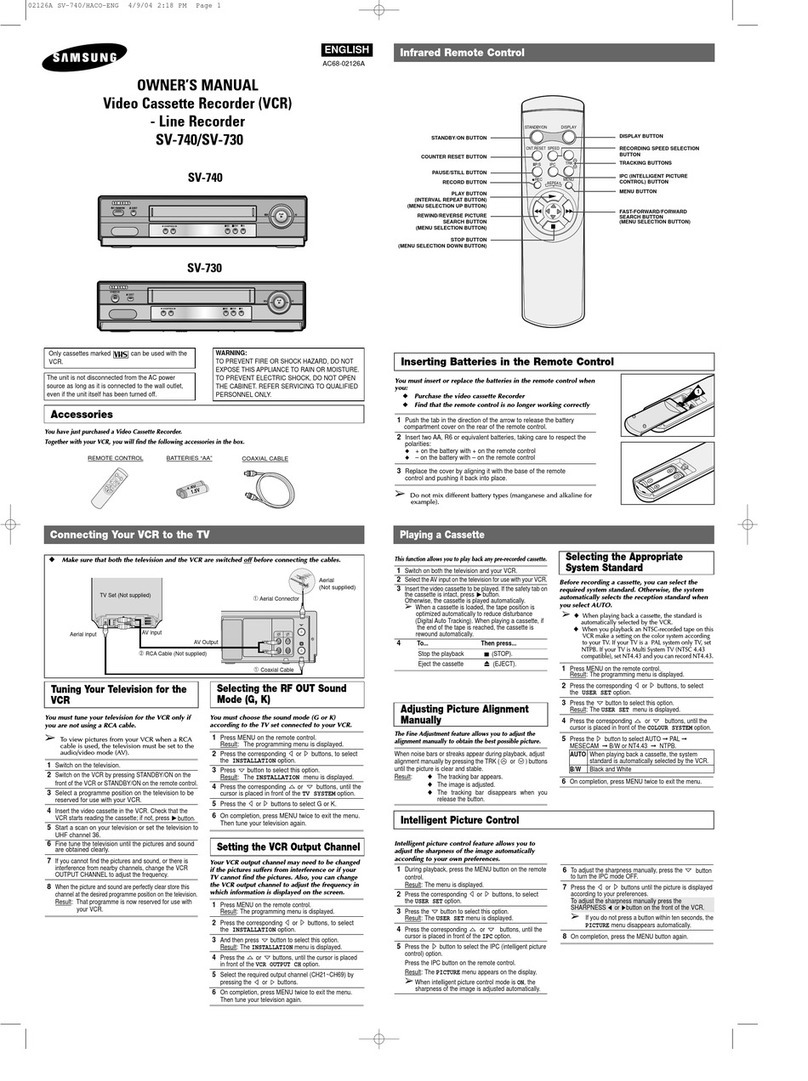
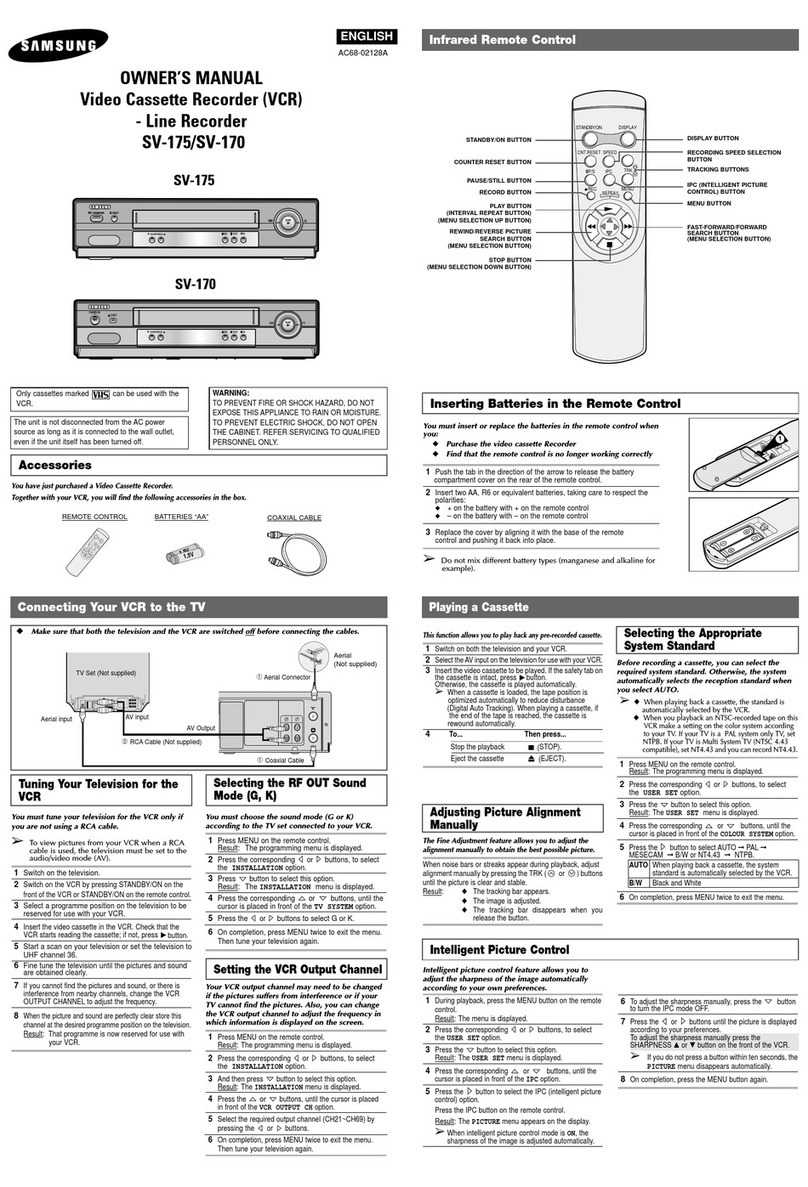
Samsung SV-C15P User manual

Owner’s Manual
Video Cassette Recorder
SV-C15P
Video Cassette Player
SV-C15P

Safety Instructions
ii
Note to CATV system installer: This reminder is provided to call CATV system installer's attention to
Article 820-40 of the National Electrical Code (Section 54 of Canadian Electrical Code, Part I) that
provides guidelines for proper grounding and, in particular, specifies that the cable ground shall be
connected to the grounding system of the building as close to the point of cable entry as practical.
Caution: FCC regulations state that any unauthorized changes or modifications to this equipment
may void the user's authority to operate it.
Caution: To prevent electric shock, match wide blade of plug to wide slot, fully insert.
Attention: Pour eviter les chocs electriques, introduire la lame le plus large de la fiche dans la borne
correspondante de la prise et pousser jusqu’au fond.
Important: One Federal Court has held that unauthorized recording of copyrighted TV programs is an
infringement of U.S. copyright laws.
Certain Canadian programs may be copyrighted and any unauthorized recording in whole or in part
may be a violation of these rights.
To prevent damage which may result in fire or electric shock hazard,
do not expose this appliance to rain or moisture.
RISK OF ELECTRIC SHOCK
DO NOT OPEN
CAUTION: TO REDUCE THE
RISK OF ELECTRIC SHOCK,
DO NOT REMOVE COVER (OR
BACK). NO USER SERVICEABLE
PARTS INSIDE. REFER
SERVICING TO QUALIFIED
SERVICE PERSONNEL.
This symbol indicates high voltage is present inside. It is dangerous to
make any kind of contact with any inside part of this product.
This symbol alerts you that important literature concerning operation
and maintenance has been included with this product.
Important Safety Instructions
1. Read Instructions-All the safety and operating instructions should be read before the product is operated.
2. Retain Instructions-The safety and operating instructions should be retained for future reference.
3. Heed Warnings-All warnings on the product and in the operating instructions should be adhered to.
4. Follow Instructions-All operating and using instructions should be followed.
5. Cleaning-Unplug this product from the wall outlet before cleaning. Do not use liquid cleaners or aerosol
cleaners. Use a damp cloth for cleaning.
6. Attachments-Do not use attachments not recommended by the product manufacturer as they may cause
hazards.
7. Water and Moisture-Do not use this product near water-for example near a bath tub, wash bowl, kitchen
sink, or laundry tub; in a wet basement; or near a swimming pool; and the like.
8. Accessories-Do not place this product on an unstable cart, stand, tripod, bracket, or table.
The product may fall, causing serious injury to a child or adult, and serious damage to the
product. Use only with a cart, stand, tripod, bracket, or table recommended by the
manufacturer or sold with the product. Any mounting of the product should follow the
manufacturer’s instructions and should use a mounting accessory recommended by the manu-
facturer.

Safety Instructions
iii
9. Cart Usage-A product and cart combination should be moved with care. Quick stops, excessive force, and uneven
surfaces may cause the product and cart combination to overturn.
10. Ventilation-Slots and openings in the cabinet are provided for ventilation and to ensure reliable operation of the
product and to protect it from overheating. these openings must not be blocked or covered. The openings should
never be blocked by placing the product on a bed, sofa, rug, or other similar surface. This product should not be
placed in a built-in installation such as a bookcase or rack unless proper ventilation is provided or the manufacturer’s
instructions have been adhered to.
11. Power Sources-This product should be operated only from the type of power source indicated on the marking label.
If you are not sure of the type of power supplied to your home, consult your product dealer or local power company.
For products intended to operate from battery power, or other sources, refer to the operating instructions.
12. Grounding or Polarization-This product may be equipped with a polarized alternating-current line plug (a plug
having one blade wider than the other). This plug will fit into the power outlet only one way. This is a safety feature.
If you are unable to insert the plug fully into the outlet, try reversing the plug. If the plug should still fail to fit, contact
your electrician to replace your obsolete outlet. Do not defeat the safety purpose of the polarized plug.
13. Power-Cord Protection-Power-supply cords should be routed so that they are not likely to be walked on or pinched
by items placed upon or against them, paying particular attention to cords at plugs, convenience receptacles, and the
point where they exit from the product.
14. Outdoor Antenna Grounding-If an outside antenna or cable system is
connected to the product,be sure the antenna or cable system is
grounded so as to provide some protection against voltage surges and
built-up static charges. Section 810 of the National Electrical Code,
ANSI/NFPA 70 provides information with regard to proper grounding of
the mast and supporting structure, grounding of the lead-in wire to an
antenna discharg
e unit, size of grounding conductors, location of antenna-
discharge unit, connection to grounding electrodes, and requirements
for the grounding electrode.
15. Lightning-For added protection for this product during a lightning storm
or when it is left unattended and unused for long periods of time, unplug it from the wall outlet and disconnect the
antenna or cable system. This will prevent damage to the product due to lightning and power-line surges.
16. Power Lines-An outside antenna system should not be located in the vicinity of overhead power lines or
other electric light or power circuits, or where it can fall into such power lines or circuits. When installing an outside
antenna system, extreme care should be taken to keep from touching such power lines or circuits as contact with
them might be fatal.
17. Overloading-Do not overload wall outlets, extension cords, or integral convenience receptacles as this can result in
a risk of fire or electric shock.
18. Object and Liquid Entry-Never push objects of any kind into this product through openings as they may touch
dangerous voltage points or short-out parts that could result in a fire or electric shock. Never spill liquid of any kind on
the product.
19 Servicing-Do not attempt to service this product yourself as opening or removing covers may expose you to
dangerous voltage or other hazards. Refer all servicing to qualified service personnel.
20 Damage Requiring Service-Unplug this product from the wall outlet and refer servicing to qualified service
personnel under the following conditions:
aWhen the power-supply cord or plug is damaged.
bIf liquid has been spilled or objects have fallen into the product.
cIf the product has been exposed to rain or water.
dIf the product does not operate normally by following the operating instructions. Adjust only those controls
that are covered by the operating instructions as an improper adjustment of other controls may result in damage
and will often require extensive work by a qualified technician to restore the product to its normal operation.
eIf the product has been dropped or damaged in any way.
fWhen the product exhibits a distinct change in performance-this indicates a need for service.
21. Replacement Parts-When replacement parts are required, be sure the service technician has used replacement
parts specified by the manufacturer or that have the same characteristics as the original part.
Unauthorized substitutions may result in fire, electric shock, or other hazards.
22. Safety check-Upon completion of any service or repairs to this product, ask the service technician to perform safety
checks to determine that the product is in proper operating condition.
23. Heat-The product should be situated away from heat sources such as radiators, heat registers, stoves, or other
products (including amplifiers) that produce heat.
Antenna Lead-in Wire
Ground Clamp
Antenna Discharge Unit
(NEC Section 810-20)
Grounding Conductors
(NEC Section 810-21)
Power Service Grounding
Electrode System
(NEC Section 810-21)
Grounding Clamps
Electric Service Equipment
NEC-NATIONAL ELECTRICAL CODE

Table of Contents
iv
Safety Instructions
Your New VCR
Accessories . . . . . . . . . . . . . . . . . . . . . . .1
Front Panel and Display . . . . . . . . . . . . .1
VCR Remote Control . . . . . . . . . . . . . . . .2
VCR Setup
Rear Panel . . . . . . . . . . . . . . . . . . . . . . .3
Connections . . . . . . . . . . . . . . . . . . . . . .3
VCR Operation
Playing a cassette . . . . . . . . . . . . . . . . . .5
Tracking . . . . . . . . . . . . . . . . . . . . . . . . .5
Instant play . . . . . . . . . . . . . . . . . . . . . . .5
Tape Controls . . . . . . . . . . . . . . . . . . . . .6
About Video Cassette Tapes . . . . . . . . . .6
Recording . . . . . . . . . . . . . . . . . . . . . . . .7
Care and Maintenance . . . . . . . . . . . . . . . . . . . .8
Troubleshooting . . . . . . . . . . . . . . . . . . . . . . . . .9
Specifications . . . . . . . . . . . . . . . . . . . . . . . . . .10

Your New VCR
1
Check to make sure the following items have been included with your VCR.
1.5V
1.5V
ELECTRONICS
Remote
Control Batteries for
remote(2AA) RF-Cable Warranty
Card
Accessories
Owner’s Manual
Owner’s
Manual
POWER Indicator
Lit when VCR is
turned on.
REC Indicator (SV-C15P only)
Lit when VCR is recording
Status and Audio Level Indicator
1
POWER
Press to turn the VCR on and off.
2
EJECT
Press to eject a tape or press.
3
CASSETTE COMPARTMENT
Insert a video cassette.
4
REW (REWIND)
Press to rewind in stop mode or
reverse search in play mode.
5
F.F (FAST FORWARD)
Press to fast forward in stop mode
or forward search in play mode.
6
PLAY
Press to play tape.
7
STOP
Press to stop tape.
SV-C15P, SP-C15P
Front Panel and Display
1 2 3 4 6 5 7

2
Your New VCR
Remote Control batteries
If you won’t use the remote for a long time, remove the batteries and store them in a cool, dry place.
Batteries should last about a year. When replacing batteries, use all new batteries, and never mix alka-
line and manganese batteries.
1Remove the battery compartment lid by lifting
the cover.
2Insert two AA batteries as shown.
Match + and
-
ends of the batteries as
indicated inside compartment.
3Replace the compartment cover.
POWER
Press to turn your VCR on and off.
TV/VCR
Switch between TV or VCR source
(See page 3).
TRK
Press to adjust cassette tracking.
DISPLAY
Press for on-screen information displays.
REC
Press to start VCR recording.
STOP,PLAY,P/S,REW,FF
Press to control cassette playback
or to move a cursor in the on screen menu.
REPLAY
Press to set counter to zero or to clear timer
record programs.
F.ADV/SKIP
Press to display menu screen.
SLOW
Press to slow-motion playback during
playback.
VCR Remote Control

3
VCR Setup
AUDIO OUT
Use to output audio signals
to connected equipment.
IN FROM ANT
Use to input cable
or antenna signal.
OUT TO TV
Use to output VCR signal to TV.
VIDEO OUT
Use to output video signal from
VCR to connected equipment.
Use the jacks on the rear panel to connect the VCR to other components and signals, including:
VCRs, TVs, stereo equipment, digital video components, antenna and cable signals.
75-ohm round
antenna lead
300-ohm flat
antenna lead with adapter
Cable/Antenna
IN TO VCR
VCR
OUT TO TV
Antenna Connection
If your outside antenna cable is a 300 ohm flat feeder, use
an adapter to connect the antenna to the VCR input termi-
nal. You can purchase an adapter at an electronics store. If
your antenna already has a round lead, simply connect it to
the terminal on the rear panel of the VCR.
Once your antenna is connected to the VCR, connect a
cable from the VCR to your TV from the “Out to TV”
terminal on the rear panel of the VCR.
Cable Connections
Basic Cable TV Connection
This set-up will enable you to:
- Record an unscrambled channel.
- Watch an unscrambled channel while recording it.
- Record an unscrambled channel while watching
another (only when you connect a cable-compatible TV).
You will need to:
• Select TV channel 3 or 4 to receive video
signals.(See page 9.)
• To record a channel while watching another, press
TV/VCR on the remote control to set the VCR to TV
mode and select a desired channel on the TV.
Rear Panel
Connections
CH 3/4
Set to channel 3 or 4 to match
the channel selected at the TV.

4
VCR Setup
Premium Cable TV Connection 1
This set-up will enable you to:
- Watch an unscrambled or scrambled channel while
recording it.
- Record any channels through the cable box.
You will need to:
• Set TV to channel 3 or 4 to receive video signals.
• While the VCR is turned off or the VCR is in TV mode, set
TV channel to the output channel of the cable box.

5
VCR operation
Playing a cassette
Instant play
1
Load a recorded cassette.
Power is automatically turned on.
2
Press PLAY to start playback.
When playback starts, the VCR automatically adjusts the
tracking for clear pictures and sound.
3
To stop playback, press STOP.
When the VCR has a tape loaded and power is off, simply press the PLAY button to start tape playback.
You don’t need to press the POWER button.
Tracking
For the best picture quality when playing a cassette, the video heads must be aligned with the recorded track. This alignment
is called tracking. When playing back a tape, your VCR automatically adjusts the tracking on a video tape, but occasionally a
cassette may require some manual adjustment. Keep in mind that picture distortion often occurs at the beginning of a tape.
Automatic Tracking
1
Turn the TV on and insert a cassette into your VCR. Press
the PLAY button, if necessary.
2
After a few seconds of auto tracking, you would hear the
sound from the video tape.
Manual Tracking
Press the TRK buttons on the remote control up or down until
the picture improves.
During still mode, press the TRK buttons to reduce picture
“jitter” (bouncing up and down).Asmall amount of “jitter” or
some “streaks” are normal during still viewing.
Note: The noise on the screen may not be completely eliminated
depending on the tape used, especially when the tape
was recorded on another VCR.
TRACKING

About Video Cassette Tapes (For SV-C15P only)
6
VCR Operation
Play and Pause/Still
• Press the PLAY button on t has oe remote control or on the front of the VCR to play a video. (IfAuto play is
selected and the video tape has no safety tab, it will begin playing automatically when you insert it in the
VCR.)
• In play or slow motion mode, press the STILL button to stop the tape on a single still frame. Press the button
again to resume normal viewing. (The VCR automatically stops after five minutes of slow motion or still, so
that VCR heads and video tapes are not accidentally damaged.)
Fast Forward and Forward Search
• Press FF when the tape is stopped to fast-forward the cassette at top speed.
• Press FF once while a tape is playing for forward search. Press PLAY to stop search.
• Press and hold to increase speed by 7 times for tapes recorded at SP speed and 21 times for tapes recorded
at SLP speed. Release button to play.
Rewind and Reverse Search
• Press Rewind when the tape is stopped to rewind the cassette at top speed.
• Press the Rewind button once while a tape is playing for rewind search. Press PLAY to stop search.
• Press and hold button while tape is playing to increase reverse speed by 7 times for tapes recorded at SP
speed and 21 times for tapes recorded at SLP speed. Release button to play.
Slow Motion
Press the SLOW while a cassette is playing for slow motion. Press PLAY to resume normal viewing. (The
VCR automatically stops after five minutes of slow motion, pause or still, so that VCR heads and video tapes
are not accidentally damaged.)
Note: It is available in the only SLP mode .
Tape Controls
Tape speeds
The VCR can record at two tape speeds. The slower speed (SLP) allows the VCR to record more program material on a
tape. Tapes recorded at standard speed (SP) provide a clearer picture. Set the tape speed in the VCR Function Setup
menu (See page 11). You can refer to the following table:
TAPE SP (Standard Play) SLP (Super Long Play)
T-120 2 hrs 6 hrs
T-160 2 hrs 40 minutes 8 hrs
T-180 3 hrs 9 hrs
Record protect tab
Before recording on any video cassette, make sure the record protect safety tab is in place. To prevent accidentally recording
over a program, remove the record protect safety tab on the cassette case. To record on a tape with its tab removed, cover
the hole with adhesive tape.

7
VCR Operation
Recording while you watch
1
Insert a video cassette with the record protect safety tab
intact. Check the tape speed.
2
Select a channel to record by pressing CH ▼▲ .
3
Press the REC button on the remote control.
The REC indicator will light.
4
If you want to edit out unwanted material during recording,
you can press the P/STILL button while recording and the
VCR will pause. To resume recording, press the P/STILL
button again.
5
To end recording, press the STOP button.
Separate Recording and Viewing
You can view one channel while recording another program if your VCR is connected to your antenna or cable
system. When using a cable decoder box, use an A/B switch.
While recording on one channel, press the TV/VCR button on the remote control to select TV viewing.
Select the channel you want to watch with the TV’s channel buttons.
Recording
10
16

8
Care and Maintenance
VCR
• Unplug your VCR from the wall outlet before cleaning.
• Use a dry cloth when dusting your VCR.
• Proper ventilation ensures that overheating will not damage electronic circuits. Don’t block ventilation holes.
• Take care of your remote control. Keep the remote with your VCR, where it is unlikely to be lost or damaged.
• Keep liquids away from your VCR, including beverages and cleaning liquids. Spilling any liquid on the VCR
can damage the electronics, resulting in an electric shock or fire.
• Do not use liquid or aerosol cleaners that can accidentally get into the VCR, causing damage or creating a fire
hazard.
• Do not allow any object to be pushed into the cabinet slots. This includes coins, dusters, cleaning cloths,
papers and other objects. Any such objects can connect with a voltage point inside the VCR, causing danger-
ous shocks, or may short out parts and cause a fire or an electric shock.
Video Head Cleaning
If poor pictures appear on a variety of cassettes, the video heads may need cleaning. This is not a common prob-
lem and unless it appears, the heads should not be cleaned. If necessary, purchase a head-cleaning cassette. If
the picture quality does not improve after cleaning, call for service.
When cleaning the video heads, read all the instructions provided with the head-cleaning cassette. Incorrect head
cleaning can permanently damage the video heads.
Video Cassettes
• High quality, brand-name cassettes often last longer and provide a better picture.
• Rewind your cassettes all the way so that the tape is not at a midpoint. This can extend the life of a cassette
tape.
• Do not touch or splice the tape. This can damage the tape, and playing such a tape can damage your VCR.
Do not take apart any cassette you plan to use again.
• Do not put any object inside a video cassette case and do not clean inside the cassette. This can permanently
damage the tape, making it unusable.
Warranty Information
To ensure proper warranty, please return your registration card within two weeks. Record the model number and
serial number from the back of the VCR and the date of purchase in the space on the right. Keep your purchase
receipt with this manual for easy reference.
Model Number
Serial Number
Date Purchased
Dealer

9
Problem
No power
A cassette cannot be
inserted.
A cassette cannot be
ejected.
No picture, or a distorted
picture on playback
No TV broadcast
picture
Streaks (noise) on a
recorded program
Streaks or jitter with the
VCR in P/STILL mode
The VCR will not PLAY,
RECORD, REWIND or
FAST FORWARD
Troubleshooting
Possible Solution
• Make sure the VCR is on and plugged into an operating wall outlet.
• Press EJECT to see if a cassette is already in the VCR.
• Make sure the cassette is window side up, with the arrow facing toward the VCR.
• Check if the VCR is plugged into on operating wall outlet.
• Check if the cassette recorded any picture.
• Press TRK to adjust the playback picture.
• Press TV/VCR for VCR viewing.
• Set the TV channel to match the VCR Output channel.
• Make sure the TV is working properly.
• Press TV/VCR for TV viewing.
• Check all cabling between VCR Antenna/Cable and TV.
• Make sure the TV is on.
• Press TRK to adjust the picture.
• Check all connections.
• View another cassette. If the problem persists, clean the video heads.
• Copy protection schemes can distort the picture.
• Press TRK to adjust the picture.
• Check if the VCR is in record pause mode.
• Check if the cassette has been rewound.
Before calling for service, check this list of possible problems and solutions to see if the problem can be solved
with a simple adjustment.

10
Specifications
*These channels are not available in Canada.
Antenna input/output terminals: UHF/VHF: 75 ΩF type connector
Signal system: Standard NTSC
Recording/Playback system: Recording: VHS format(SP, SLP)
Playback: VHS format(SP, LP, SLP)*
Video cassette with mark
Record/Play Time: 6 hours with T-120 in SLP mode
Power Source: 120V AC, 60Hz
Power Output: VR8459(C), VR8409(C) App. 18 watts on; App. 3.8 watts off
VR5459(C), VR5409(C) App. 16 watts on; App. 3.8 watts off
VR3409(C) App. 16 watts on; App. 3.8 watts off
Dimensions: 320mm(W) X 94mm(H) X 238mm(D)
12.6''(W) X 3.7''(H) X 9.4''(D)
Weight: 2.6kg/5.7lbs
Your VCR can receive 68 broadcast TV channels or up to 125 unscrambled cable channels. Check your local
cable company for complete compatibility requirements.
Type Number Channel List
of Channels
On Air 12 VHF (Channels 2~13)
56 UHF (Channels 14~69)
CATV 113 Channels 14~22 (A~I)
Channels 23~94 (J~W+58)and
100~125(W+59-W+84)
Channels 95~97 (A~5,A~4,A~3)*
Channels 98~99(A~2,A~1)*
Channel 01 (5A)*
Total 181

SAMSUNG ELECTRONICS AMERICA, INC.
HEADQUARTERS
105 Challenger Road, Ridgefield Park, N.J.
07660-0511
TEL: 1-800-SAMSUNG
SERVICE DIVISION
1 Samsung Place Ledgewood, N.J. 07852
1-800-SAMSUNG (1-800-726-7864)
SAMSUNG ELECTRONICS CANADA, INC.
HEADQUARTERS
7037 Financial Drive, Mississauga, Ontario, Canada L5N 6R3
TEL: 1-905-542-3535
SERVICE DIVISION
7037 Financial Drive, Mississauga, Ontario, Canada L5N 6R3
1-800-SAMSUNG (1-800-726-7864)
Printed in China
AC68-11324A
99. 1.20
Table of contents
Other Samsung VCR System manuals

Samsung
Samsung SV-620B User manual

Samsung
Samsung CXJ1352AX User manual

Samsung
Samsung SV-270 User manual

Samsung
Samsung VR9180 User manual

Samsung
Samsung SV-5G User manual

Samsung
Samsung SV-271B User manual

Samsung
Samsung SV-627X User manual

Samsung
Samsung SV-610X User manual

Samsung
Samsung SV-G35K/AFR User manual

Samsung
Samsung SVR-433 User manual

Samsung
Samsung SV-3000DS User manual

Samsung
Samsung SV-2313X User manual

Samsung
Samsung SVR-433 User manual

Samsung
Samsung SV-635X User manual

Samsung
Samsung SV-641B User manual

Samsung
Samsung SV-L620K User manual

Samsung
Samsung TX14N3DF4X/XET User manual

Samsung
Samsung SV-425G User manual

Samsung
Samsung SVR-639 User manual

Samsung
Samsung TB14A53X/XSA User manual