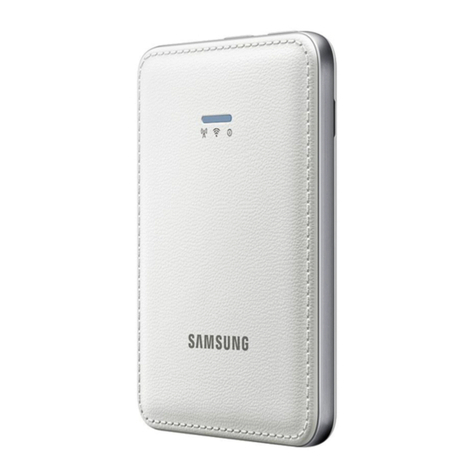
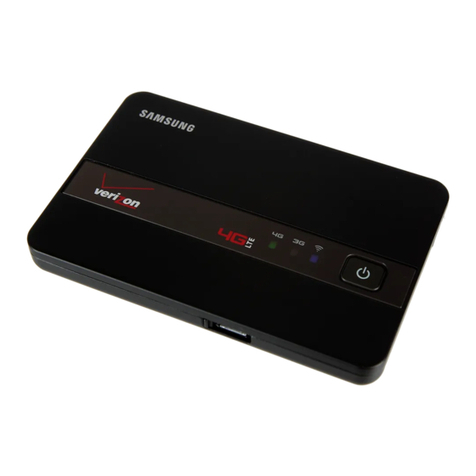
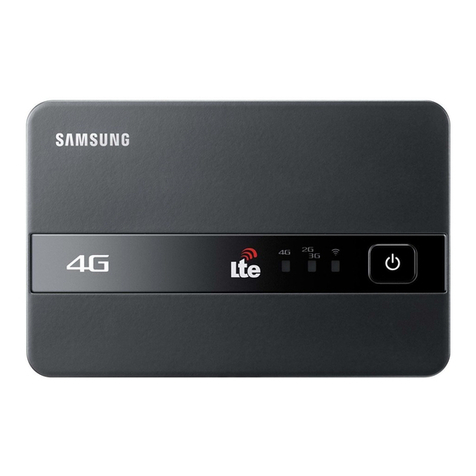
Turning Your Device On and Off
1. To turn ON, press and hold the Powe r key.
2. To turn OFF,p ress and hold Power key.
NOTE: The screen t imes out after 30 sec onds.
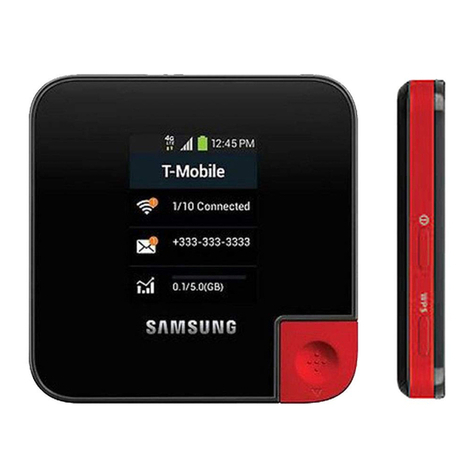
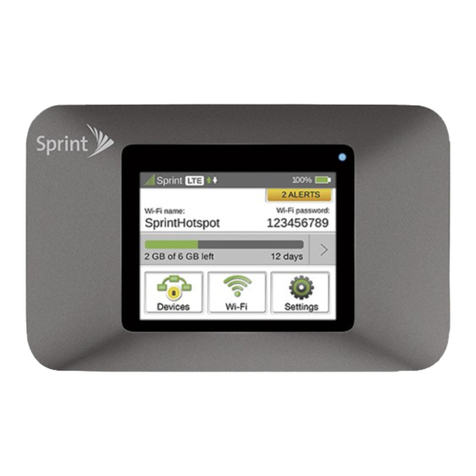
On-Screen Indicators
Displays when your device is communicating with
the 4G LTE network.
Displays when your device is communicating with
the 3G network.
Displays your current signal strength. The greater
the number of bars, the stronger the signal.
Displays your current battery charge level. Icon
shown is fully charged.
Displays your battery is currently charging.
Displays when Wi-Fi is active and indicates the
number of externally connected devices.
Displays when there is a new text message.
Displays your current data usage.
Web Portal Overview
Home Tab
This tab provides access to the following information:
• Data Usage: provides information about the HotS pot’s
current data usage.
• System Information: provides information about both the
HotSpot an d any currently connected device s.
• Visit My T-Mobile: provides acces s to the several
T-Mobile websites.
• T-Mobile Network: displays the IP Ad dress, Gateway,
Subnet, and DN S provided by the T-Mobile network .
• My HotSpot Connection: displays informati on about your
current HotSpot connectio n.
• USB Connection: allows you to confi gure the USB for use
as either an external storage device or for Tethering.
• Connected Devices: displays the current Connected or
Blocked devices, their MAC Address, and any assigned
data limits.
Network Tab
This tab provides access to the following information:
• Network: displays IP Address, Subnet Mask, and M AC
Address information.
• DHCP Server: when enabled, allows you to configure the
HotSpot ’s built-in DHCP Se rver to assign IP Addresses t o
the devices on your l ocal area network (LAN ).
• Data Limit: allows you to place limit s on the amount of
data that can passed through the HotSpot.
• Wi-Fi Configuration: allows you to change var ious Wi-Fi
parameters such a s: SSID Name, Secur ity protocol,
Access Point c onnection password, and SS ID Broadcast.
Security Tab
This tab provides access to the following information:
• SIM PIN: allows you to lock your internal SIM cards’ P IN
and change your curre nt PIN code.
• MAC Filtering: allows you to restrict what devices can
access your Hot Spot based on their unique MA C Address.
• Port Filtering: allows you to restrict connection throug h
your HotSp ot to only authorized applications v ia defined
ports.
• Port Forwarding: allows you to forw ard incoming traffic
via a defined por t to a target IP Address.
Configuration Tab
This tab provides access to the following information:
• Settings: allows you to confi gure the LTE network,
WWAN A PN, and Access Point parameters.
• Software Update: allows you to update your HotSpot’s
internal firmware.
• DLNA: allows you to confi gure your HotSpot as a
DLNA-compliant device that c an then share content stored
within the interna l microSD card with other compliant
devices.
• Tools: provides acces s to Web portal features such
as Administrator password reset, Power Management,
Mounting the S D card, Formatting the SD card, System
Log files, and Dev ice Factory Reset.
Messages Tab
This tab provides a list of you current Message Inbox and allows you
to create new messages, reply to , and deleted selected messages.
• Inbox: (left column) provides an on-s creen listing of your
current text messages.
• Message Content: (right column) allows you select th e
message content, modify the text, a nd then reply to the
sender.
Getting Connected
Connecting Wirelessly to Your Device
1. Press the Power key un til the device turns on.
2. Locate the inter nal sticker that provides both th e SSID and
Password.
3. Enable the Wi- Fi connection on your target de vice and begin to
scan for available W i-Fi networks.
NOTE: The Samsun g LTE Mobile HotSpo t PRO appears as a sec ured device
named
“T-Mobile Broadband ##”.
4. Enter the passw ord (last 8-digits of the IM EI) to establish your
initial connection.
Accessing Your HotSpot via a Browser
1. With your devic e now connected to the HotSp ot, launch an
available Browser o n your target device.
2. Within the Browser’s Address field, enter either:
• http://mobile.hotspot
• 192.168.43.1:8080/
3. From the HotS pot’s main Web portal, locate th e Password
field.
4. Enter the Hot Spot’s Administrator (Web p ortal) password
information and select Apply gOK.
NOTE: The default A dministrator pass word is “admin”.
NOTE: The default c onnection state fo r the HotSpot is sec ured.
Use the Web po rtal to configure th e various settings .
Configuring Your HotSpot
Changing your Wi-Fi Connection Password
1. Access the Web p ortal and select Network .
2. From the WiFi C onfiguration area of the screen, t ap the
Password field.
3. Enter your new pas sword and select Apply gOK. Any
currently conne cted devices will need to update their
connection passwords.
Changing your SSID Name
1. Access the Web p ortal and select the Net work tab.
2. Select the Ne twork Name (SS ID) field.
3. Delete the current information and enter a new name.
4. Select Apply gOK. Any cu rrently connected devices will
need to forget their previous connections and reconnect.
Assigning Data Limits
1. Access the Web p ortal and select Network .
2. Tap the Data Limits checkbox to enable the feature.
3. Tap the adjacent field, enter a num eric value, and select either
GB (Gigaby tes) or MB (Megabytes).
4. Select Apply gOK. Once y ou reach your assigned data limit,
an on-screen noti fication will appear.
Hiding Your HotSpot
1. Access the Web p ortal and select Network .
2. Tap the Broadcast SSID checkbox .Remo ving the checkmark
stops broadc asting your SSID.
3. Select Apply gOK.
Messaging
Reply to an Existing Message
IMPORTANT: Message no tifications are disp layed on the main screen an d
can only be vie wed and replied to via a conn ected device.
1. Access the Web p ortal and select (Messaging).
2. Select an exist ing message from the left Mess age Inbox
column. Once selec ted, the contents are displayed wit hin the
right contents frame.
3. Select the righ t Message Content frame and en ter your desired
reply text.
4. Select Send.
Create and Send a Message
IMPORTANT: Message no tifications are disp layed on the main screen an d
can only be vie wed and replied to via a conn ected device.
1. Access the Web p ortal and select (Messaging).
2. Select Create Messages.
3. Select the To fiel d and enter a target phone number.
NOTE: Add more reci pients by tapping the r ecipient field and sep arating each
number by a colo n (:).
4. Select the Type mes sage here. field and use the av ailable
text entry m ethod to create your new text.
5. Select Send to deliver your n ew text message.
Troubleshooting
Connection Tips and Tricks
The following are a few common troubleshooting issues and
possible solutions.
I can’t get any network signal appearing on the main
screen.
• Your microSIM card may be improperly insta lled. These
cards are commonl y inserted in the wrong orientat ion.
Remove the card and r e-attempt a proper inserti on.
• If your microS IM card is properly inserte d and you still
can’t get a networ k connection, call customer support and
confirm your acc ount is active and there are no issues.
I can’t connect to the Wireless HotSpot using the provided
password.
• Underneath t he back cover is the device’s default SSI D
(wireless ne twork name) and the default password. This
password is used t o connect your Wi-Fi enabled device to
the HotSpot.
• If the sticker inf ormation is not accepted make sure your
CAPS L ock is not on and you enable the “Show pa ssword”
feature on your target device.
• The HotSpot’s default password is th e last 8 digits of the
IMEI.
How do I reset the device back to Factory Default via the
Web Portal?
1. Access the Web p ortal and select Configuration gTools
tab.
2. Scroll to the bot tom of the page and select the Factor y Reset
button.
3. Follow the on-sc reen instructions to complete t he process.
How do I reset the device back to Factory Default via the
Hardware?
1. Press and hold Powe r and WPSk eys for 5 seconds to display
an on-screen Factory Reset message.
2. Press the Power key to re set the device. Once completed, the
power should recycl e and the main screen will re-appear.
Technical Support
If you experience any issues with your device, visit us at the HotSpot
website http://support.t-mobile.com/welcome or contact Customer
Service at 1-877-453-1304.
Qualifying service and compatible devices required for
4G LTE. Broad 4G LTE coverage planne d for 2013; see
coverage det ails at T-Mobile.com.
Additional Information
Use of some content or features may incur separate, additional
charges, require qualifying service and/or access to a Wi-Fi
connection.
Approved Firmware Versions: This device will only operate with
firmware versions that have been approved for use by T-Mobile and
the device manufacturer.If unauthorized firmware is placed on the
device it will not function.
Wi-Fi: Device will not transition between Wi-Fi and the cellular
network. Devices using wireless connections may be vulnerable to
unauthorized attempts to access data and software stored on the
device. Plan data allotment applies to use by connected devices
sharing Wi-Fi. Use of connected devices subject toT-MobileTerms
and Conditions.
Messaging/Data: You will be charged for all messaging and data
sent by or to you through the network, regardless of whether or not
data is received. Character length/file size of messages/attachments
may be limited. T-Mobile is not liable for content of messages/
attachments or for any failures, delays or errors in any T-Mobile
generated alerts or notifications. Your data session, plan, or service
may be slowed, suspended, terminated, or restricted if you
use your service in a way that interferes with or impacts our network
or ability to provide quality service to other users, if you roam for a
significant portion of your usage, or if you use a disproportionate
amount of bandwidth during a billing cycle. You may not use your
plan or device for prohibited uses.
See brochures and Terms and Conditions (including
arbitration provision) at T-Mobile.com,for rate plan information,
charges for features and services, and restrictions and details.
V100T_QRM_English_Accordion_MGB_081413_F4_Rev1.indd 11-20 8/14/2013 2:18:26 PM
