SANOMAT Amigo User manual

Cream Whipping Machines
Translation of the “original operating instructions”
Operating instructions
Cream Whipping Machine
~ SANOMAT Amigo ~ Euro-Favorit ~ Euro-Piccolo-Hand ~ Euro-Piccolo-Hand-RA ~ Euro-Piccolo-
Auto ~ Euro-Piccolo-Auto-RA ~ Euro-Cream-Star-Hand ~ Euro-Cream-Star-Auto ~ Euro-Due ~ Euro-
Cream-Hand ~ Euro-Cream-Hand-GP ~ Euro-Cream-Auto ~ Euro-Cream-Auto-GP ~ Euro-Plus-S-
Hand ~ Euro-Plus-S-Hand-GP ~ Euro-Plus-S-Hand-GP-RA ~ Euro-Plus-S-Hand-RA ~ Euro-Plus-S-
Hand-MA ~ Euro-Plus-S-Auto ~ Euro-Plus-S-Auto-GP ~ Euro-Plus-S-Auto-RA ~
Vaihinger GmbH
Horstweg 29
65520 Bad Camberg-Erbach
Telefon (06434) 9405-0
Telefax (06434) 9405-99
http://www.sanomat.com
info@vaihinger.com

Schlagsahne-Automaten
Operating instruction SANOMAT - technical changes are subject to modifications and amendments - liability- and
warranty claims due to improper use are basically excluded - The design of the machine and several parts may vary from
pictures - the function stays the same
2
The correct handling of cream and your SANOMAT-
Cremaldi
Thank you very much for your decision to buy an efficient and hygienic
safe SANOMAT-Cremaldi cream whipping machine.
To always achieve the very best results we suggest the following:
Cream is a natural product that varies with the season such as forage
mixtures for the dairy cows. This can have an effect on the quality of the
cream and therefore have an influence on whipping volume and stability.
Basically we suggest using fresh cream with a temperature of +6°C and
with a fat content between 30 % and 36 %. If you would like to use
homogenised cream we recommend products of nameable producers
because other products often cause a dissatisfying result.
Please note:
The cold chain from the dairy to you must absolutely be kept,
because just a short warming can perish the cream culture and
could make a whipping impossible.
To avoid a contamination with bacteria carry out the daily disinfection
cleaning after closing hour and also the regular cleaning of air regulation.
(to find from page 12 on)
On the following sides we lead you step by step through the right
exposure with your new SANOMAT.
Your Vaihinger team

Schlagsahne-Automaten
Operating instruction SANOMAT - technical changes are subject to modifications and amendments - liability- and
warranty claims due to improper use are basically excluded - The design of the machine and several parts may vary from
pictures - the function stays the same
3
Index
Unpacking and checking................................................4
Intended use of your SANOMAT & Safety regulations..4
Setting up and connecting .............................................6
Machine explanation....................................................7
Preparation for use ........................................................9
Adjust whipped cream consistency..............................10
Take serving sizes.......................................................11
Cleaning and service (overview)..................................12
Daily disinfection cleaning........................................13
Monthly air regulation cleaning ....................................15
Master cleaning and technical checking......................16
Troubleshooting...........................................................20
Shipping information & disposal instructions ...............21
Technical data..............................................................22
Spare parts .................................................................23
Declaration of conformity.............................................38
Explanation of the abbreviations:
RA = cleaning automatic
Hand = machine with just a manual portioning
Auto = machine with manual and automatic portioning
The function of your machine is written on the type plate or please ask your specialist
dealer for it

Schlagsahne-Automaten
Operating instruction SANOMAT - technical changes are subject to modifications and amendments - liability- and
warranty claims due to improper use are basically excluded - The design of the machine and several parts may vary from
pictures - the function stays the same
4
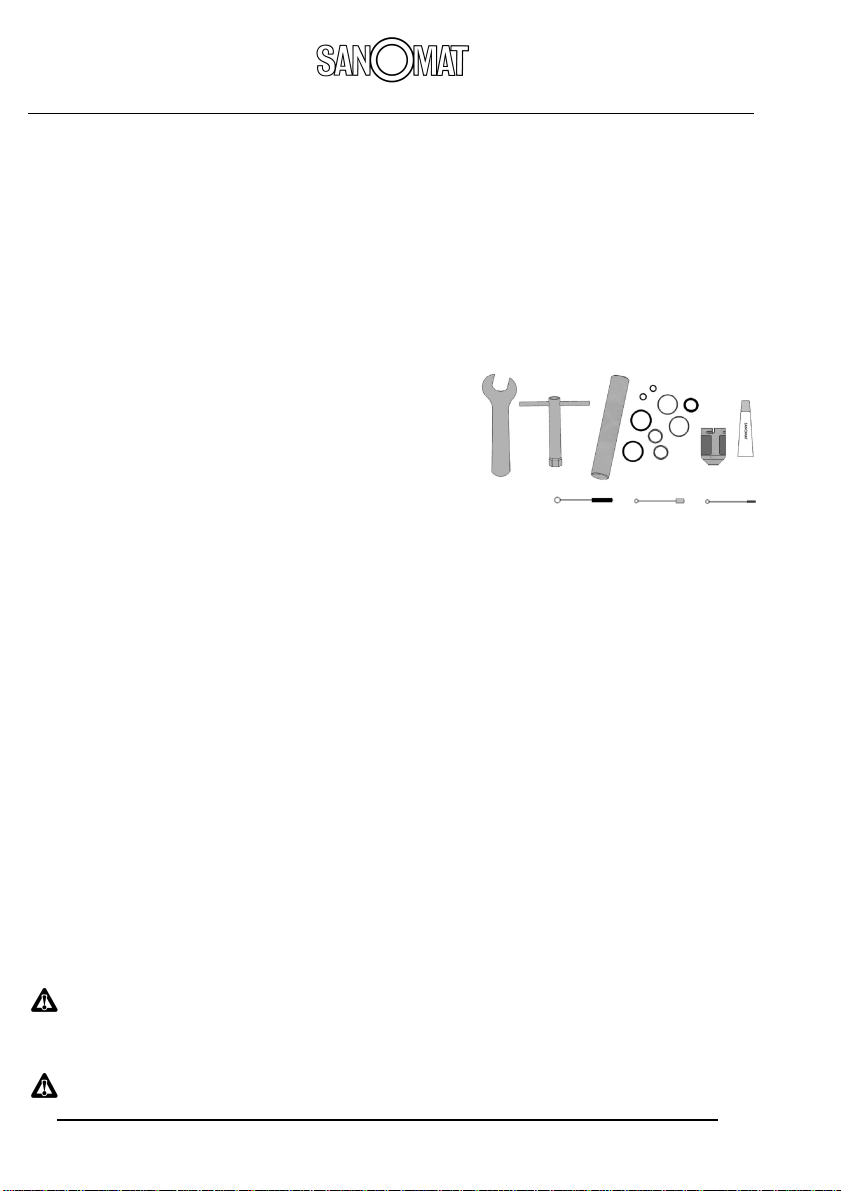
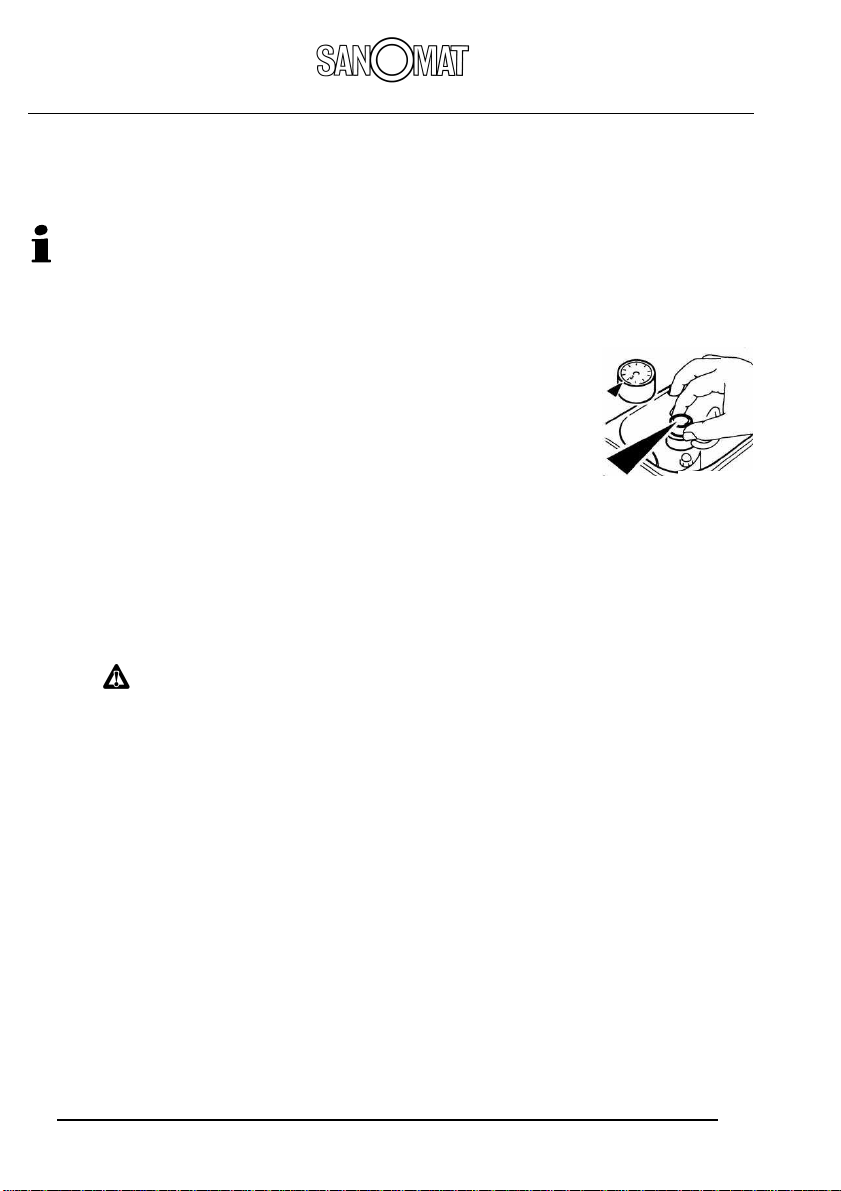
example for tool kit
Unpacking and checking
•Cut the straps with a pair of scissors and lift the carton straight-up.
•Carefully lift the SANOMAT out of the Styrofoam base and check the
SANOMAT for shipping damage. If applicable submit a claim to the transport
company.
•Check that you have received all of the following:
Operating instructions and shipping
documents
A small bottle of disinfection cleaner
SANO-DESINFEKT-Plus
Pouch with tools (per machine
different)(not supplied with every
machine)
cleaning bucket (only at machines
from 5 litre on/for the daily disinfection cleaning you may also use the
cream container)
Intended use of your SANOMAT
•The SANOMAT has to be operated at an environmental temperature up to
max. 40°C
•The SANOMAT is a technical means of work. Its bringing into circulation
serves exclusively for the use in commercial business.
•Do not run the SANOMAT in rooms with explosive atmosphere. The use of
the SANOMAT according to determination is restricted to persons older than
14 years.
Mostly annoying but always important: the safety regulations.
They ensure safety and ongoing satisfaction with your SANOMAT - so
please keep this in mind:
Do not shut SANOMAT off during the night!
This gives additional hygienic protection. Unit should only be turned off when
not in use for several days!
Do not use SANOMAT for other purposes!

Schlagsahne-Automaten
Operating instruction SANOMAT - technical changes are subject to modifications and amendments - liability- and
warranty claims due to improper use are basically excluded - The design of the machine and several parts may vary from
pictures - the function stays the same
5
Every attempt to do so may cause damage!
When cleaning or repairing unit, use only original Vaihinger-SANOMAT
spare parts and accessories!
Using other parts may lead to damage! Also, this could
cancel the warranty and the official approval of the cream machine.
Never use hose or steam power washer to clean SANOMAT!
Injury to people and damage to the unit may result if water gets into electric
components!
Only trained personnel should be allowed to operate the SANOMAT!
Give your staff proper training. This manual will help you in this regard.
The security of use and function has to be ensured by regular
maintenance.
Follow operating instructions closely!
Install the SANOMAT in a way that wall socket stays accessible (cut of
power supply in case of need)!
Fire danger due heat accumulation! Keep sidewise clearance
distances! Left and right minimum 5 cm!!
Avoid direct sunlight!
Attend closely to the cleaning and maintenance regulations!

Schlagsahne-Automaten
Operating instruction SANOMAT - technical changes are subject to modifications and amendments - liability- and
warranty claims due to improper use are basically excluded - The design of the machine and several parts may vary from
pictures - the function stays the same
6
Setting up and connecting
•Ensure the SANOMAT is safely standing on it´s four feet on a plain and stable
surface. Please pay attention to the safety distance of 5 cm at each side to
avoid heat accumulation.
•Make sure your socket is properly grounded and has
got the right power supply:
230V ~ / 50Hz, fuse at least 10A.
110-120V/60Hz / 100V/50/60Hz, fuse at least 15A
Before start-up, let unit stand idle for 2 hours!
This time is needed for the refrigeration unit to
recover from movement during transport!
•Remove any dust which may have come from packaging material. Plug in
cord.

Schlagsahne-Automaten
Operating instruction SANOMAT - technical changes are subject to modifications and amendments - liability- and
warranty claims due to improper use are basically excluded - The design of the machine and several parts may vary from
pictures - the function stays the same
7
Machine characterisation
eg. Euro-Piccolo, Euro-Cream-Star etc.
Garnishing nozzle

Schlagsahne-Automaten
Operating instruction SANOMAT - technical changes are subject to modifications and amendments - liability- and
warranty claims due to improper use are basically excluded - The design of the machine and several parts may vary from
pictures - the function stays the same
8

Schlagsahne-Automaten
Operating instruction SANOMAT - technical changes are subject to modifications and amendments - liability- and
warranty claims due to improper use are basically excluded - The design of the machine and several parts may vary from
pictures - the function stays the same
9
fig. 1
fig. 2
Preparation for use
•Switch on the machine and existing provided the cooling (green switch). After
reaching the optimum operating temperature, the unit will turn off and on as
needed – via thermostatic controls. This serves to keep the temperature at an
optimum level.
Please carry out the daily disinfection cleaning before
initial fill! (please have a look on page 13, the daily
disinfection cleaning)
•Swing suction pipe up and remove cream container.
(fig. 1)
•Should you wish to add sweetener, add sugar-syrup to
the cool cream being still in its original packing and
mix thoroughly (sugar-syrup with 75-80% sugar)
Do not use icing sugar or regular sugars. May
cause damage to pump through undissolved
sugar-crystals!
•Fill cream container with cool cream (at +6°C).
•Place filled cream container into SANOMAT and
swing suction pipe into it. (fig. 2)
Please note the inner cooling space, in which the cream
container stands, shall not be filled with liquids!

Schlagsahne-Automaten
Operating instruction SANOMAT - technical changes are subject to modifications and amendments - liability- and
warranty claims due to improper use are basically excluded - The design of the machine and several parts may vary from
pictures - the function stays the same
10
Adjust whipped cream consistency
The adjustment of the air regulation acts in accordance to the fat content of
the used cream and the desired stability. Cream with a lower fat content than
30 % needs a higher air supply, whereas cream over 32 % needs a lower air
supply.
•Turn air regulation screw clockwise to ”0” (=closed), then turn air regulation
screw back to desired position (numbers point to the outlet,
see fig. 3).
Best results are achieved at settings ”3” to ”4”. Determine
preferred consistency by trying different settings.
Often, quite a small adjustment- less than 1 millimetre will
be enough!
Using too much air causes sputtering or the cream is whipped too stable,
resp. the cream can turn into butter and the machine has to be cleaned
completely!
Cream will be too soft or liquid when using too less air.
Without air, cream will not be whipped, and the pump is being overworked
unnecessarily. - Therefore:
•Do not leave air regulation screw in position ”0”
fig. 3

Schlagsahne-Automaten
Operating instruction SANOMAT - technical changes are subject to modifications and amendments - liability- and
warranty claims due to improper use are basically excluded - The design of the machine and several parts may vary from
pictures - the function stays the same
11
fig. 4
Taking serving sizes
Model „Hand“:
By the function „Hand“ you can take as much whipped
cream as needed.
•Press and hold the switch (fig. 4)
⇒The SANOMAT will produce whipped cream as long
as you hold the switch.
Model „Auto“:
By the function „Auto“ you can take preset whipped cream
portions.
•(existing provided) Adjust the wished cream portion with
the potentiometer:
The numbers „1” to ”10” on the controller matches cream
portions of 0-140g. (fig. 5)
•shortly press the switch AUTO.
⇒The SANOMAT will produce exactly one preset portion.
or:
•Press and hold the switches AUTO ) (fig. 6)
⇒The SANOMAT will produce several times the preset
portion, until you will release the switch.
fig. 5
fig. 6

Schlagsahne-Automaten
Operating instruction SANOMAT - technical changes are subject to modifications and amendments - liability- and
warranty claims due to improper use are basically excluded - The design of the machine and several parts may vary from
pictures - the function stays the same
12
Cleaning and service (overview)
Your SANOMAT should always operate trouble-free. In addition, it must always
meet highest hygienic standards.
The following summary should help you in this regard:
When What See
Daily Disinfection-cleaning from page 13 on
Monthly Cleaning of air regulation from page 15 on
Before extended
shutdown Disinfection cleaning,
cleaning of air regulation from page 13 on
After extended
shutdown Disinfection-cleaning from page 13 on
In case of trouble
Master cleaning and technical
checking from page 16 on
Tip: We suggest wearing protective gloves during any maintenance or
cleaning operations. This is to avoid to accidentally bringing in bacteria
into the system.
Please remember:
Should cream remnants remain in the whipping system bacteria will be formed
quickly. The consequences would be:
•poor quality of the whipped cream and
•health risk for your customers!
The SANOMAT is to be cleaned according to these instructions at the
end of each working day!
Never leave SANOMAT dirty overnight!

Schlagsahne-Automaten
Operating instruction SANOMAT - technical changes are subject to modifications and amendments - liability- and
warranty claims due to improper use are basically excluded - The design of the machine and several parts may vary from
pictures - the function stays the same
13
fig. 7
fig. 8
fig
.
9
fig. 7a
The daily disinfection cleaning
Preparation:
•(existing provided) Turn the cooling off (green switch), but leave
the machine running (fig. 7)
•Remove cover and put a 5-litre pail under the outlet.
•Swing up suction pipe and clean its outside with a paper towel. Press and hold
switch “HAND” until suction pipe is empty.
•Remove suction pipe and cream container. Wash both under hot running
water.
•Fill cleaning bucket with 1,5 l warm drinking water (max. 50°C) and put it into
SANOMAT.
Please note: Should you have used egg white, please flush the machine
with COLD water, otherwise the egg white might clot and the machine
would be very difficult to clean.
Do not fill the container with hot water (max. 50°C)!
•Replace suction pipe and swing in into bucket.
Pre cleaning:
•Press switch „Hand“ several times until the water has flushed
through interval flushing, minimum 36 times, this has to
take at least 3 minutes
Model „RA“: Tip cleaning switch shortly (fig. 7a).
The cleaning program will run automatically (duration
3 minutes). Remove possible remaining liquid with
the switch “Hand”
At this point we would suggest carrying out
also the cleaning of the air regulation, if required.
This safes time and you are much faster done
with the disinfection cleaning.
Main cleaning:
•Change garnishing nozzle against cleaning nozzle (tool kit/pre order) (fig. 8)
Never use cleaning nozzle with liquid cream!
•clean the garnishing nozzle with hot running water.

Schlagsahne-Automaten
Operating instruction SANOMAT - technical changes are subject to modifications and amendments - liability- and
warranty claims due to improper use are basically excluded - The design of the machine and several parts may vary from
pictures - the function stays the same
14
fig. 10
•Fill cream container with 1,5 l warm drinking water (max 50°C) and add 40 ml
SANO-DESINFEKT-Plus. (fig. 9)
Tip: 40ml = 4cl = 2 small glasses á 2cl
Do not use or mix-in any other disinfectant agent!
repeat now all steps of the pre cleaning
Final cleaning:
•Remove suction pipe and cream container from the SANOMAT. Wash both
with hot running water
•Fill cream container with 1,5 l cold drinking water and put it into SANOMAT.
Plug-in suction pipe.
repeat now all steps of the pre cleaning
•Replace cleaning nozzle with garnishing nozzle (fig. 10)
•Remove cream container. Soak a clean towel with disinfection cleaner and
wipe the interior of the SANOMAT.
•Wipe SANOMAT and cream container with a dry towel and
put cover back on.
•(existing provided) Turn the cooling on (green switch)
The disinfection cleaning is now complete. Your
SANOMAT can be used again.
Tip: You intend to use your SANOMAT the next day?
Prepare it today to this purpose!
•Leave the SANOMAT running and place container with cool cream into it (see
page 9: ”Preparation for use”).
The next day:
•Stir the liquid cream thoroughly.
Your SANOMAT is ready for use!

Schlagsahne-Automaten
Operating instruction SANOMAT - technical changes are subject to modifications and amendments - liability- and
warranty claims due to improper use are basically excluded - The design of the machine and several parts may vary from
pictures - the function stays the same
15
fig. 13
fig. 11
fig. 12
fig. 14
Monthly cleaning of air regulation
Disassembly
•Carry-out a complete disinfection cleaning.
•Remove suction pipe
•Remove air regulation off the valve head and remove air
regulation screw and locking device (fig. 11).
•Push locking device from the bottom into the air
regulation case and remove the return valve and air disc.
(fig. 12).
Cleaning
•Clean the opening in the air disc with the smallest brush
(fig. 13)
•Clean all parts with Disinfection cleaner. Thoroughly rinse
all parts with hot water.
Reassembly
•Turn the air regulation case so that it clicks into proper
position:
The hole for the suction pipe goes to the right, not to
the back! (fig. 14)
•Re-install all other parts, including the suction pipe: Put-in
the return valve and the air disc. Put on the air regulation
screw.
•Close the air regulation screw clockwise all the way (to
position `0`)
•Turn the air regulation screw back to its normal position.
Ready!
Caution! Never leave air regulation in position „0“!

Schlagsahne-Automaten
Operating instruction SANOMAT - technical changes are subject to modifications and amendments - liability- and
warranty claims due to improper use are basically excluded - The design of the machine and several parts may vary from
pictures - the function stays the same
16
fig. 15
Master cleaning and technical checking
Provided all instructions are followed in detail, the SANOMAT will operate without
problems for a long time.
Nevertheless, should problems occur, a thorough cleaning and check-up must be
carried out. When this is done, all parts subject to wear and tear must be
exchanged.
Safety Regulation
The inadvertent start-up of a unit taken apart is always dangerous! Therefore:
Before disassembling the unit, unplug power cord to prevent personnel
injury and damage to the equipment!
Preparation:
•Have all parts and tools ready, that are needed for the taking-apart, cleaning
and reassembly:
O-ring set, tool kit and cleaning brushes as well as a bit Vaseline of the
purchased parts package (resp. of re-order)
a paper clip
•Conduct a proper disinfection cleaning and cleaning of air regulation (see
page 13), but:
•Do not reassemble the unit at this time!
•Prepare a bucket with warm water and add a bit Disinfection cleaner, to keep
all disassembled parts. Please consider:
Losing a part results in downtime of the unit until a replacement can be
obtained!
Do not use any scratching tools!
Do not refit poor parts!
Dismantling:
•(existing provided) Remove hand nut from magnetic
valve, lift-up the magnet-coil and let it hang by its
cable. (fig. 15)
•(existing provided) With the wrench, unscrew the
upper closing unit and lift-out the magnetic core and spring. (fig. 16)

Schlagsahne-Automaten
Operating instruction SANOMAT - technical changes are subject to modifications and amendments - liability- and
warranty claims due to improper use are basically excluded - The design of the machine and several parts may vary from
pictures - the function stays the same
17
fig. 20 fig. 21
fig. 18
fig. 17
fig. 16
fig. 19
•Remove garnishing nozzle and remove locking device
from valve head. Turning lightly pull cream whipping unit
out of its housing.
•With the locking device, push in the locking bolt and with
light turns, pull away the outlet part. (fig. 17)
•With the locking device, push in the other locking bolt
and pull-out the inlet part. (fig. 18)
•Slide the pushing rod into the whipping pipe and push-
out the 13 whipping discs (plastic) and 12
intermediate discs (metal) (resp. the whole whipping
column) (fig. 19)
•With a turn, pull the strainer off the suction pipe.
•With the socket wrench remove the hexagon nuts
from the valve head.
•Lift-off valve head and the steering disc and pull-out
the pump. (fig. 20)
Do not disassemble pump!
•Remove all O-rings. For O-rings on the inside, you
should use the paperclip. Discard all removed O-rings!
(fig. 21)

Schlagsahne-Automaten
Operating instruction SANOMAT - technical changes are subject to modifications and amendments - liability- and
warranty claims due to improper use are basically excluded - The design of the machine and several parts may vary from
pictures - the function stays the same
18
fig. 22
Cleaning
•Put a fine sieve in the drain of the sink, to prevent losing a small part which
would result in downtime of the unit until a replacement can be obtained!
•Clean all parts in the former prepared solution.
•Clean all cavities thoroughly with the fitting brushes (equipment set, additional
supply)
Do not use any cleaning tools that could leave scratches!
•Clean the grooves for the O-rings very thoroughly.
•Rinse pump very thoroughly while turning rotor. Do not take the pump apart!
•Rinse all parts once more with running hot water. Dry all parts with a lint-free
cloth accurately.
Testing
•Check that the pump-rotor turns easily and that all parts appear in good
condition.
•Exchange questionable parts by new ones!
Poor or infrequent carrying-out of the disinfection cleaning could have resulted
in corrosion on surfaces.
Do not reinstall questionable parts!
If you are not sure: Ask the after sale service of the manufacturer or your
dealer!
Reassembly
•Put-on all new O-rings and make sure, that the O-rings fit properly! Lightly
apply Vaseline to all new O-rings.
One missing or poorly placed O-ring can lead to a leak
or malfunction!
•Install the pump. It must fit properly into the flange.
•Before make sure that:
the pump coupling matches the motor coupling (if
applicable turn into right position).
the 2 bolts of the pump flange are differently thick. The
pump can only be adjusted in one direction.
•Put-on the steering disc (check fixation!) and then valve head. (fig. 22)

Schlagsahne-Automaten
Operating instruction SANOMAT - technical changes are subject to modifications and amendments - liability- and
warranty claims due to improper use are basically excluded - The design of the machine and several parts may vary from
pictures - the function stays the same
19
fig. 23
fig. 24
fig. 25
fig. 26
Reassembly of the whipping pipe:
Tip: When reassembling the whipping pipe always
begin with a whipping disc (plastic) and end with a
whipping disc.
•Hold the whipping pipe in vertical position and insert the
pushing rod from the bottom. Insert a whipping disc, add an
intermediate disc (cone down). Alternating, add the
remaining whipping discs (13 pcs.) and intermediate discs
(12 pcs.), resp. insert the entire whipping column. (fig. 23)
•Push the outlet part up to the stop onto the whipping pipe
and push in locking bolt into the outlet part. (fig. 24)
•Turn the outlet part and whipping pipe upside-down, so that
the pushing rod is on top and remove the pushing rod.
•Insert the inlet part into the whipping pipe. (fig. 25)
•Slide the whipping assembly into the housing, turning lightly.
Turn and move the whipping pipe back and forth until the
locking device can be inserted all the way. (fig. 26)
•Put on the hexagon nuts and tighten them alternately by
hand.
•(existing provided) Place the spring and the magnetic core
in the upper closing unit and with the wrench screw the
upper closing unit onto the outlet part. (fig. 16, page 17)
•(existing provided) Place magnet coil and hand nut on the
upper closing unit. (fig. 15, page 16) Tighten hand nut and
slide-on garnishing nozzle.
•Insert the air regulation case, turning lightly until it locks
into the correct position:
The hole for suction pipe goes to the right, not to
the back!
•

Schlagsahne-Automaten
Operating instruction SANOMAT - technical changes are subject to modifications and amendments - liability- and
warranty claims due to improper use are basically excluded - The design of the machine and several parts may vary from
pictures - the function stays the same
20
fig. 27
•Put-in the return valve and the air disc. Put on the air
regulation screw. (fig. 27)
•Turn air regulation screw in all the way and then back to its
usual position.
•Slide strainer onto the suction pipe and install it. Swing it
in.
•Put on cover, plug-in power plug and turn the SANOMAT
on - it´s now ready for operation.
•You now have finished the cleaning and maintenance of
the SANOMAT and can use it as usual.
Troubleshooting
The pump is running, but no whipped cream is coming out.
•Is the cream container empty?
⇒put cream into the container!
•Are the nuts on the valve head
loose? ⇒alternately tighten nuts!
•Is there whipped cream in the
cream container inside of the
SANOMAT?
⇒remove cream.
⇒carry-out disinfection cleaning
•Is the magnet valve sticky? ⇒carry out a master cleaning and technical
checking
The pump is dry ⇒give some liquid through the opening of
the valve head to the air regulation
The whipped cream is not perfect or not stable
This manual suits for next models
3
Table of contents