PART NO SKP20451 N2GJ PAGE 5/5
OPTION SETTING
[After replacing the Memory IC (IC803)]
The memory IC, IC803, stores the option data and service adjustments for each circuit, therefore, when the memory
IC is replaced, it will need to be re-set to the initial conditions specified below
To enter to the Option Mode
+ Press and hold the F/OK button on the remote control and P▼button on the front panel of the TV. The option
window will appear on the screen.
To set the option mode
+ Highlight the desired option item by using the P▲or P▼ button .
+ To switch the option mode, use the Volume - (LEFT) or Volume + (RIGHT) button.
+ The data which is set in the option mode is stored into the memory IC automatically.
Following table shows the available option items and initial conditions.
Exit from the Service Mode
+ Press the MENU button.
Option Mode Mode Description & Note
ON-TIMER ON or OFF On-timer available, default “OFF”
PLUG AND PLAY ON or OFF Plug and Play mode, default “ON”
WELCOME TEXT ON or OFF Display message when first set up, default “ON”
BBE ON or OFF BBE sound mode, default “OFF”
AUTO VOLUME OFF or ON Default “OFF”
HEADPHONE ON or OFF Headphone control , default “OFF”
CRT 16:9 MODE ON or OFF Default “OFF”
NOISE REDUCTION ON or OFF Default “ON”
COUNTRY EU, UK, TV system, default “UK”
IRE, UK+IRE
RASTER ROTATION ON or OFF Default “OFF”
SESA ON or OFF Default “OFF”
DIGITAL RC ON or OFF Digital option, default “OFF”
LIGHT MONITORING ON or OFF Ambient light control of LCD brightness,default “OFF”
ON-TIMER OFF
PLUG AND PLAY ON
WELCOME TEXT ON
BBE OFF
AUTO VOLUME OFF
HEADPHONE OFF
CRT 16:9 MODE OFF
NOISE REDUCTION ON
COUNTRY UK
RASTER ROTATION OFF
SESA OFF
DIGITAL RC OFF
LIGHT MONITORING OFF
OPTION MODE FOR CE15LC3-B-00
SERVICE ADJUSTMENTS
INITIALISATION OF MEMORY IC
To initialise the memory IC (IC803), press and hold the NORMAL button on the remote control, then press the
P▼button on the TV set and then turn the Mains switch Off and On. The initialisation is now completed.
When initialised the memory IC and all of the setting data (option data and service adjustment data) stored in the IC
are reset to the default value. It is necessary to set the option settings and readjust the service adjustments listed on
page 6 and to re-tune all the channels.
The available adjustment items are as follows;
TDA9885 : This can be adjusted for AGC.
Video : This can be adjusted for the service adjustment.
DO NOT ADJUST OTHER SETTINGS
[After replacing the Memory IC (IC803)]
The memory IC, IC803, stores the service adjustments data for each circuit, therefore, when the memory IC is
replaced, it should be programmed by using “OPTION SETTING” on previous page and the following adjustments.
While pressing the green button on the remote control press the
P▼ on the cabinet front.
The service menu appears.
Use the 6or 5 to highlight the service menu you require and press the F/OK button to enter.
Press the Menu button to navigate backwards through the service menus until menus disappear.
Note: Some items of the service adjustments for this chassis are controlled by the CPU, IC801, and the
adjustments are carried out by using the RC handset.
TO ENTER SERVICE ADJUSTMENTS
TO EXIT SERVICE ADJUSTMENTS
Service
VGA 20 VER 090
Video
Sound
STV2310
TDA9885
STV8206
Median Filter ON
Other
Colour Temperature
WSS
LCD Parameters
Fan control
IMPORTANT NOTICE
Do not attempt to adjust service adjustments not listed on the above otherwise it may cause
loss of performance and product safety.
Service menu: Video
Enter the service adjustment menu as described on the previous page and select “Video” using
the P▼or P▲buttons and then press the F/OK button to enter.
Use the P▼ or P▲ buttons to select the option, then press
the F/OK button on the remote control to enter.
Service menu: Sound
Enter the service adjustment menu as described on the previous page and select “Sound” using
the P▼ or P▲ buttons and then press the F/OK button to enter.
Use the P▼or P▲buttons to select the option, then
press the F/OK button on the remote control to enter.
Service menu: TDA9885
Enter the service adjustment menu as described on the previous page and select “TDA9885”
using the P▼ or P▲ buttons and then press the F/OK button to enter
Use the P▼ or P▲ buttons to select the option,
then press the F/OK button on the remote
control to enter.
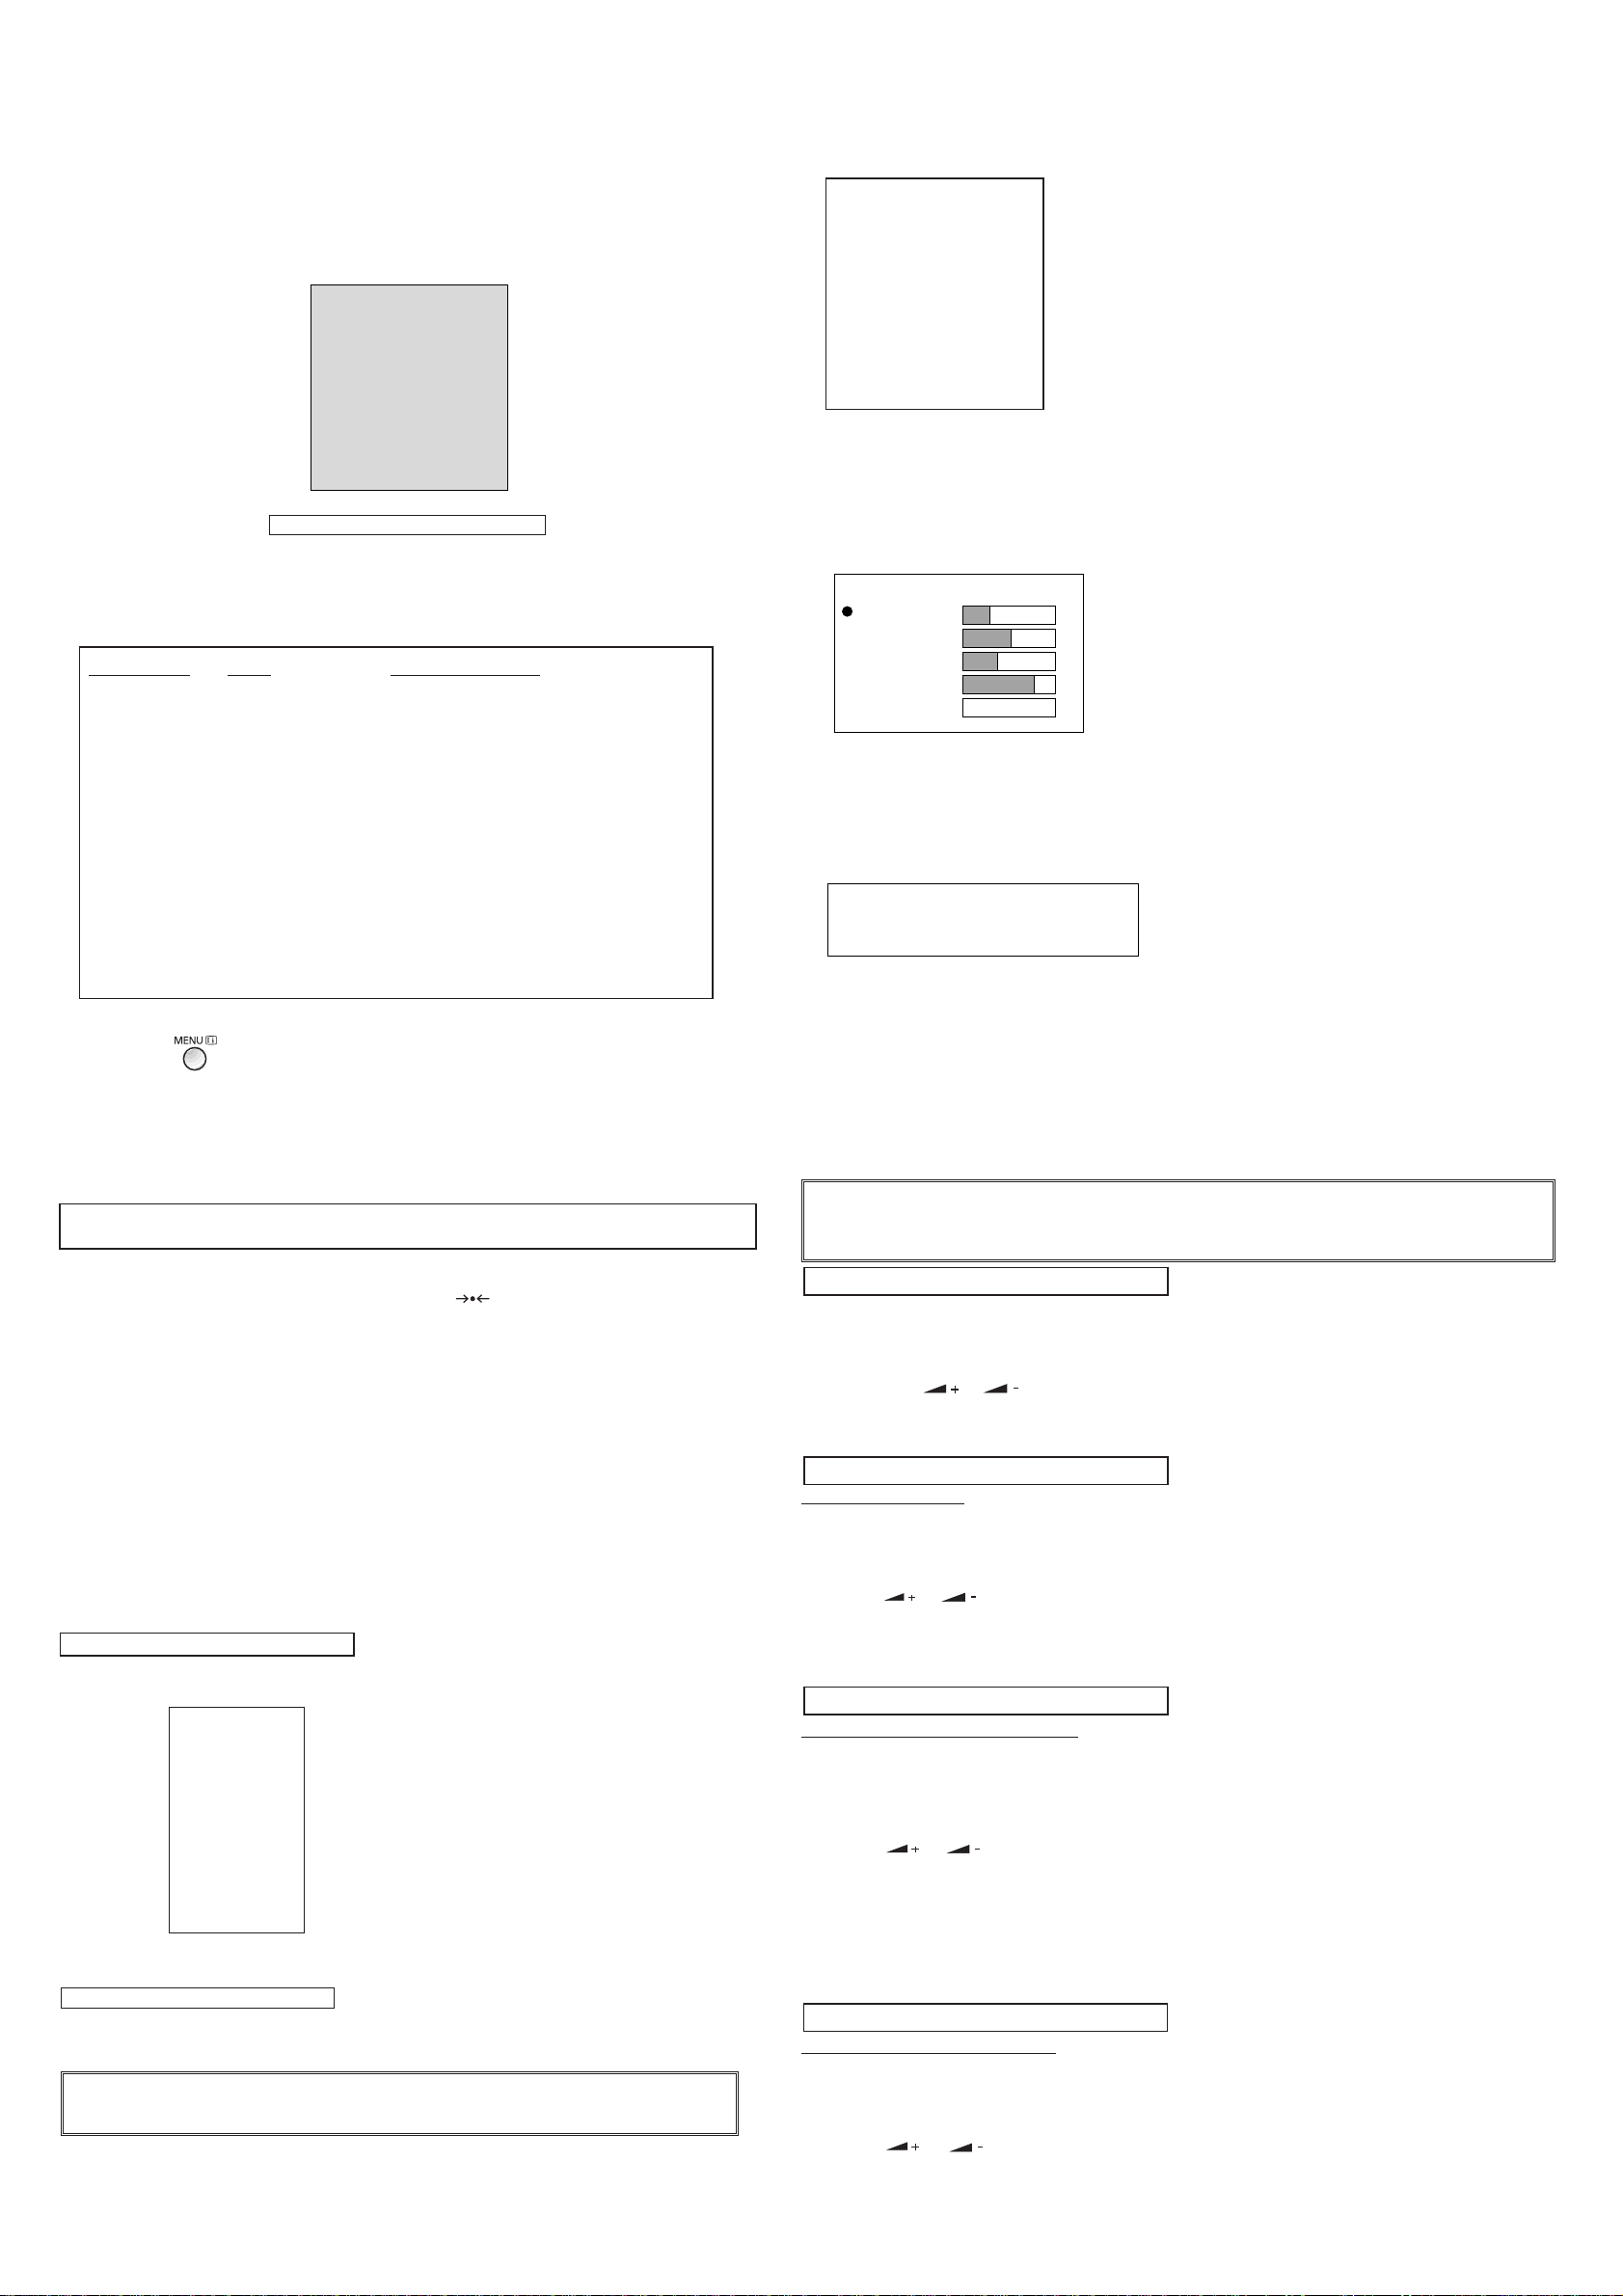
VIDEO
G2 Alignment Config
White Point R 0
White Point G 0
White Point B 0
Peak White Limiter 0
Black Level Offset R 0
Black Level Offset G 0
Gain pre-scale RGB 0
Fast blanking delay 0
Luma/Chroma delay 0
Restore default
Audio Menu
Audio Type
Volume
Balance
Loudness
Spatial effect
3
0
6
13
0
TDA9885
Write 1 70
ADJUSTMENTS
IMPORTANT NOTICE
Do not attempt to adjust the following service adjustments except when adjustments are required in servicing
otherwise it may cause loss of performance and product safety.
1. Select the clearest VHF station
2. Connect a digital voltmeter to test point TP-A and GND
3. Enter service menu : TDA9885
4. With the P▼ or P▲ buttons select “Write 1”
5. Adjust using the or buttons until the read-
out from the voltmeter is 3.2 Vdc.
SCREEN ADJUSTMENT
1. Make sure the set is warm (20 mins)
2. Receive Black and White picture/pattern
3. Enter service menu “Colour temperature”
4. Select item “Red / Green / Blue”
5. Using the or buttons adjust to make the
white, white.
HORIZONTAL CENTRING ADJUSTMENT
1. Set wide screen mode to “FULL”.
2. Preferably receive a circular pattern
3. Enter service menu “LCD Parameters”
4. Use the P▼ or P▲ buttons to highlight “H Display
start”.
5. Press the or buttons to adjust horizontal
centre.
VERTICAL CENTRING ADJUSTMENT
1. Set wide screen mode to “FULL”.
2. Preferably receive a circular pattern
3. Enter service menu “LCD Parameters”
4. Use the P▼ or P▲ buttons to highlight “V Display start”
5. Press the or buttons to adjust the
vertical centre.
VERTICAL ADJUSTMENT
HORIZONTAL ADJUSTMENT
GREY SCALE ADJUSTMENT
AGC ADJUSTMENT