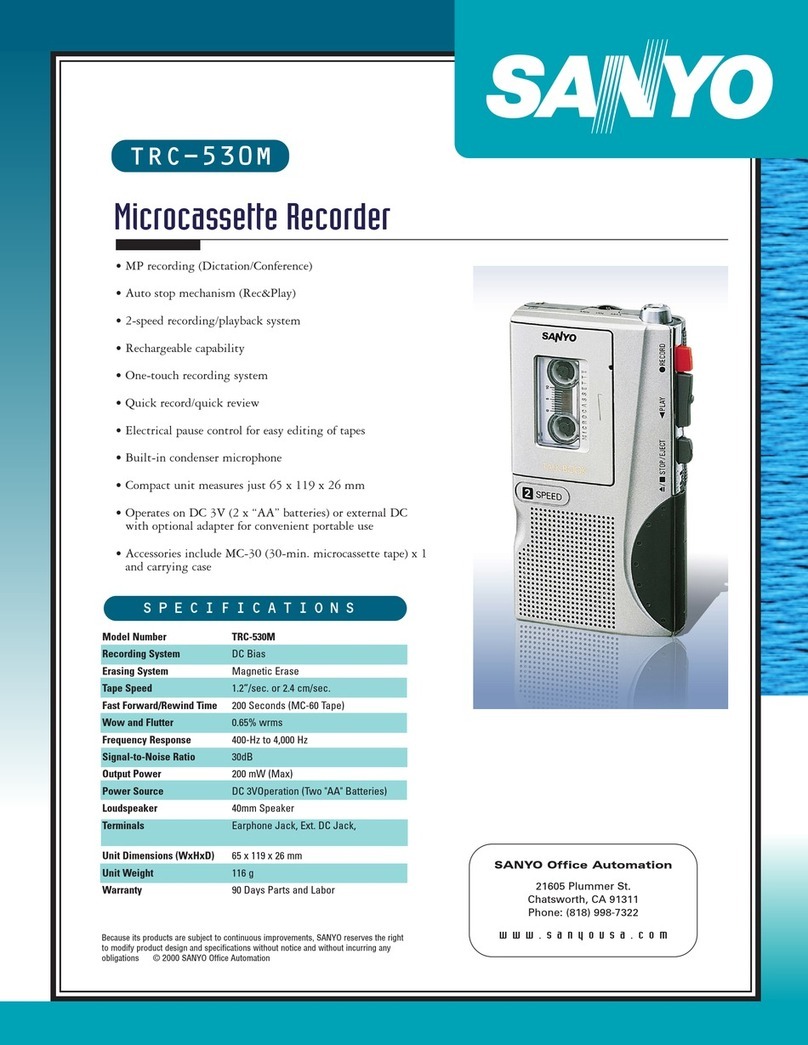
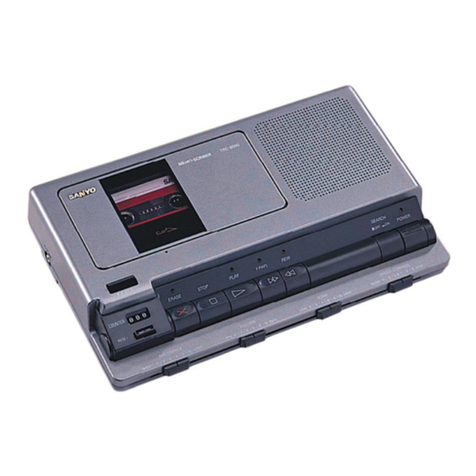
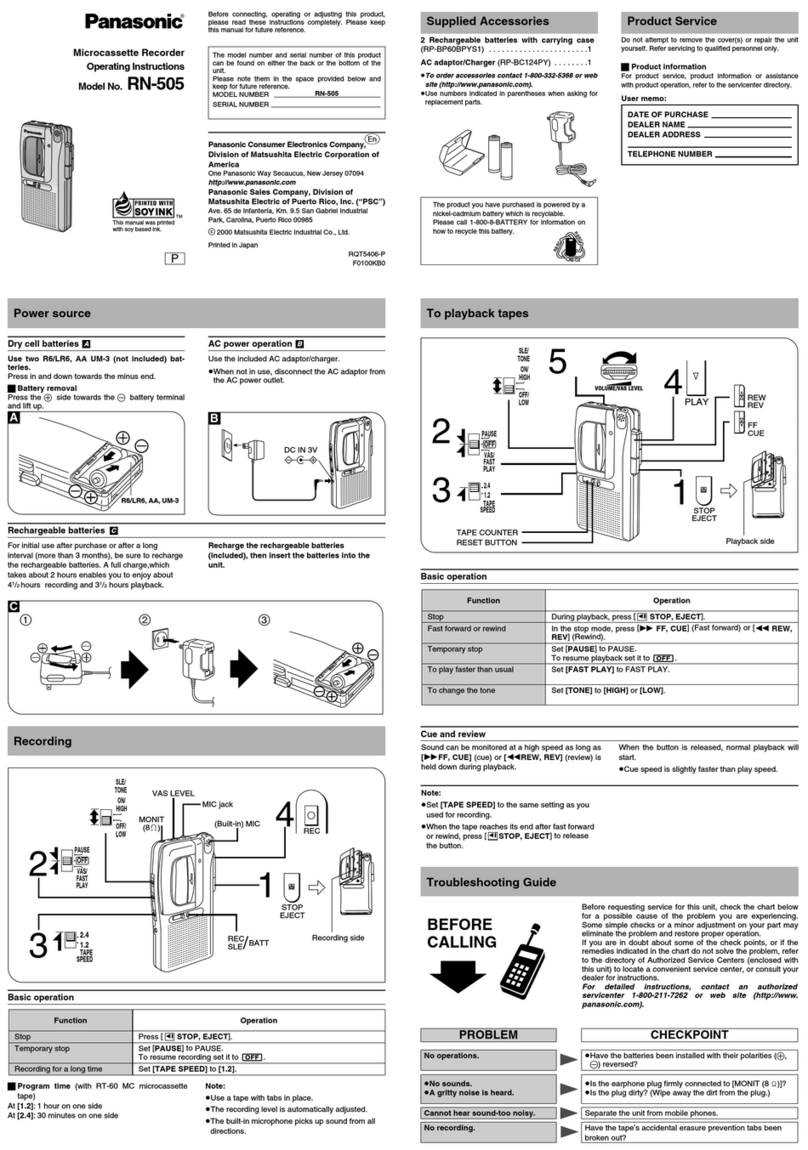
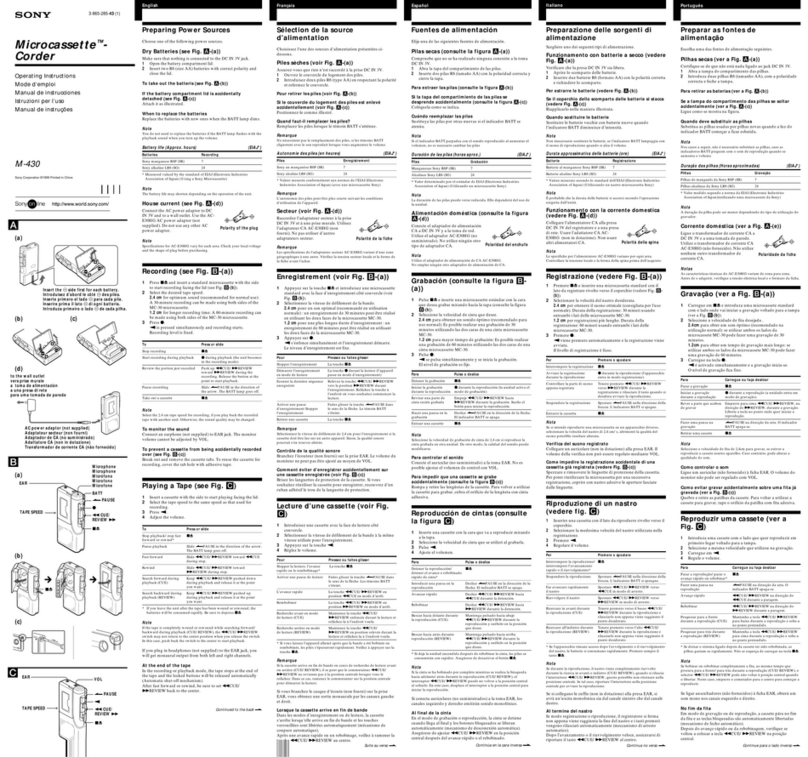
Sanyo MEMO-SCRIBER TRC-6030 User manual

INSTRUCTION
MANUAL
i.,
MEMO.SCRIBER
TranscribinqSystem
)
,
t'\-
TRC-6030
B
HELP.LINE
the
tolFfreenumber
belowil youhave
anydiffaculties
operatingthis
product.
1-800-421-5013
(weekdays
8:00AM
-5:00PM,
pacific
time)
1
AD6P1P01
65-E
,lssue
Number
1
-1
*"

SANYO
MEMO-SCRIBER
MODELTRC-6030
LIMITED
WARRANW
OBLIGATIONS
Inorder
toobtain
warranty
servtce,
the
productmust
bedelivered
toand
picked
uplromanAuthorized
Sanyo
Service
Center
attheuser,s
expense,
untessspJciii""iiiy
st;teq "therwiseinthis
warranty.
Theiames and
addresses
ofAuthorized
Sanyo
service
centersmayoe
ootarneo
oy
writing
tosrs corporation,
sFc's w;rrantyadminisvator,
atany
oftheaddresses
listed
below,
orby
calling
(toll{ree)1-800-421-50
13.
NewJersey
Office California
Office lllinois
Office Georgia
Office
210
Riser
Road 1200
W.
Artesia
Blvd. 900
N.Arlington
Heights
Road 1790
Corporate
?rive,
Suite
340
litie ieirv, NJ07643 compion,cn gozzo trasca,
tL60-143 Nglcloss,
GA30093
;41:64i-i6oii-
- - slc6sz-saso 708-775-1414 404-e25-8e00
THIS
WARRANTY
ISVALID
ONLYONSANYO
PRODUCTS
PURCHASED
ORRENTED
AND
USEO
INTHEUNITED
sinles oFAMERtcA,
ExcLU'oiNG
HAwAll
ANDALL
U.s.
TERRIToRIES
AND
PRoTEcToRATES'
THts
wARRANTy
AppltES
or.rii
r-o
ixe oRtctNAL
RETATL
usER,
ANo
DoES
Nor
APPLY
ToPRoDUcrs
usED
FoR
ANy
tNDUSTRIAL,
pRoFESsrounl
oncoul,rERCrAL
puRpodE.
THE
oRlclNAL
DATED
BILLoF
sALE,
sALES
sLtpoR
RENTALnoneEvrNi
vusr eEsugvtrrED
TorHE
AUTHoRtzED
sANYo
sERVlcE
OENTER
ATTHETIME
WARRANTY
SERVICE
IS
REQUESTED.
subjecrrotheoBLtGATtoNS
aboveand
EXCLUSToNS
betow,
sANYo
FIsHER
(usA)coRPoRATloN
(sFc)
warranlsthis
5n-r.iio'pr"or"t
isiinst oetectsin
miteriatJano
wort<manship
forthe
p€riods
of
LABoRand
PARTS
specilied
below'
SFC
*ri i"p"iioii"piic; (ai
itsoptioni
rhe
producr
and
any
of.its
pirtswhich
failtoconform
tothis
warranty.
Thewarranty
perroo
comniences
on
thedate
tne
product
waslirst
purchasedorrented
at
retail'
EXCLUSIONS
Thiswarrantydoes notcover(A)the adjustment
ofcustomer-operated
controls
as explained
in the appropriate
model's
instruction
manual,
or (B)
therepair
ofanyproductwhose
serial
number
hasbeen
altered,
defaced
or removed'
inii *u"anty shati
noiafply
to
ihecabin6t
orcosmetic
parts,
knobs
orroutinc
maintenance.
This
warrantydoea
not"ppry
to,nirating,
setup,
installaiion,
removal
ollhe
product
lor
repair,
orreinstallation
ot
the
producl
after
repair' tated
byanycause
beyonct
thecontrol
of
sFC including,
but
Thrs
warranty
does
notapply
torepairs
orreplacements
necessl
nor
limited
to, any malunctton,-iletect
oriailurecauserl
by olt,suit,'l.l lrom unauthorized
service
or parts,
improper
maintenance,
operalron
comrary
totrinished
instruclbns,
shipping
ortranslt
accldents,
modllication
orrepairbythe
user'
abuse,
misuse,
neglect,accide;t,
incorrect
linevollage,
lrre,.flood
orother
Acts
olGod,
orllormal
wearand
tear'
in" t6l"g"rg i" injie, brattotnel
eipieiieJ warraniies
andSFC
does
notassurne
orautl()rize
any
party
toassume
forit
any
other
obligation
or
liability.
THEDURATION
OFANY
WARRANTIES
WHICH
MAY
BEIMPLIED
BYLAW
(INCLUDING
THE
WARRANTIES
OF
MEBcHANTABILtTy
AND
rrrr.jidsiis r-rrr,uieo
ro rHE TERM
oF THlswARRANTY.
lNNo EVENT
SHALL
sFc BE
LTABLE
FoRSpEctAL,
tNCrDENTAlonborusEourNTrALDAMAGESARtslNG
FRoM
owNERSHIPoR
usEoFTHls
PRODUCT,
ORFOR
ANY
OEI-NV
IT.T
iHi FENTONT',TNNCE
OF
ITSOBLIGATIONS
UNDER
THIS
WARRANTY
DUE
TO
CAUSES
BEYOND
ITSCONTROL.
SOME
STATES
DO
NOT
ALLOW
LIMITATIONS
ON HOW
LONG
ANIMPLIED
WARRANTY
LASTS
AND/OR
DONOT
ALLOW
THE EXCLUSTON
On r_ir'aiiArroN
oF CoNSEQUENT|AL
DAMAGES,
SOTHE
ABovE LIMITATIoNS
AND
EXCLUSIONS
MAY
NOT
APPLY
TOYOU'
THtswARRANTy
GtvES
vou speirFid LEGAL
RrcHTS.
you MAY
HAVE
orHER RIGHTS'
wHlcH vARY FRoM
STATE
TOSTATE. s/A
Rs
(M)
PARTS
1YEAR
ATTENTION
orotection
inthe event
ol theftor lossof this product,
pleasefill in the inlormation
below
for your own personal
Serial
No.
(Located
on back
orbottom
side
ofunit)
Purchase
Price
1 For
your
records.
Model
No.
Date
of Purchase
WherePurchased
WARNING:
TO
PREVENT
FIRE
OR
SHOCK
HAZARD,
DO
NOT
EXPOSE
THIS
APPLIANCE
TO
RAIN
OR
MOISTURE.
-E1- -E2-
CONTROLS
1.Ejectlever
(EJECT)
2. Cassette
compartment
lid
3.Tape
counterand
reset
button
(couNTER/RESET)
4. Backspace
control
(BACK-
SPACE)
5. Erase
button
andindicator
(ERASE)
6.Stop
button
(STOP)
7. Play
buttonandindicator
(PLAY)
B.
Speedcontrol
(SPEED)
9. Fastforward
button
and
indicator
(FFWD).
10.
Rewind
button
and
indicator
(REW)
Volume
control
(VOLUME)
Search
button
and
indicator
(SEARCH)
Tone
control
(TONE)
Speed
selectbutton
and
indicators
(SPEED)
Power
button
(POWER)
Speaker
ExternalDC
9V
jack
(EXT
DC
ev)
Remote
controljack
(REMOTE)
Earphone
jack
(EARPHONE)
11.
12.
13.
14.
15.
16.
17.
18.
19.
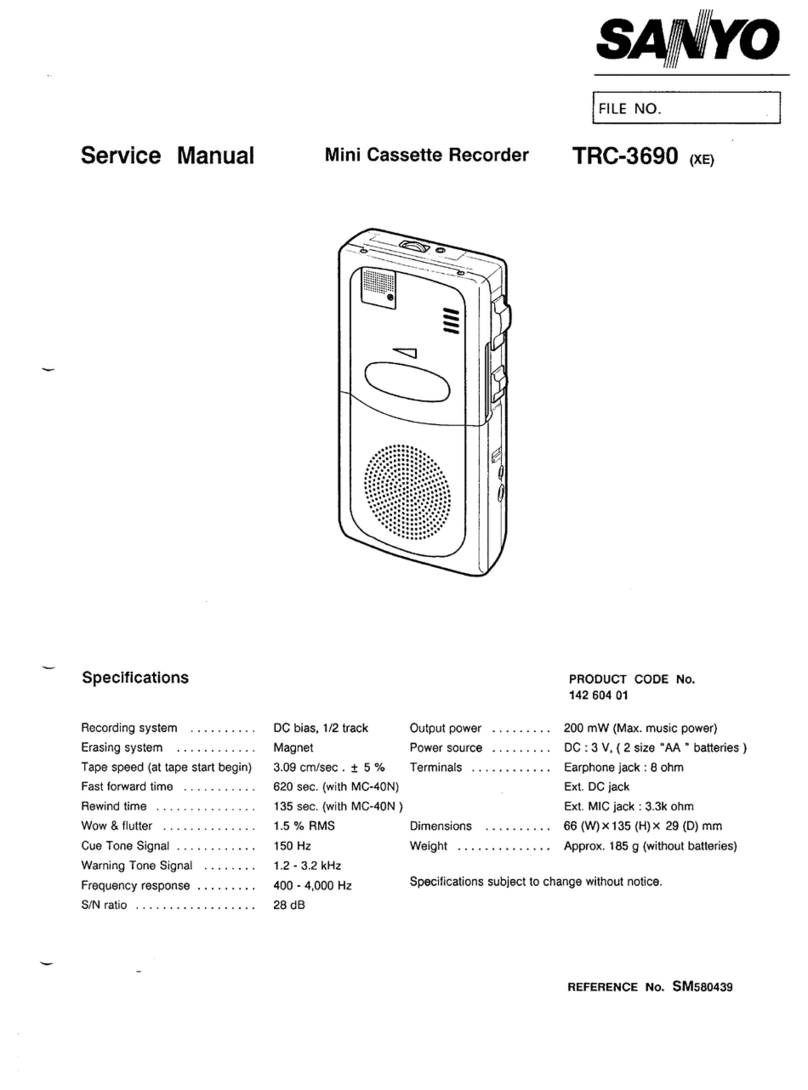
Footcontrol
20.Backswitch
(BACK)
21.Play
switch
(PLAY)
PREPARATIONS
Connections
120VAC60Hz
Loading
amicrocassette
1.PulltheEJECT
leverto
openthe
cassettecompartment
lid.
2.Load
amicrocassettewith
thefullreel
totheright.
3.Close
the
lid
by
pressing
it.
@o
NOTES:
- Be
sure
toclosethe
lid
after
loading
a
micro-
cassette.
The
unitdoes
notoperateunless
thelidis
closed.
- Donot
atempttooperate
theEJECTlever
whiletheunit
is
operating.
When
unloading
amicrocassette,first
press
theSTOPbut-
tonand
then
pullthe
EJECTlevertoopen
the
lid.
Warning
beeptones
The
unit
emitsa
warning
tonein
the
following
cases:
No
cassette:
Atonesoundsifthereis
nocassettein
theunit
when
theunitisinthe
operating
mode.
End
oftaoe:
Atone
sounds
when
thetapereaches
the
end
in
all
operating
modes.
Erase
orotection:
A
tone
sounds
if
you
attemptto
erase
a
microcassettewhose
erasure
guard
tabhas
beenbroken.
#
-E3- -E4-

TRANSCRIPTION
1.PressthePOWERbutton
(button
DOWN).
2. Load
the
microcassettetobe
played
3. PresstheRESET
button
tosetthecounter
to
"000".
- Thetape
counter
helps
you
toquickly
locaterecorded
selectionsfor
playback.
- The
tapecounter
will
besetto
"000"
when
thetapeis
ejected.
4.SettheSPEEDbutton
to2.4
or
1.2to
correspond
withtherecorded
tape
speed.
5. Press
the
PLAY
switch
onthe
foot
control
to
begintranscribing.Play-
back
willcontinue
whilethe
switch
is
being
pressed.
- Playback
canalsobestartedby
pressing
thePLAY
buttonon
the
unit.
In
thiscase,
theSTOPbuttoncanbe
pressed
to
stop
playback.
6.Adjustthe
VOLUME
and
TONE
controlsasdesired.
7. UsetheSPEEDcontrol
to
adjust
the
playback
speedto
your
liking.
- The
"0"
position
on
thescale
isfornormal
tape
speed.
8. lf
you
wish
to
review
your
dictation,
release
thePLAY
switch.
Thetape
automatically
backspacesaccording
totheBACKSPACE
controlsetting.
- Usethe
BACKSPACE
controlto
adjust
the
automatic
backspace
feature
for
your
convenience.
- For
a longerreview,
press
and
holdtheBACK
switchandthetape
backspacescontinuouslyuntil
you
release
theBACK
switch.
To
pause,
release
the
PLAY
switch
Continue
with
thisstart-stopmethoduntilthetranscription
is
completed.
Toturnthe
unitoff,
press
thePOWER
button
(button
UP).
9.
10.
-E5-
.J",
-E6-
I
lndexsearch
1.Pressthe
SEARCHbutton
(button
DOWN).
2. Pressthe
REWor
FFWDbuttonon
theunit.
Thetapestopsbriefly
andabeeptonesounds
whenthe
tape
reachesthe
index
mark
you
have
recorded.
- Whenusing
the
foot
control,
press
the
BACKswitch.
NOTE:
Theindex
marksare
madeonthe
SANYO
TRC-6300
Memo-scriber.
Erasing
Aftertranscription
is
completed,
you
canerase
the
microcassette'
1.
While
holding
down
the
ERASEbutton,
press
the
REW
button
TheERASEand
REWindicators
will
light.
2.Whenthetape
reaches
the
end,
abeep
tonesounds.
PresstheSTOP
button
tostop
erasing.
- Youcanalso
perform
"foruard
erasing"
by
pressing
boththe
ERASEand
FFWDbuttons.
Useas
atape
player
You
canalso
play
a
pre-recorded
microcassetteon
theunit.
Loada
microcassette
and
press
the
PLAY
button.
Use
the
FFWDor
REW
button
toadvance
or
rewind
thetape
rapidly.
Safeguards
againstaccidental
erasure
To
protect
side
A,
breakout
tab
(1).
To
protect
side
B,breakout
tab
(2).
- Torecordorerasea
protected
cassette,
cover
theerase
guard
tabopenings
withadhesive
tape
(3). ..
a
q
3

MAINTENANCE
Cleaning
thecabinet
Use
aclean
soft
cloth
moistened
with
plain
lukewarm
water
andwrung
dry.
Never
usebenzol,
benzeneor
otherstrong
chemical
cleanerssince
these
could
damagethefinish
of
your
unit.
ltis
important
thatnoliquid
reaches
the
inside
ofthe
unit.
Cleaning
thehead
For
continuedhigh
performance,
periodically
cleanthehead,
pinch
roller
and
capstanwhdnever
an
accumulation
ofdustandred-brown
oxide
particles
is
noticed.
To
dothis,
pull
theEJECTlever
to
openthecassette
compartment
lid.Remove
themicrocassette
and
switchoffthe
power.
Carefully
rubthehead
(4),
pinch
roller
(3)
and
capstan
(2)with
acotton
swab
(1)
moistenedwith
isopropytatcohol
orspecialhead-cleaning
fluid.
SA,MYO
21350
LassenStreet
Chatsworth
CA91311
PrintedinHongKong
Table of contents
Other Sanyo Microcassette Recorder manuals

Sanyo
Sanyo TRC-3690 XE User manual

Sanyo
Sanyo TRC 8080 - Cassette Transcriber User manual

Sanyo
Sanyo M1110 User manual

Sanyo
Sanyo M1011 User manual

Sanyo
Sanyo 530M - TRC Microcassette Dictaphone User manual

Sanyo
Sanyo MCD-S730F User manual

Sanyo
Sanyo TRC-3640 User manual

Sanyo
Sanyo MCD-X75L User manual

Sanyo
Sanyo M1112 User manual

Sanyo
Sanyo TRC540M - Auto Stop Microcassette Recorder User manual