sanyuan SY1KVA-VC-48 User manual

SY1KVA-VC-48 1kVA UPS
User's Manual
Henan Sanyuan Network Science & Technology Co.,Ltd

1、Overview
Sanyuan's SY-VC UPS series are designed for both industrial and consumer market. This UPS
series utilizes Sanyuan's exclusive smart controller IC, which provides a comprehensive protection for
battery. (Fuse contained, effective against battery overcharge/over-discharge, overload, short circuit,
and overheat)
The SY1KVA-VC-48 UPS has a built-in large capacity 48V Lithium battery. Its inverter output is
220V AC with pure sine wave and its output power is 800W. This UPS is designed to take electricity
from power supply first and support instant bypass switch. It has recharger and Battery Management
System (BMS) integrated inside for the convenience of wiring and maintenance.
The SY1KVA-V-48 UPS is preinstalled in a waterproof box to support wall mount installation
and hoop hanging installation. The pure sine wave output makes it possible for both inductive load and
capacitive load, like motor fan or network switch. There is also a temperature control unit inside the
UPS so that the UPS can work in various outdoor environments.
2、Product Specifications
2.1 Input Parameters
Item
Parameter
Unit
Note
Power
Input
Input Voltage
150-275
VAC
auxiliary power
supply, system
startup
Output frequency range
50±5%
Hz
Surge Protection Ability at Input
20
kA
Input Current
10
A
Include recharger
current
Build-in
Battery
Pack
Capacity (single battery)
3.7V,
2600mAh
Voltage rating
48.1
VDC
Battery pack, 13
batteries
Voltage range
39-54.6
VDC
Capacity (whole battery pack)
40
Ah
Heating
Unit
Power output
2 * 100
W
Initiate heating
when power input is
available, depend on
service temperature
Surface temperature
< 40
℃
Battery heat preservation
temperature
7~10
℃
BMS
Discharge shutoff
temperature
<-15 or >+70
℃
Normal discharge
temperature
-15 ~+70
℃

Recharge shutoff
temperature
<-15 or >+50
℃
Low-current recharge
temperature
-15 ~+5
℃
Recharge current:
0.01C
Normal recharge
temperature
+5 ~+50
℃
With build-in BMS and heating unit, the Sanyuan UPS is able to initiate self-heating automatically
when service temperature is too low. The BMS controls heating unit and battery switch according to
battery cell temperature to make sure the battery discharges smoothly, to avoid incidents caused by
low-temperature recharging.
2.2 Output Specification
Item
Parameter
Unit
Note
Bypass
Circuit
Normal output power
Equals power input
VAC
Power directly fed from
power input end
Power
Output
Normal output power
187-242
VAC
Normal mode
Power
Inverter
Output Voltage
210-230
VAC
Output frequency
50±0.5
Hz
No power input
Output rating
800
W
Capacity rating
1000
VA
Output harmonic
≤5% (Resistive load)
≤8% (Rectified load)
Invert efficiency
≥86%
Power on
Automatic startup
Manual startup when
there is no power input
Power off
(no power input)
Automatic shutdown if
battery voltage reached
critical level, or press
power switch for a forcible
shutdown
Automatic disconnect
battery after shutdown to
avoid overdischarge
Switch principle
Power input is priority
Phase lock switch
Time to switch
≤8
mS
Recharger
Terminal recharge
voltage
54.6
VDC
Recharger stops working
after reaches terminal
recharge voltage
Recharge current
6
A

Cooling
Passive/Air cooling
2.3 Protective Characteristics
Item
Parameter
Unit
Note
Power
Input
Switch on
undervoltage
≤178
VAC
Return difference: 7V
Switch on
overvoltage
≥250
VAC
Return difference: 6V
Switch on
overfrequency
> 53
Hz
Return difference: 0.3Hz
Switch on
underfrequency
< 47
Hz
Return difference: 0.3Hz
Output overload
protection
≥880W,after 30S
Restart power inverter after
30s; switch back to power
input when overload stops
≥960W,after 10S
Battery
Short-circuit
protection
Yes
Power switch trip
Theft warning
Yes
Detect at startup
Undervoltage
warning
40-43V
VDC
Power inverter initiates;
Warning continues until
voltage ≥43.5V
Undervoltage
protection
≤42
VDC
Return difference: 4V. UPS
will shut down and
disconnect battery if no
power input is detected
Overvoltage
protection
≥56.0
VDC
Return difference: 1V
Power
Invert
Output overload
protection
≥880W,after 30S
Restart after 30S
≥960W,after 10S
Output short-circuit
protection
Yes
Short-circuit test prohibited
when fed from power input
Overheat protection
Yes
Recharg
er
Overvoltage
protection trigger
point
275
VAC
Return difference: 11V
Undervoltage
protection trigger
point
154
VAC
Return difference: 11V
Shutdown on
output overvoltage
≥55.0
VDC
Return difference: 0.3V

2.4 Monitoring Features
Item
Parameter
Note
Commu
nication
Interface
RS485
Monitoring key indicators including
battery voltage, current, recharge
current, input voltage, frequency,
output voltage/current, and other
parameters
Bit rate
9600bps,N,8,1
Protocol
Modbus RTU
Dry
Contacts
Battery
status
Always open; closes if there is
no malfunction
Always open
Input status
Always open; closes if there is
no malfunction
Always open
Output
status
Always open; closes if there is
no malfunction
Always open
2.5 Safety Specification and EMC
Item
Parameter
Note
Dielectric strength (AC input/output to
ground)
1500VAC
Withstand 1500VAC impact for 1
minute; leakage current less than 10mA,
no electric breakdown or electric arc
occur
Dielectric strength (AC input/output to
battery)
1500VAC
Dielectric strength (Battery input to ground)
500VDC
Ground resistance
< 0.1Ω
Radiating disturbance emission
EN55022
CLASS A
Conductive disturbance emission
EN55022
CLASS A
2.6 Environment Specifications
Item
Parameter
Note
Working temperature
-30℃~+50℃
Storage temperature
- 40℃~70℃
Relative humidity
≤95%(40±2℃)
Air pressure
70~106kPa
3、Installation and Operation
3.1 UPS Specifications

Item
Parameter
Note
Size
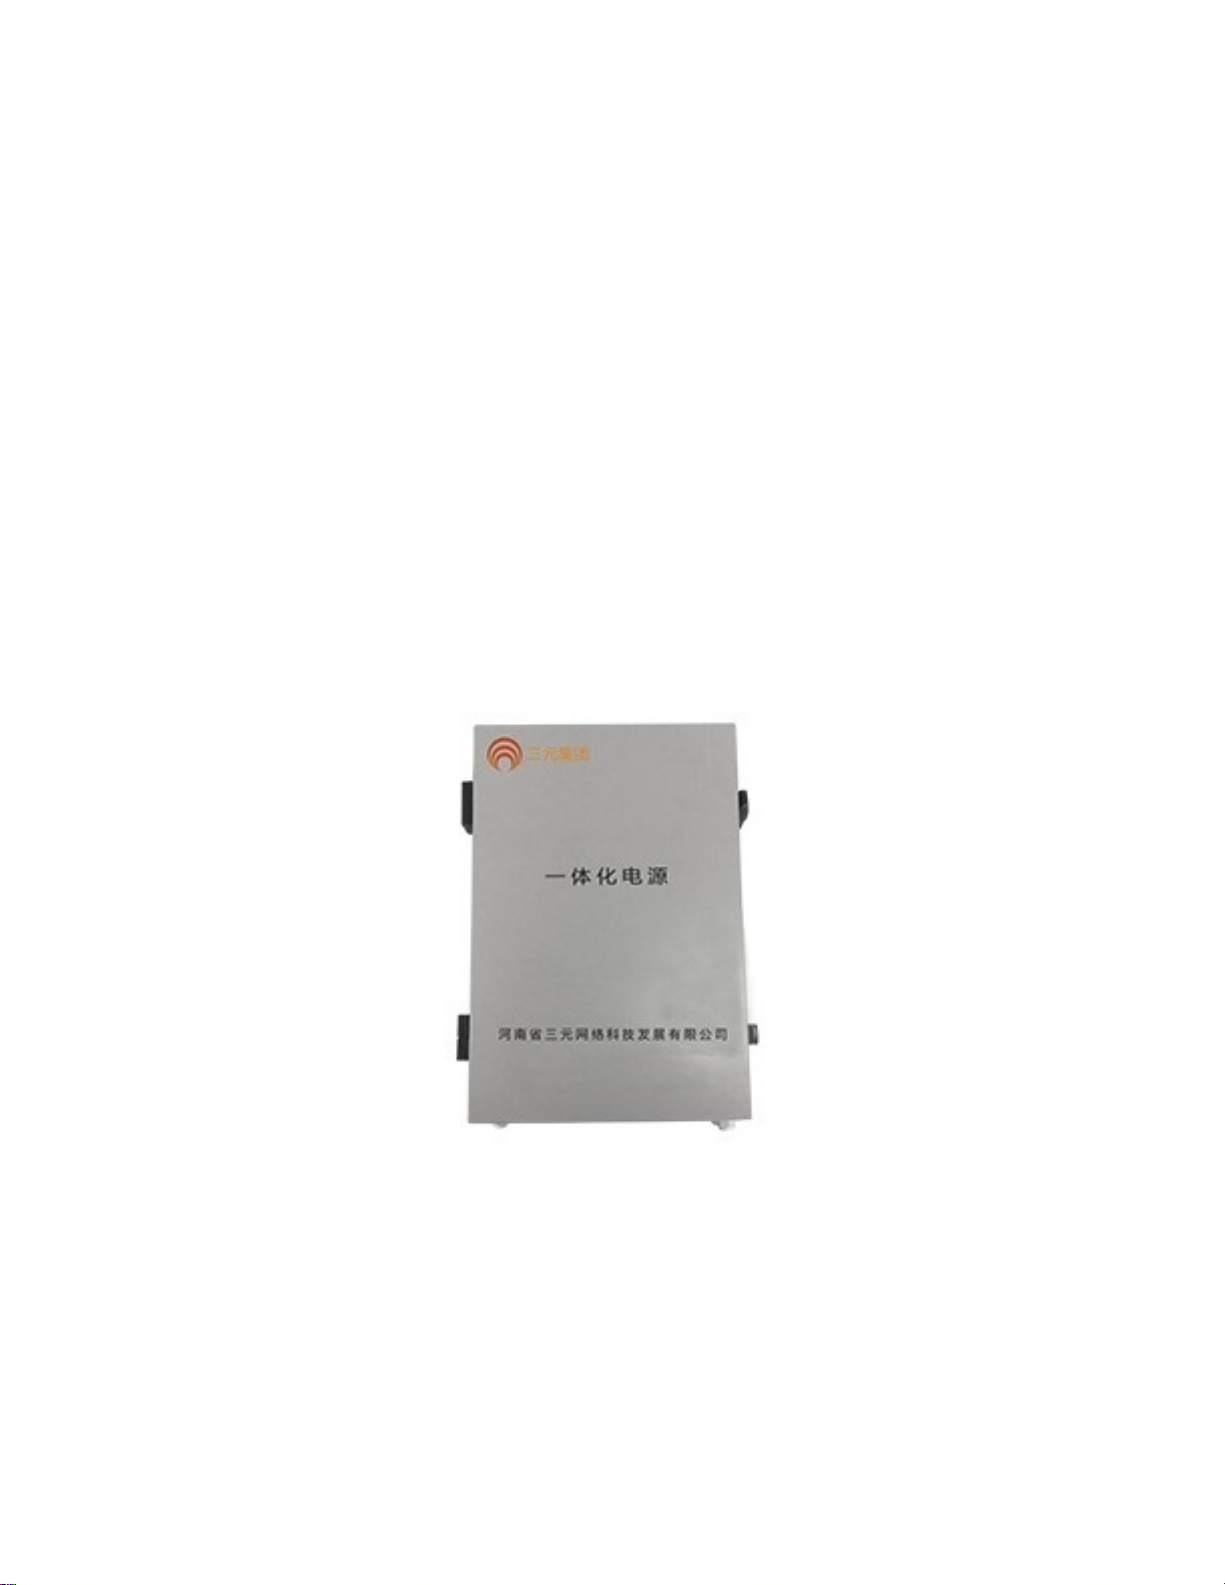
325*164*568 (length*width*height)
Unit: millimeter
Installation
Hoop hanging or wall mount
IP rating
IP55
Material
Aluminum alloy case
Weight
16kg
3.2 Device Installation
Open the UPS packaging. Take out lugs, screws, threaded bolt, and other accessories. Prepare
screwdriver and other tools
Wall mount installation:Nail four expansion bolts on the wall according to certain preset spaces.
One person holds UPS and aligns it to the bolt hole, while another person inserts bolts through
Hoop installation: pass an adjustable hoop through fixation holes on UPS. One person holds and
lifts the UPS to designated height and another person tightens the screws.
The UPS is better handled and installed with two or more people since its battery is very heavy.
This should avoid the UPS from bumping or falling damage.
3.3 Device Wiring
Wire connection:
Build-in battery pack has already been connected. During construction, you only
need to connect power input line and AC output line. To connect these lines, open the UPS casing, find
protective panel, and pass these lines through waterproof entry into the casing. Fix the input line,
output line and grounding line to corresponding terminals. DO NOT MISMATCH L/N TERMINAL.
Tightening the bottom after finish wiring
WARNING:CUT OFF POWER BEFORE WIRING. HOT LINE WORK IS STRICTLY
PROHIBITED. Adjust the switch to UPS mode after finish wiring
UPS motherboard removal:Adjust switch to "bypass" mode and turn off air switch at input end,
then pull up battery socket and AC socket on the UPS motherboard. Loosen four fasteners on side of
the motherboard to detach it from the UPS.
UPS motherboard installation:Turn off air switch, then install four fasteners to fix the
motherboard. Plug in battery and AC sockets and close the air switch. If the power inverter indicator
green light blinks, adjust the bypass switch to UPS.
3.4 Device Operation
After finished wiring, close in sequence power input air switch, UPS input air switch, UPS output
air switch, and adjust bypass switch to UPS. Then feed power to UPS to get it work to output AC.
3.4.1 Manual Power on/off
Manual power on with no power input: To power on the shutdown UPS with no power input,
press the green button for three seconds. The UPS will forcibly start and start to output until battery
runs out.
Manual power off with no power input: To power off the running UPS with no power input, press
the black button for 0.5 seconds, and the UPS will forcibly shut down. (For power inverter test, or
shutdown outgoing products from factory)
3.4.2 LED Indictor
There are five LED indicator lights on the display panel. The power indicator light is green, and

the rest of the indicators are green/red double light, designed to show each module's status. Here is a
table of each light's meaning:
Indicator light
Display
Meaning
Power
Continuous green light
UPS successful power up
No light
UPS not connected to power
Battery
Continuous green light
Normal battery voltage; not recharging
Continuous green light
blinking
Battery is recharging
Red light blink once
Undervoltage warning/undervoltage protection
status
Red light blink twice
Overvoltage
Red light blink three times
Missing battery
Power input
Continuous green light
Input power functioning normally
Continuous green light
blinking
Input power functioning normally; UPS is
feeding electrical load directly from power input
Red light blink once
Input voltage too low
Red light blink twice
Input voltage too high
Red light blink three times
Input frequency shifted
Power Inverter
Continuous green light
Power inverter standby
Continuous green light
blinking
Power inverter functioning normally; UPS is
feeding electrical load through power inverter
Red light blink once
Overheat
Red light blink twice
Output undervoltage
Red light blink three times
Bus line overvoltage
Red light blink four times
UPS internal communication error
Power Output
No light
No output
Green
Normal output
Red light blink once
Output overload
Red light blink twice
Output short circuit
3.4.2 LED Display
There is a four-digit LED display and a function button on the display panel. Press the button to
toggle display among battery electricity, output voltage, output power, and internal temperature, as in
the table below:
Display
Meaning
bxxx
Battery power remaining; eg: b100 stands for 100% electricity left
Uxxx
Output voltage; eg: u220 stands for 220V output
Px.xx
Output power; eg: P1.00 stands for 1.00kW output power
Txxx
Internal temperature; eg: t80 stands for 80℃
Table of contents
Popular UPS manuals by other brands

CyberPower
CyberPower PR750LCDRTXL2U user manual

CertaUPS
CertaUPS C400 Series Installation and user guide

INFOSEC UPS SYSTEM
INFOSEC UPS SYSTEM E3 PRO RT 3000 VA user manual

Nilox
Nilox 17NXGCLI16001 user manual

Forza
Forza FDC-RT1000VA user manual

Alpha Outback Energy
Alpha Outback Energy Continuity 1000 user manual