manuals.online logo
Brands
  1. Home
  2. •
  3. Brands
  4. •
  5. Satellite
  6. •
  7. Toilet
  8. •
  9. Satellite Global II User manual

Satellite Global II User manual

10/18/2018 40242 REVC 1
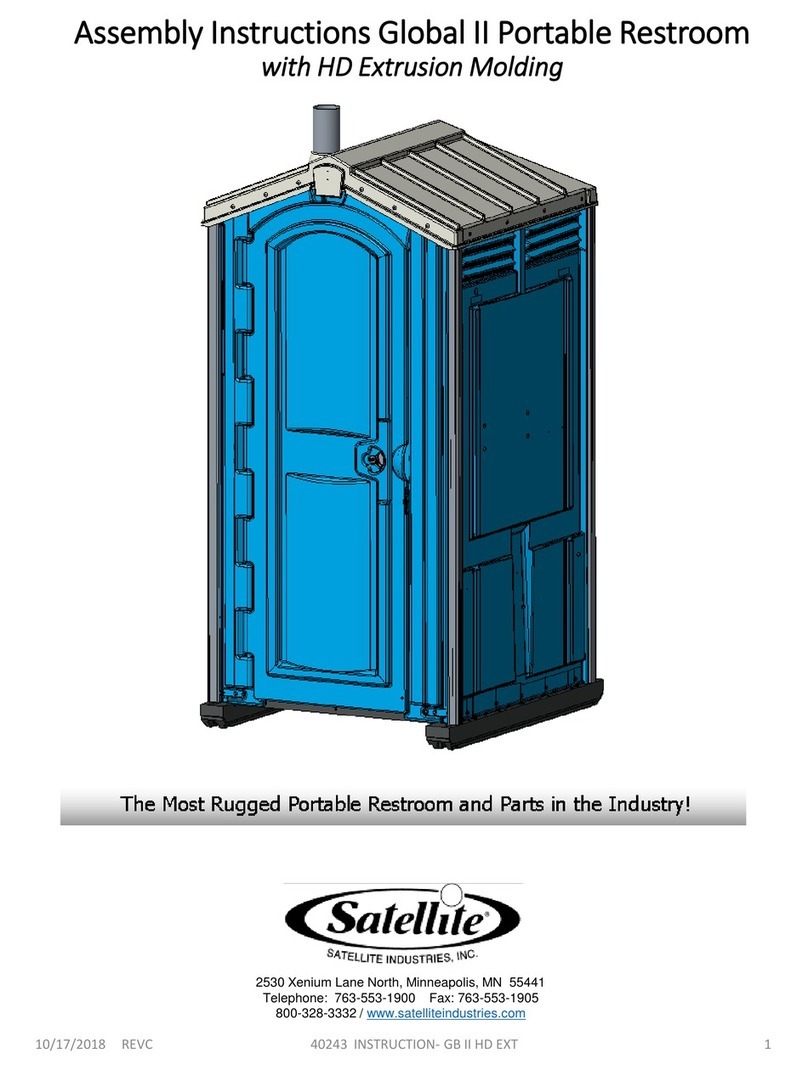
Assembly Instructions Global II Portable
Restroom T Extrusion Molding
(2018)
The Most Rugged Portable Restroom and Parts in the Industry!
2530 Xenium Lane North, Minneapolis, MN 55441
Telephone: 763-553-1900 / Fax: 763-553-1905
800-328-3332/ www.satelliteindustries.com
10/18/2018 40242 REVC 2
20
NOTE: 1. Item #2 Bolt (22384) used only with Item # 1A Base Blowmolded (22234), also
Item #2 Bolt (22384) QTY (6) Replaces Item #20 (13860) QTY (6).
A
10/18/2018 40242 REVC 3
1. Drill / Driver 2. #10 Drill Bit 3. Rivet Gun 4. Phillips Screw Driver 5. 7/16”Nut Driver Bit 6. 1/4" Drill Bit
25
26
Tools Needed:
Step 1: Assemble (3) side panels together using T extrusion:
*Tip: may help to place panel on table or a stack of tanks before assembly.
1. Slide T Extrusion between (2) panels. Align holes in the panels with T Extrusion & fasten with (8)
rivets #11030 and (8) washers #11315. Washers should face rear panel & rivets face front of unit
2. Repeat on other side.
3
10/18/2018 40242 REVC 4
1A
20
Step 2: Assemble base to side panels:
1. Butt bottom of rear panel up against runners. Align rear panel center hole with center mark on base & fasten with
Screw #13860. Finish remaining (4) holes.
2. Align side panel’s center holes with grooves on base sides down to top of base runner and fasten with Screws #13860.
If using Blowmolded base:
Step 2: Assemble Blowmolded Base to side panels
1. Butt bottom of the rear panel up against the runners. Align rear panel corner holes with (2) threaded holes on
base and fasten with (2) Bolt #22384. Finish remaining (3) holes with Screw #13860.
2. Align side panel’s rear corner holes with threaded holes on base sides and install Bolt #22384 in left & right panels.
Finish remaining (4) holes with Screw #13860 (each side).
2
10/18/2018 40242 REVC 5
20
20
20
20
8
Step 3: Fasten Tank to Unit:
1. Position tank against the back wall and attach the tank starting with each side. Have (1) person stand in tank
while lagging panels to tank. This ensures that the tank is in the correct position. Tighten screws #13860 until
rubber washer begins to flatten. BE CAREFUL NOT TO OVER TIGHTEN SCREWS.
2. See location chart below for screw location. Note: Do not use dimples if they don’t match chart locations.
3. Fasten toilet seat.
Step 4: Assemble Paperguard to unit:
1. Using #10 Drill Bit, Drill out the (4) dimples on side panel as shown.
2. Fasten Toilet Paper Holder to unit using (4) Rivets #11054 and (4) washers #11315. Back-up washers are
installed on inside of paper holder. Insert spindle #22310 in paperholder.
10/18/2018 40242 REVC 6
15
11
19
20
Step 5: Assemble Urinal to unit:
1. Using #10 Drill Bit, Drill (2) holes in side panel at dimples.
2. Insert round tube of Urinal in tank urinal hole.
3. Fasten with (2) rivets #11054 and (2) washers #11315. Washers are installed on inside of Urinal.
4. Fasten urinal to tank using 1 screw #13860 in dimple located on back of tank collar.
18
15
9
Step 6: Assemble Shelf to unit
1. Using #10 Drill Bit, Drill (2) holes in each side panel at dimples location. Fasten Shelf to unit in rear left corner
using (4) Rivets #11030 from the outside, through panel and into holes in shelf & 2 back-up washers #11315 on
outside 2 rivets only.
10/18/2018 40242 REVC 7
25
26
21
24
13
16
23
17
Step 7: Assemble coat hook to doorframe.
1. Drill at dimple using #10 drill bit
and fasten Coat Hook to the
frame using Rivet #17436.
Step 8: Install Door Handle.
1. Assemble Door Handle to Door using (1) Screw
#40052, (1) Washer Fender #11360, on the outside of
front and (1) Handle #40057, (1) Washer Flat #12382
and (1) Nut #16307 on inside of front
2. Tighten nut using 7/16” Nut Driver Bit & Phillips screw
driver until threads are engaged with nylon in locknut,
at least one full thread must be showing, otherwise
nylon nut will loosen and fall off.
Step 9: Assemble Front to panels.
1. Install T Extrusions between the front and panels.
Fasten front to panels with (16) Rivets #11030 and
(16) washers #11315.
Make sure that the rivets heads are on front side and
washers are on the panel side.
10/18/2018 40242 REVC 8
20
4
Step 10: Assemble Front to base (DIRT BUSTER BASE):
1. Fasten Front to Dirt Buster Base use (6) screws #13860 through pre-drilled holes
in bottom of door frame.
Note (2) of the pre-drilled holes are behind door, the door must be opened to install screws.
10/18/2018 40242 REVC 9
Step 10: Assemble Front to base (BLOWMOLDED BASE):
1.Fasten Front to Blowmolded Base install (2) bolts # 22384 into middle holes ( see diagrams below).
2.Install (4) screws #13860 through pre-drilled holes in bottom of door frame.
Note (2) of the pre-drilled holes are behind door, the door must be opened to install screws
Bolt #22384
Screw #13860
10/18/2018 40242 REVC 10
20
12
18
15
Step 11: Assemble Roof to unit.
1. Place roof on top of unit. Fasten roof to unit using (18) Rivets #11030 and (18) Washers
#11315 around the roof. Washers are installed on inside of unit.
Step 12: Assemble Vent Pipe to unit.
1. Insert Vent Pipe through roof & down into
top of urinal tube & fasten vent pipe to urinal
tube using 1 screw #13860 in dimple located
on back of tube.
2530 Xenium Lane North, Minneapolis, MN 55441
Telephone: 763-553-1900 / Fax: 763-553-1905
800-328-3332/ www.satelliteindustries.com

Other manuals for Global II

1

Other Satellite Toilet manuals

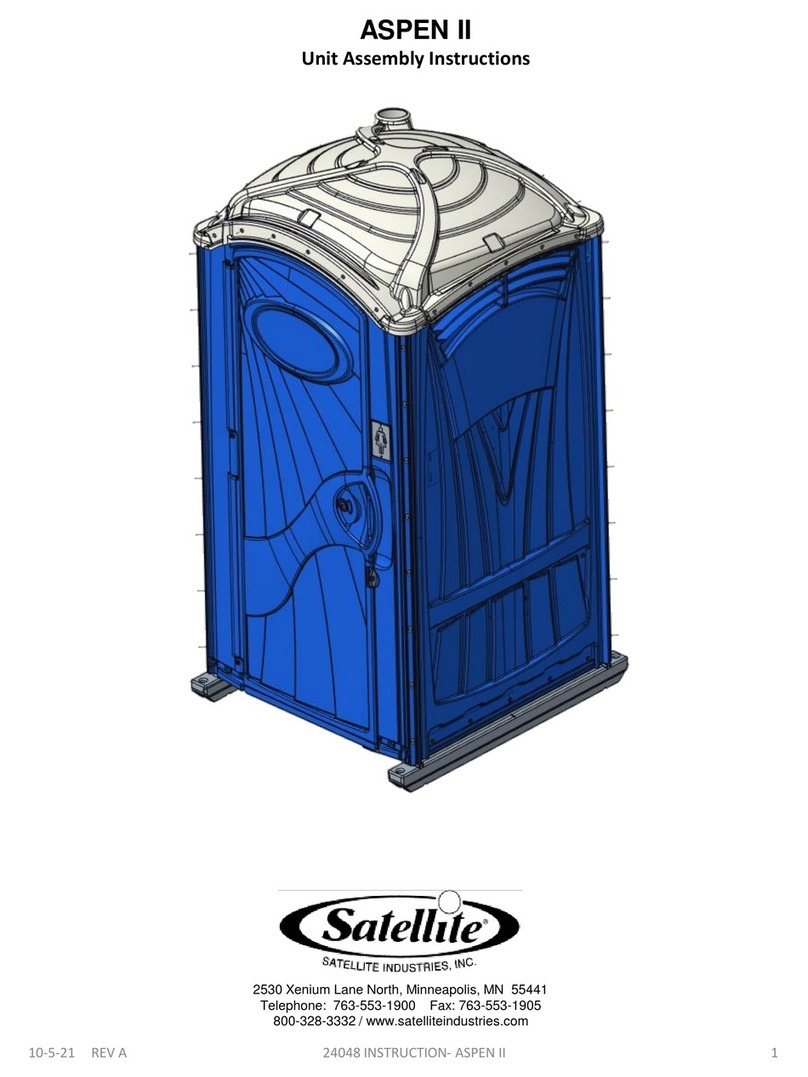
Satellite ASPEN II User manual

Satellite

Satellite ASPEN II User manual

Satellite Global II User manual

Satellite

Satellite Global II User manual

Popular Toilet manuals by other brands

Rejuvenation Navi Toilet owner's manual

Rejuvenation

Rejuvenation Navi Toilet owner's manual

Graham Field Lumex 6481R-2 Assembly & operation instructions

Graham Field

Graham Field Lumex 6481R-2 Assembly & operation instructions

Dry Flush Laveo DF1045 user manual

Dry Flush

Dry Flush Laveo DF1045 user manual

Fiamma Bi-Pot Series Installation and use instructions

Fiamma

Fiamma Bi-Pot Series Installation and use instructions

American Standard Town Square S INSTALLATION INSTRUCTIONS CARE AND MAINTENANCE

American Standard

American Standard Town Square S INSTALLATION INSTRUCTIONS CARE AND MAINTENANCE

Kohler K-3654-7 Installation and care guide

Kohler

Kohler K-3654-7 Installation and care guide

Medline Guardian G1-400BDX1 quick start guide

Medline

Medline Guardian G1-400BDX1 quick start guide

Separett Villa 9000 manual

Separett

Separett Villa 9000 manual

Toto CST624 Series installation manual

Toto

Toto CST624 Series installation manual

Porcelanosa noken URBAN-C 100239075 N603470043 quick start guide

Porcelanosa

Porcelanosa noken URBAN-C 100239075 N603470043 quick start guide

FV Ischia Elongado E187 quick guide

FV

FV Ischia Elongado E187 quick guide

noken TONO 100188383-N399999767 manual

noken

noken TONO 100188383-N399999767 manual

Kohler CIMARRON K-5697T-TFC installation instructions

Kohler

Kohler CIMARRON K-5697T-TFC installation instructions

Thetford C400 Series user manual

Thetford

Thetford C400 Series user manual

Sanela Alessi SLP 25RZ Instructions for use

Sanela

Sanela Alessi SLP 25RZ Instructions for use

Lotus ATS-500R user manual

Lotus

Lotus ATS-500R user manual

Simas FLOW FL63 Installation and maintenance instructions

Simas

Simas FLOW FL63 Installation and maintenance instructions

Globo FO009 Assembly instructions

Globo

Globo FO009 Assembly instructions

manuals.online logo
manuals.online logoBrands
  • About & Mission
  • Contact us
  • Privacy Policy
  • Terms and Conditions

Copyright 2025 Manuals.Online. All Rights Reserved.