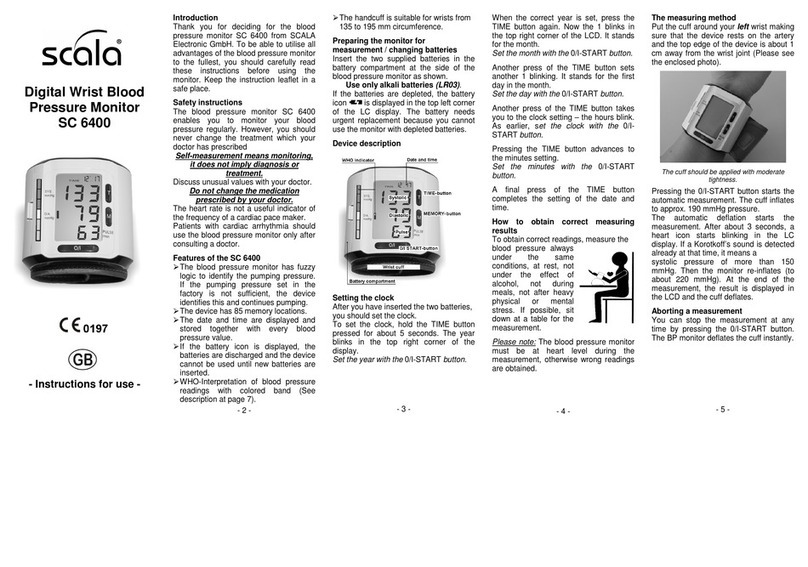
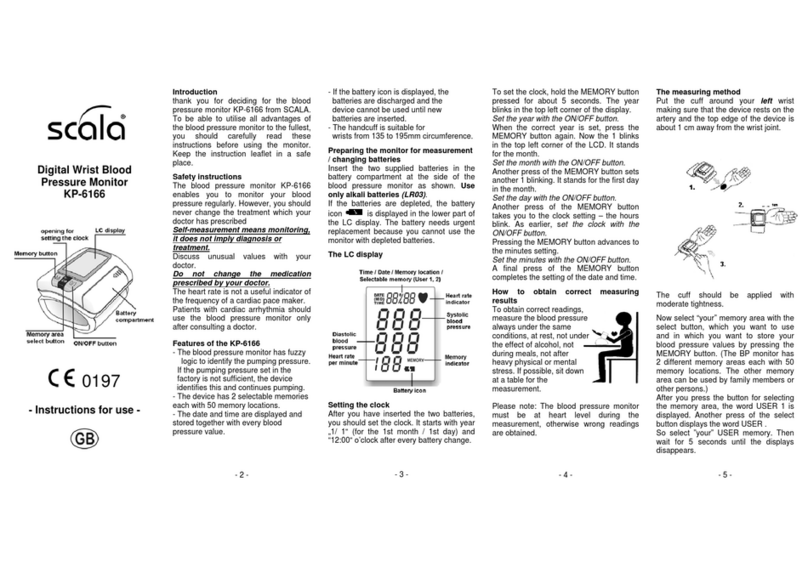
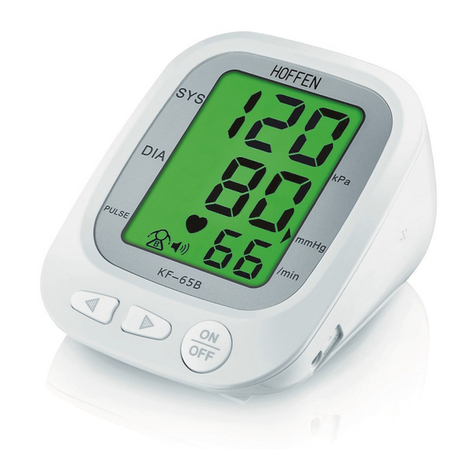
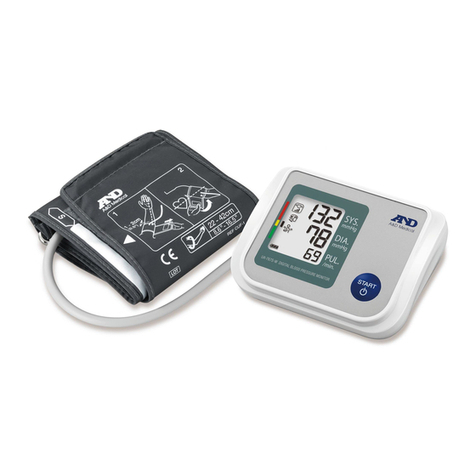
Scala SC 6360 User manual

Digital blood pressure monitor SC 6360
for measurements on the upper arm
Operating instructions
Introduction
Thank you very much for your decision to buy the SC 6360
blood pressure monitor. It is most easily operated, as the
settings that ere still necessary ith older models have
all been taken care of by the electronic programming
(Fuzzy logic). Just press the relevant button and the
measurement can start.
But this instrument has much more uses. In order to utilize
all its options, please read these instructions carefully
before you use the instrument for the first time and keep
them in a safe place for future reference.
Special features of the SC 6360 blood pressure
monitor
♦ The SC 6360 has a special logic for recognizing the
required pumping pressure (Fuzzy logic). If the pumping
pressure set by the manufacturer is insufficient, the
manometer ill recognize it and increase the pressure by
further pumping.
♦ The device has 60 memory locations. The date and time
are displayed and stored together ith every blood
pressure value. To recall the memory, please press “MEM
Button” under po er-off mode first. Then, the average
measurement result ill be sho n on the LCD first.
♦ You may set 3 different times for the alarm and
measurements.
♦ The instrument s itches automatically back into its clock
function 3 min after the blood pressure has been
measured.
3

Contents
Introduction .................................................................... 3
Special features of the SC 6360 blood
pressure monitor .......................................................... 3
Safety instructions ......................................................... 4
Ho to put the SC 6360 into operation /
Changing the batteries ……………………………........... 4
Device Description ……………………………………….. 5
Description of LCD ......................................................... 5
Date / time setting procedure ......................………........ 6
Setting the alarm clock ................................................... 6
Instructions for measuring the blood pressure ............ 8
The blood pressure measurement ............................... 8
Premature discontinuation of the measurement ........... 8
Memory recall and deletion ............................................ 9
What blood pressure values are normal? ................…... 9
Assessment of blood pressure values .......................... 10
Care and maintenance .................................................. 10
Periodic re-calibration .................................................. 11
Error messages and disturbances ................................ 11
Disposal instructions .................................................... 11
Reference to standards ................................................ 12
Warranty ...................................................................... 12
Specifications ............................................................ 13
♦ A colored and illuminated display ill assess the blood
pressure just measured.
♦ The cuff is suitable for upper arms ith a circumference
bet een 22 and 34 cm.
♦ Alternatively to battery operations, the SC 6360 may
also be operated ith a special po er supply unit, hich is
also available from Customer Services (under
03329/604314).
Safety instructions
The blood pressure monitor SC 6360 enables you to
monitor your blood pressure regularly. Ho ever, you
should never change the treatment hich your doctor has
prescribed
Self-measurement means monitoring, it does not
imply diagnosis or treatment.
Discuss unusual values ith your doctor.
Do not change the medication prescribed by your
doctor.
The heart rate is not a useful indicator of the frequency of
a cardiac pace maker.
Patients ith cardiac arrhythmia should use the blood
pressure monitor only after consulting a doctor.
How to put the SC 6360 into operation / Changing the
batteries
Put 4 LR6 batteries in the compartment as indicated on the
back of the instrument. Preferably, alkali batteries (LR6)
should be used.
If the batteries are flat, an empty battery ill be displayed
at the bottom left: .
4
Specifications
Measuring method: Oscillometric
measuring range: pressure display: 30 … 280 mmHg
pulse: 40 … 199 per minute
measuring accuracy: static pressure: +/- 3 mmHg
pulse: +/- 5 %
Measuring value
memory: memory ith 60 locations for
systolic / diastolic / heart rate, date
and time
display: LCD display/LED display for the
blood pressure assessment
po er supply: 4 x LR6 (alkali batteries),
orking temp. range: +10° C … +40° C
storage temp. range: -10° C … +50° C
eight: approx. 270 g ( ithout batteries)
cuff length: for upper arm circumferences
bet een 22 cm and 34 cm
Subject to alterations in the sense of technical improvements
anufacturer:
AViTA Corporation
San-Chung, Taipei County,
Made in China
Importer:
SCALA Electronic GmbH
Ruhlsdorfer Straße 95
D-14532 Stahnsdorf
Customer service:
SCALA Electronic GmbH
Ruhlsdorfer Straße 95
D-14532 Stahnsdorf

Date / time setting procedure
- Under po er-off mode, please press the ”SET Button” to
enter date / time setting procedure and the month value
ill be flashed first.
- To adjust the value of month, please press ”MEM Button”
and the value of month, please press ”MEM Button” and
the value ill go up. Once finished, please press ”SET
Button” again to confirm the set value and go to the next
setting.
- Follo the steps instructed above to adjust the value of
date and time consquentty.
Setting the alarm clock
The SC 6360 features an alarm clock. The alarm can be
set to ring at three different times in the day. The alarm is
especially helpful it you are required to measure your
blood pressure at specific times (for example 7:00 a.m.,
12:00 p.m. and 10:00 p.m.) Fig. 1 – 3.
6
Instructions for measuring the blood pressure
In order to obtain comparable values, al ays measure the
blood pressure under the same conditions, i.e. in a relaxed
atmosphere, not after the consumption of alcohol, not
during a meal and not after being exposed to physical or
nervous stress.
If possible, make the measurement hile being seated at a
table and only ith your left upper arm stripped.
The blood pressure measurement
Put the cuff around your left upper arm in such a ay that
the tube is directed to ards the bend of the elbo , ith the
lo er cuff edge ending about 2 cm above the bend of the
elbo . No connect the cuff ith the instrument by
plugging the air plug at the tube of the cuff into the socket
on the left side of the instrument.
The cuff should be
reasonably tight.
Start the measurement by pressing the ON/OFF-button.
If you press the ON/OFF-button after the measurement,
the instrument ill transfer the values automatically to the
memory.
Premature discontinuation of the measurement
The measurement of the blood pressure can be discontinued
at any time by pressing the ON/OFF-button. The instrument
ill then deflate the cuff immediately.
8
Periodic re-calibration
We recommend re-calibrating the pressure display
regularly every 2 years.
Error messages and disturbances
Should an error occur during a measurement, the ord
„Err“ and a symbol (code for Customer Services) ill be
displayed.
We kno from long-standing experience that a fault has
mainly been provoked by handling the instrument
incorrectly. The most frequent sources of faults are
agitated movements during the measurement, the
incorrect placement of the cuff or the use of the rong type
of batteries or accumulators.
The measurement should be repeated after 5 min the
earliest.
Disposal instructions
Batteries shall be properly disposed of. Use the relevant
collection bins the battery-selling trade as ell as
municipal collecting points provide for this purpose.
Please dispose the instrument properly in a municipal
collection point for disused electrical equipment after the
end of its useful life.
11
emory recall and deletion
Memory recall
The blood pressure monitor SC 6360 can store up to 60
sets of memory. To recall the memory, please press the
”MEM Button” under po er-off mode first. Then, the
average measurement result ill be sho n on the LCD
first. After the average reading is sho n on the display,
you can press the ”MEM Button” to track historical recards
from number 1 to number 60. Or press ”SET Button” to
track from number 60 to number 1.
Memory deletion
To clear all the memory records, please press ”MEM
Button” and hold it until the screen sho s Ctr.
This function only operates under po er off mode.
What blood pressure values are normal?
The blood pressure is too high, hen the diastolic value
exceeds 90 mmHg and/or the systolic value 160 mmHg in
relaxed conditions.
The World Health Organization (WHO) recommends
medical treatment, hen the diastolic value exceeds 100
mmHg. The doctor should also be consulted hen the
blood pressure is too lo , i.e. hen the systolic value
drops belo 105 mmHg and/or the diastolic value belo
60 mmHg.
9
Reference to standards
During the certification process, a fixed number of
instruments as subjected to stringent clinical tests. These
instruments used the same program for measuring the
blood pressure as the instrument hich is no in your
possession. This instrument is therefore deemed to have
been clinically tested as ell.
The instrument has been produced in accordance ith the
European standard for blood pressure manometers: EN
60601-1 and EN 1060-1 thru EN 1060-3.
Electromagnetic compatibility:
The instrument satisfies the requirements of the European
standard EN 60601-1-2.
The requirements of EU directive 93/42/EEC for medical
products of class IIa are also met.
Warranty
Our blood pressure monitor has t o years’ guarantee. A
defective instrument ill be repaired free of charge during
the arranty period. After the arranty period has expired
you can also have a defective instrument repaired by our
Customer Service, for hich you ill get an estimate in
advance free of charge.
The arranty does not cover any damage that has been
caused by improper use, accidents, ear and tear (cuff),
non-compliance ith the instructions for use or if the
instrument has been tampered ith. The packaging, the
batteries and these instructions for use are excluded from
the arranty.
12
A colored LC display will assess the measured blood
pressure in three steps:
green light: ........... optimal blood pressure
yello light: ......... normal blood pressure
red light: ............. borders on hypertonia or hypertonia
Assessment of blood pressure values
The WHO classifies high blood pressure in three degrees
of severity:
optimal blood pressure belo 120/80
normal blood pressure belo 130/85
bordering on hypertonia belo 140/90
1st degree: mild hypertonia belo 160/100
2nd degree: moderate hypertonia belo 180/110
3rd degree: severe hypertonia above 180/110
Care and maintenance
♥ Avoid extreme temperatures, moisture, dust and the
direct exposure to sunlight.
♥ The cuff incorporates a sensitive, air-tight bubble.
Please avoid any stress by turning or bending it.
♥ Clean the instrument ith a soft, dry cloth. Never use
petrol, thinner, or similar solvents. Stains on the cuff
can be gently removed ith a et cloth and soap.
Do not wash the cuff!
♥ Do not drop the instrument or treat it violently in any
other ay.
♥Never attempt to open the instrument, as the calibration
set by the manufacturer ill become invalid.
10
Device Description
Description of LCD
1. Date
2. Time
3. Systolic Pressure
4. Diastolic Pressure
5. Heartbeat Symbol
6. Pulse Display
7. Lo Battery Symbol
8. Memory Set
9. Memory Symbol
10. Alarm Symbol
11. Average Measurement
Symbol
12. Inflation/Deflation
Symbol
5
Set the alarm clock:
1. Press the ”MODE Button” to enter into the alarm setting
mode.
2. Continue to press the ”MODE Button” to select the
alarm to adjust.
3. With the chosen alarm screen displayed,
the hour ill begin to flash at the middle of
the screen, Fig 4. Press the ”MEM Button”
to change the hour. Once the correct
hour is displayed, press the ”SET Button”
to confirm.
4. After the hour is confirmed, the minutes
ill begin to flash, Fig. 5. Press the
”MEM Button” to change the minutes.
Once the correct minutes are displayed,
press the ”SET Button” to confirm.
5. The alarm feature must
be turned on immediately
after setting the time for
the alarm. Press the
“MEM Button” to turn the
alarm on, Fig. 6. Press the
“MEM Button” a second time to turn the alarm off, Fig. 7.
Press the “SET Button” to confirm and turn the unit off.
7
Table of contents
Other Scala Blood Pressure Monitor manuals

Scala
Scala SC 7600 User manual

Scala
Scala sc 7012 User manual

Scala
Scala KP-6166 User manual

Scala
Scala SC 6400 User manual

Scala
Scala SC 7100 User manual

Scala
Scala SC 7400 NFC User manual

Scala
Scala SC 7400 NFC User manual

Scala
Scala SC 6800 User manual

Scala
Scala SC 6120 User manual

Scala
Scala SC 2100 User manual