manuals.online logo
Brands
  1. Home
  2. •
  3. Brands
  4. •
  5. Scallywag Kids
  6. •
  7. Indoor Furnishing
  8. •
  9. Scallywag Kids BUNK CONVERSION KIT User manual

Scallywag Kids BUNK CONVERSION KIT User manual

BUNK CONVERSION KIT
ASSEMBLY INSTRUCTIONS
1 - Ends Assembly
Ends Assembly Components:
Box 1 & Legs From Box 3
Fittings
(A) 8mm Dowel Qty = 12
(B) Cam Pin Qty = 8
(C) Cam (Already In Panel) Qty = 8
A
A
A
B
B
Cam C
Dowel Holes
B
AA
PANEL
1) Place legs on a flat surface taking care not to scratch. Insert 8mm dowels (A) into holes with light
hammer.
Screw cam pins (B) carefully into 5mm holes, to top of the thread, using cross slot screwdriver.
Repeat process for the other three legs.
2) Ensure cams (C) are inserted in the panel with the arrow pointing to the edge. Carefully locate the
panel onto the dowels and cam pins. When in place, turn the cam clockwise with cross-slot screwdriver to
lock.
Ensure the legs are attached to the panel in pairs ie: dowel holes are facing the same way.
Please read & check through these instructions carefully before proceeding with assembly
COMPONENTS
Box 1 of 4 End Panels
2 x End Panels with 8 Cams Inserted
Box 2 of 4 Ladder (Curved or Straight)
2 x Ladder Sides
Box 3 of 4 Legs, Rails & Treads
2 x Right Handed Bunk Conversion Legs
2 x Left Handed Bunk Conversion Legs
2 x Side Rails (with Rib)
5 x Ladder Treads
1 x Fittings Pack
Box 4 of 4 Bed Slats
1x Set of Slats
Tools Required (Not Supplied)
2)
1)
2 –Fitting Rails & Slats
Bed Assembly Components:
Assembled Ends (See Overleaf)
Side Rails From Box 3 & Box 4 (Slats)
Fittings
A
A
A
E
E
E
E
(A) 4 x M6 115mm Bolt
(B) 4 x M6 Barrel Nut
(D) 24 x 38mm Woodscrew
1 x Allen Key (4mm)
1. Locate the 2 side rails into one pre-assembled bed
end with mattress rail rib to the bottom.
2. Fit the other pre-assembled bed end.
3. Secure rails M6 bolt (A) through leg and into barrel
nut (B). Use Allen Key provided to tighten.
4. Secure mattress slats as described opposite.
5. We recommend that bolts are checked & tightened at
regular intervals.
D D D D
D D
D
D
Mattress Slat Base
Spread the slats out across the ribs on the side
rails ensuring the gap between each rail is greater
than 60mm, but no more than 75mm (The webbing
between the slats defines this dimension, when
taught). Fix the slats to the rib using screws(D).
ASSEMBLY GUIDE (Bunk Conversion To Starter Bed)
Insert the threaded nut of fitting E into the long leg, then screw the bar of fitting
E into the threaded nut. It is important to screw the bar into the threaded nut
until the groove is just below the top of the conversion leg. Insert the other nut
into the starter bed and place on top. Secure using grub screw & 5mm allen key
provided.
Groove
3 –Fitting To Starter Bed
Assembly Components:
Fittings Pack & Pre-Assembled Lower Bunk (See 2 –Above)
(E) 4 x Connector Fittings
Grubscrew & Nut Steel bar ThreadedNut
1 x 5mm Allen Key (For Connector Fitting)
This product is designed to conform to the latest safety regulations and we hope you will be happy with
your purchase. This product is primarily produced from quality Scandinavian pine. As such you may find
small knot or surface defects that are inherent with a natural resource and in no way compromise safety or
functionality. Whilst every effort is made to ensure this product reaches you in good condition, in the
unlikely event you find a problem with any component, please DO NOT ASSEMBLE –and contact your
retailer. As you will appreciate, we cannot accept any liability for damage once an attempt to assemble has
been made.
Cleaning: a damp cloth should be sufficient to keep this product in good order. Please do not use abrasive
cleaning materials as this will incur damage. Thank you for choosing our product.
4 - Ladder Assembly & Fixing To Bed
Assembly Components:
Box 2 & Fittings C and D
(C) 10 x M6 25mm Bolt (For Ladder Treads)
(D) 2 x M6 Connecting Bolts (For Ladder To Bed Leg)
1 x 4mm Allen Key (For Ladder)
1. Assemble ladder sides
& treads using bolt C &
4mm allen key
provided, taking care
to avoid marking the
ladder sides.
2. Connect to the bunk
bed frame using fitting
D into the bed and the
existing bolt from the
starter bed into the
barrel nut in the safety
rails.
C
C
C
C
C
C
C
C
C
C
A
A
D
D
Manufactured in the UK

Other Scallywag Kids Indoor Furnishing manuals

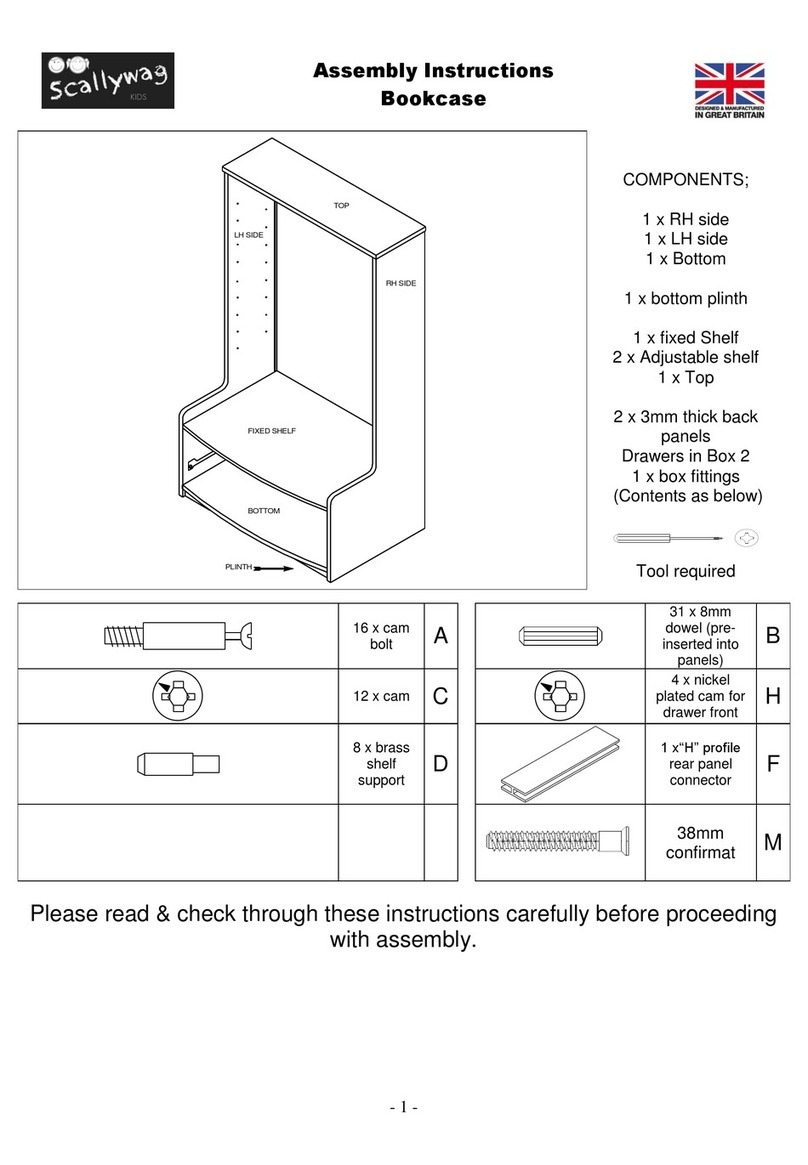
Scallywag Kids Bookcase User manual

Scallywag Kids

Scallywag Kids Bookcase User manual

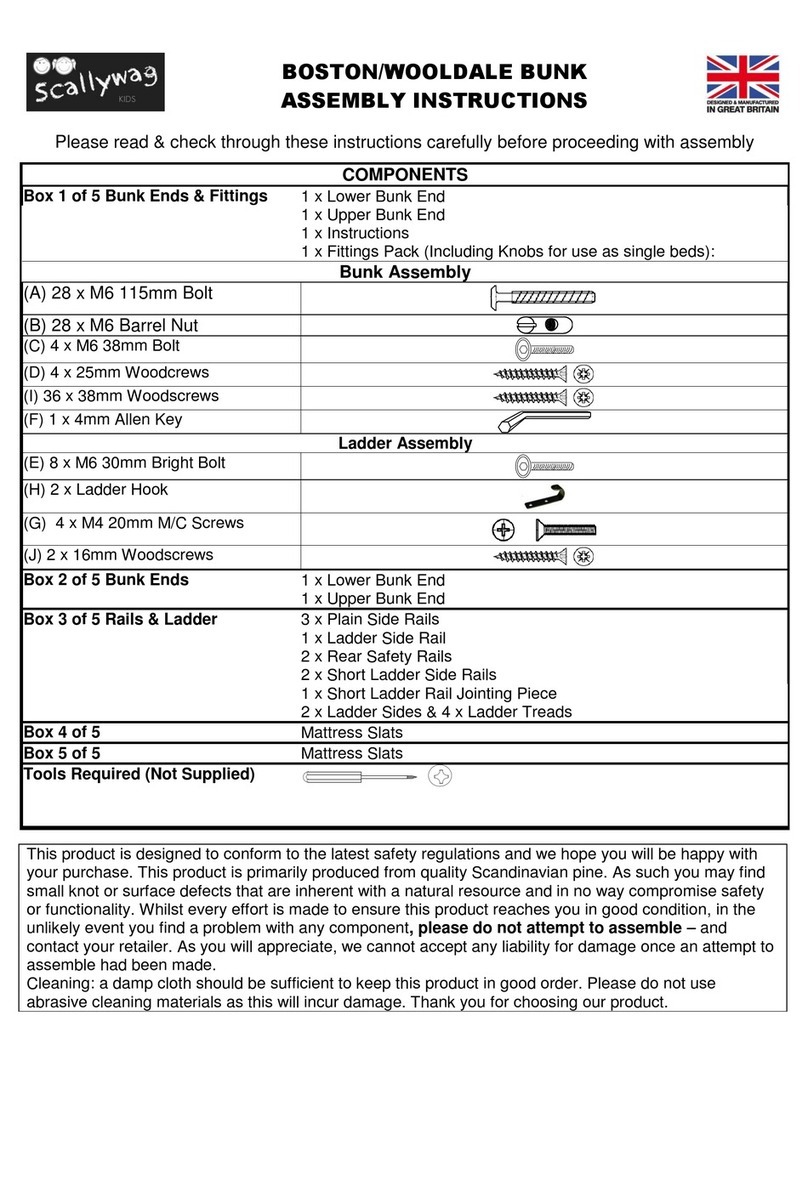
Scallywag Kids BOSTON BUNK User manual

Scallywag Kids

Scallywag Kids BOSTON BUNK User manual

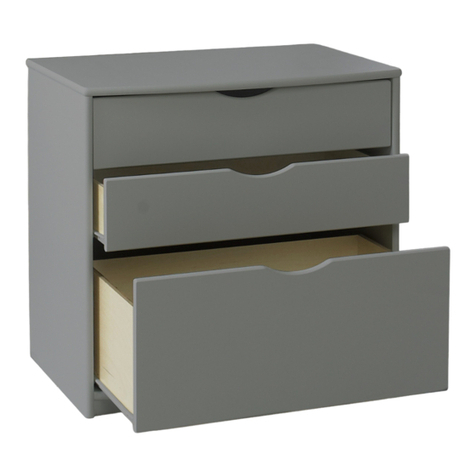
Scallywag Kids 3 Drawer Chest User manual

Scallywag Kids

Scallywag Kids 3 Drawer Chest User manual

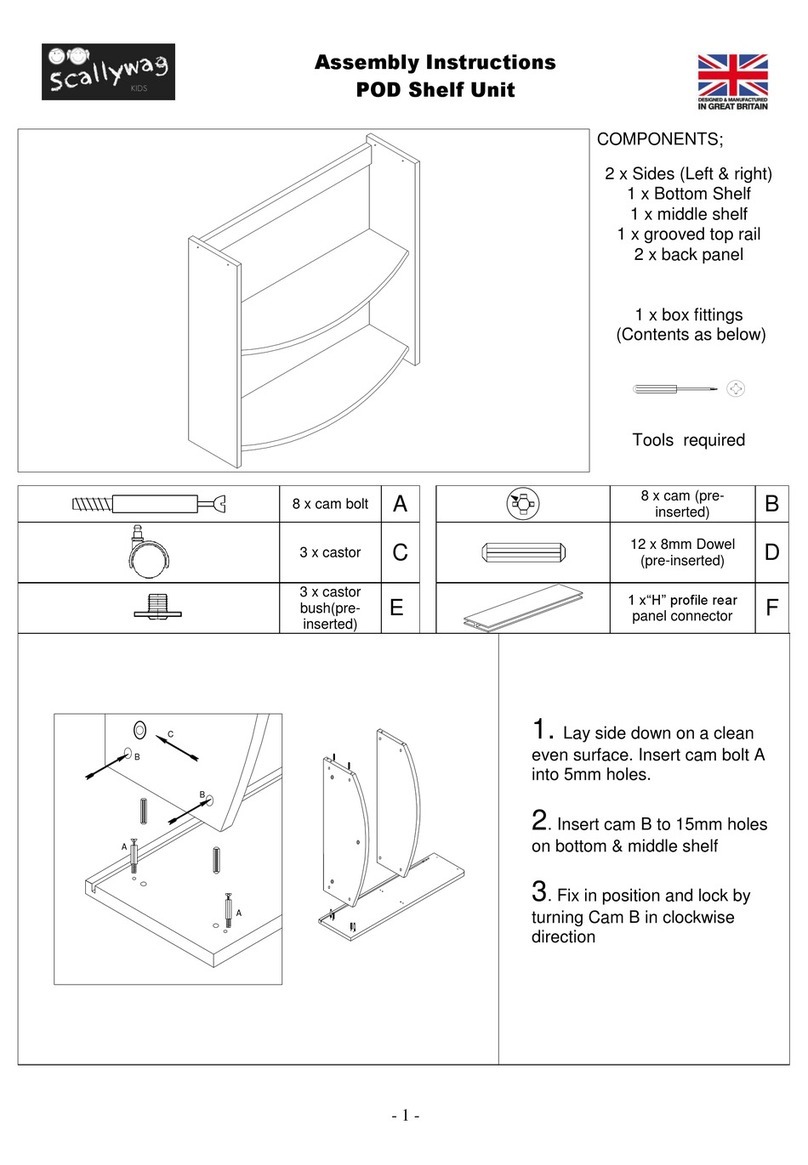
Scallywag Kids POD Shelf Unit User manual

Scallywag Kids

Scallywag Kids POD Shelf Unit User manual

Scallywag Kids Robe Carcass User manual

Scallywag Kids

Scallywag Kids Robe Carcass User manual

Popular Indoor Furnishing manuals by other brands

symbiosis 4490 IA Assembling instructions

symbiosis

symbiosis 4490 IA Assembling instructions

Babyletto Wally 22185 manual

Babyletto

Babyletto Wally 22185 manual

Tilia Gora Y Assembly

Tilia

Tilia Gora Y Assembly

Coaster 736178 Assembly instructions

Coaster

Coaster 736178 Assembly instructions

Otto BORNA 180 Hmix Assembly instructions

Otto

Otto BORNA 180 Hmix Assembly instructions

Ofs Heya Assembly instructions

Ofs

Ofs Heya Assembly instructions

Bali MOTORIZED SHADES How to install

Bali

Bali MOTORIZED SHADES How to install

Habitat Pop 821663 manual

Habitat

Habitat Pop 821663 manual

FIAM. LUCY L/117 Product information

FIAM.

FIAM. LUCY L/117 Product information

Castleton Home ZH1825-1IVY Product instructions

Castleton Home

Castleton Home ZH1825-1IVY Product instructions

Belleze Baldy Kitchen Trolley 014-HG-40901 Assembly instructions

Belleze

Belleze Baldy Kitchen Trolley 014-HG-40901 Assembly instructions

MAGNUSSEN HOME B5311-64SF Assembly instructions

MAGNUSSEN HOME

MAGNUSSEN HOME B5311-64SF Assembly instructions

Kirsch Basics Cellular Shades installation instructions

Kirsch

Kirsch Basics Cellular Shades installation instructions

Ameriwood HOME 5691056COM Assembly instructions

Ameriwood HOME

Ameriwood HOME 5691056COM Assembly instructions

Kvik CU747 Assembly instructions

Kvik

Kvik CU747 Assembly instructions

Argos BASIC TALLBOY MIRROR CABINET 402/9166 Assembly instructions

Argos

Argos BASIC TALLBOY MIRROR CABINET 402/9166 Assembly instructions

Hewi LifeSystem 802 Installation and operating instructions

Hewi

Hewi LifeSystem 802 Installation and operating instructions

Global FREEFIT troubleshooting guide

Global

Global FREEFIT troubleshooting guide

manuals.online logo
manuals.online logoBrands
  • About & Mission
  • Contact us
  • Privacy Policy
  • Terms and Conditions

Copyright 2025 Manuals.Online. All Rights Reserved.