Scott Aerator De-Icer Dock Mount Quick start guide
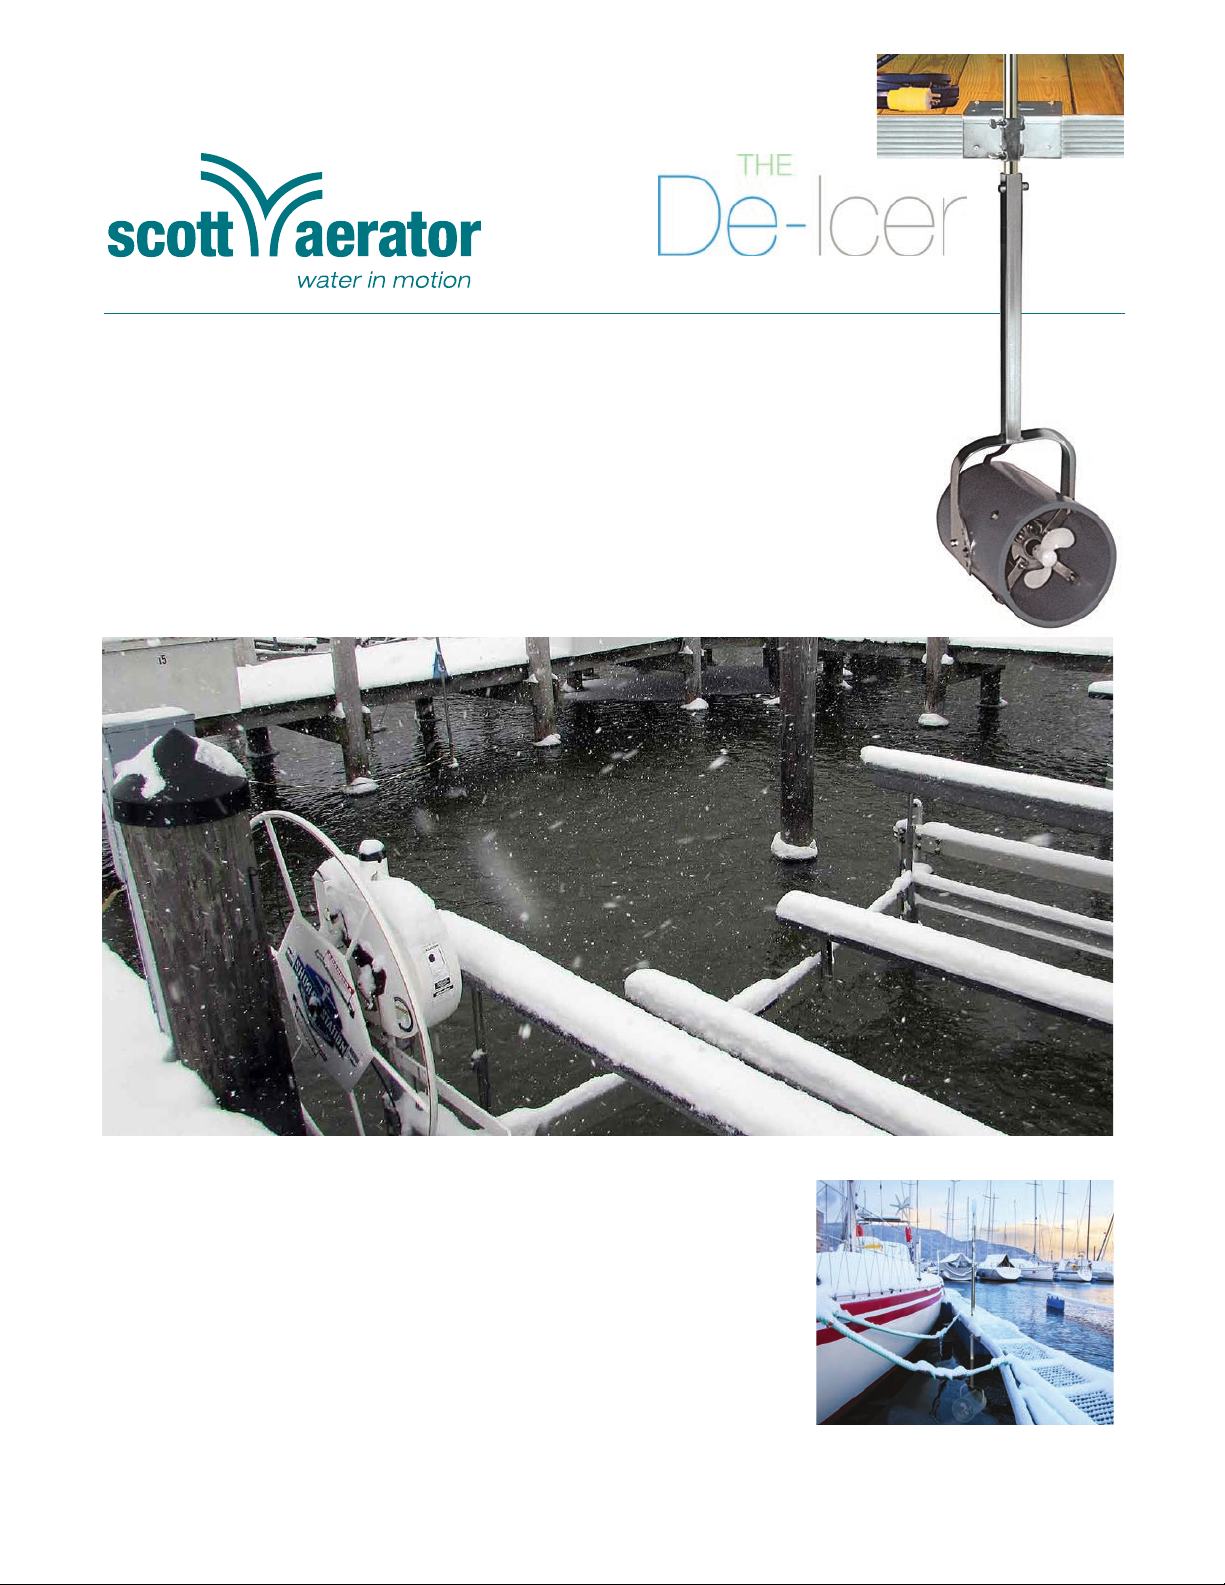
We at Scott Aerator thank you for your purchase. It is our goal to
ensure that you are completely satised with your new De-Icer and
that it continues to operate smoothly for many years to come.
Please take a few moments to read through this document for
proper assembly, installation and maintenance to maximize the
operating life of the unit.
This Kit Includes
1 - DE-ICER HOUSING ASSEMBLY
1 - STAINLESS-STEEL POLE
1 - DOCK PLATE
1 - PACKET OF LUBRICATING COMPOUND
2 - STAINLESS STEEL THUMB SCREWS
4 - STAINLESS STEEL WASHERS
4 - SELF TAPPING STAINLESS STEEL SCREWS
Tools Needed
PHILLIPS STYLE SCREW DRIVER
TWO 1/2" WRENCHES (OR PLIERS)
Dock Mount
Assembly Instructions
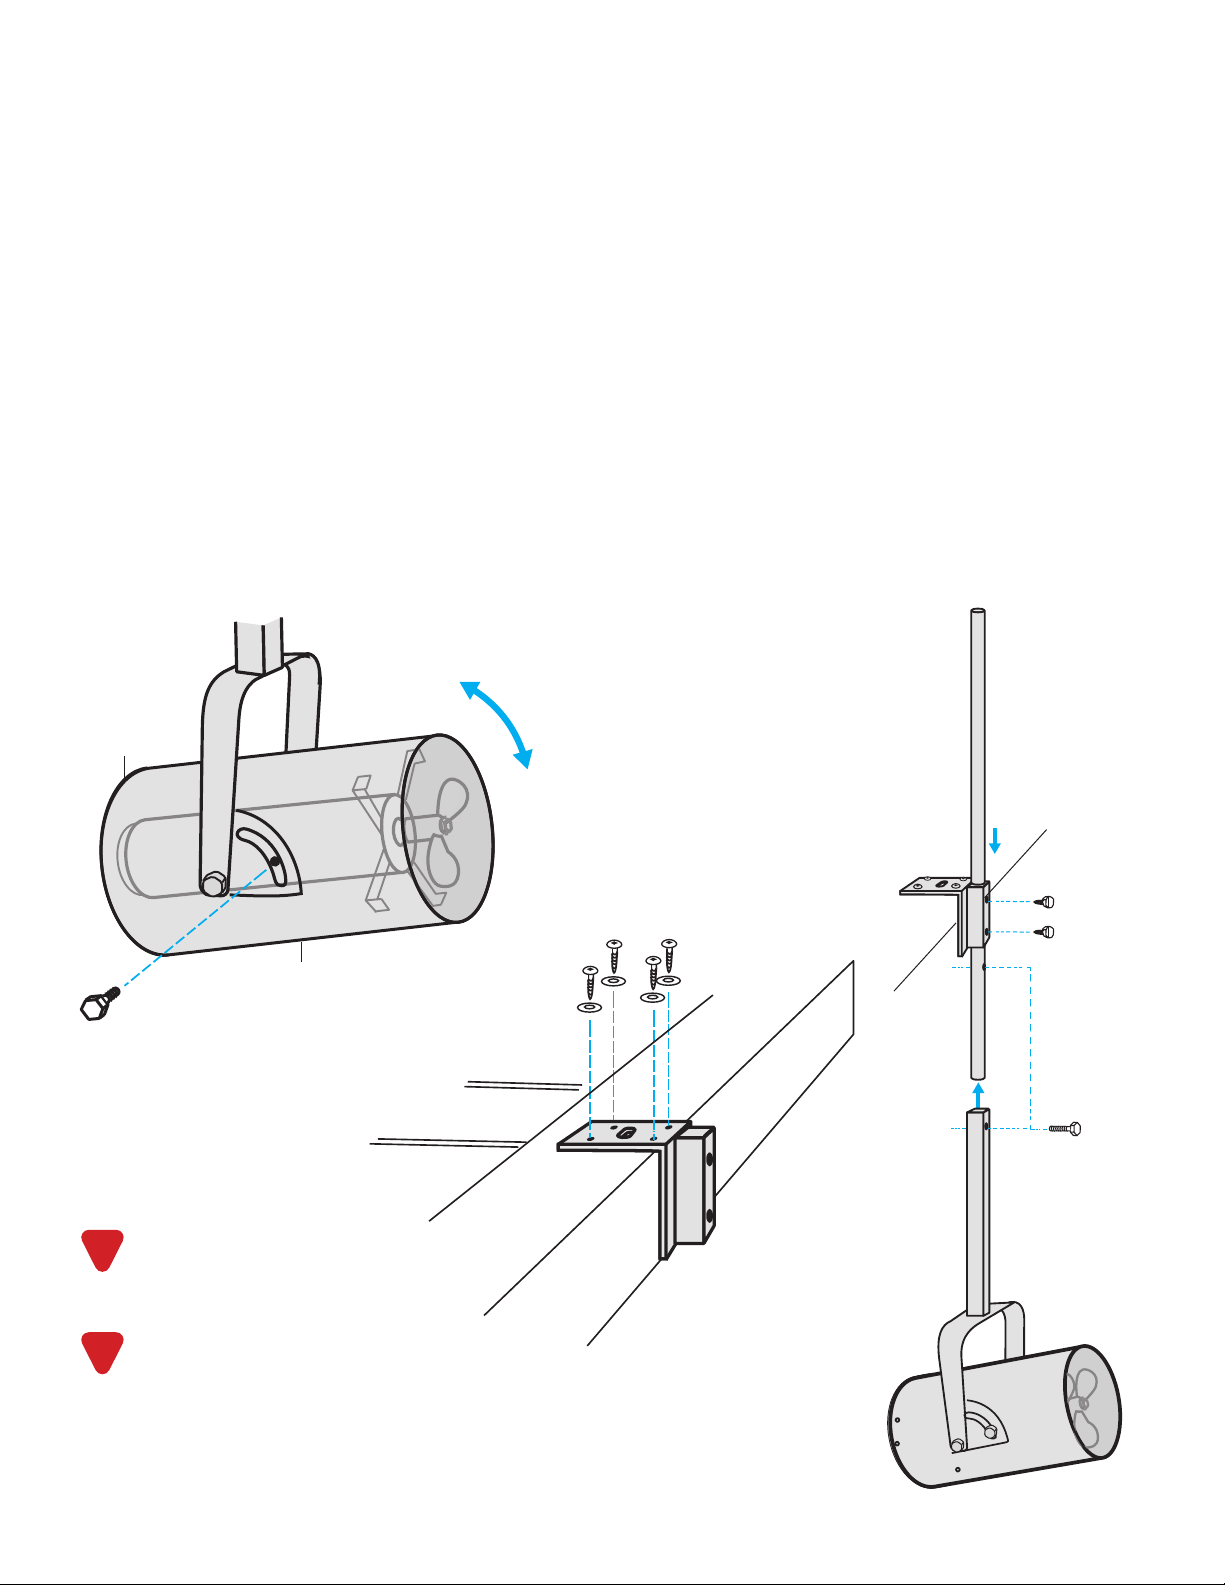
1. Begin the assembly of your Scott De-Icer dock mount model by loosening the stainless-steel bolt from the yoke assembly.
Adjust the grey dock-mount housing to the desired angle for water ow and tighten bolt to secure in place. We recommend
that the angle is adjusted at a 45 degree angle facing upward toward the surface. Fig.1
2. Secure the dock plate to your wooden or metal dock, utilizing the 4 large self-tapping screws and washers. Fig. 2
3. Once the dock plate has been secured, the stainless-steel pole can be inserted through the dock plate sleeve.
Simply loosen the 2 thumb screws from the dock plate sleeve, insert the pole from the top through the
sleeve by approximately 6 inches, and then re-tighten the 2 thumb screws. Fig. 3
4. Now, slide the yoke assembly over the bottom of the stainless-steel pole and secure with the bolt provided. Fig. 4
5. The Scott De-Icer dock mount model easily adjusts for varying water levels by loosening the 2 thumb screws from
the dock plate and raising or lowering the De-Icer. We recommend that you lower the De-icer 12 to 18 inches below
the water surface for optimum performance. Please note, the 2 thumb screws are coated with a special lubricating
compound specically designed for stainless-steel to ensure proper function. An extra packet of this compound has
been included with your purchase; periodic lubrication of the 2 thumb screws is required for years of problem free use
and for warranty validation.
6. Finally, power can be supplied to your De-Icer utilizing a standard 110 volt receptacle protected by a GFCI. Extension
cords should not be used. Disconnect power when swimmers are present.
!Do NOT use an extension cord
to supply power to the motor
Always use a GFCI
Always disconnect the power
when swimmers are present
!
Adjusting the position of the De-Icer while in operation will cause
the dock plate thumb screws to strip, resulting in permanent
damage to the dock plate. Always disconnect power before
adjusting and keep the dock plate thumb screws lubricated.
Fig. 1
Fig. 2
Fig. 3
Fig. 4
12"
DOCK-MOUNT
HOUSING
DOCK-MOUNT
BRACKET
THUMB
SCREWS
YOKE
ASSEMBLY
1/3 HP
115V
1/2 HP
115V
1/2 HP
230V
3/4 HP
115V
3/4 HP
230V
1 HP
115V
1 HP
230V
SPECIFICATIONS
WAT Ts 630 670 670 875 940 1094 1210
AMPs 8 10 5 10.7 6.8 11.5 8.2
RPM 3450 3450 3450 3450 3450 3450 3450
GALLONS/MIN 300 400 400 450 450 500 500
FLOW DISTANCE 40' 50' 50' 60' 60' 75' 75'
OSCILLATOR DIA 80' 100' 100' 120' 120' 150' 150'
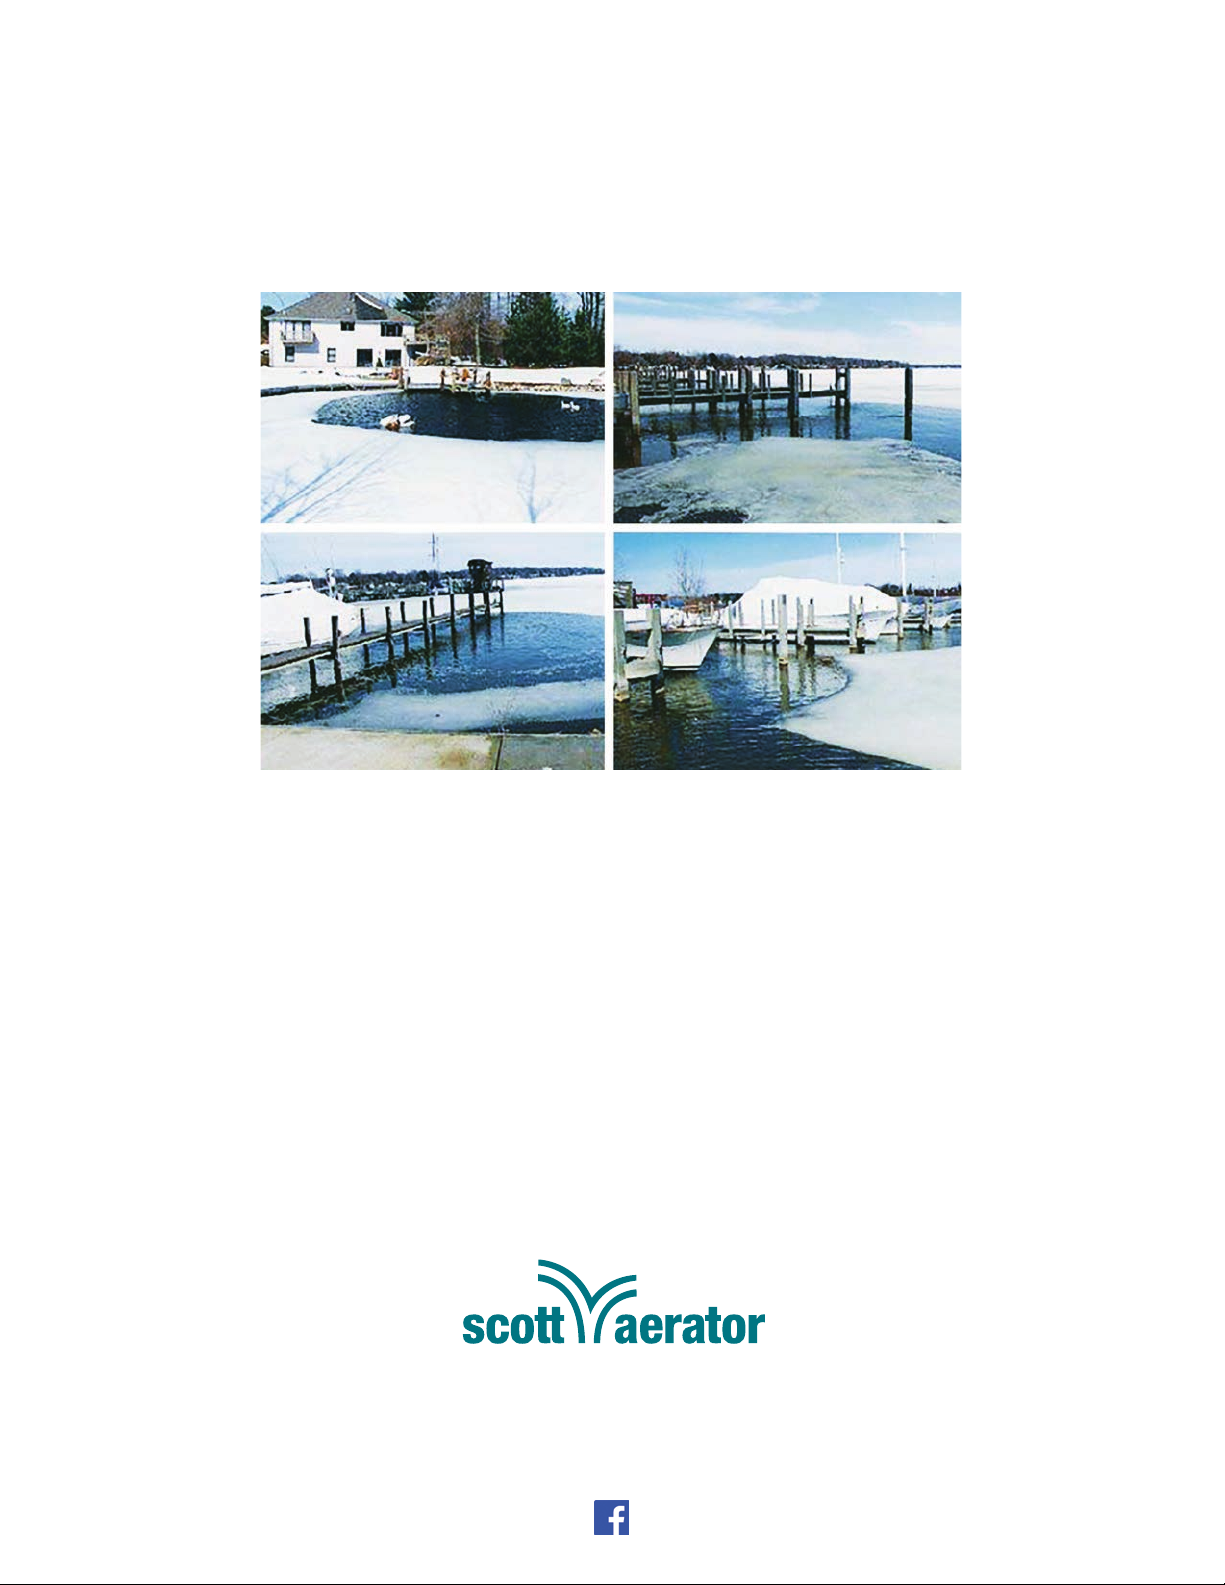
Maintaining your De-Icer Dock Mount Model
Most of our products require very little to any maintenance. Under normal operating
conditions, you should enjoy many years of trouble free service from the unit. As a rule
of thumb, the propeller assembly on our De-Icer should be changed every ve years.
This is a simple procedure that can be done on-site. When the unit is removed from the
water for the propeller switch, it would be a good opportunity to wash the unit down with
high pressure water. Once the unit is clean, a visual inspection of the entire De-Icer is
recommended to be certain nothing is restricting water ow.
Standard Features
• PVC and American made stainless steel components for all-weather performance
• Moves 400 gallons per minute
• Oil free motor Motor: 115 Volt 60 HZ, single phase, 10 amps, 680 watts, 3,450 rpms
• 12 gauge submersible power cord, 25 feet included, capped by a rugged Hubbell marine style plug
• Assembled unit is 7 feet in length, 55 pounds
Options and Accessories
• 230 volt models available
• Three phase power available
• 50Hz models available
• Longer power cords available
Mounting options
The standard dock platform mounting bracket (included) will
accommodate most standard docks. If your application requires
special mounting equipment, please give us a call and we’d be
happy to assist.
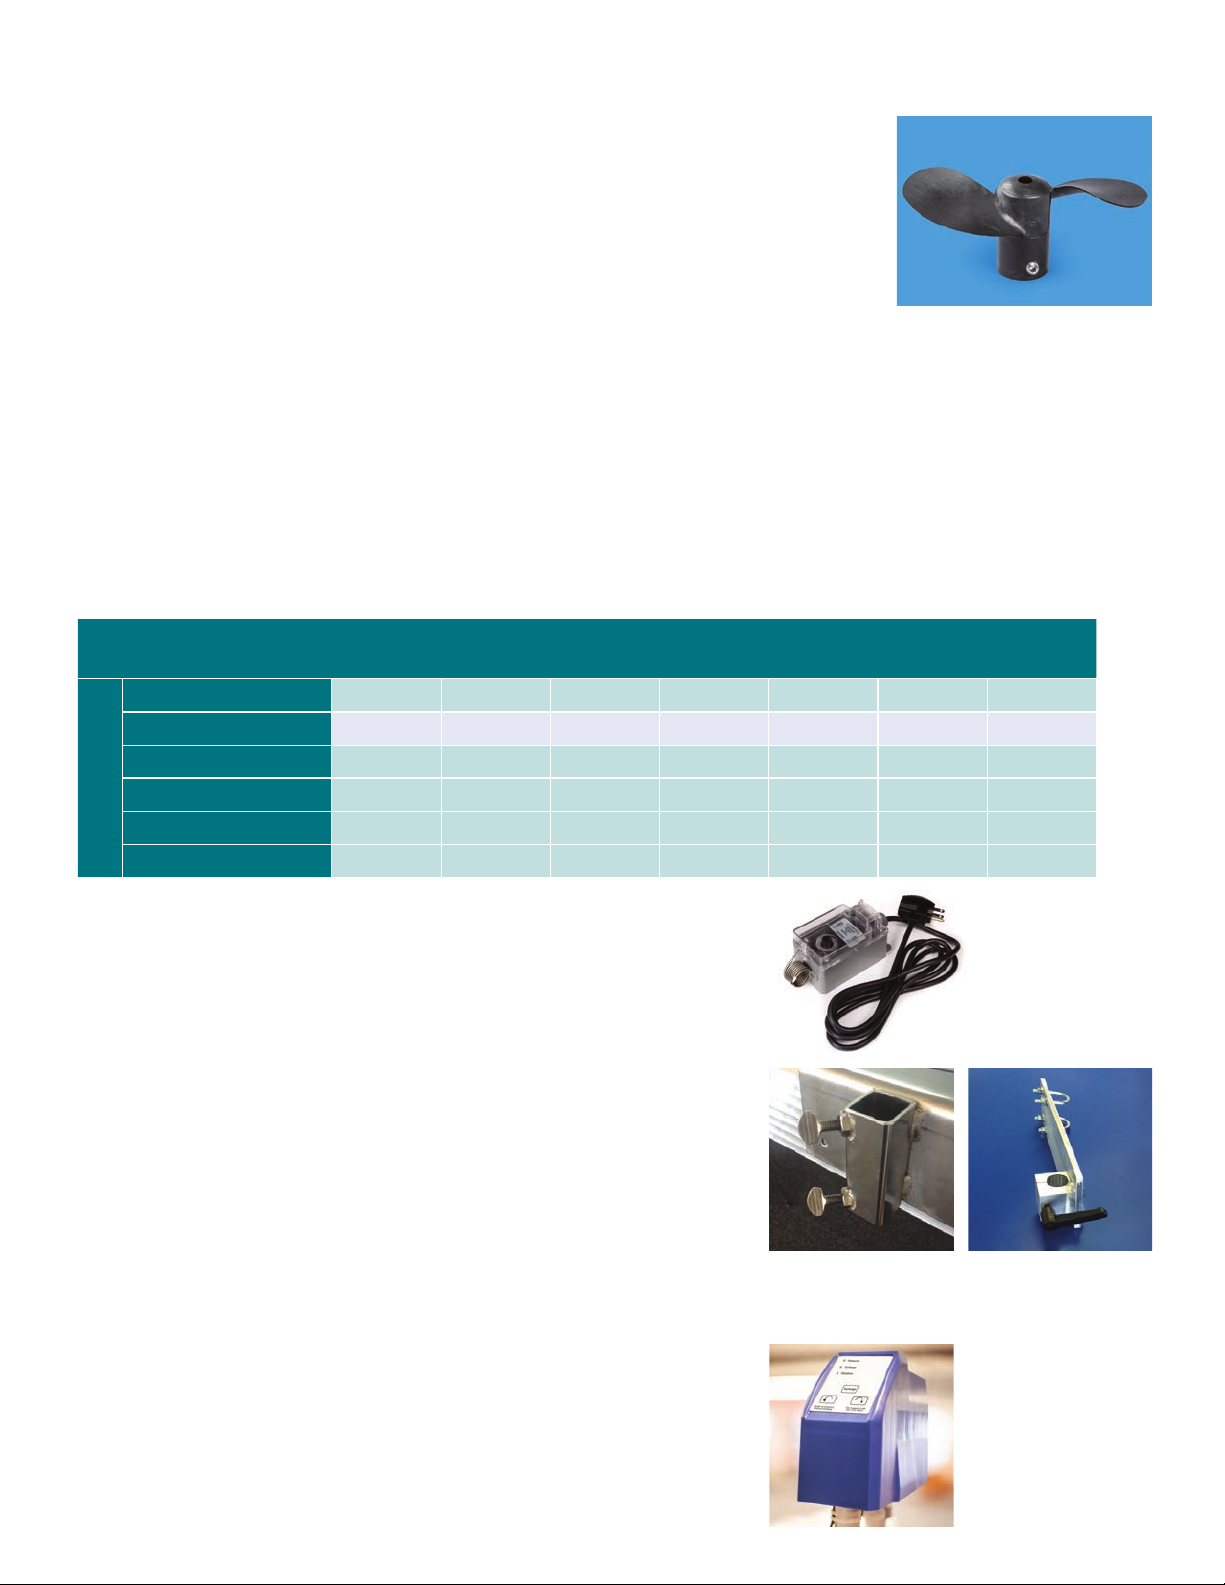
Thermostat (optional accessory)
Save money on your electric bill! Introducing our De-Icer In-Line
Thermostat. This outdoor, heavy duty thermostat control box allows
you to set and forget your De-Icer to run when temperatures get frigid.
Factory set at an outside air temperature of 30 degrees Fahrenheit, the
thermostat automatically starts your De-Icer and keeps it running until
the air temp warms to 31 degrees F, or higher. Fully adjustable from 0 F
up to 80 F, this product is UL listed. The impact resistant enclosure and
8 foot power cord both come standard, simply plug your De-Icer in and
you’re ready to go.
Fully Programmable Oscillator (optional accessory)
Our new fully programmable oscillator attachment helps keep larger
areas free from ice build-up without the need to purchase a second
De-Icer. No need to turn the De-Icer in it’s mounting; the oscillator
does it for you! We pre-program the oscillator to rotate the De-Icer in
20 degree increments every 20 minutes – you set it for any radius you
wish. Then plug it in and forget about it!
The oscillator installs in minutes to your new or existing De-Icer.
Propeller
Part # 30005
Dock Post
Mounting Bracket
Part #16501
Oscillator
Part #165750
Dock Platform
Mounting Bracket
Part #20026
Thermostat
Part # 20042
THUMB
SCREWS
The Scott Aerator Awesome Warranty
All standard Scott Aerator products are unconditionally warranted for ve years against motor defects in
materials or workmanship, under normal operating conditions. All other product components are warranted
for one year from date of purchase. Scott Aerator will repair or replace failed parts under warranty when the
defective unit is returned to the factory, shipping prepaid, and factory inspection establishes that the part was
defective. The unit must be returned to the factory prior to shipment of replacement parts. All parts replaced
under this warranty will be returned with shipping prepaid. Scott Aerator will not be liable for consequential
damage nor for any costs associated with removal or attempts to repair components in the eld.
13245 Barry Street, Holland, MI 49424
scottaerator.com
information@scottaerator.com
800-WATER-45 (800-928-3745)
(616) 392-8882
This manual suits for next models
1
Popular Boating Equipment manuals by other brands

Classic Accessories
Classic Accessories Silver Max 87504 instructions

Golden
Golden GatorVator 4T owner's manual

Boat Lift Boss
Boat Lift Boss ShoreMaster Whisper Winch installation instructions

C.A.M.P.
C.A.M.P. GYRO3 Instructions for use

ZF Marine
ZF Marine ZF 360 Series instructions

Big Air
Big Air Fusion Tower Installation and instruction manual


